What actually goes into writing a quilt pattern? It should be easy, shouldn’t it? Especially if your design uses traditional blocks. So why do patterns cost (sometimes) a lot of money; why aren’t they all free, or at least only pennies? Let’s have a look at writing a pattern using a traditional block from the original design idea to the completed pattern – as a class worksheet, for a magazine project, and/or to sell in the shops or online.
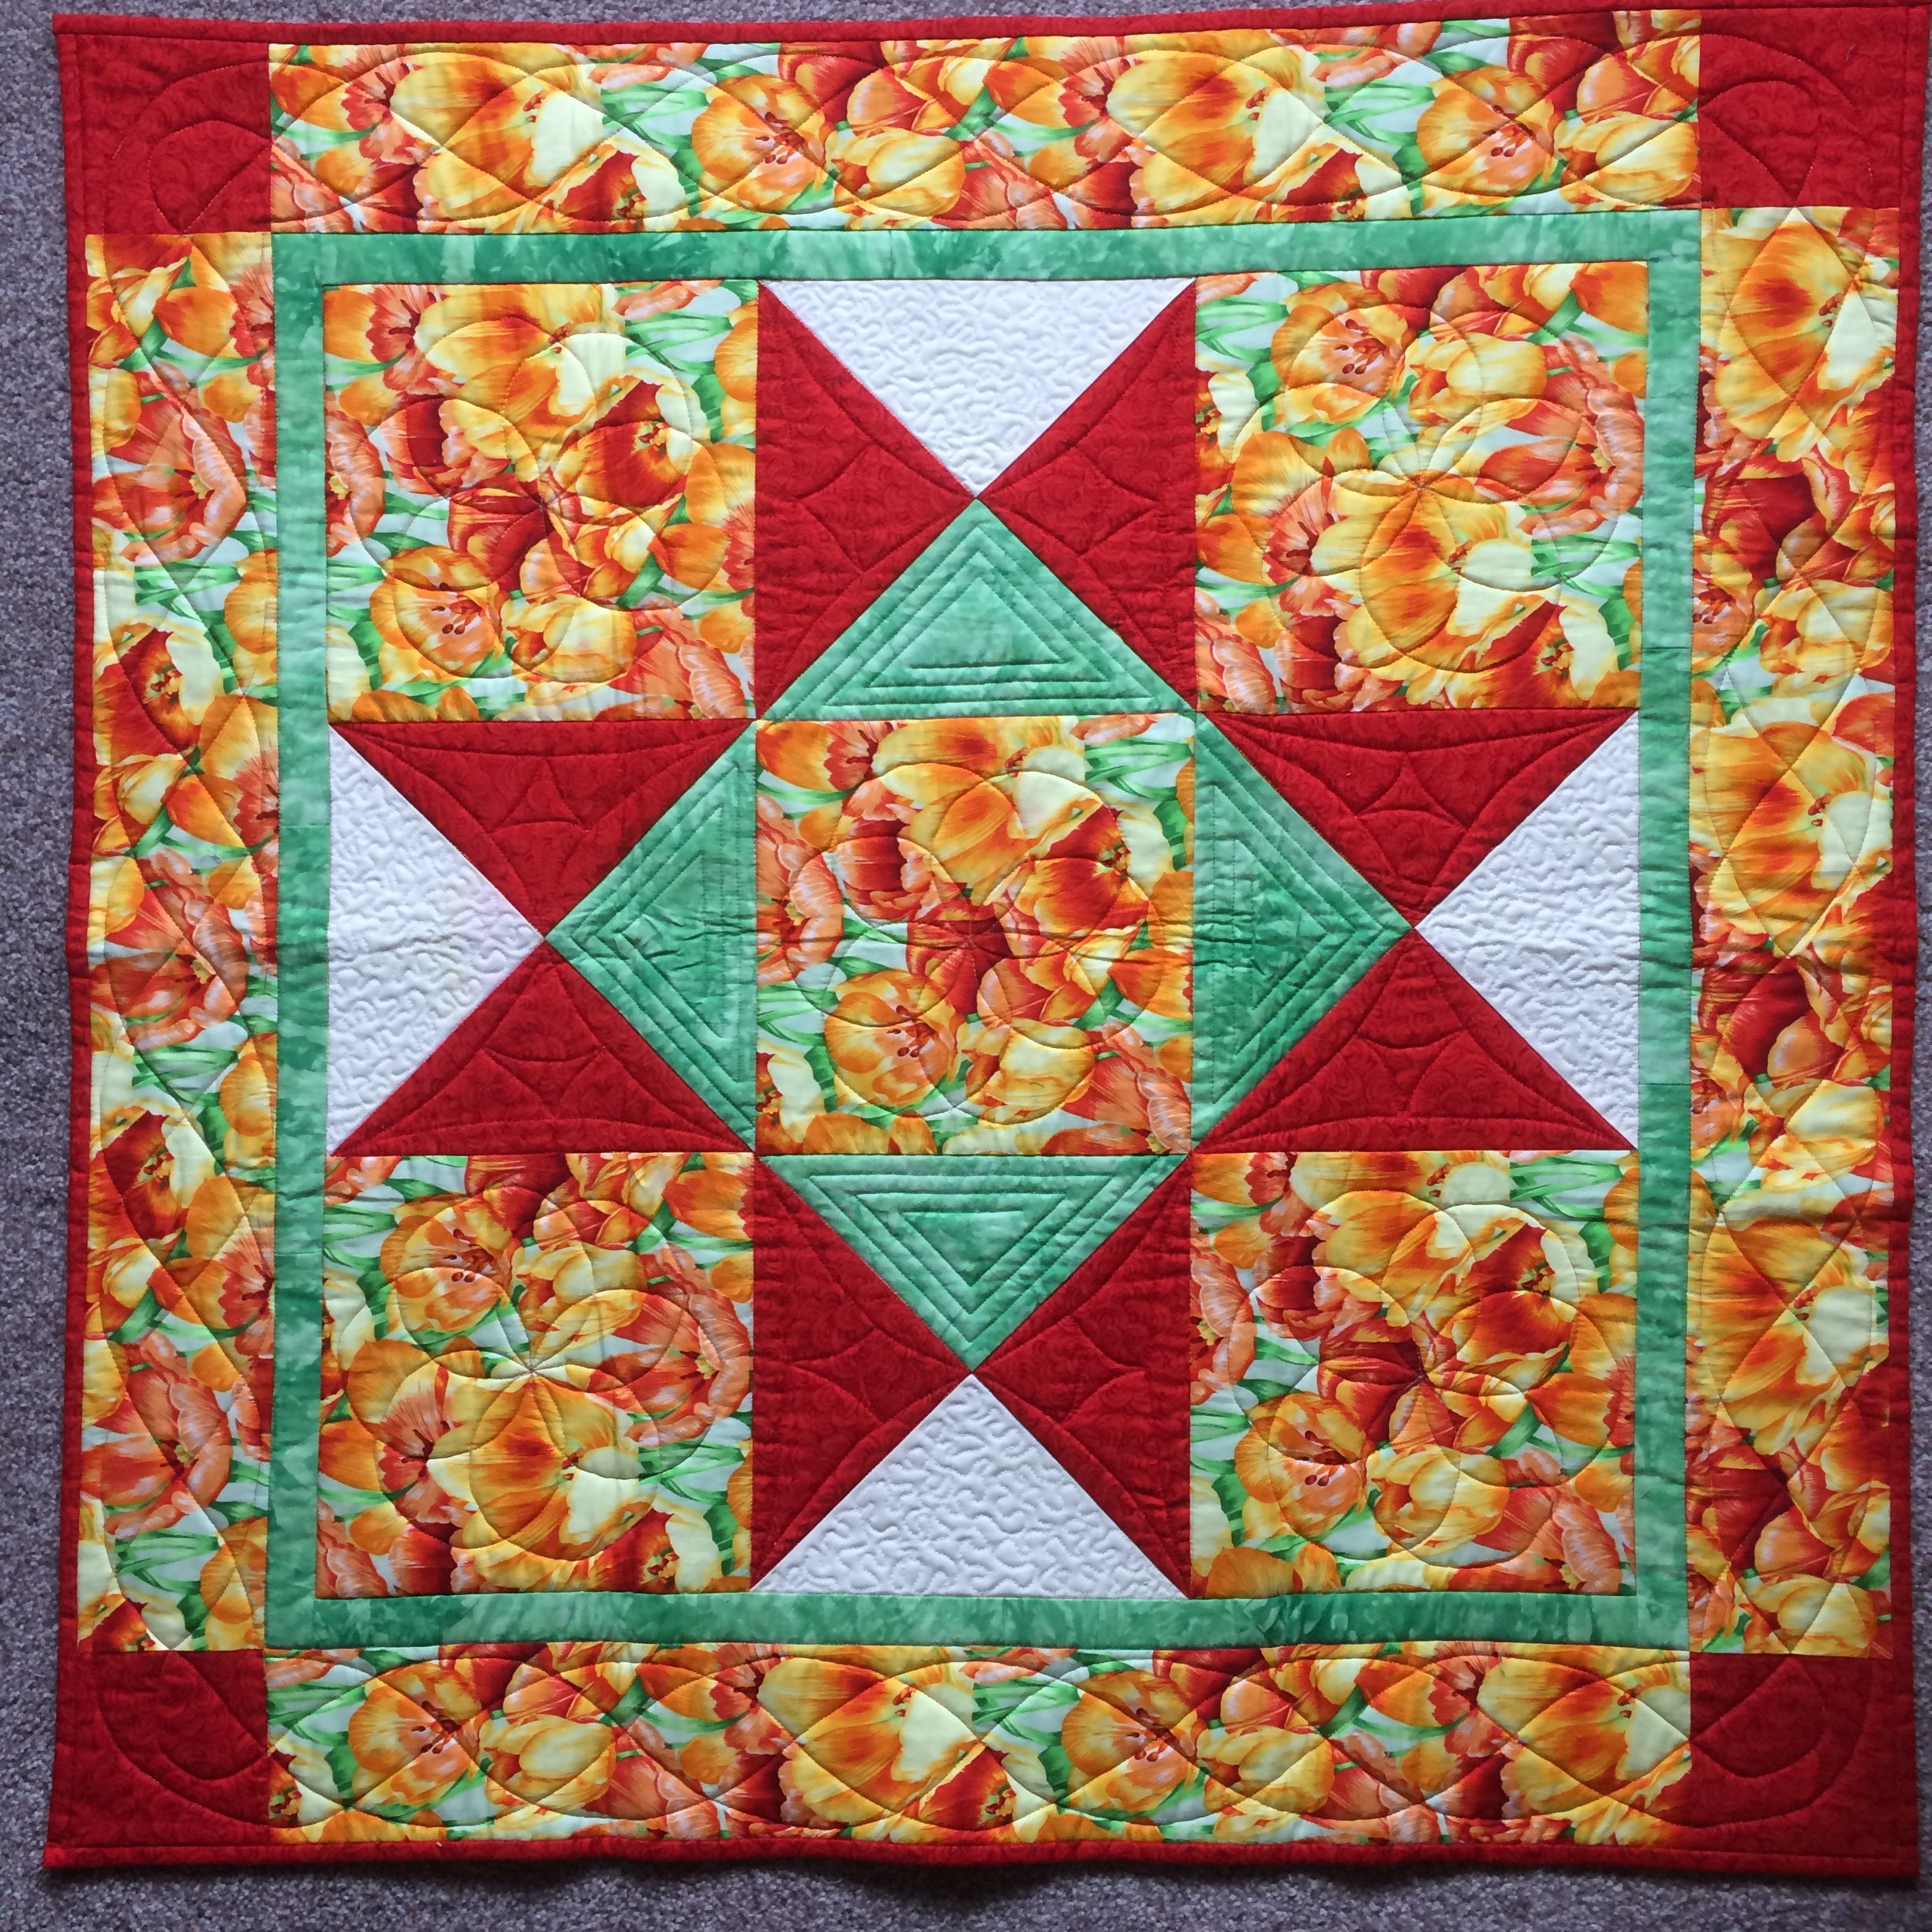
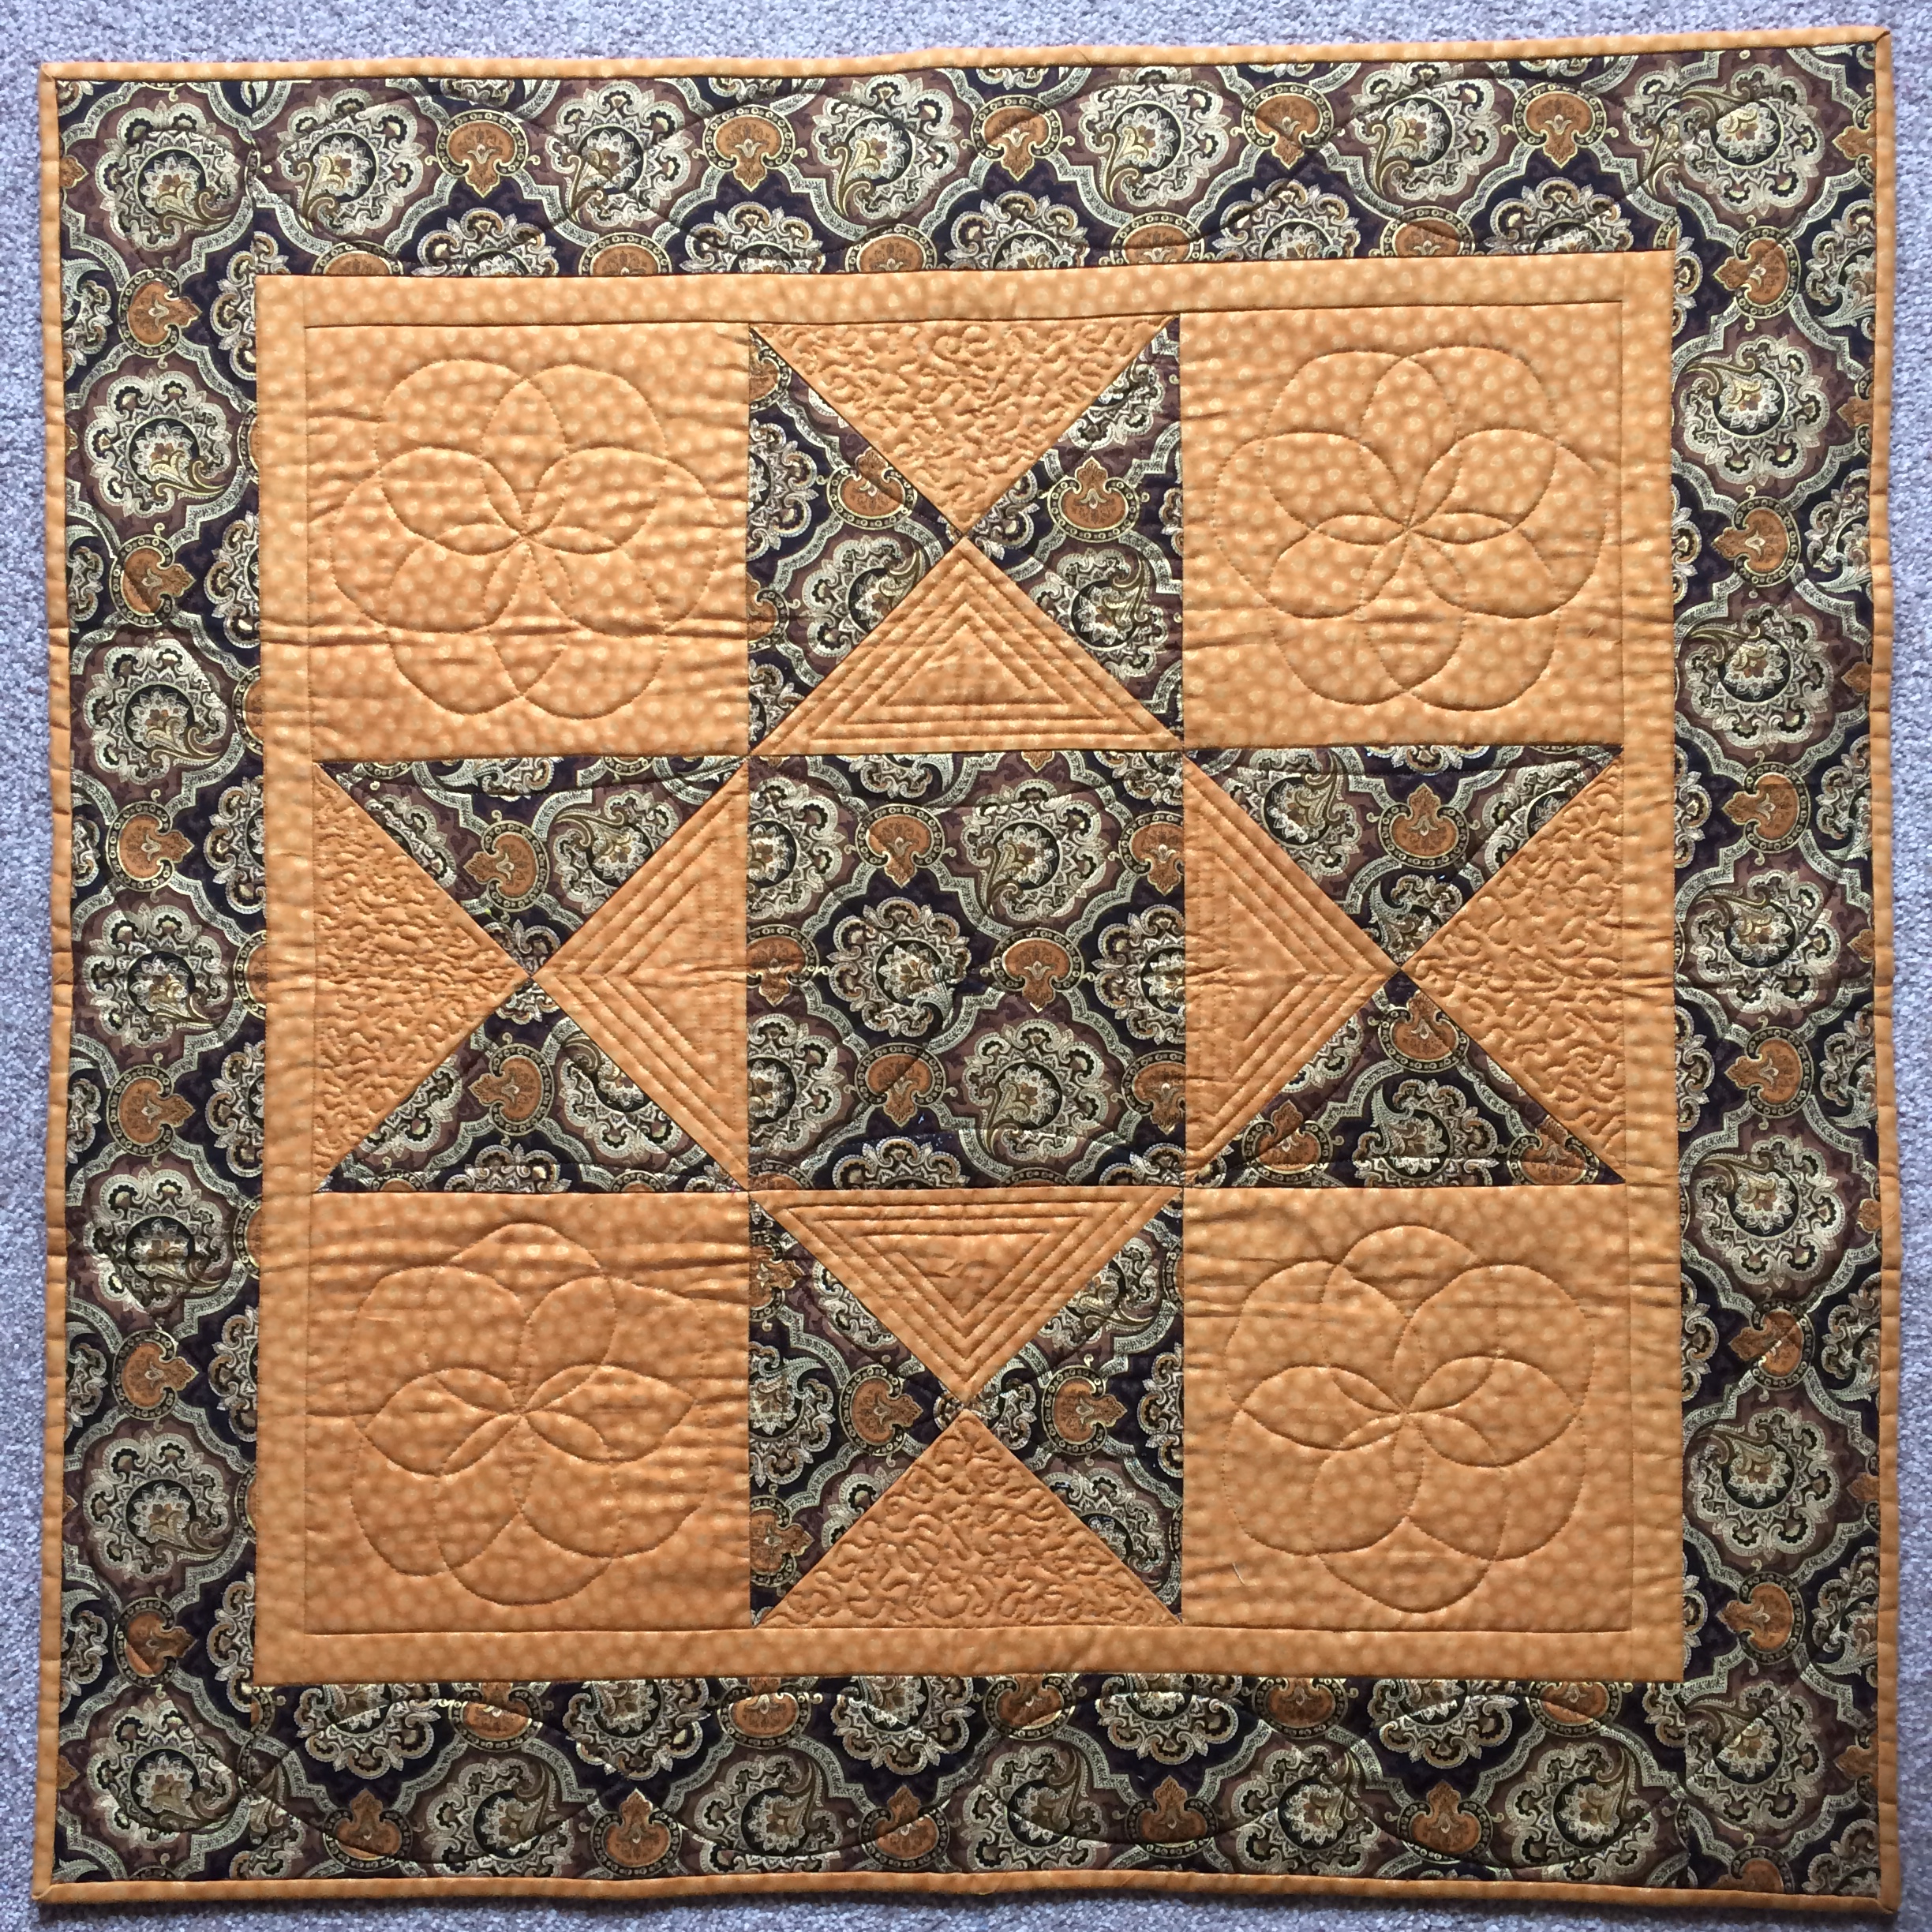
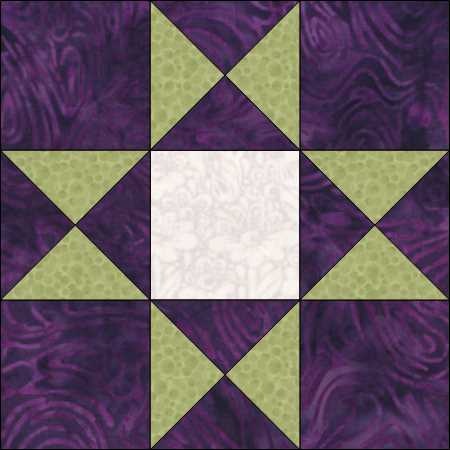
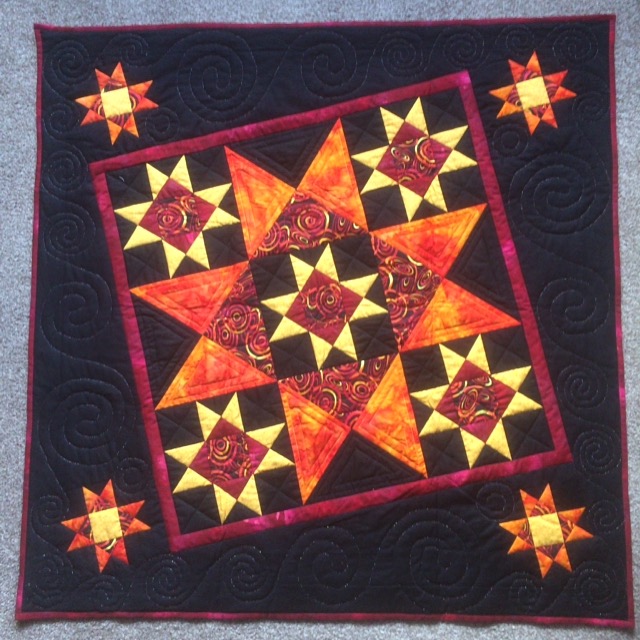
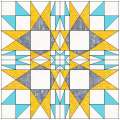
I want to use the Ohio Star block. It’s a nice simple block but with plenty of potential. I could just make a wall-hanging using one large block with a border or two around it. This would be very simple and is an ideal quilt to show off or practice free-machine quilting. But this would mean I would have to provide plenty of quilting patterns to go with the block pattern as well as some guidance on quilting techniques, and I don’t feel this is what I want to do.

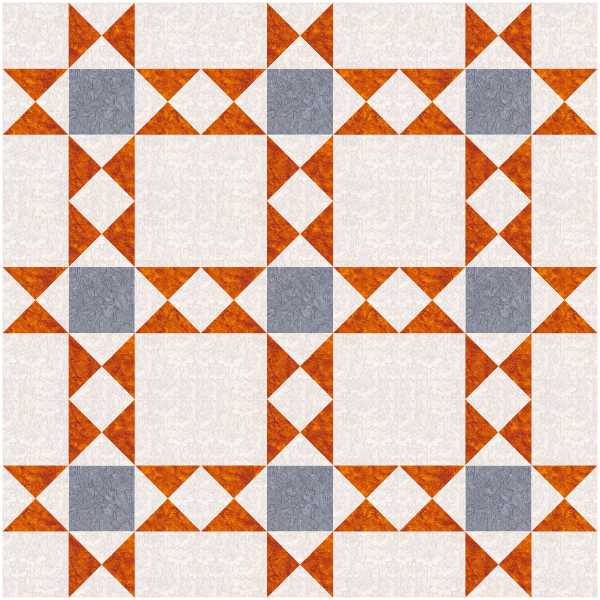
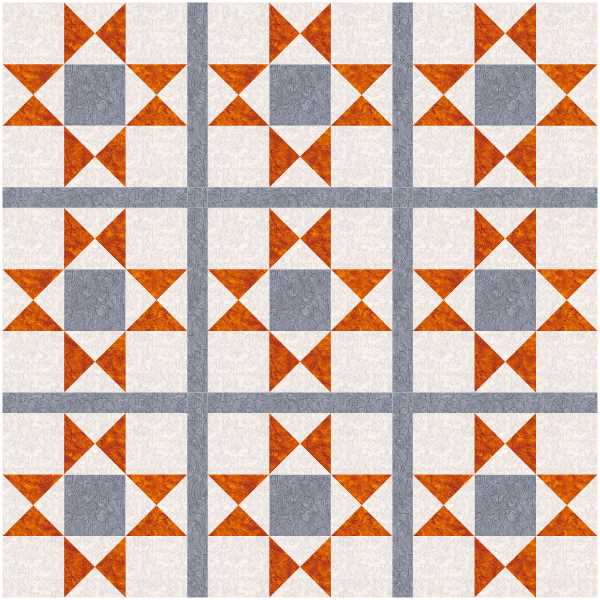
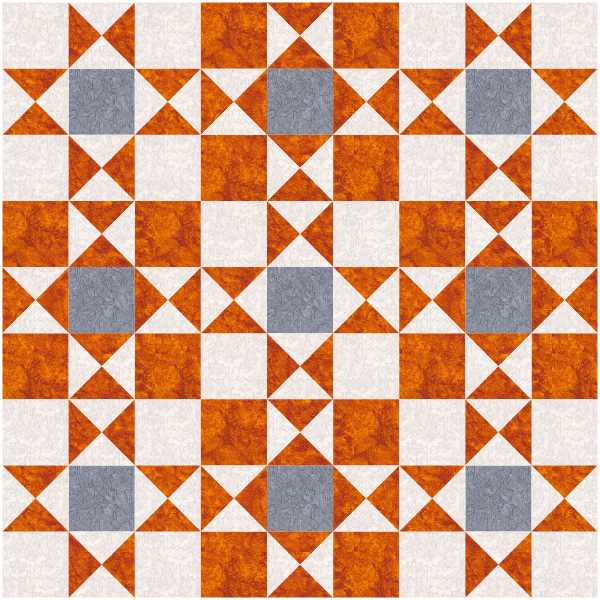
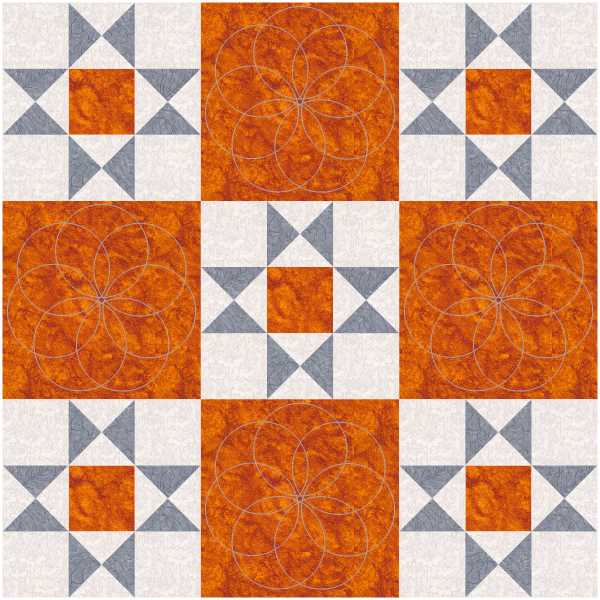
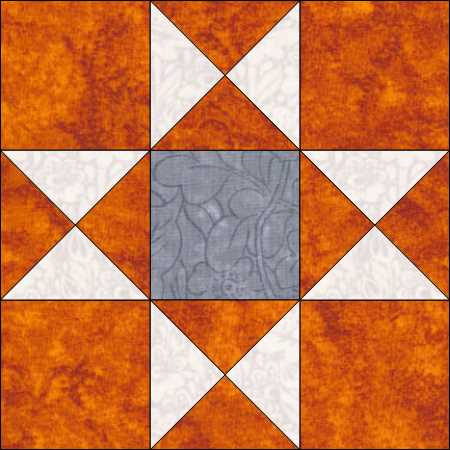
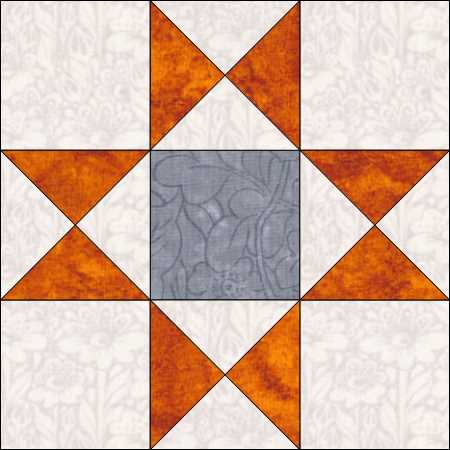
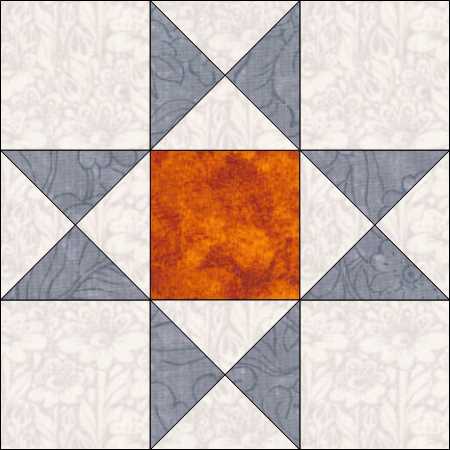
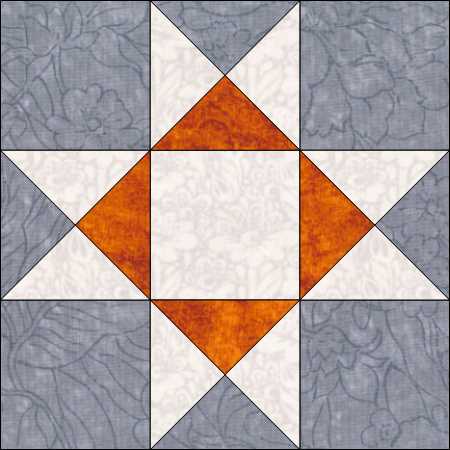
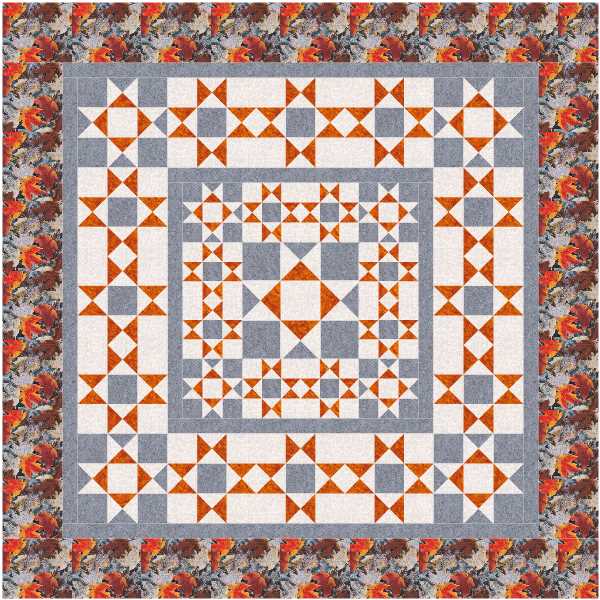
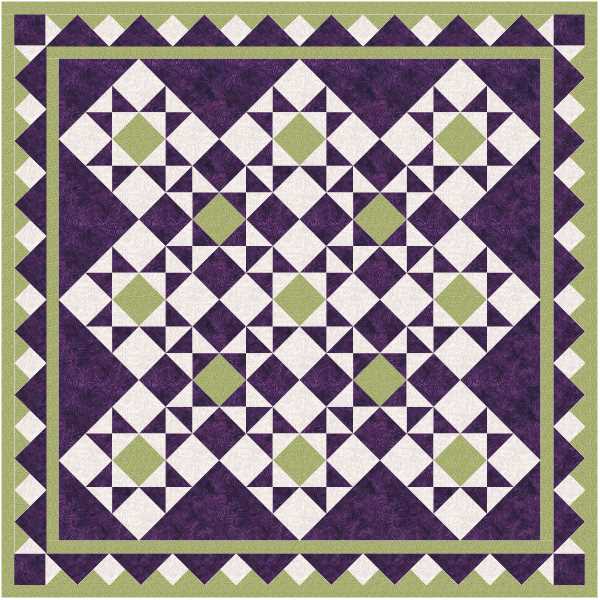
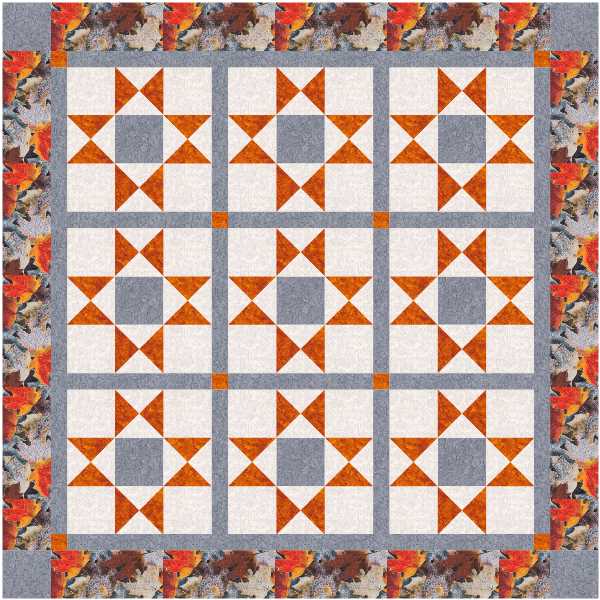
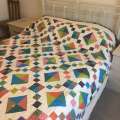
So, more than one block . . . I could make a square quilt with nine blocks set 3 x 3 or five blocks set with unpieced squares, or a rectangular quilt with 12 blocks set 3 x 4 or six blocks set 2 x 3 or . . . Should I separate the blocks with sashing and how wide and with or without cornerstones . . .? So many decisions, before we even start. After much scribbling on paper and then graph paper and then using the colouring pencils (or, these days, using the computer to do much the same) I’ve come up with quite a few ideas I like.
Having picked one I now need to decide whether it will be made as a wall-hanging, a lap quilt, or a bed-size quilt (and what size of bed). Once that decision is made I can work out what size my blocks need to be – and as Ohio Star is a 9-patch block it would make sense for the finished size to be divisible by three, otherwise the cutting measurements are going to be very difficult. (Back in the ‘olden days’ it didn’t matter – you made your templates in cardboard, drew around them to get your sewing line and then cut them out leaving enough fabric for a reasonable size seam – anything from ⅛ to ½ inch).
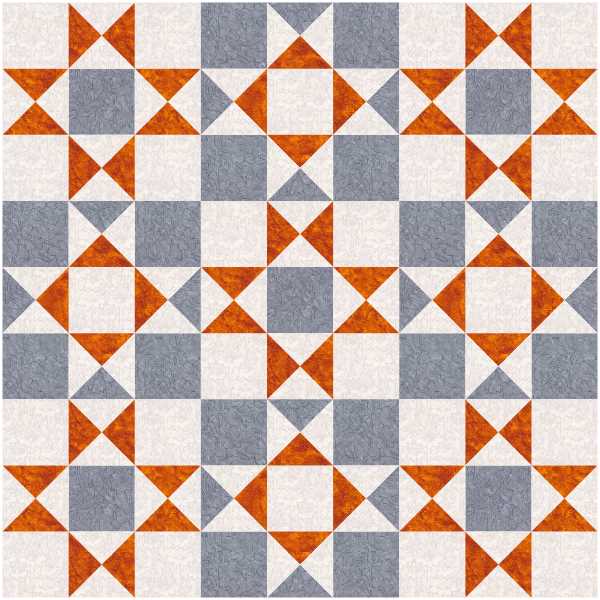
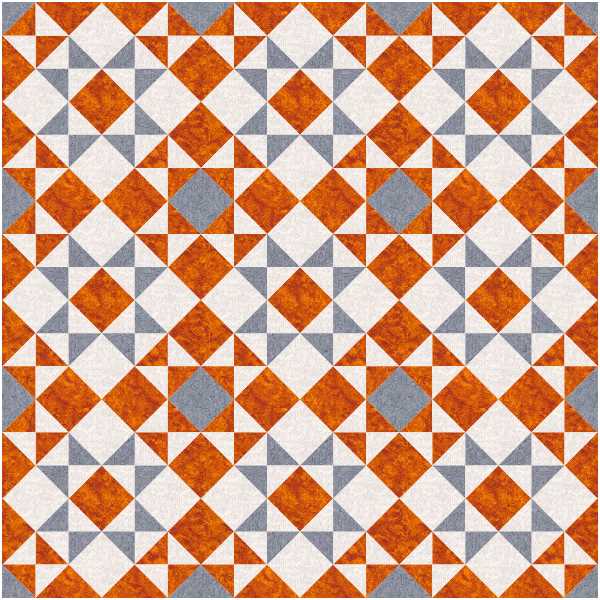
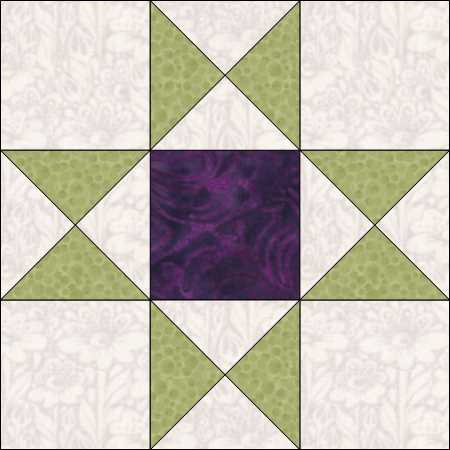
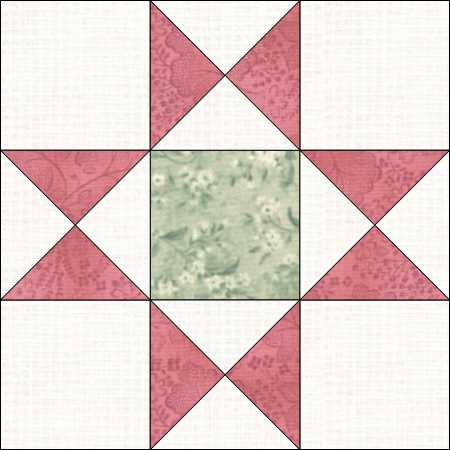
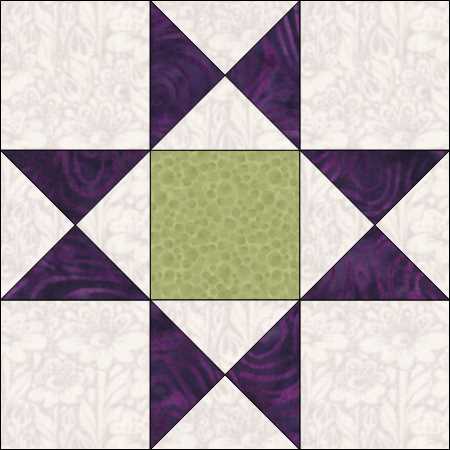
Next decision is colours. Where are the light, medium and dark shades going to go for the best effect? More scribbling with the coloured pencils and I might have a few more ideas. I need to make sure as well that the design works well no matter what colours are used if it is to be sold as a pattern (or even a worksheet for a class).
Once all these decisions are made it is time to start writing – the cutting instructions are first, so a note is made of all the different sized pieces (plus seam allowances), the numbers of each and the fabrics they are cut from. Using these notes I can then cut my pieces out, for just one block to start with, and make any further notes or adjustments to those measurements. I then make the block and write up notes on how I made it – the piecing sequence, seam allowance, points to watch out for, pressing directions. Now I double-check – is the block the right size (ish), does the shade placement work, have I made a note of any changes to the cutting or piecing instructions? Now I can lay everything out and make the quilt. Again, I make notes as I go – the piecing sequences, pressing instructions, joining the blocks into a quilt. Did I have the right number of pieces for each shape and fabric? Were all the measurements correct? If I’m writing a pattern for a magazine or to sell I will try to take step-by-step photos as well, checking that they are in focus and show what I am talking about at each step without any distracting items in the background (she’s got what behind the sewing machine??!).
The quilt top is complete, the notes are all done; it’s time for borders. But how many borders? Pieced or plain? More decisions – and sometimes the original decision doesn’t look quite right in reality. But finally the borders are cut – with a note to sizing – and stitched in place, with again notes on how it was done.
I now have to complete the quilt – layer it and quilt it. How much detail should I provide here? Nothing is more annoying in the magazines than ‘quilt as desired’ if you don’t know what you desire and you are hoping someone will tell you. I do try to make notes of how I quilt my sample and provide templates if I’ve done anything fancy. More notes and drawings to make and quilting instructions to write up . . . And next it is the binding. How much detail should go into the binding instructions? The magazine usually has these in a separate section so you can write ‘bind using your preferred method’ as a bit of a cop-out; but in a pattern you are selling do you need to write detailed instructions?
Now the quilt is made all those notes can be turned into a pattern and written up in the format required. Magazines have different criteria for patterns submitted to them – although the project editors can (and do) turn hand-written instructions with drawings into ‘type’ and computer-generated diagrams, but it takes time. Once again the measurements and instructions are checked, this time by the project editor (especially if the pattern submitted has had to have extensive editing to turn it into ‘magazine-speak’) and sometimes then emailed to the pattern-writer to double check it is all correct and nothing has gone astray in the edit. If writing a pattern for sale then it makes sense to ask a friend to check the requirements list, measurements and instructions for any errors first before sending it out into the big wide world. So, as you see, there is a lot of work and thought that goes into that pattern you just read in a magazine or downloaded (even the free ones).


What a superb explanation of the research, development, and creation of a quilt pattern!
Thanks, Maggie. I hoped people would realise what a lot of work goes into writing a patterns and that is why we (often) ask to paid for them!