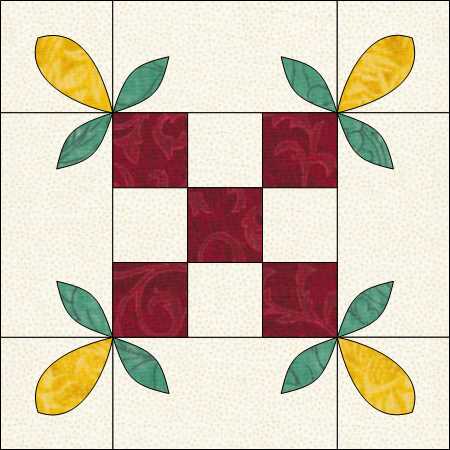
Two words that can strike terror into the heart of a dedicated patchworker. The trouble is that it is not just used to make fabric pictures – you have to applique your Dresden Plate or your set of tumbling blocks onto a background for instance, and that lovely Honey Bee block requires you to applique shapes over the patchwork.
Yes, there is Bondaweb and similar fusible products that certainly have their uses but many of these fusibles leave the fabric picture feeling very stiff. They have improved greatly in recent years and there are a couple on the market now that profess to leave your work still feeling supple and soft and they are certainly worth trying.
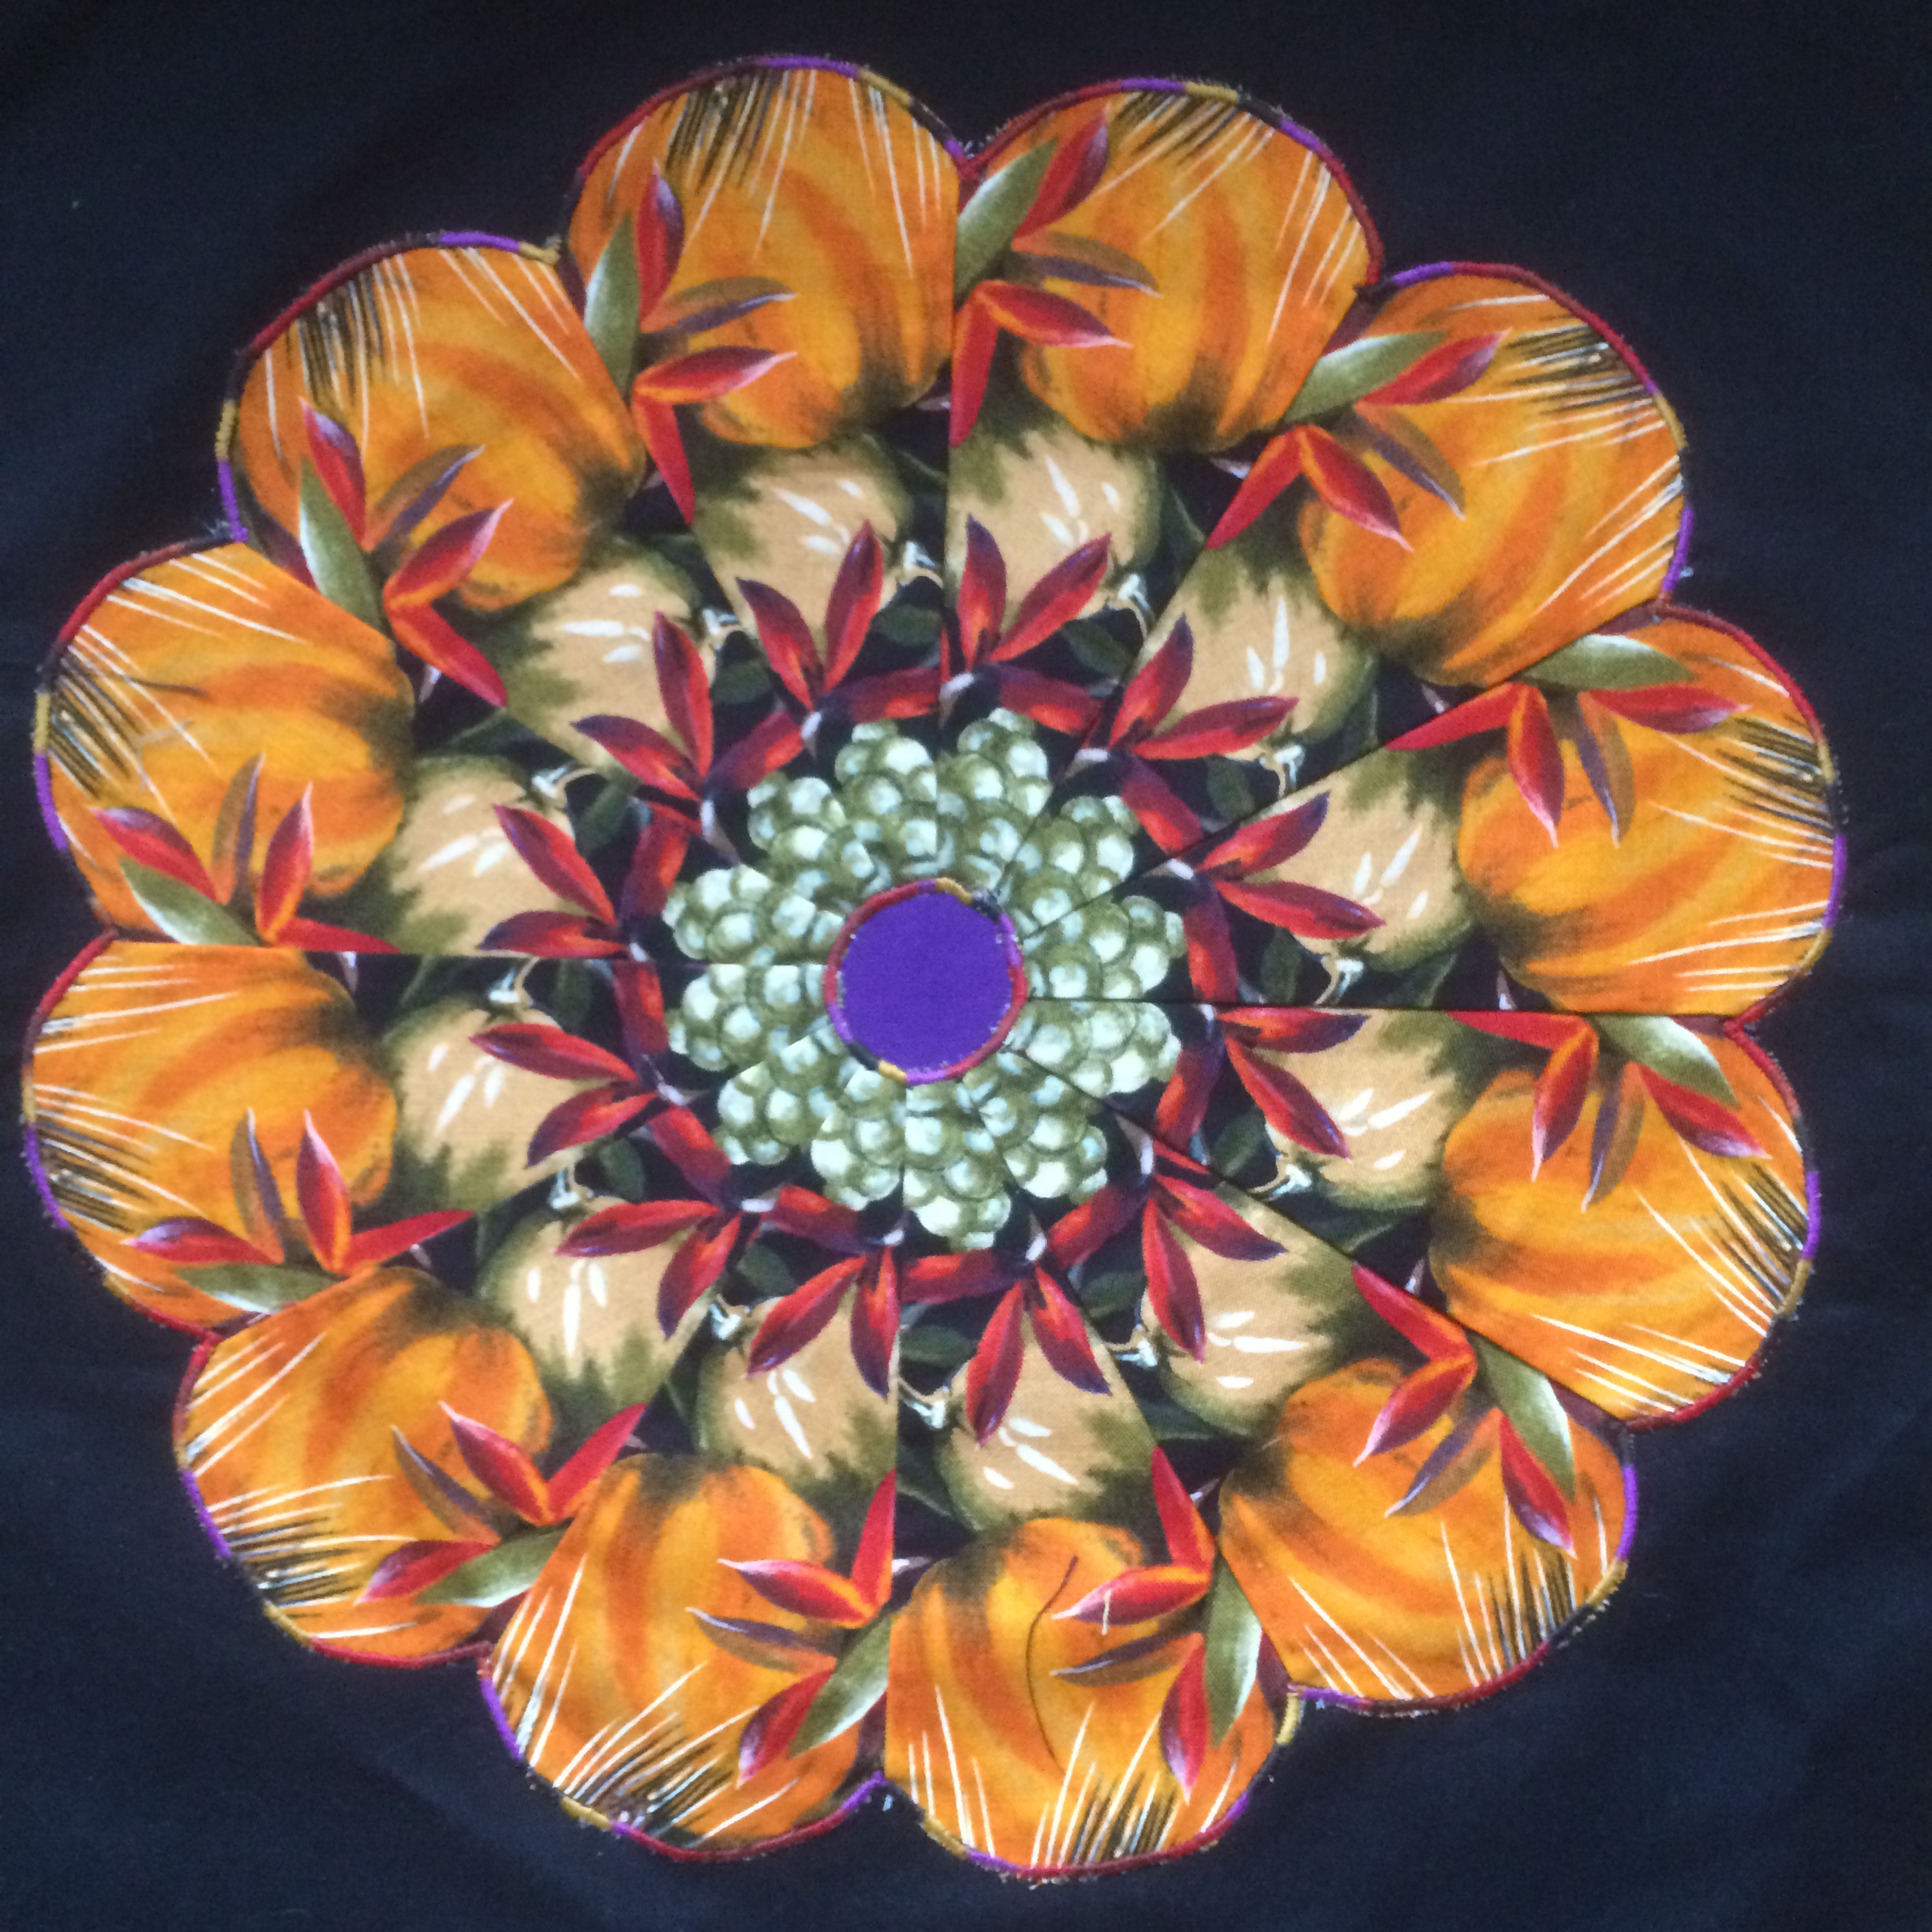
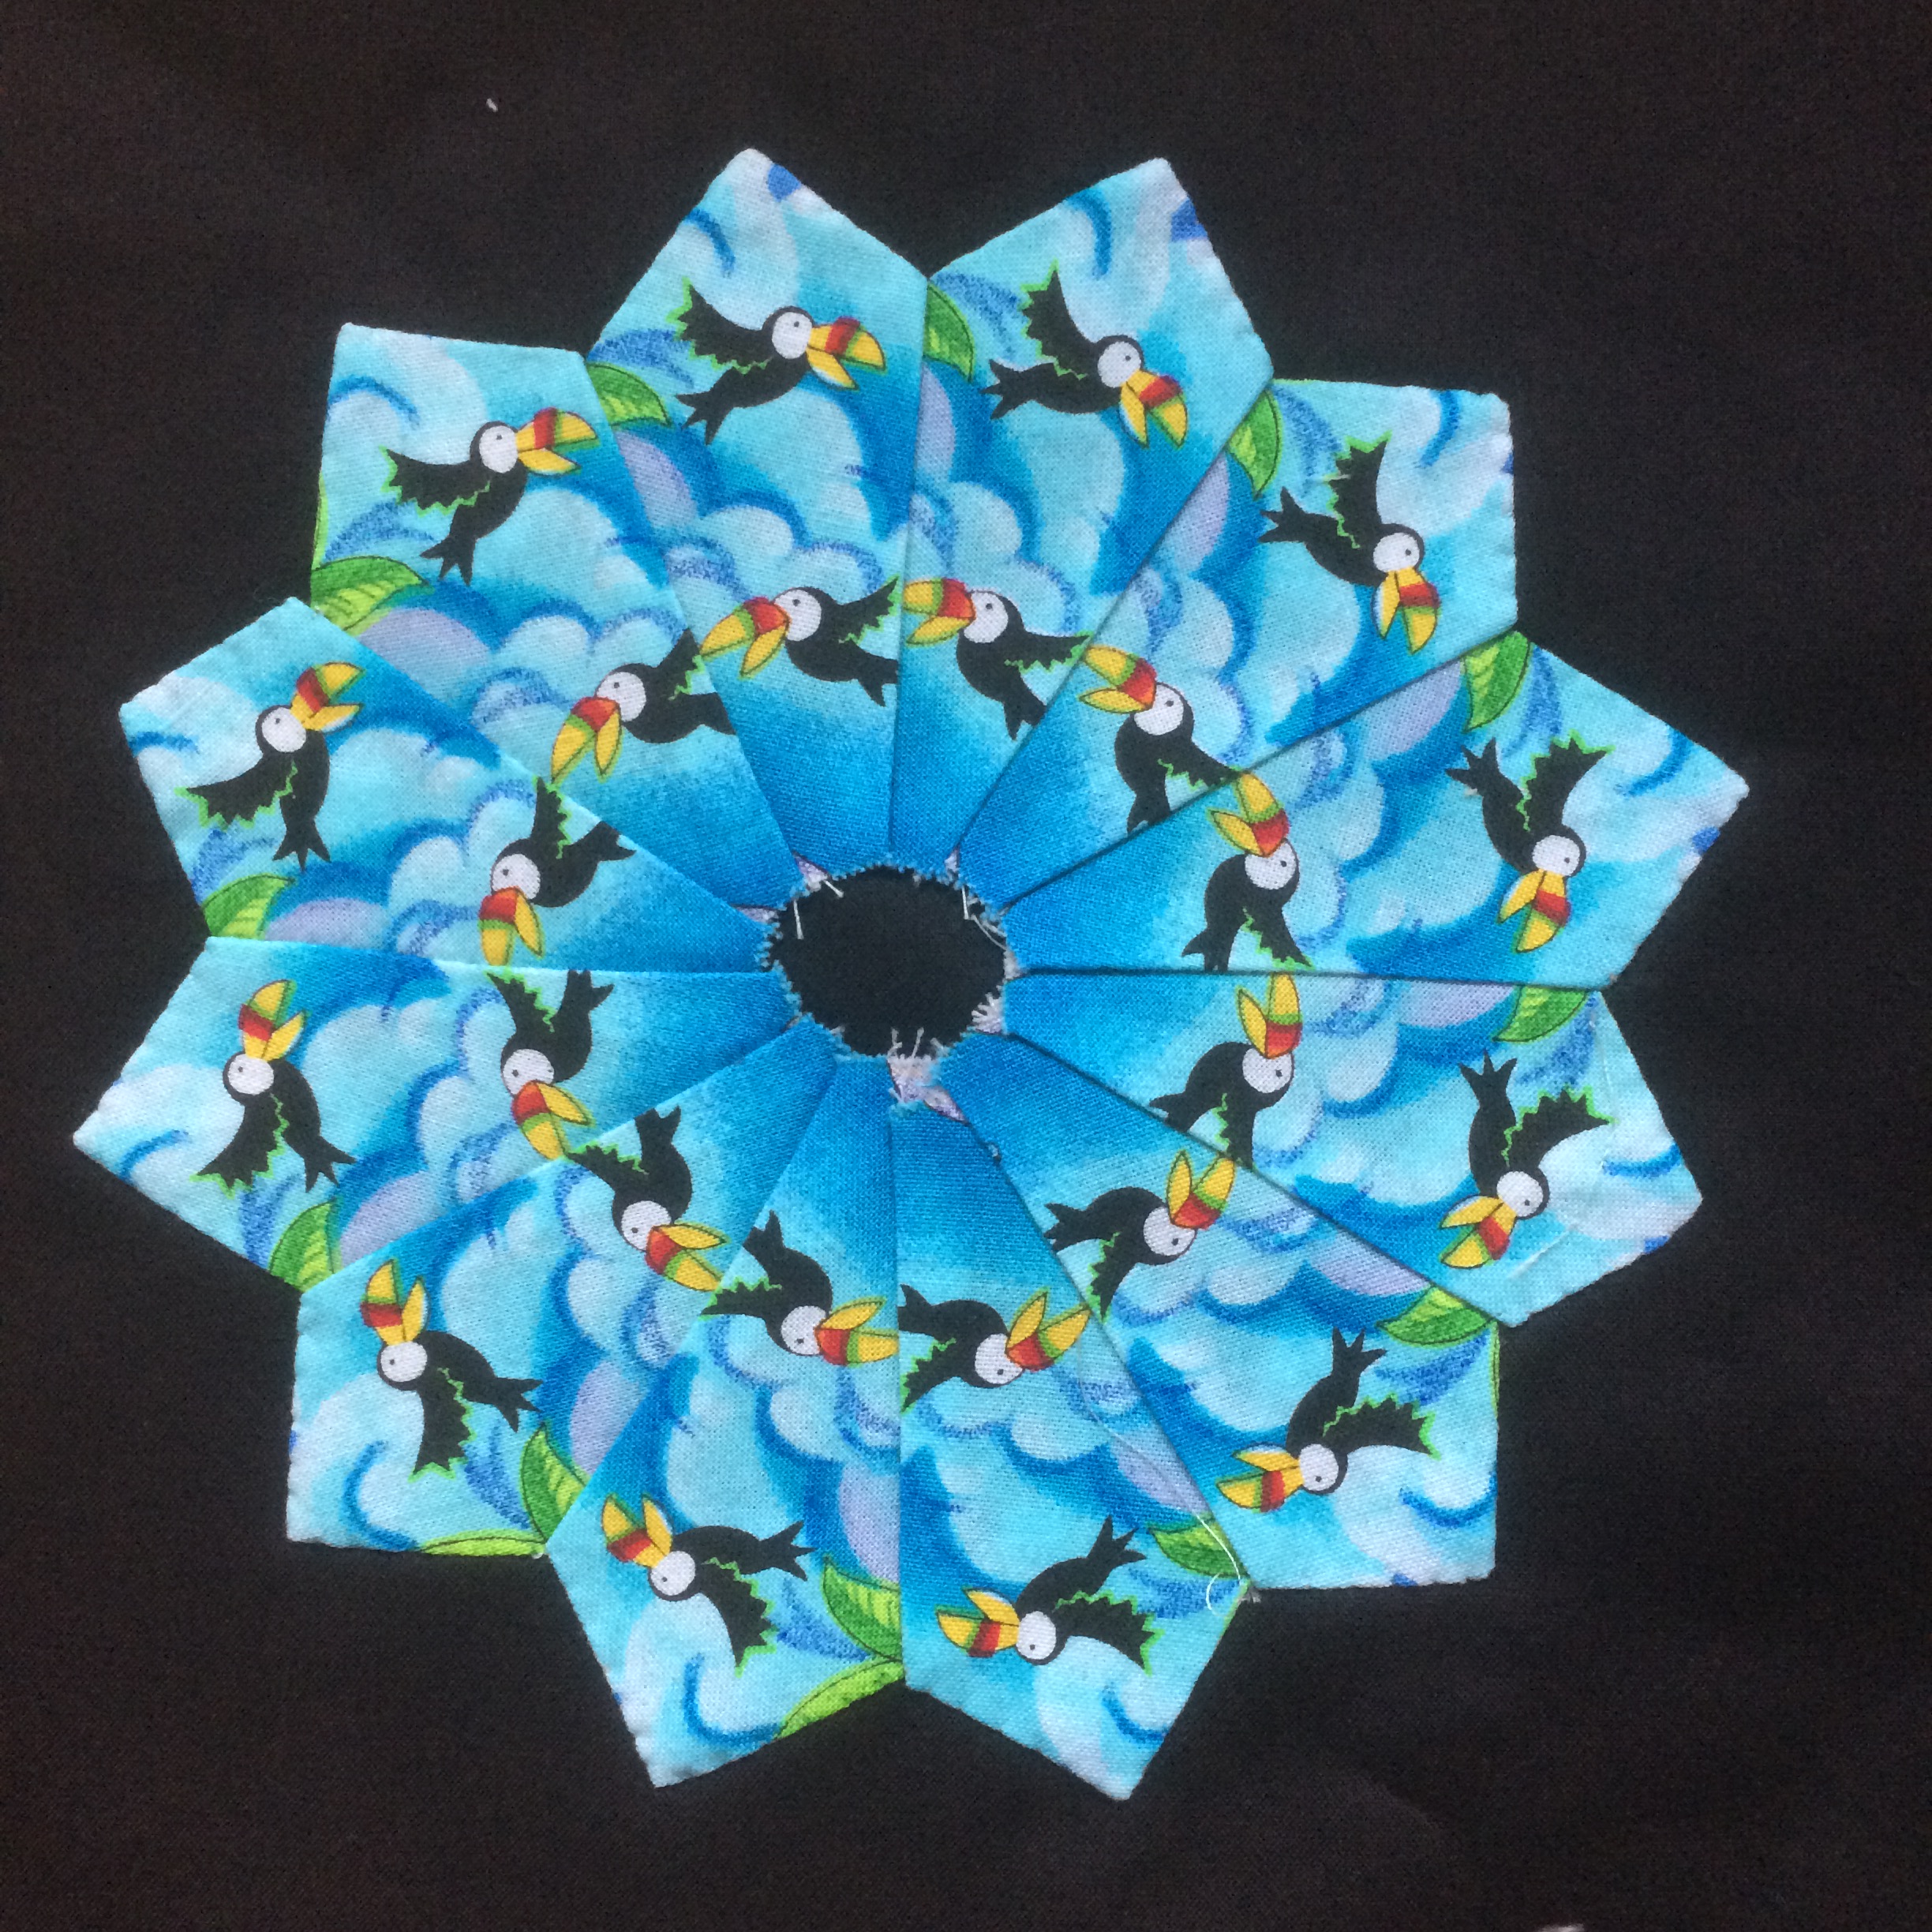
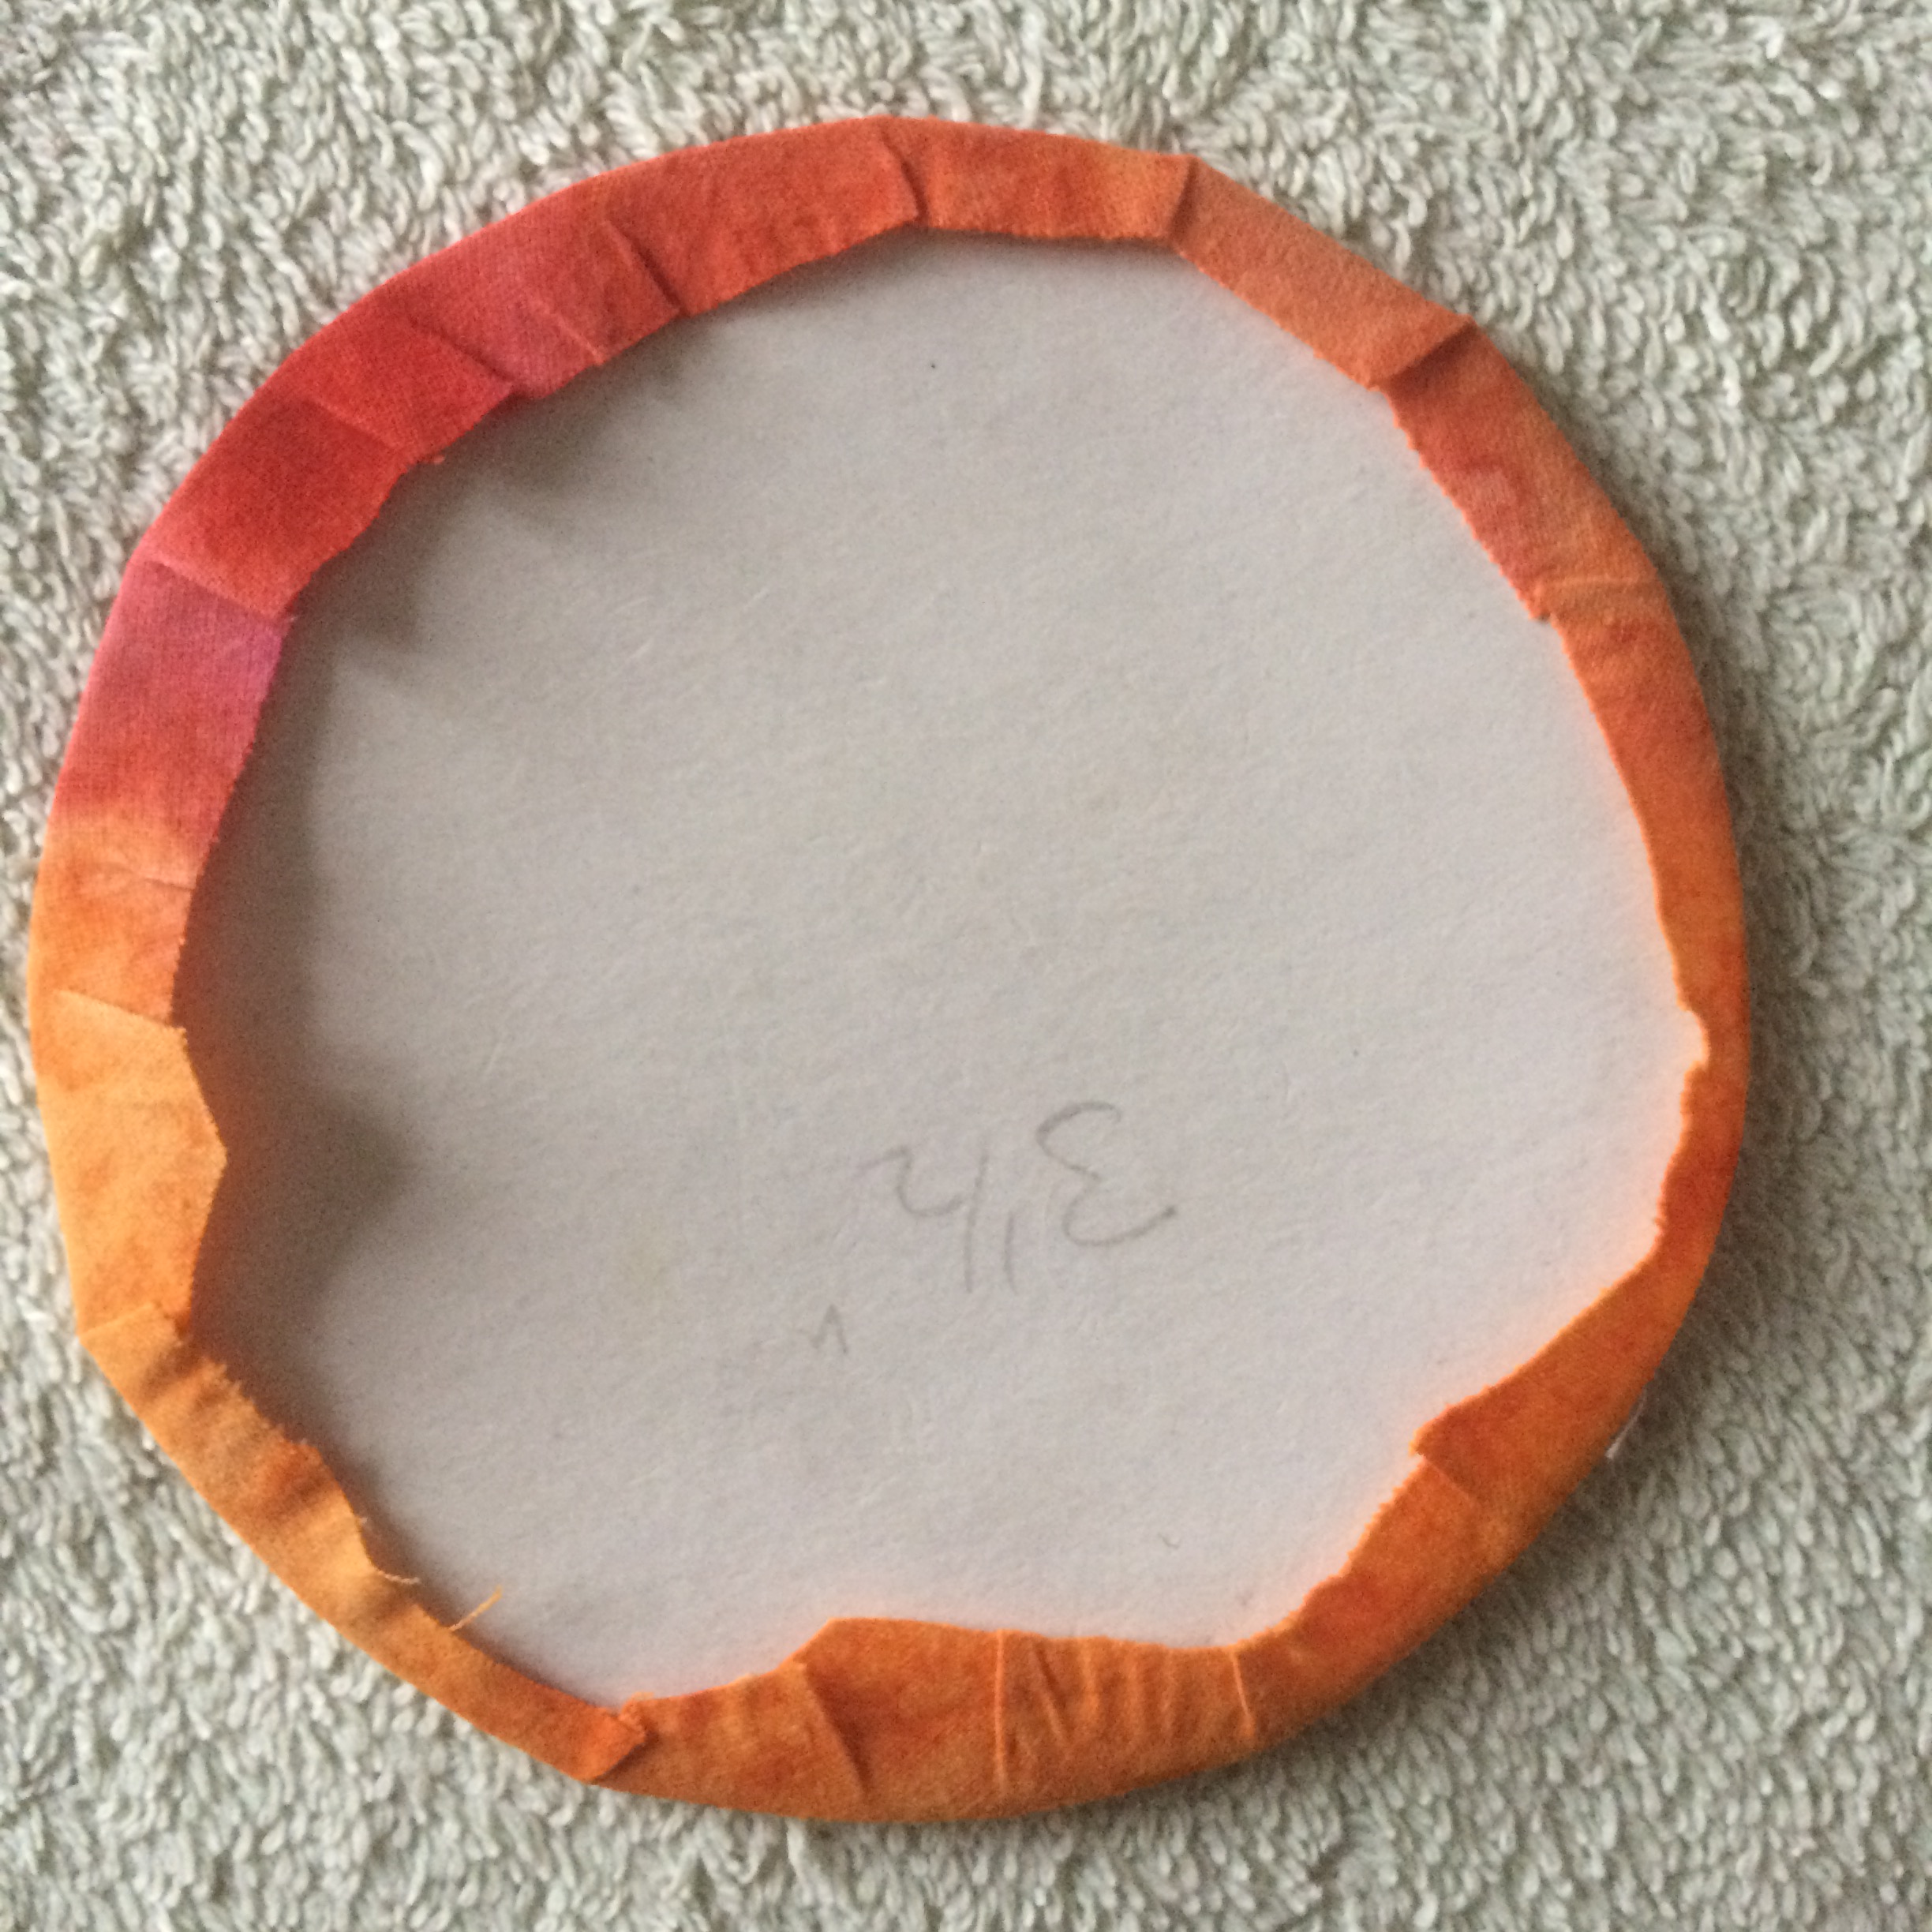
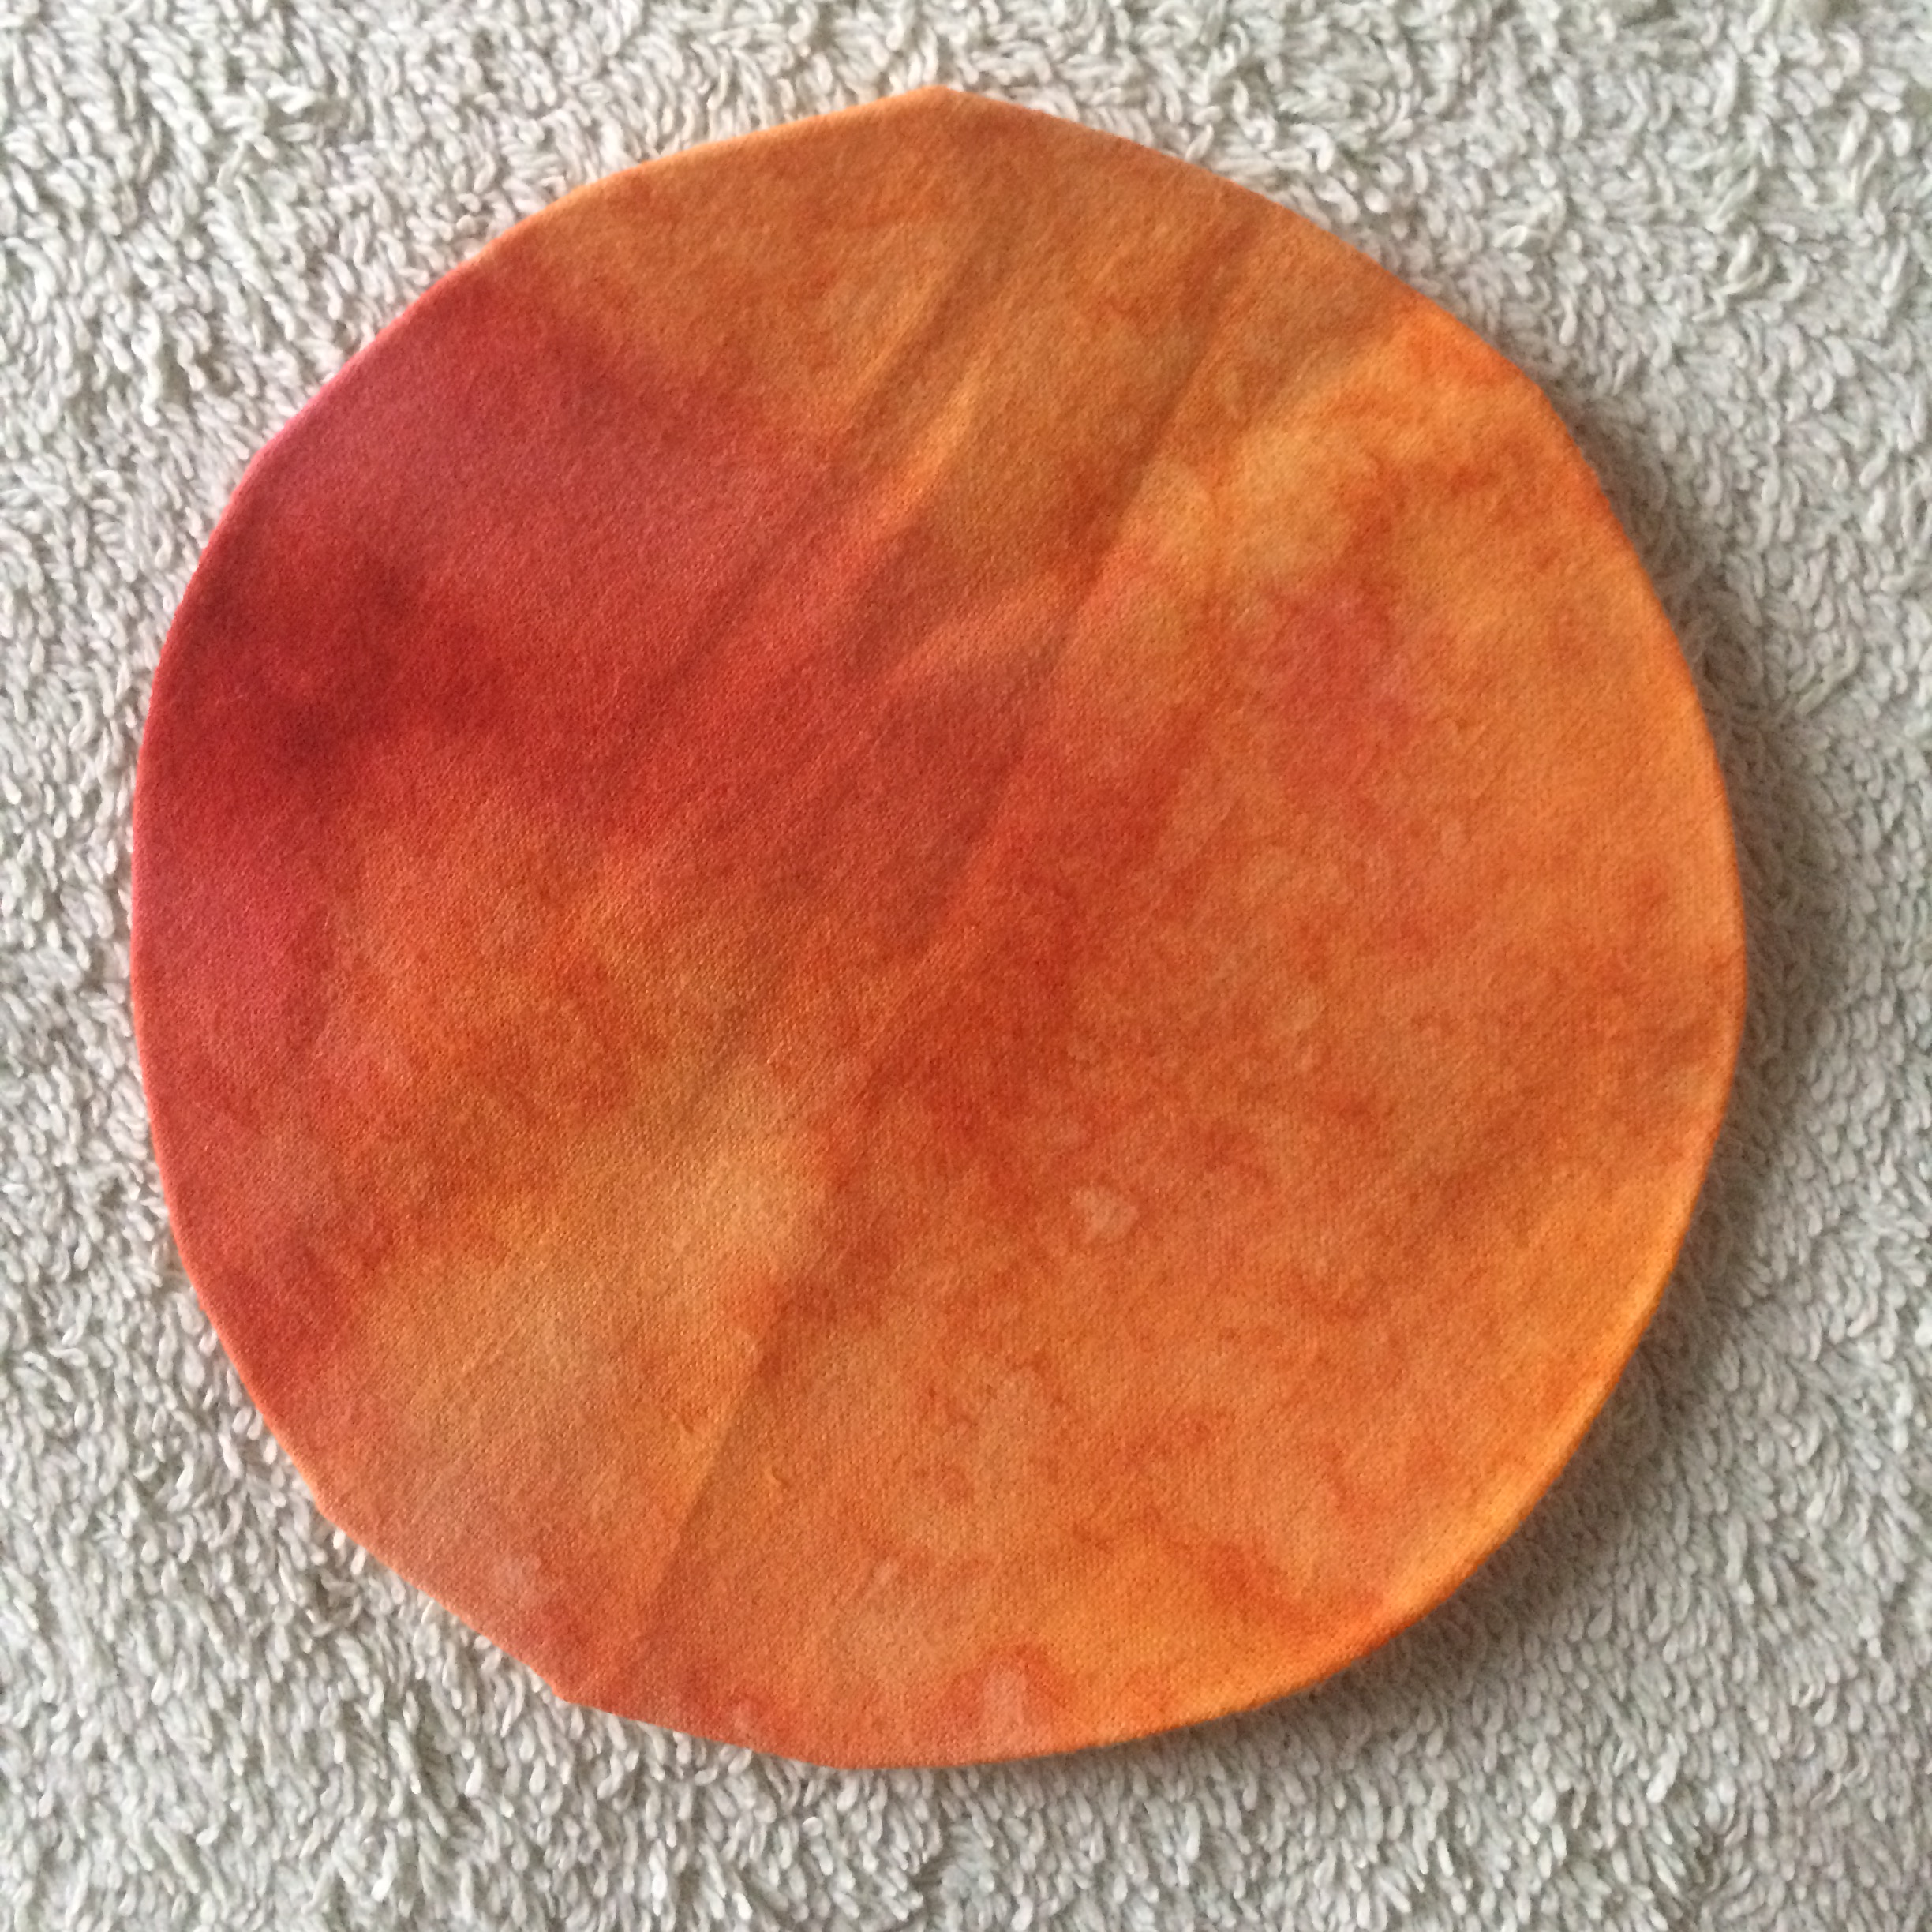
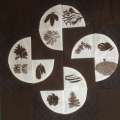
But what other methods are there? How long is a piece of string?! So, let’s take the Dresden Plate dilemma first. You have two choices – turn the edges under or trim off the seam allowance and leave the edges raw, as in the orange one on the left. If you turn the edges under then you can fix the Dresden Plate on the background firstly with either plenty of pins or some dabs of fabric glue (children’s glue sticks work just as well and also wash out easily) or a quick spritz of spray glue such as 505 will also hold everything in place. You can then stitch around the edge of your Plate using a matching or invisible thread and a zig-zag or buttonhole stitch – as I have with the blue one on the right (and, no, I haven’t finished it yet – it still needs a centre). With raw edges you are better using a satin stitch in a matching thread to ensure you hold everything in place. The orange one has a rainbow multi-coloured thread which you can probably make out more clearly around the purple centre.
Suppose you want to applique a circle or a fairly simple shape (like the Honey Bee)? Again, you can either turn the edges under or trim off the seam allowance and satin stitch over the raw edges. But how do you turn under the edges to make a neat edge with no pleats – especially on a circle? Here the answer is light-weight sew-in Vilene. Draw the shape (without seam allowance) onto the Vilene – in the photos below it is a Scottie dog. Place it on the right side of the fabric and stitch all along the drawn line. Cut out the shape, leaving about ¼ inch as a seam allowance. Slit the Vilene and turn right sides out through the slit. Use a blunt pencil or something similar to make a nice sharp turning and press the piece, making sure the Vilene is hidden on the underside. Now it is ready to applique in place. You can use this method for turning under the seams on hand applique as well of course. If you are really clever you can use fusible Vilene, but I always manage to put it in upside down and end up fusing my shape to itself or forgetting and fusing it to the iron.
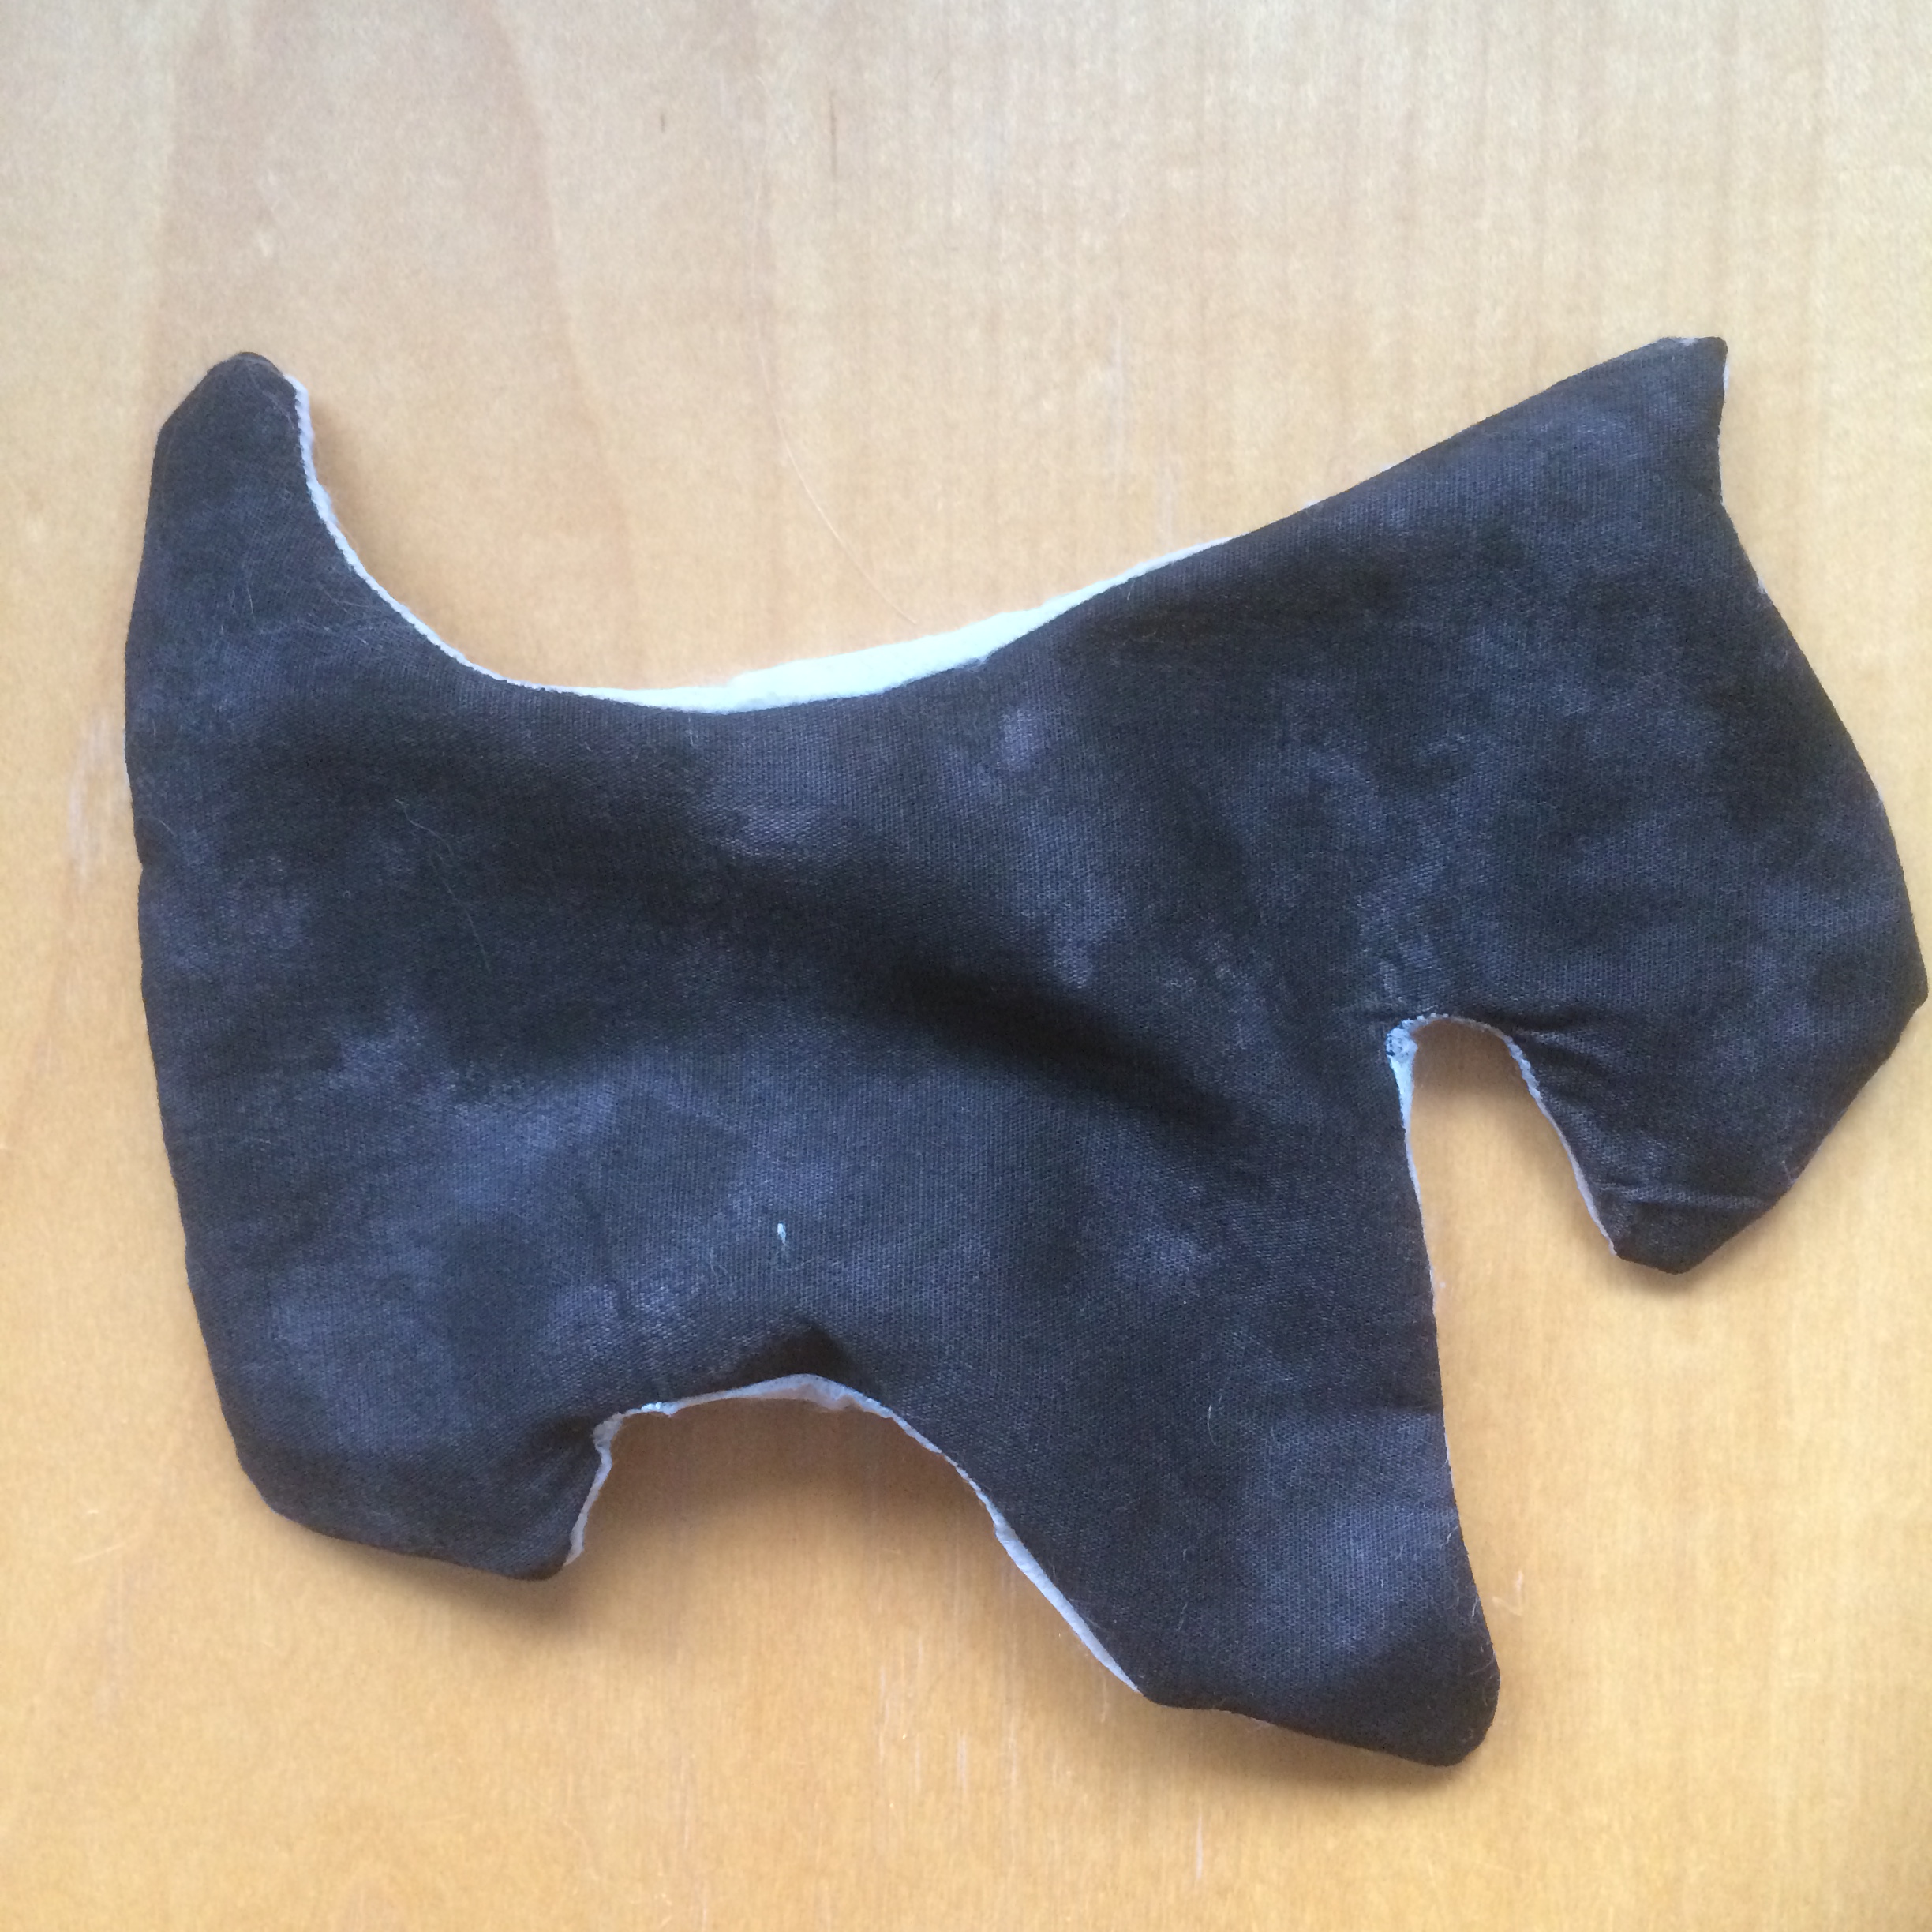

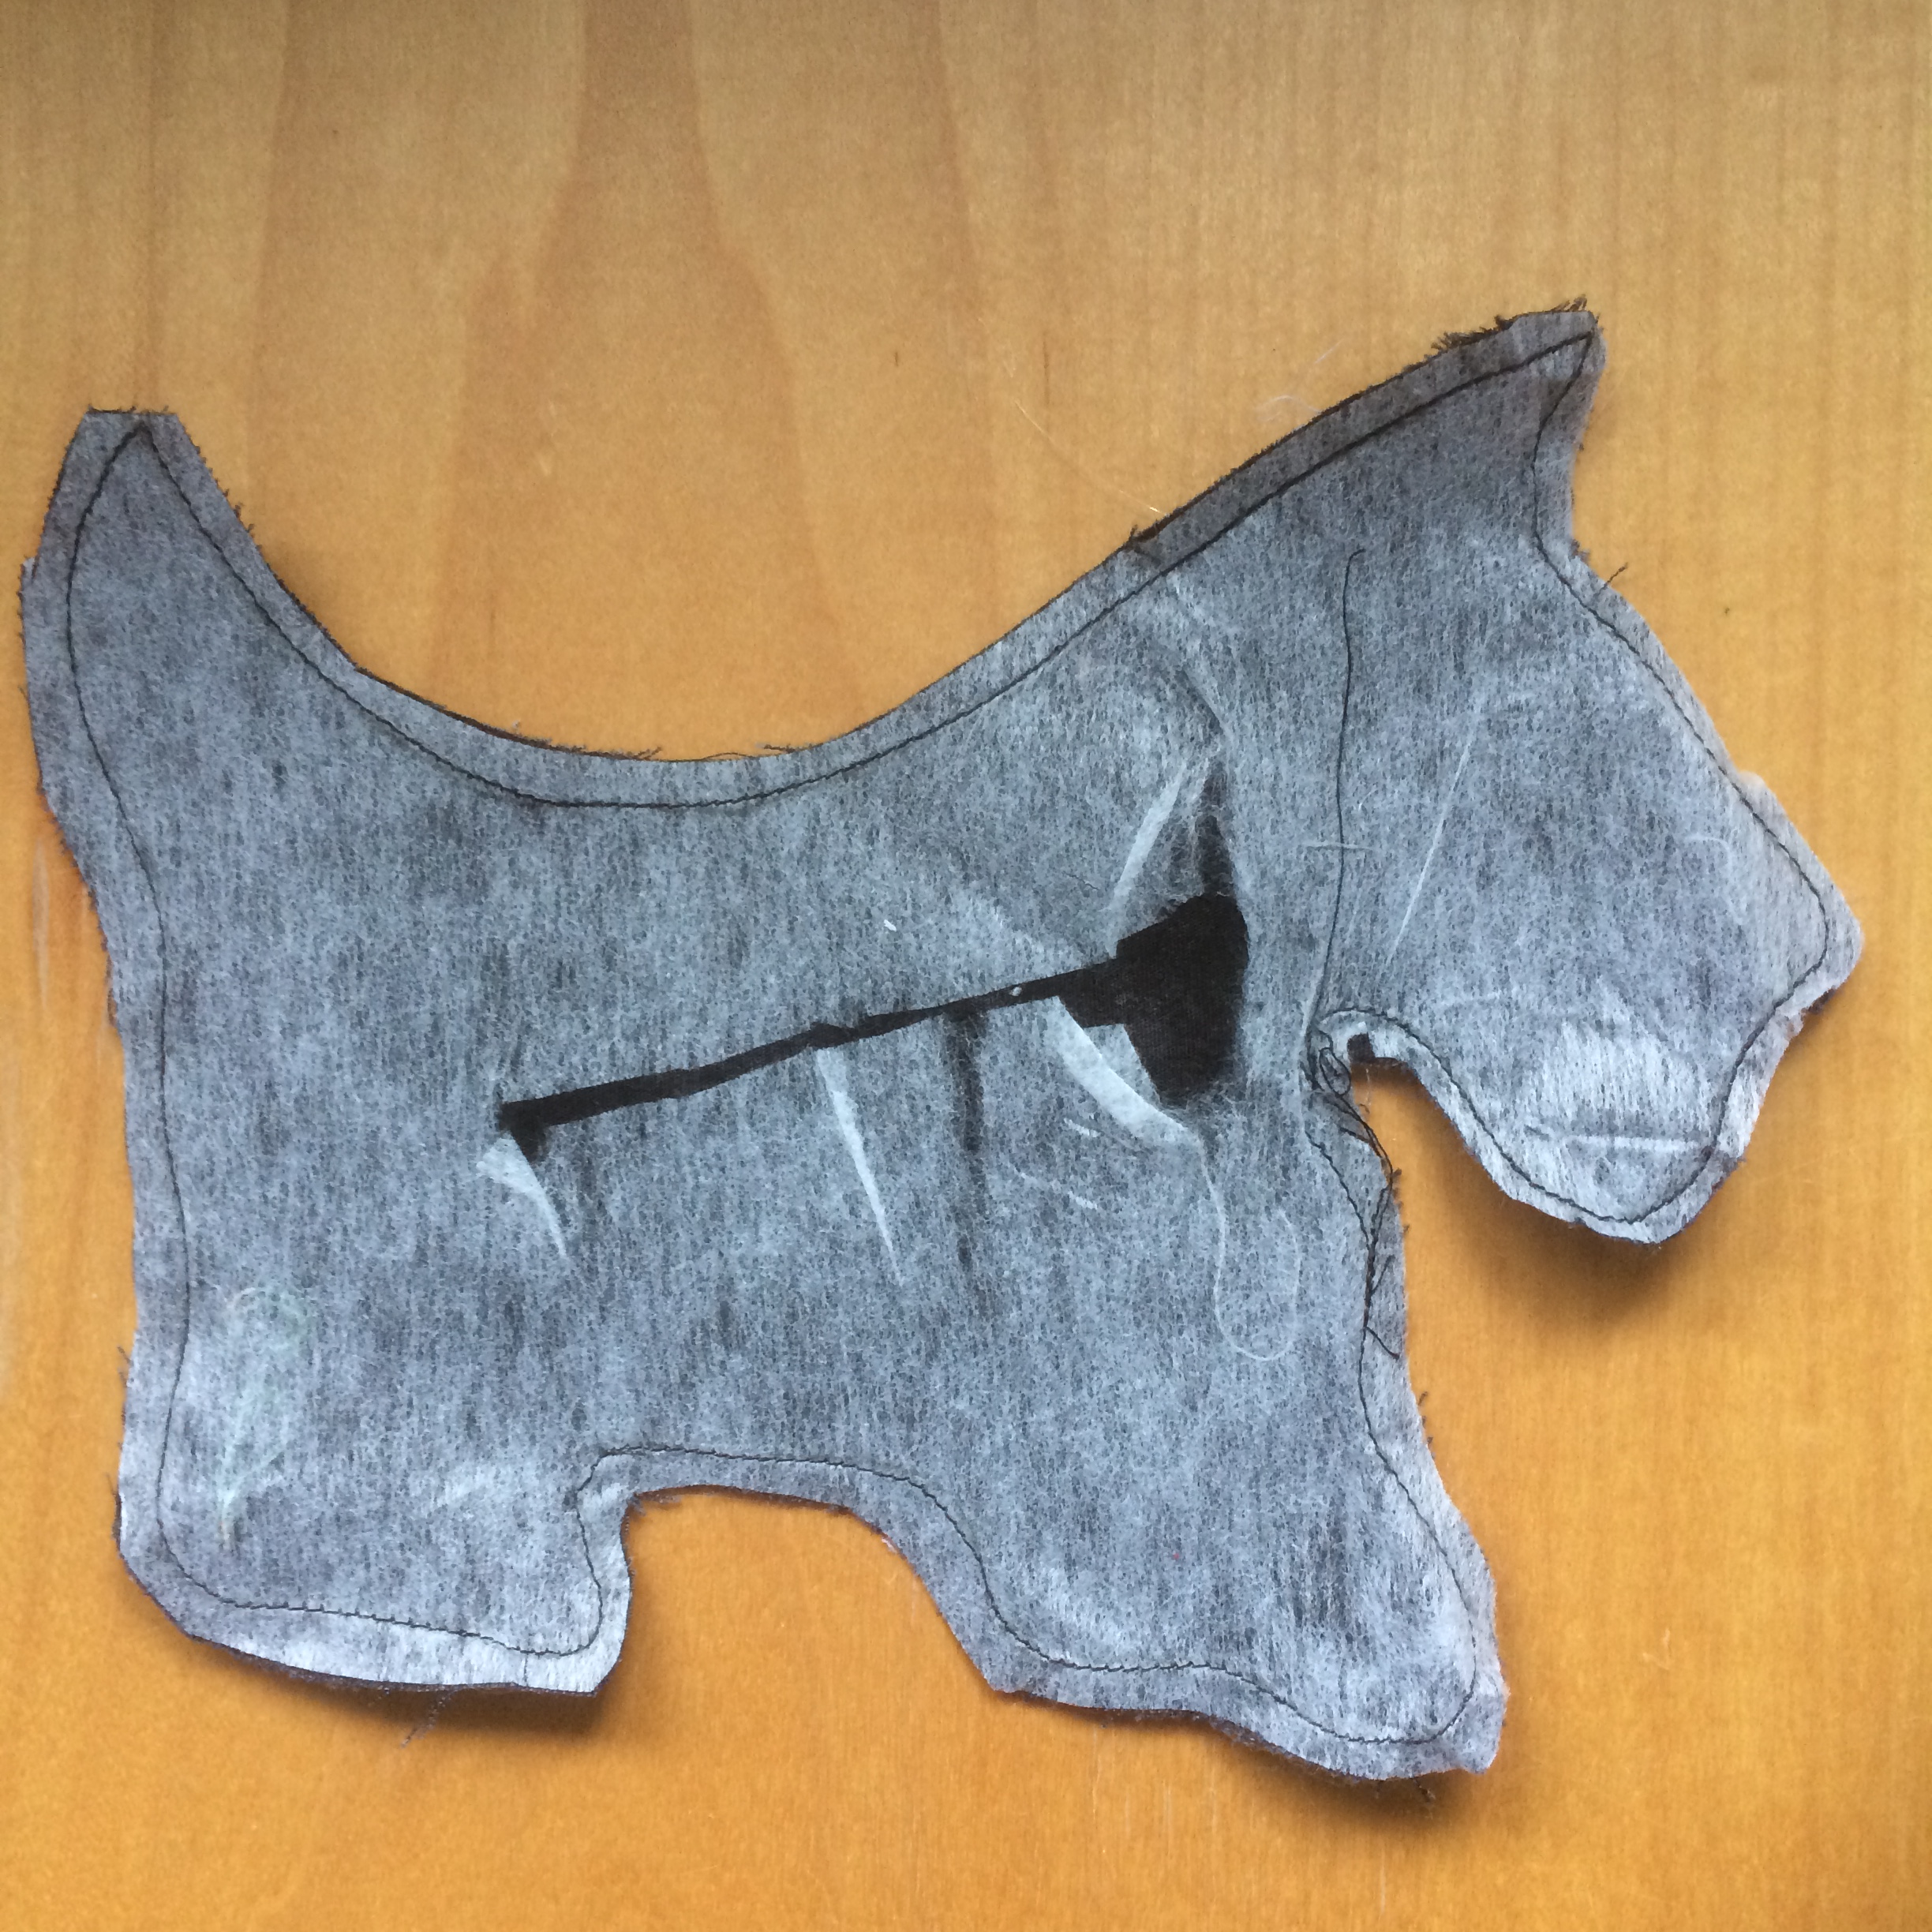
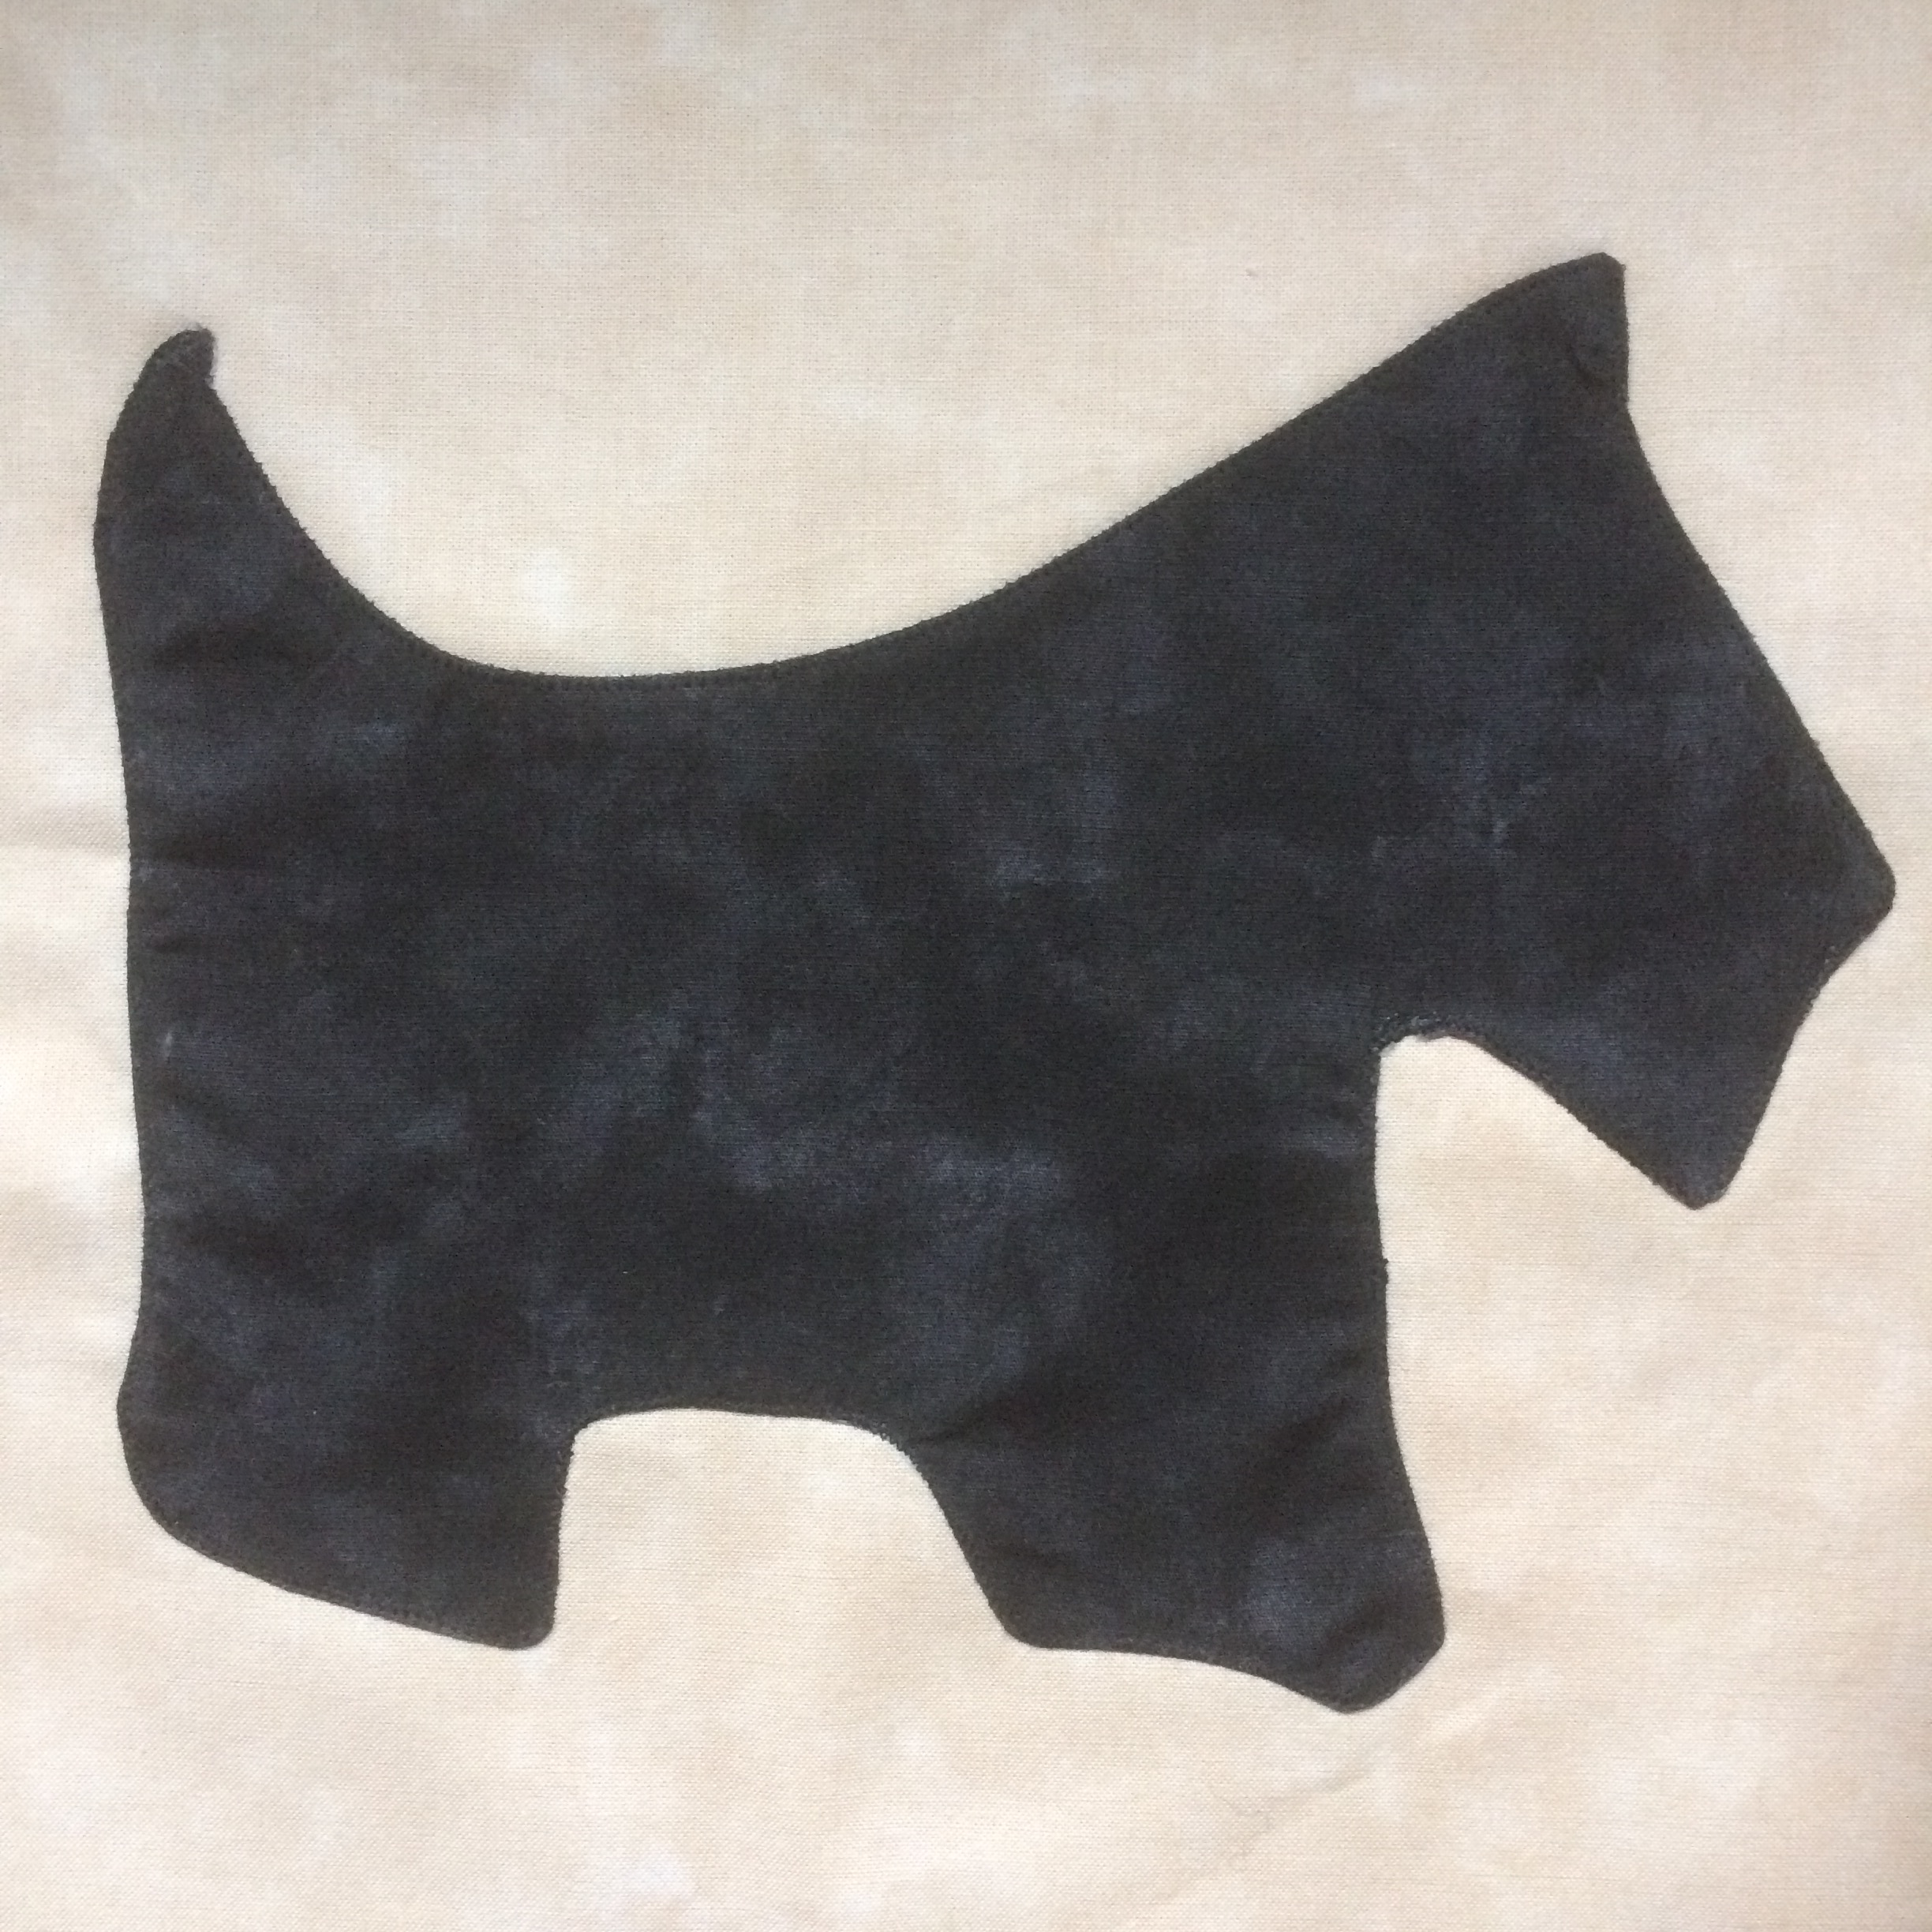
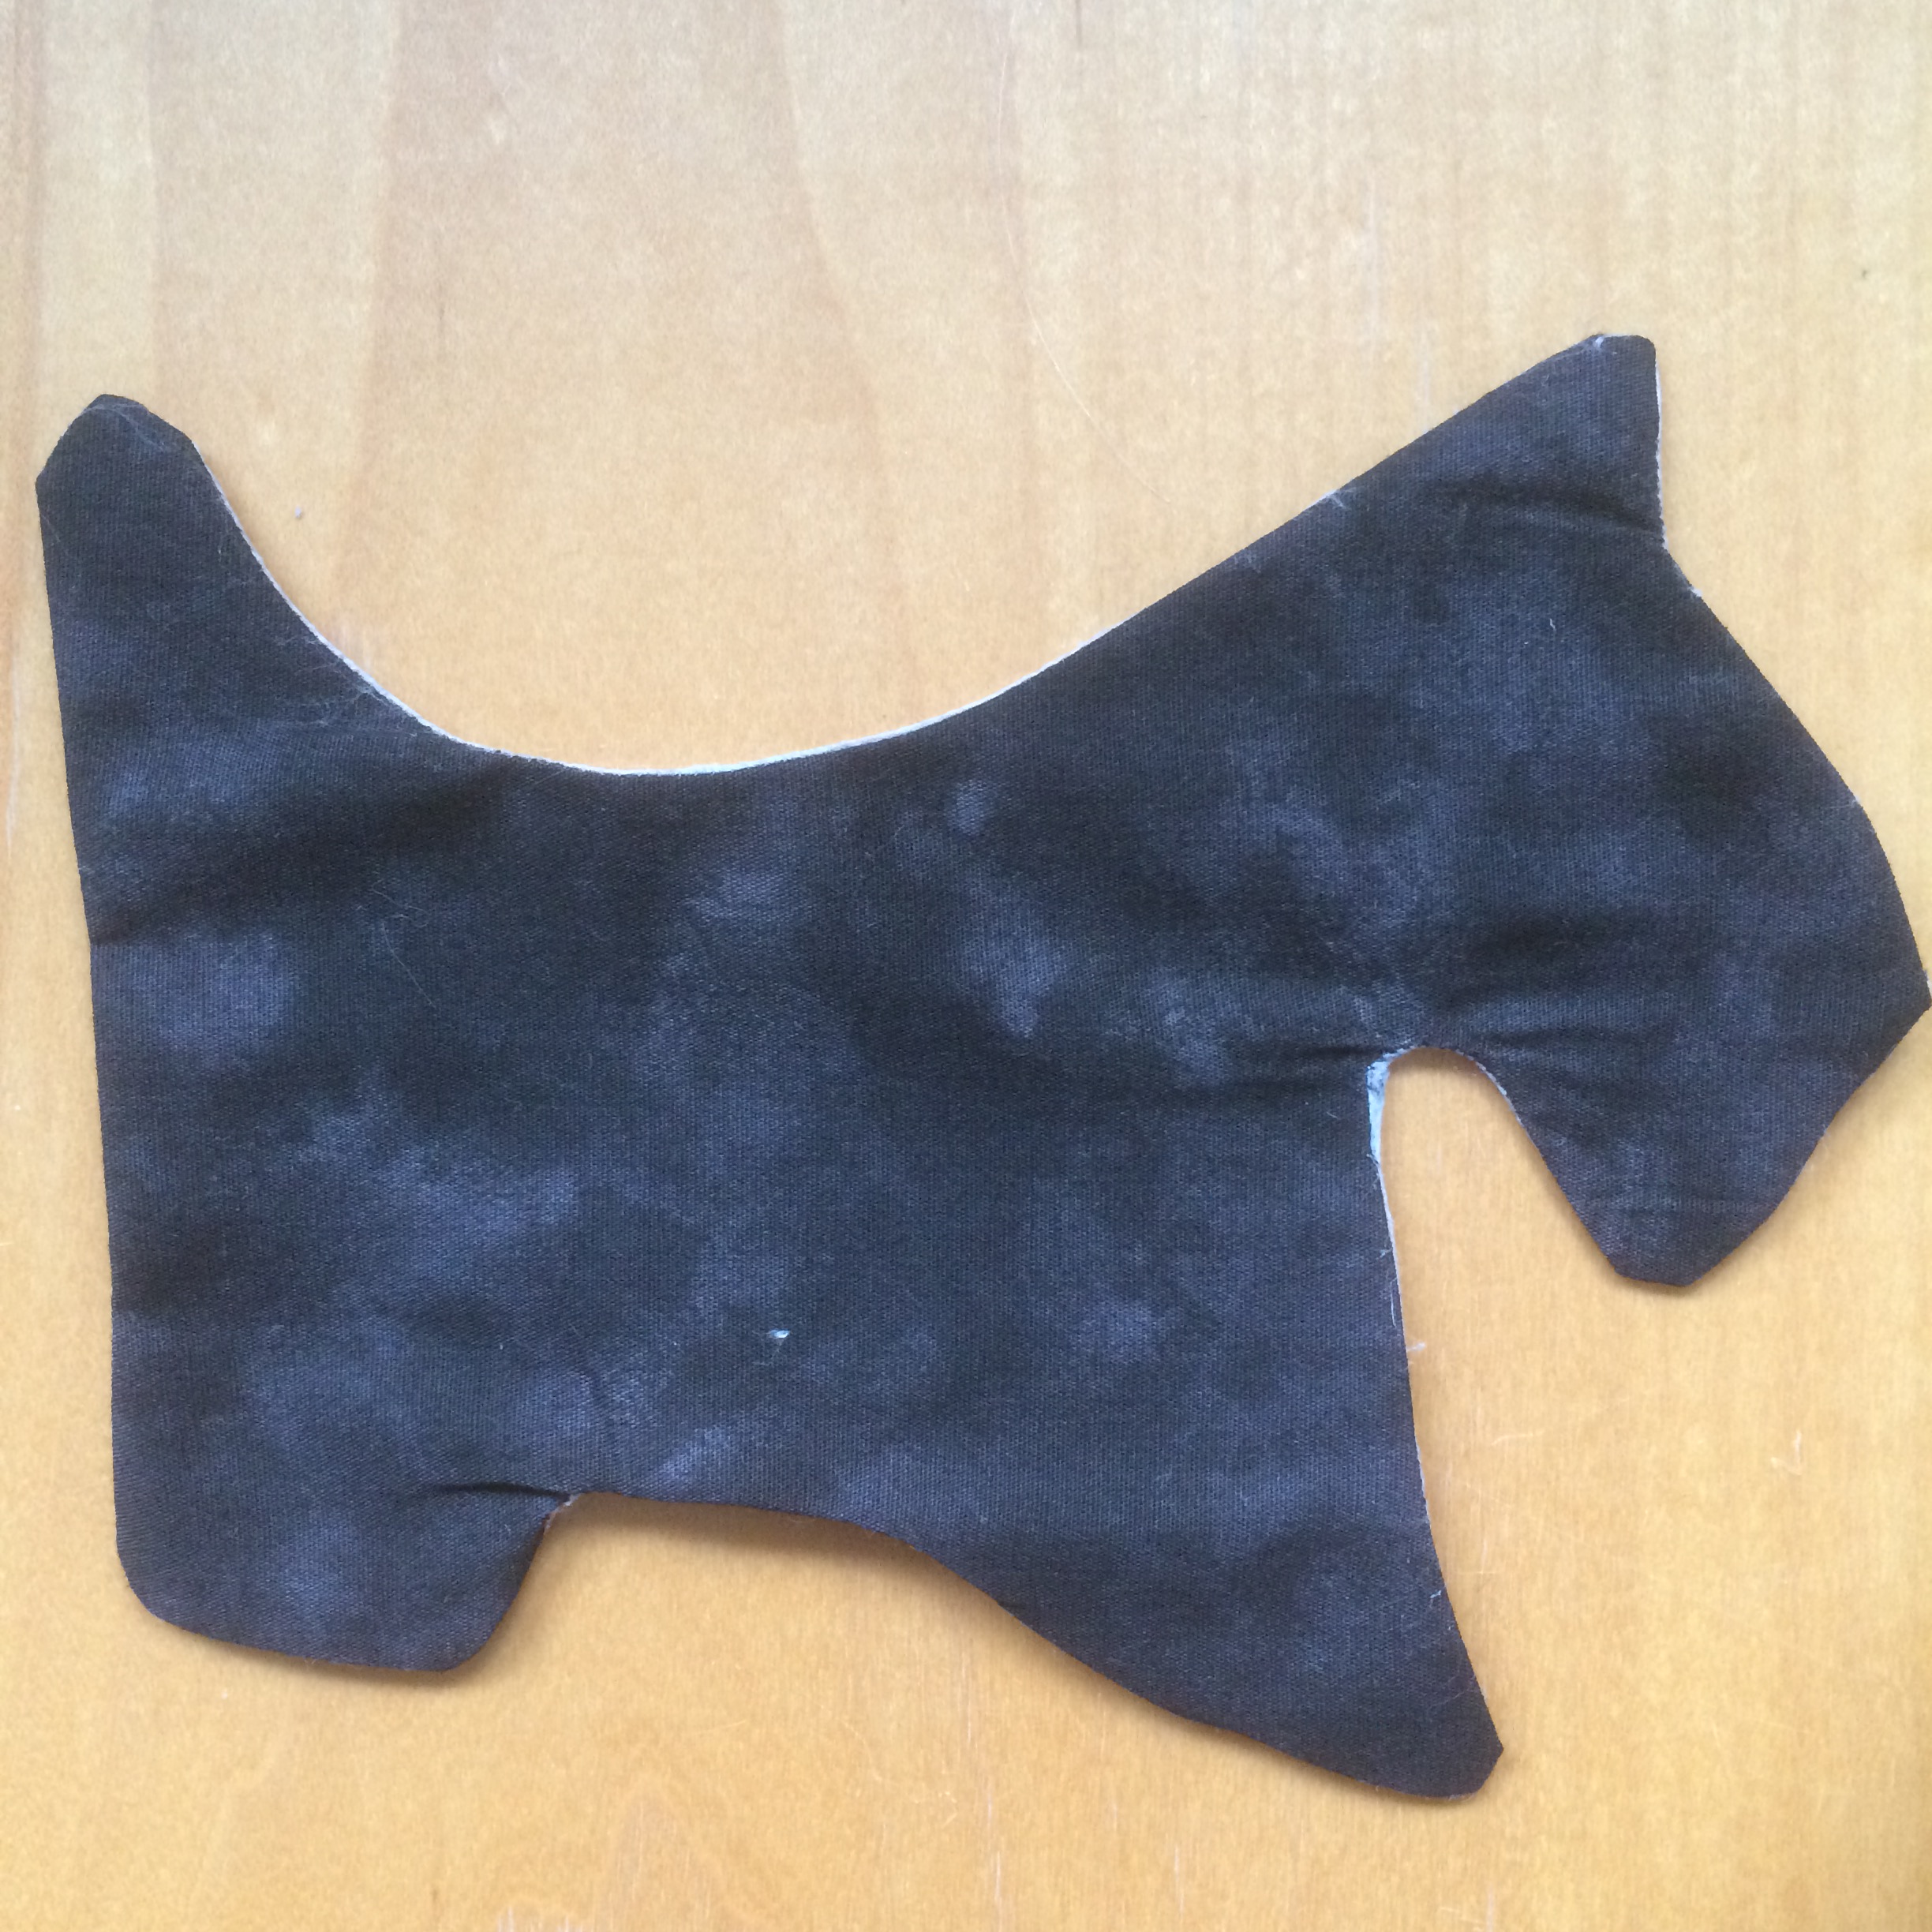
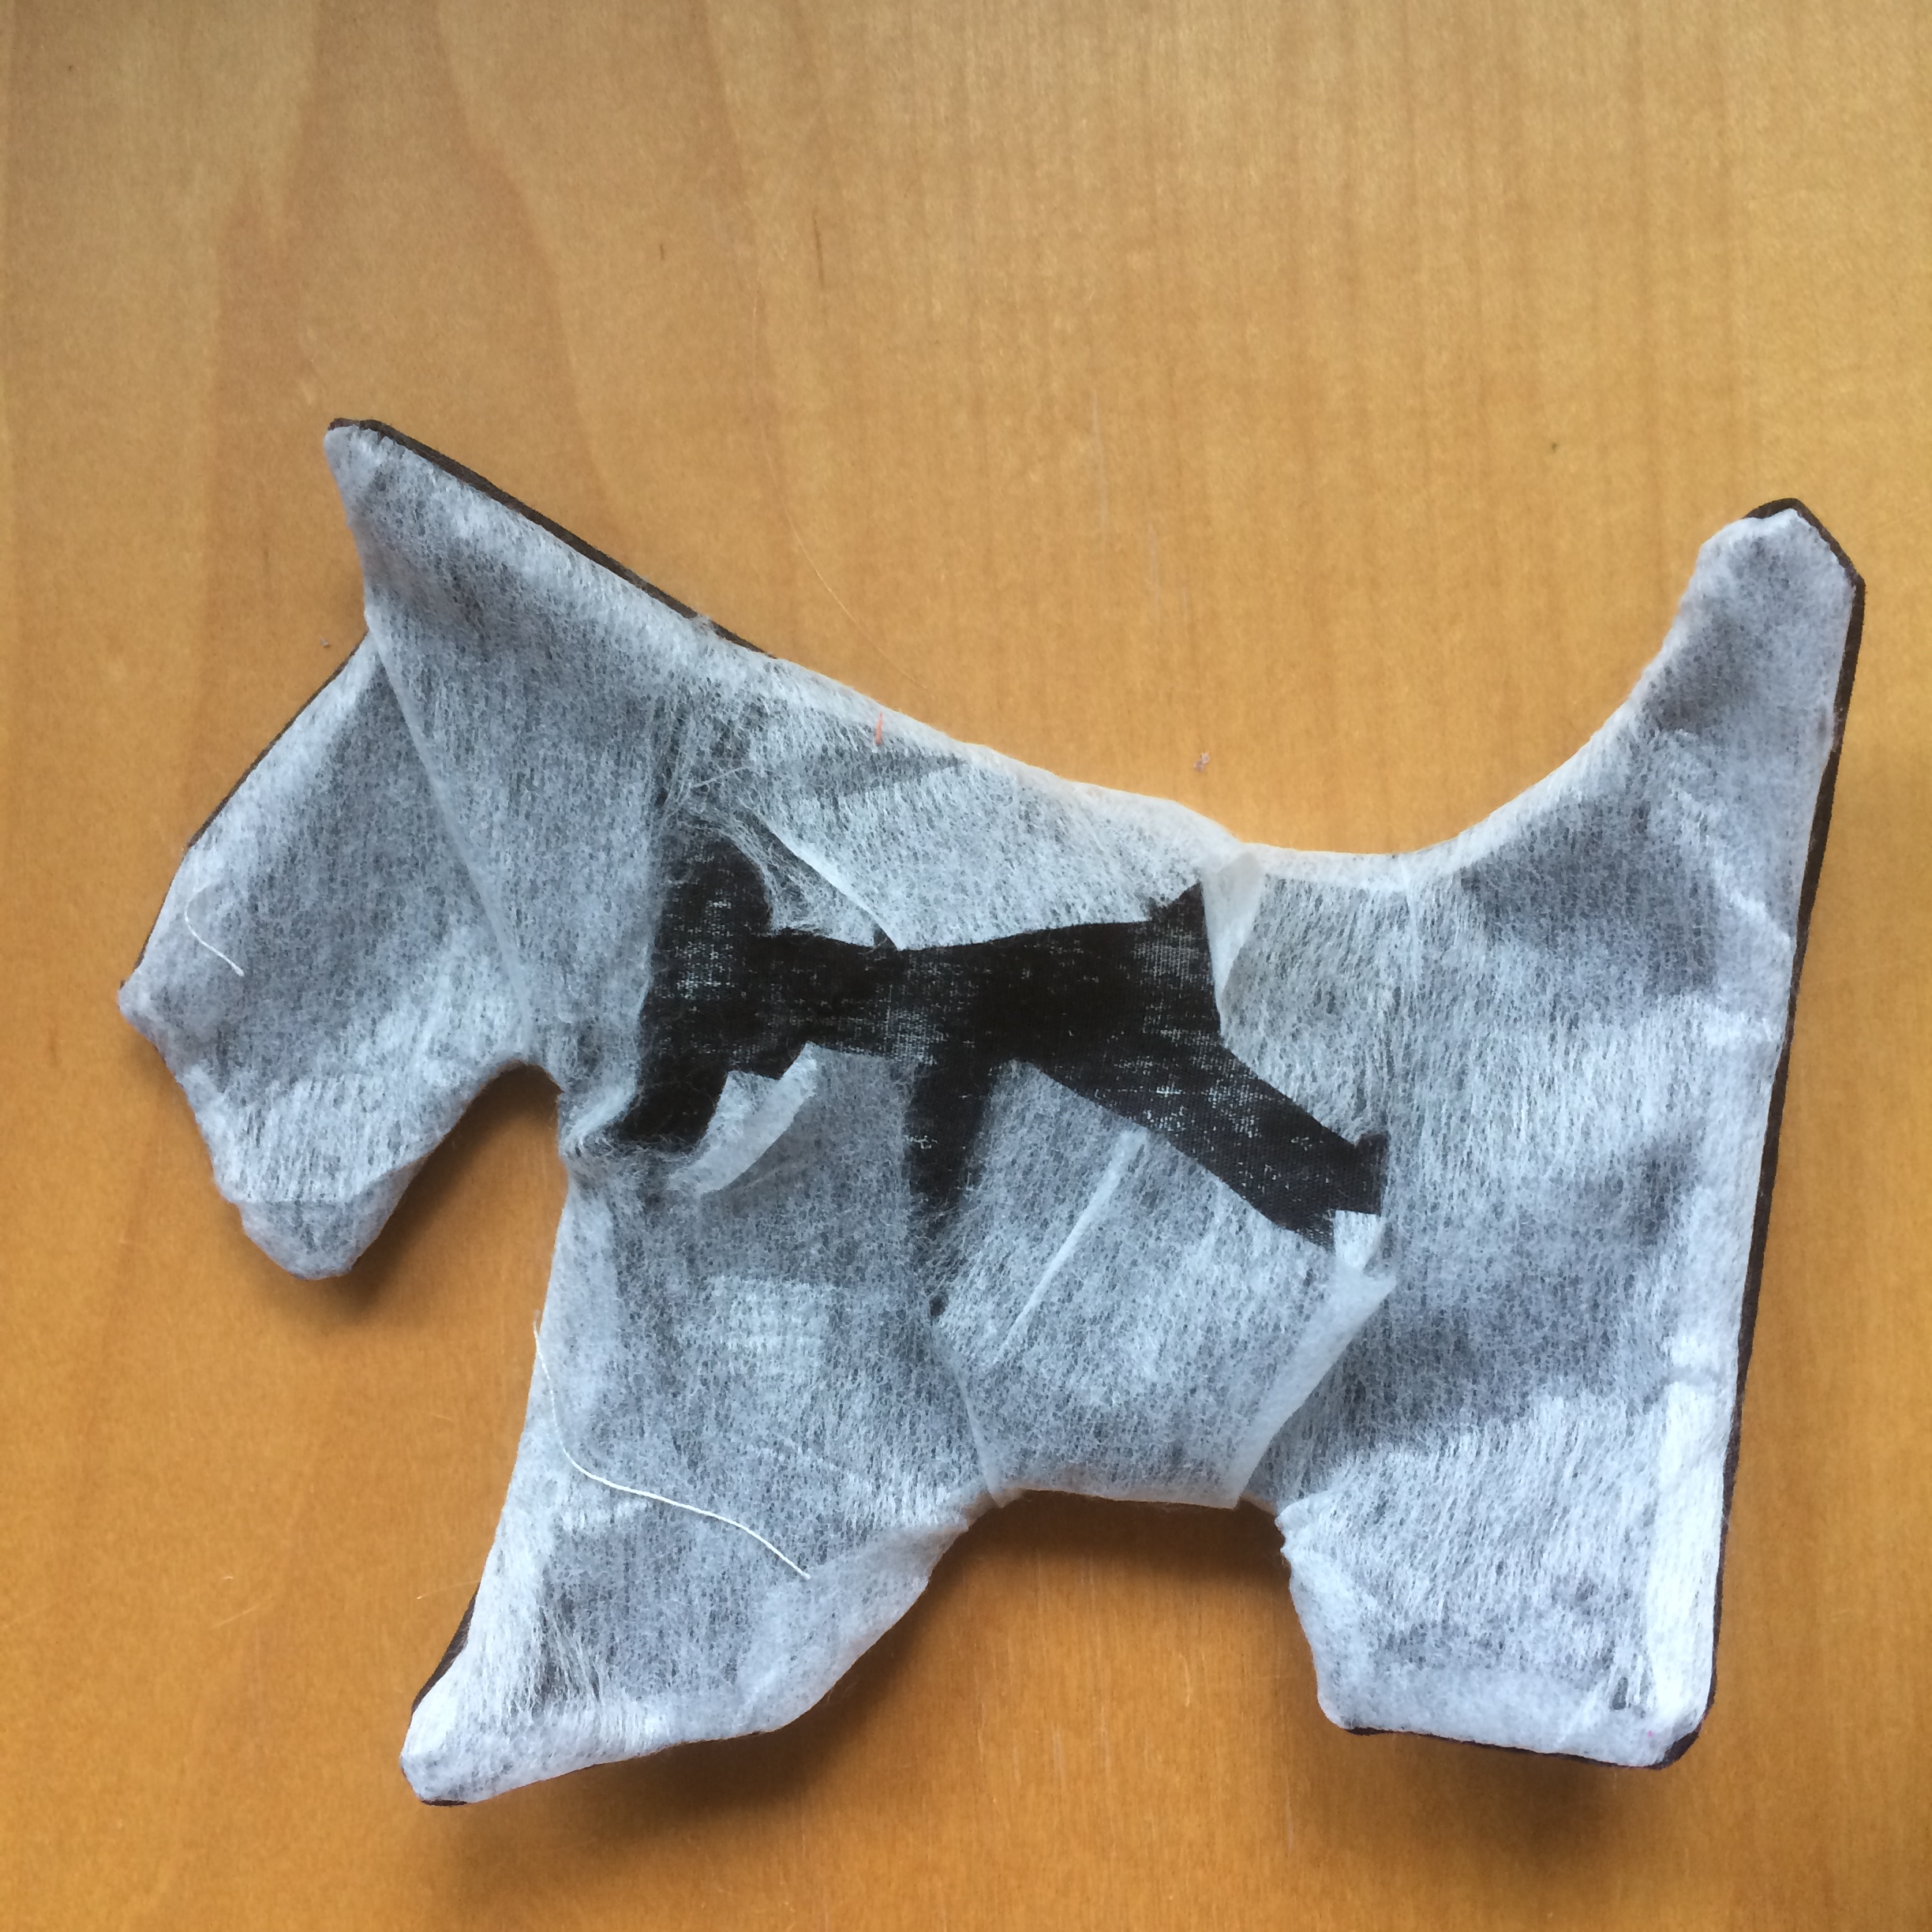
And, once again, the photos are not in the right order! And I cannot get them to appear correctly, so bear with me – The first one shows the dog turned right-sides out before pressing; the second shows stitching all the way round and trimmed; the third shows the Vilene slit prior to turning; (second row) the first shows the dog appliqued onto the background, the second and third show the dog turned right sides out after and before pressing.
Another way to make nice round circles is to use spray starch. Cut a cardboard template of the finished size of circle. Cut the fabric circle with a minimum of a ¼ inch seam allowance (any less and you will get singed fingers). Spray some starch in to the lid of the can (mind the hole!) and paint it on the wrong side of the fabric around the seam line. Place the card template on top and carefully press the seam allowance over the card, smoothing out all the pleats and wrinkles as you go. Once you have a nice crisp edge you can remove the card and give the circle a final press. This method, and the Vilene one, also works well to turn under the rounded edges of Dresden Plate (and fan) petals.

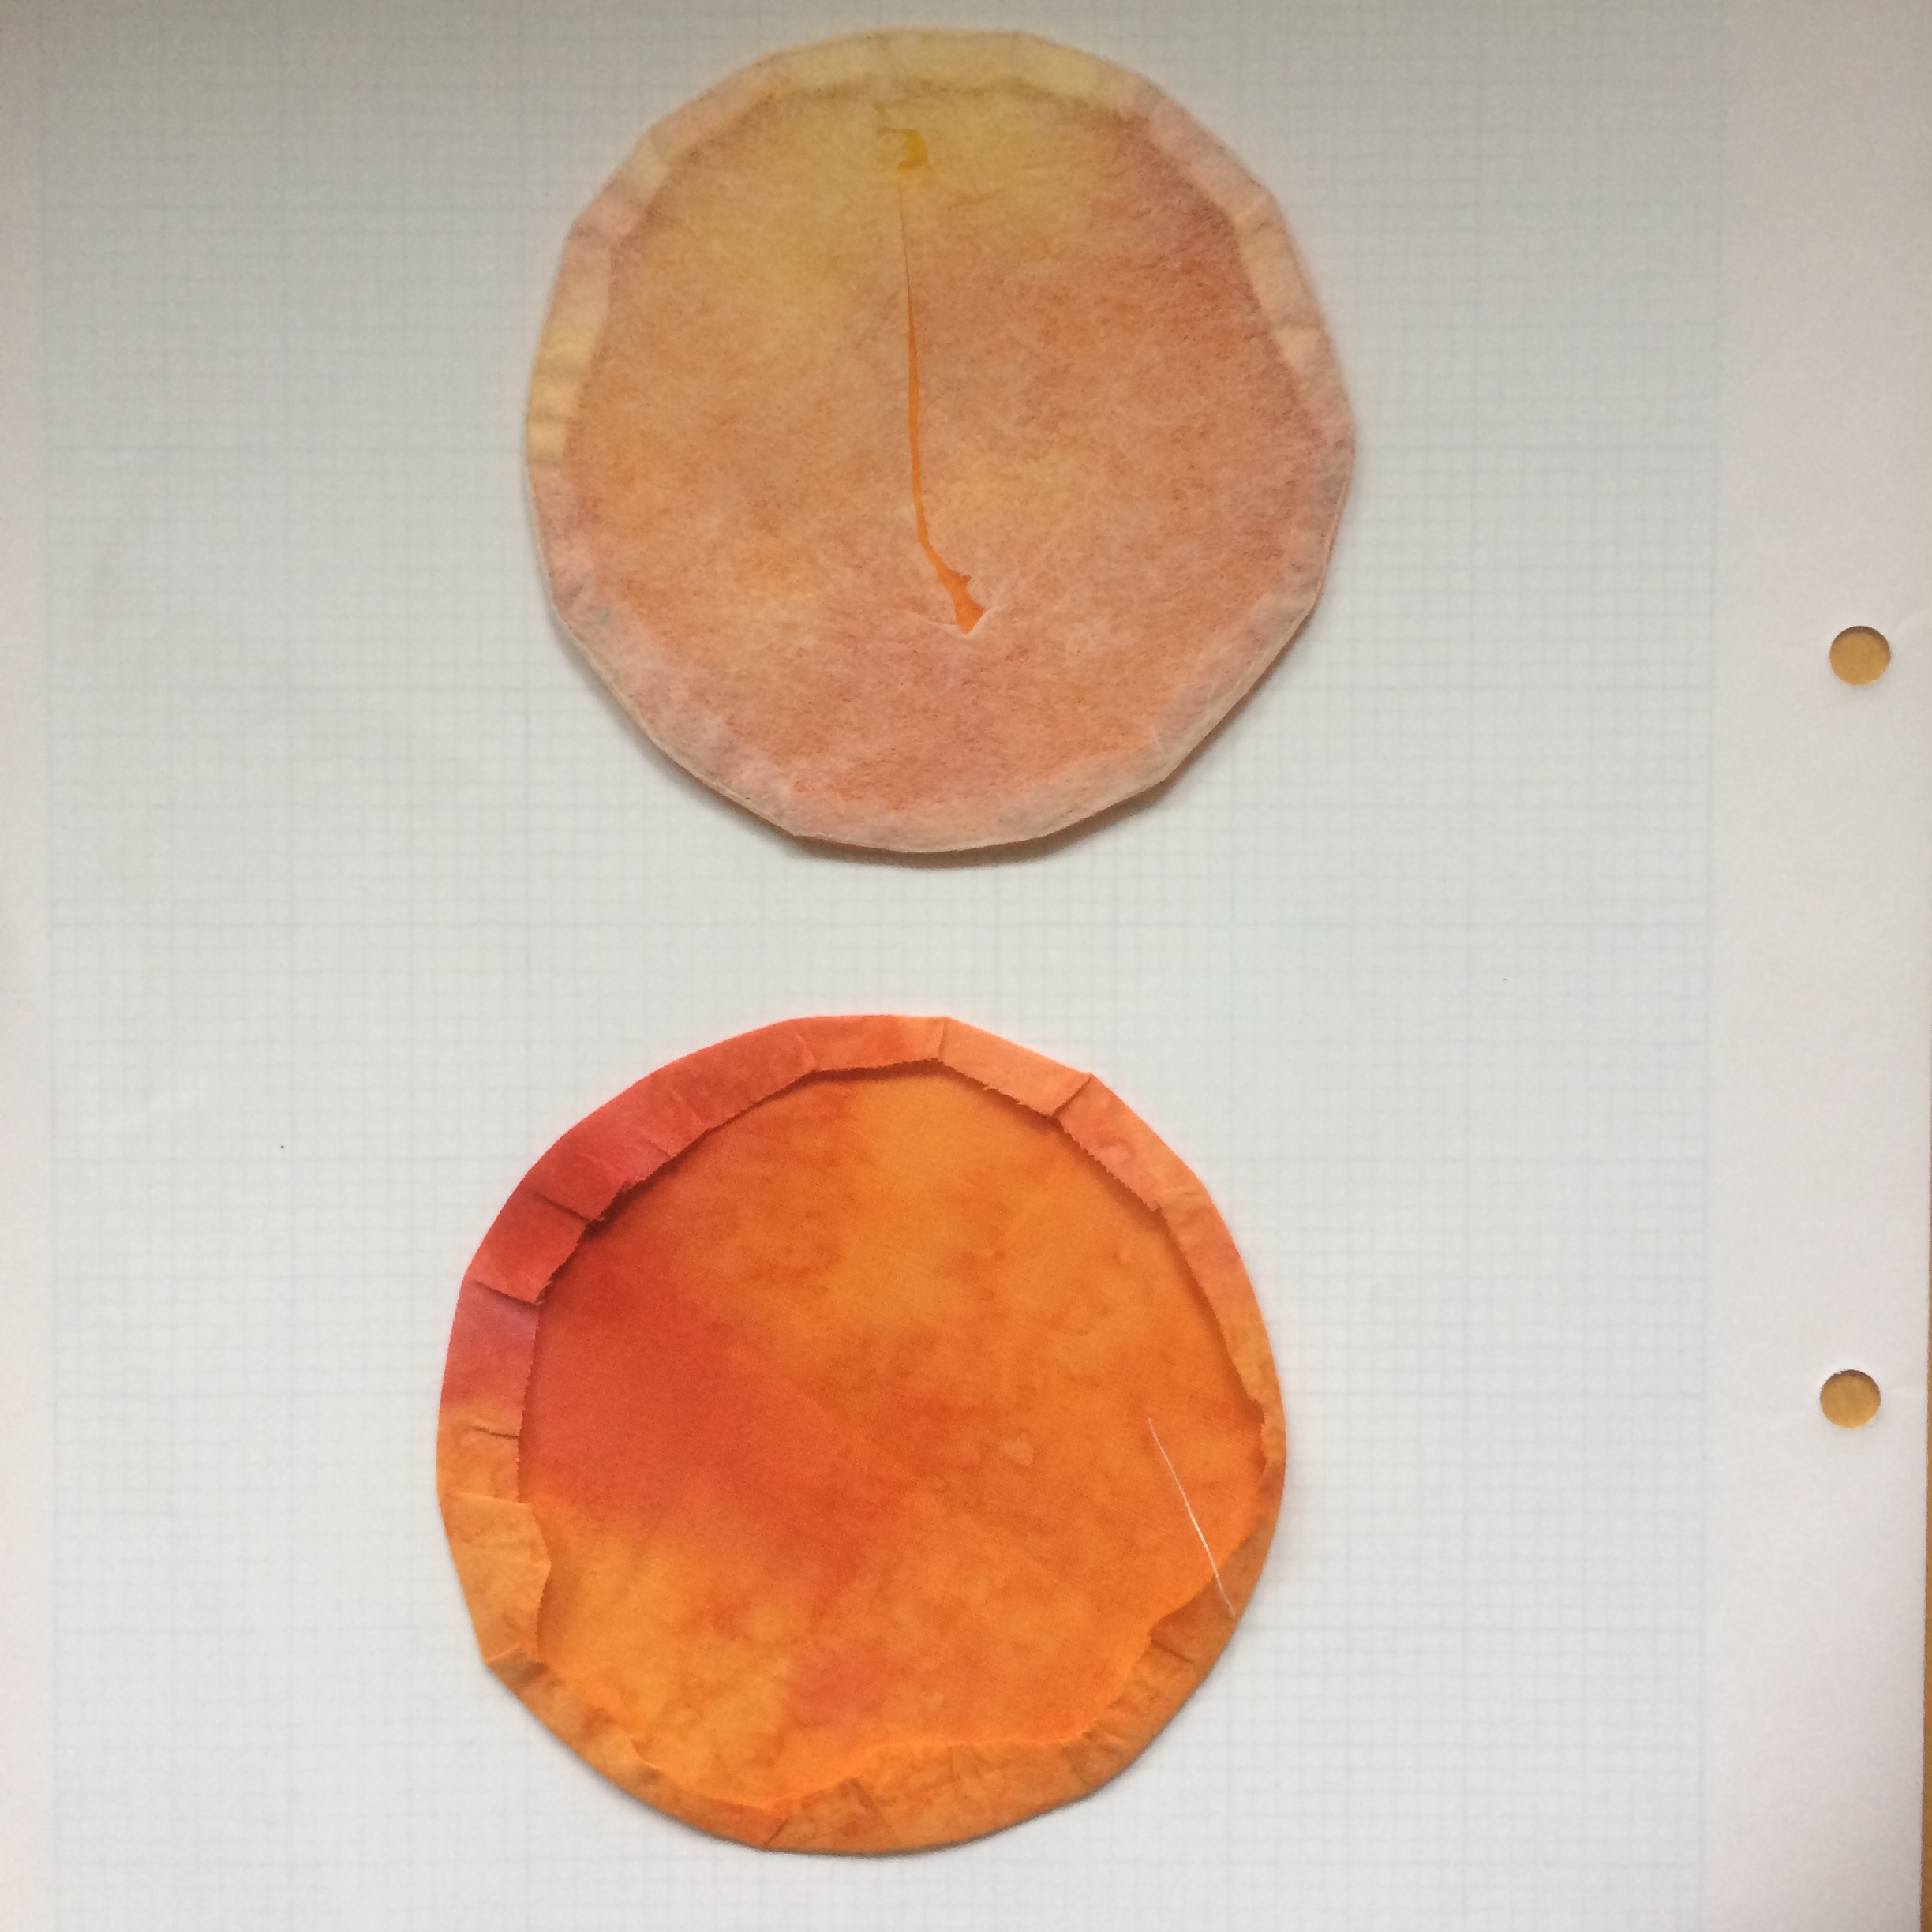

These last two photos show the difference (if any) between using Vilene and using spray starch to turn under the seam allowance on a circle.
You can use this method to turn under the seam allowance on Drunkards path units as well.
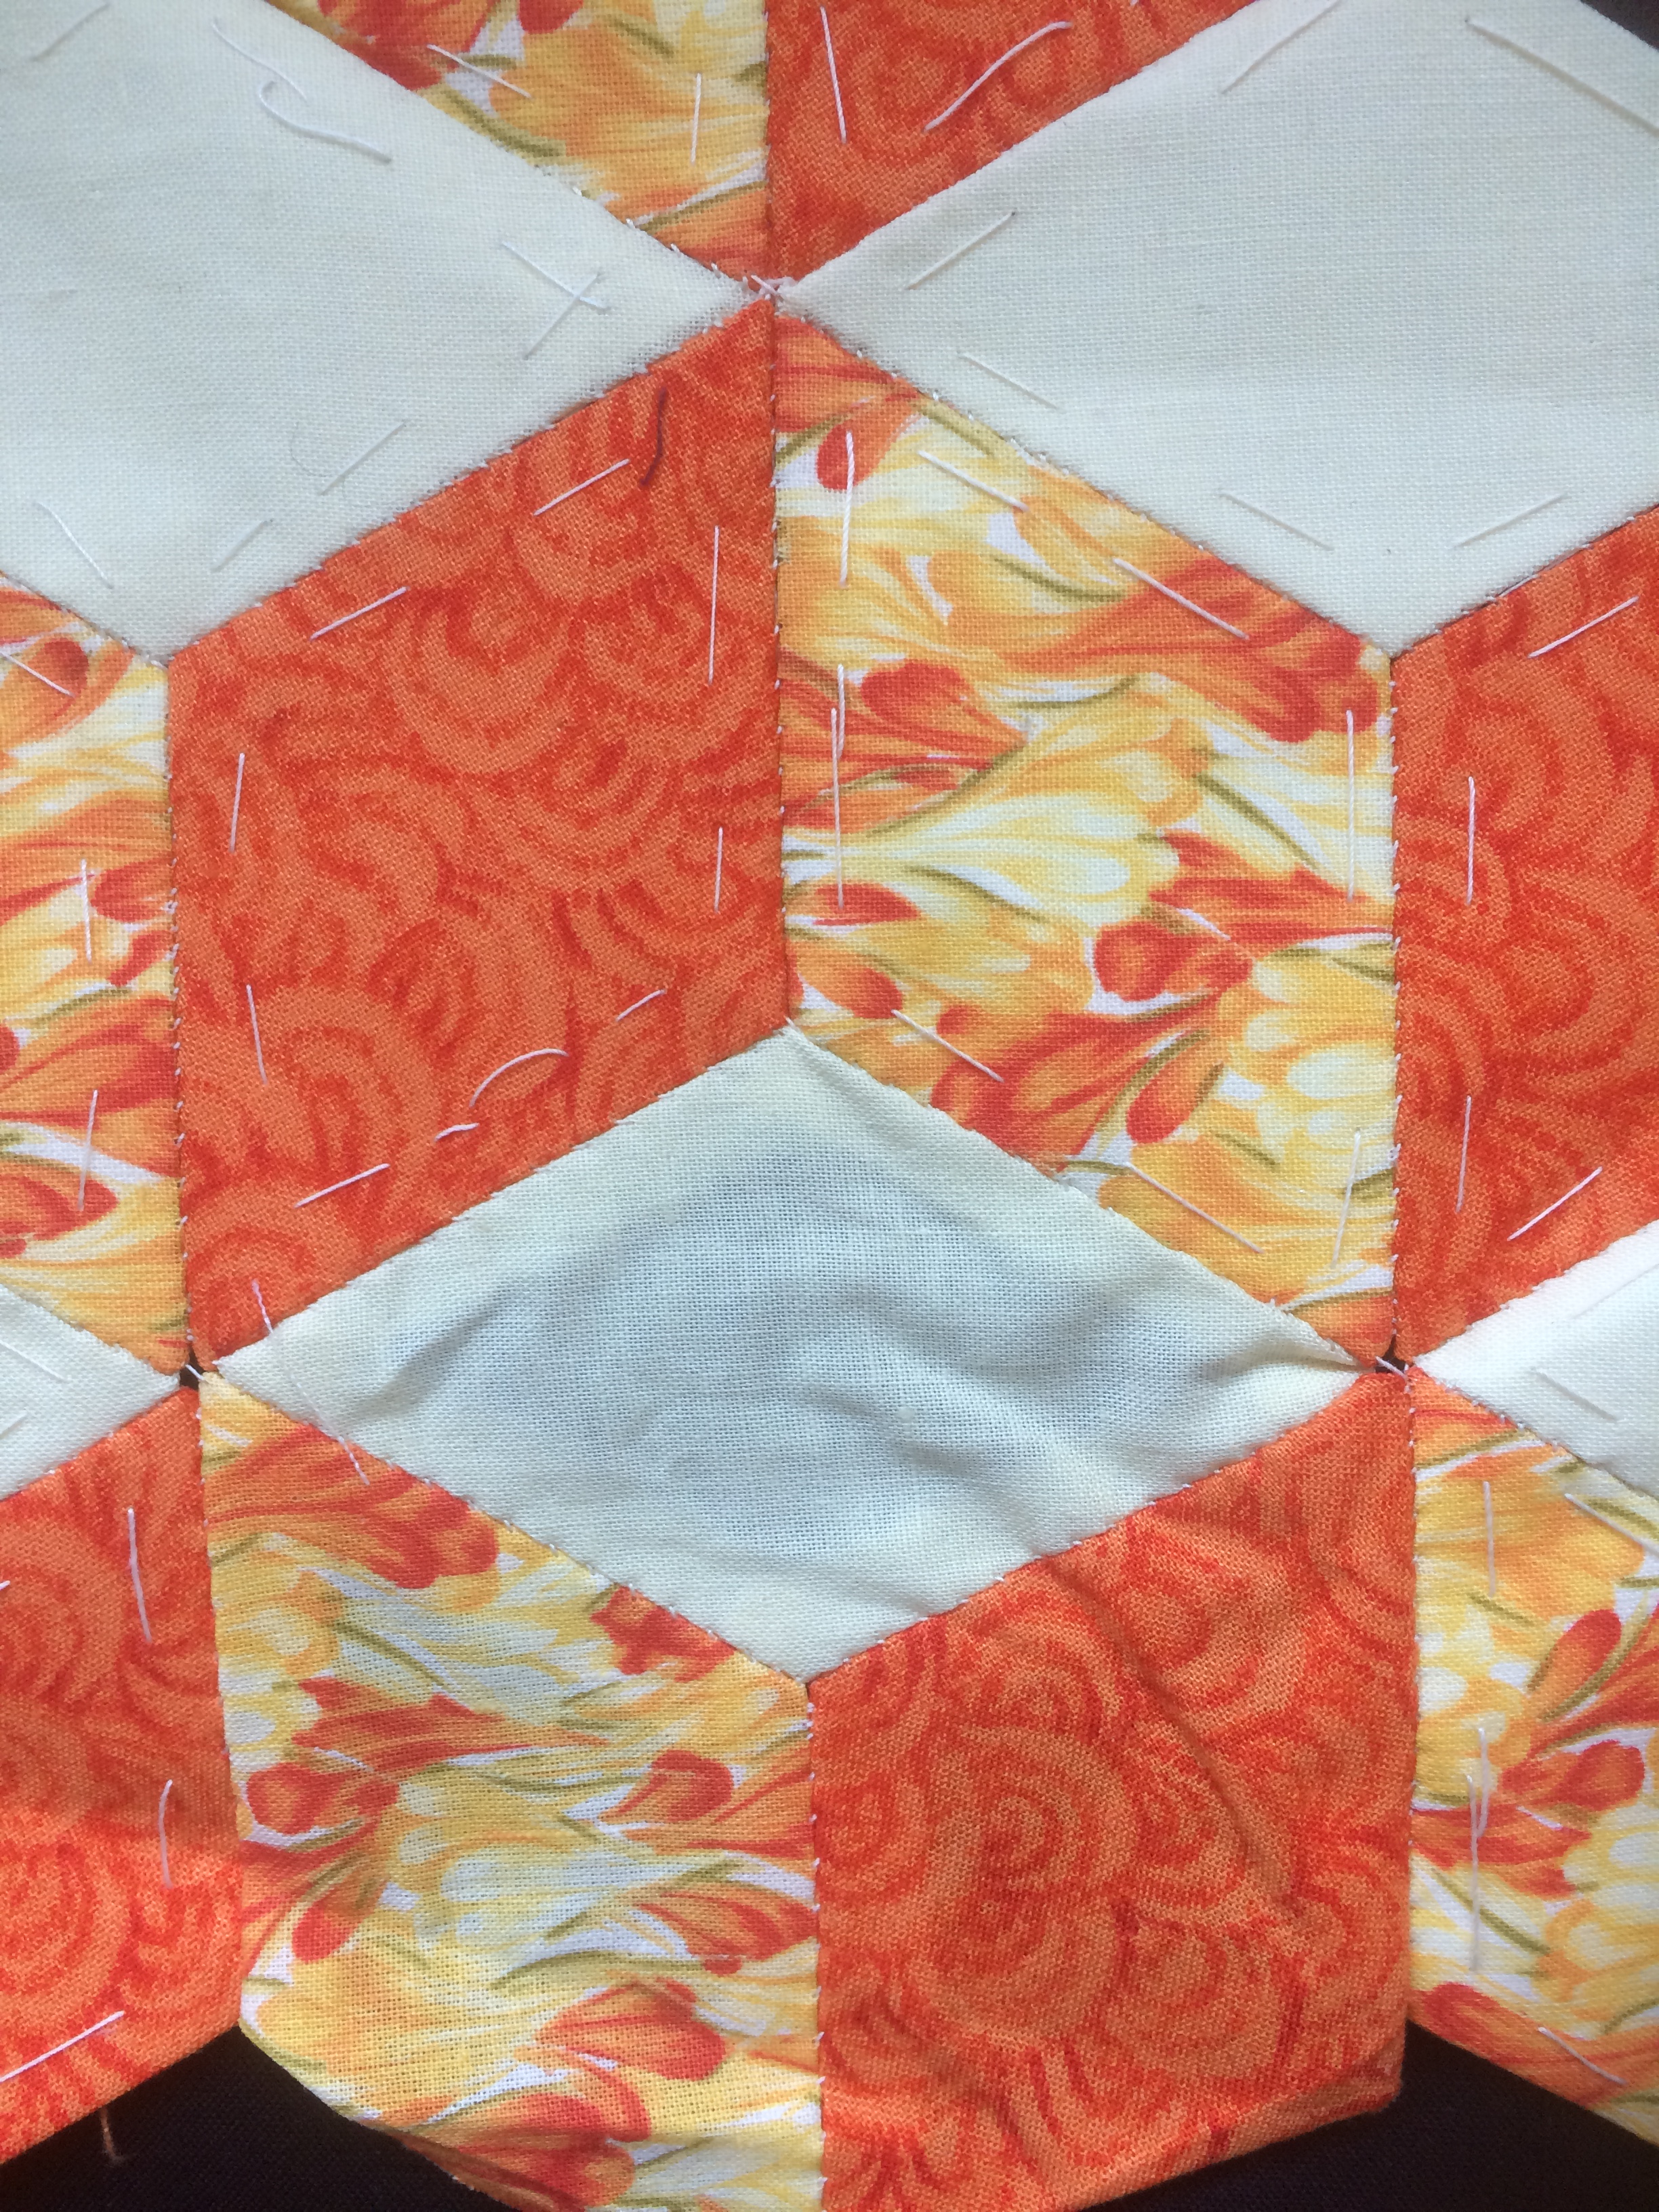
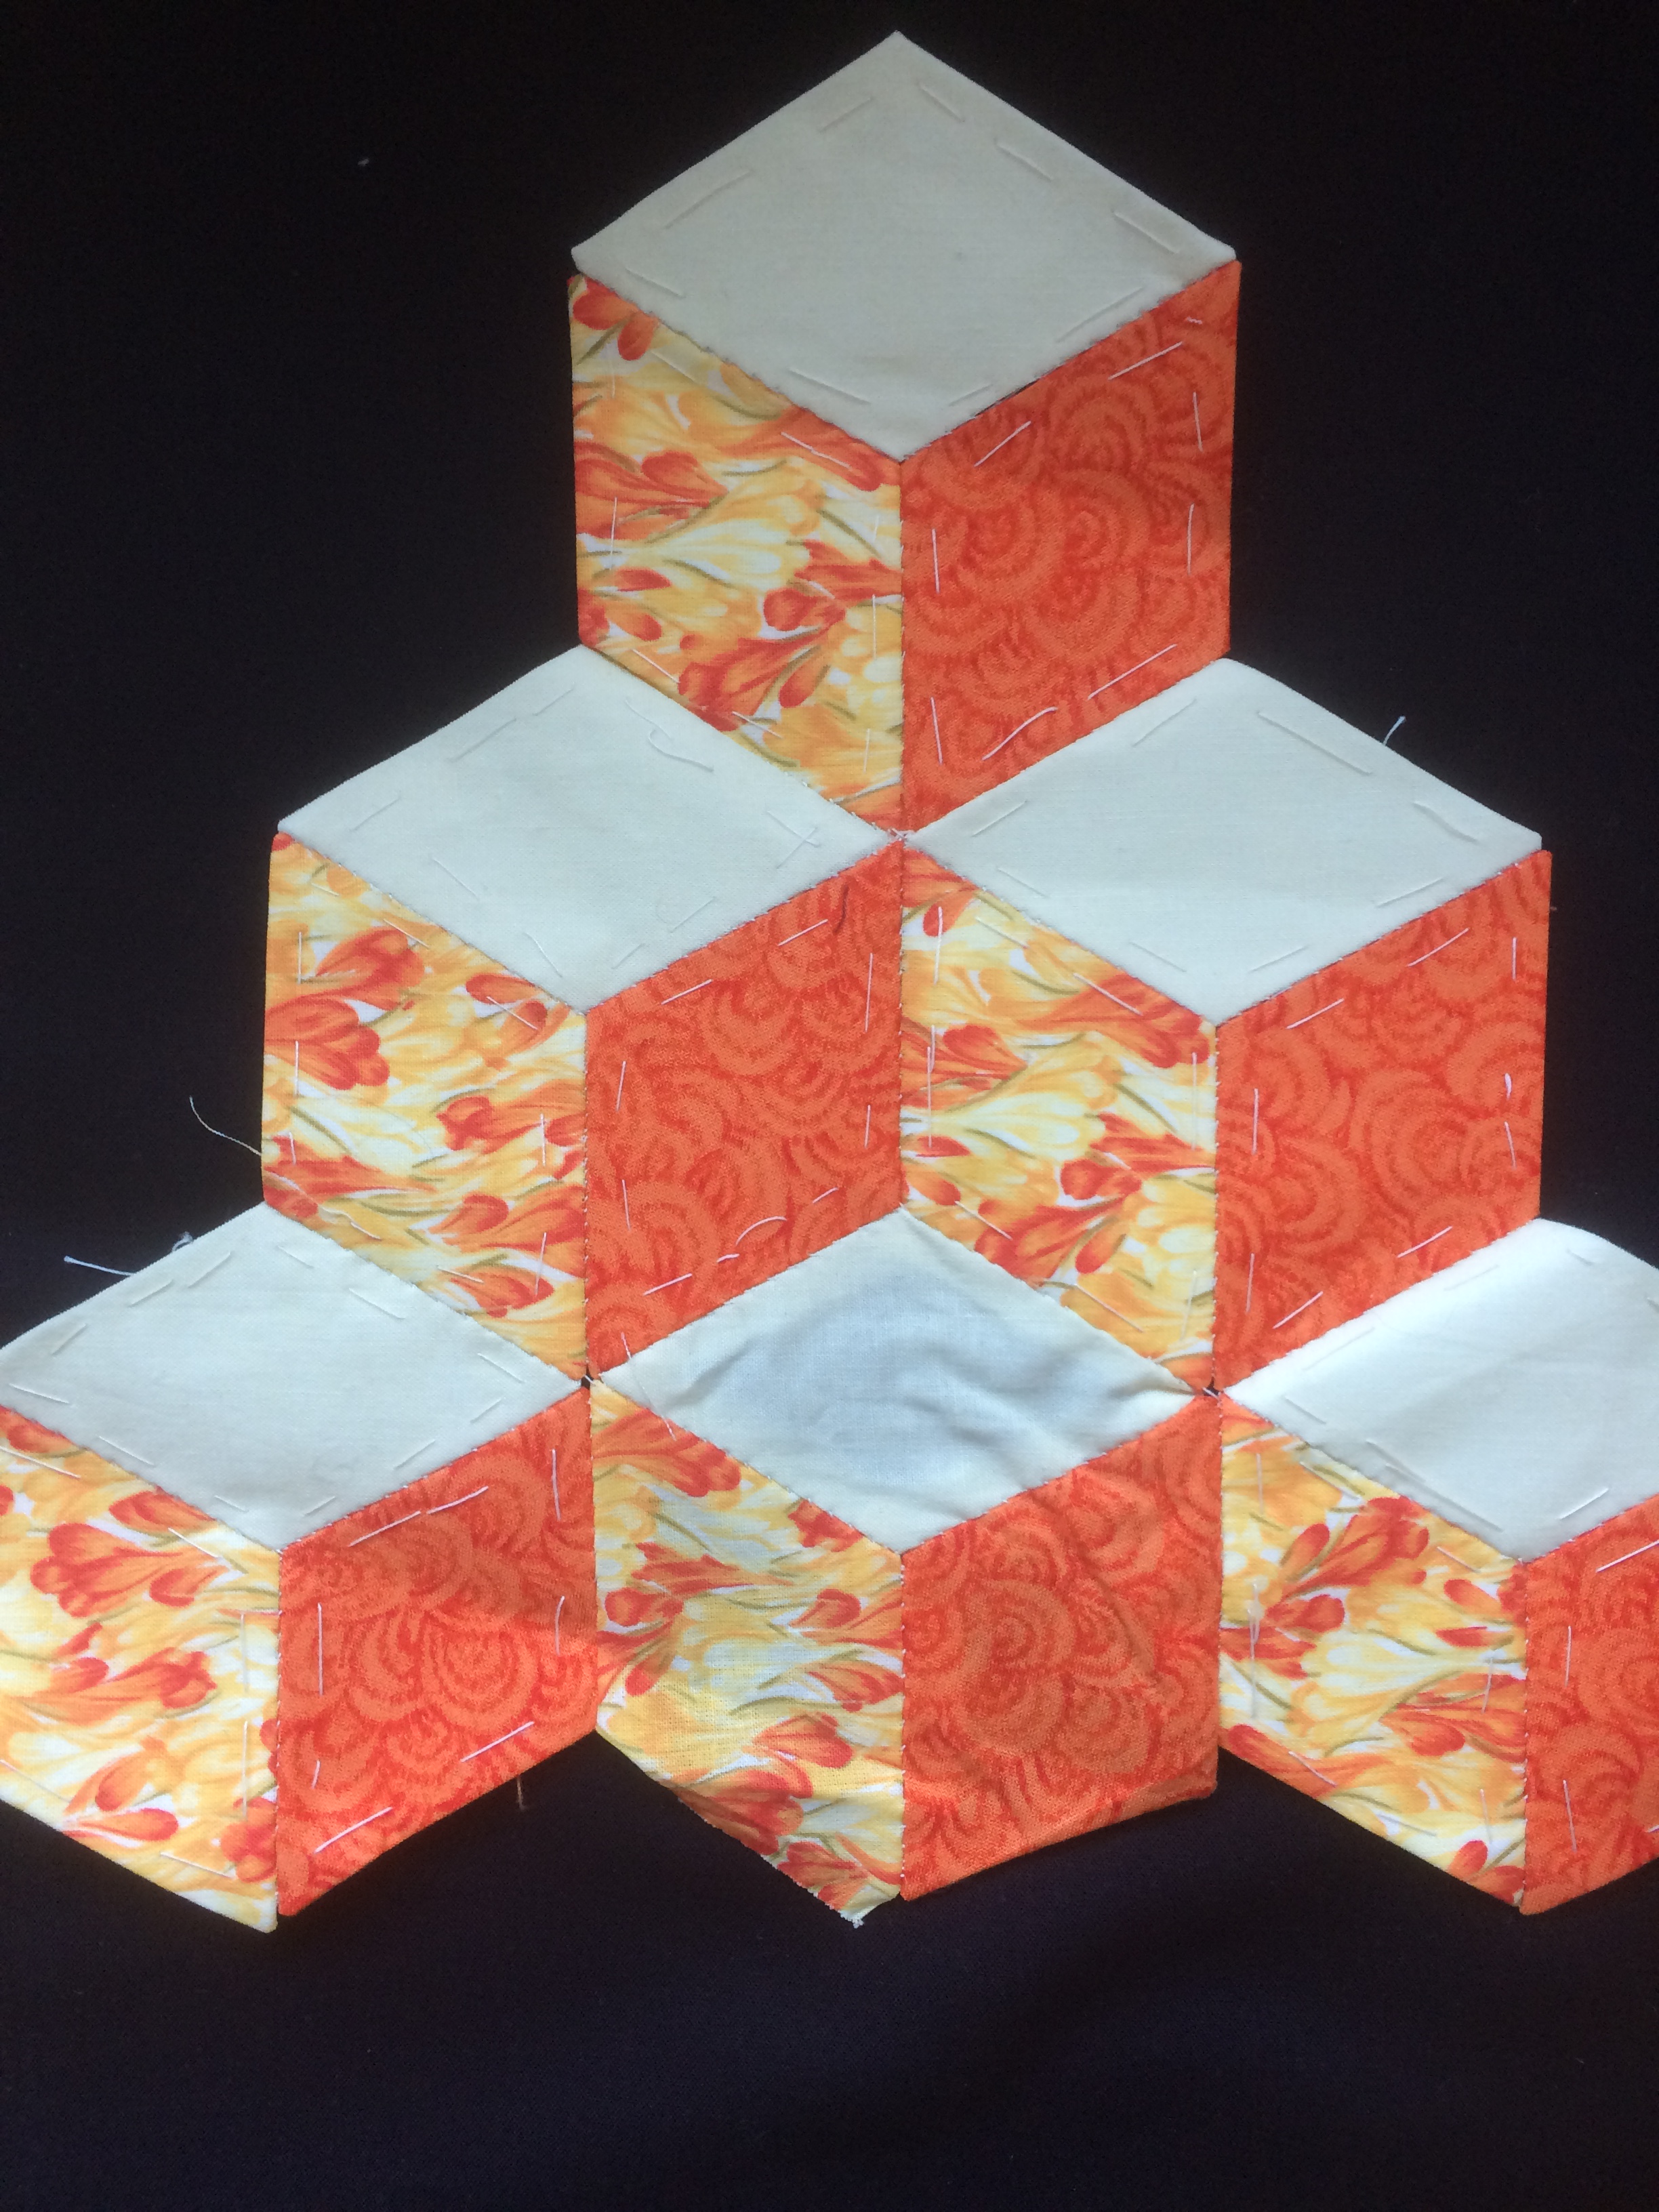
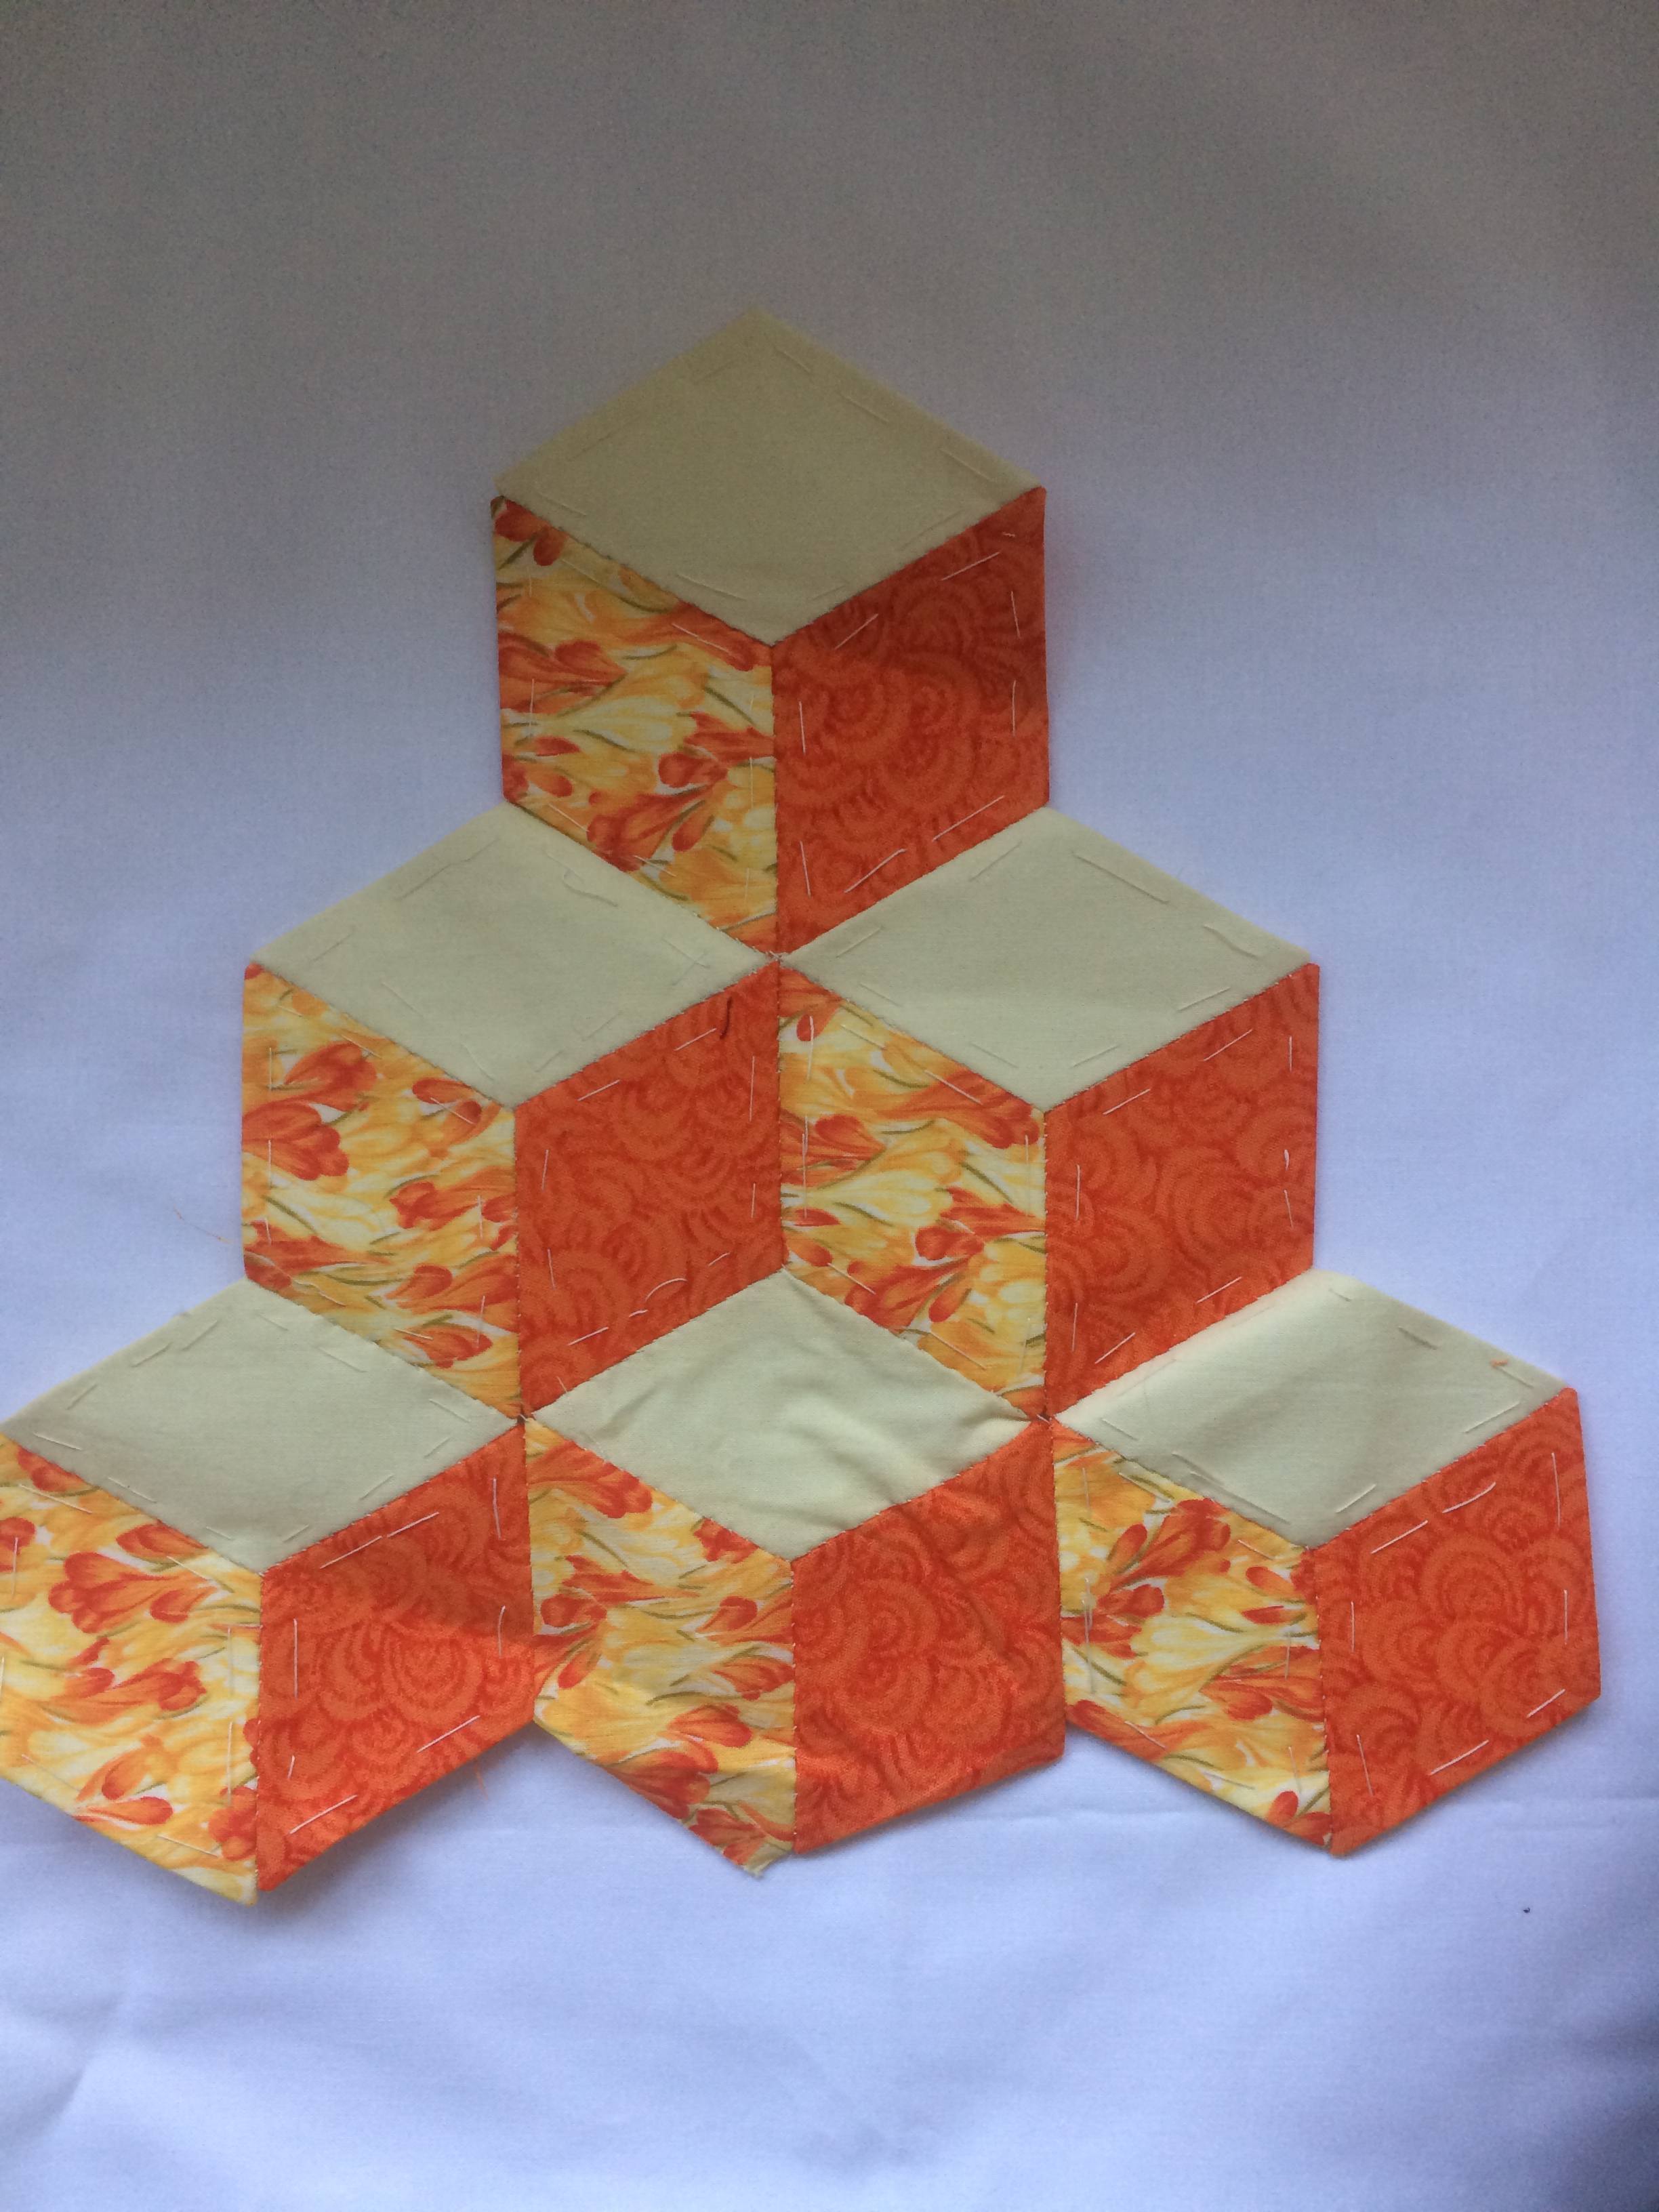
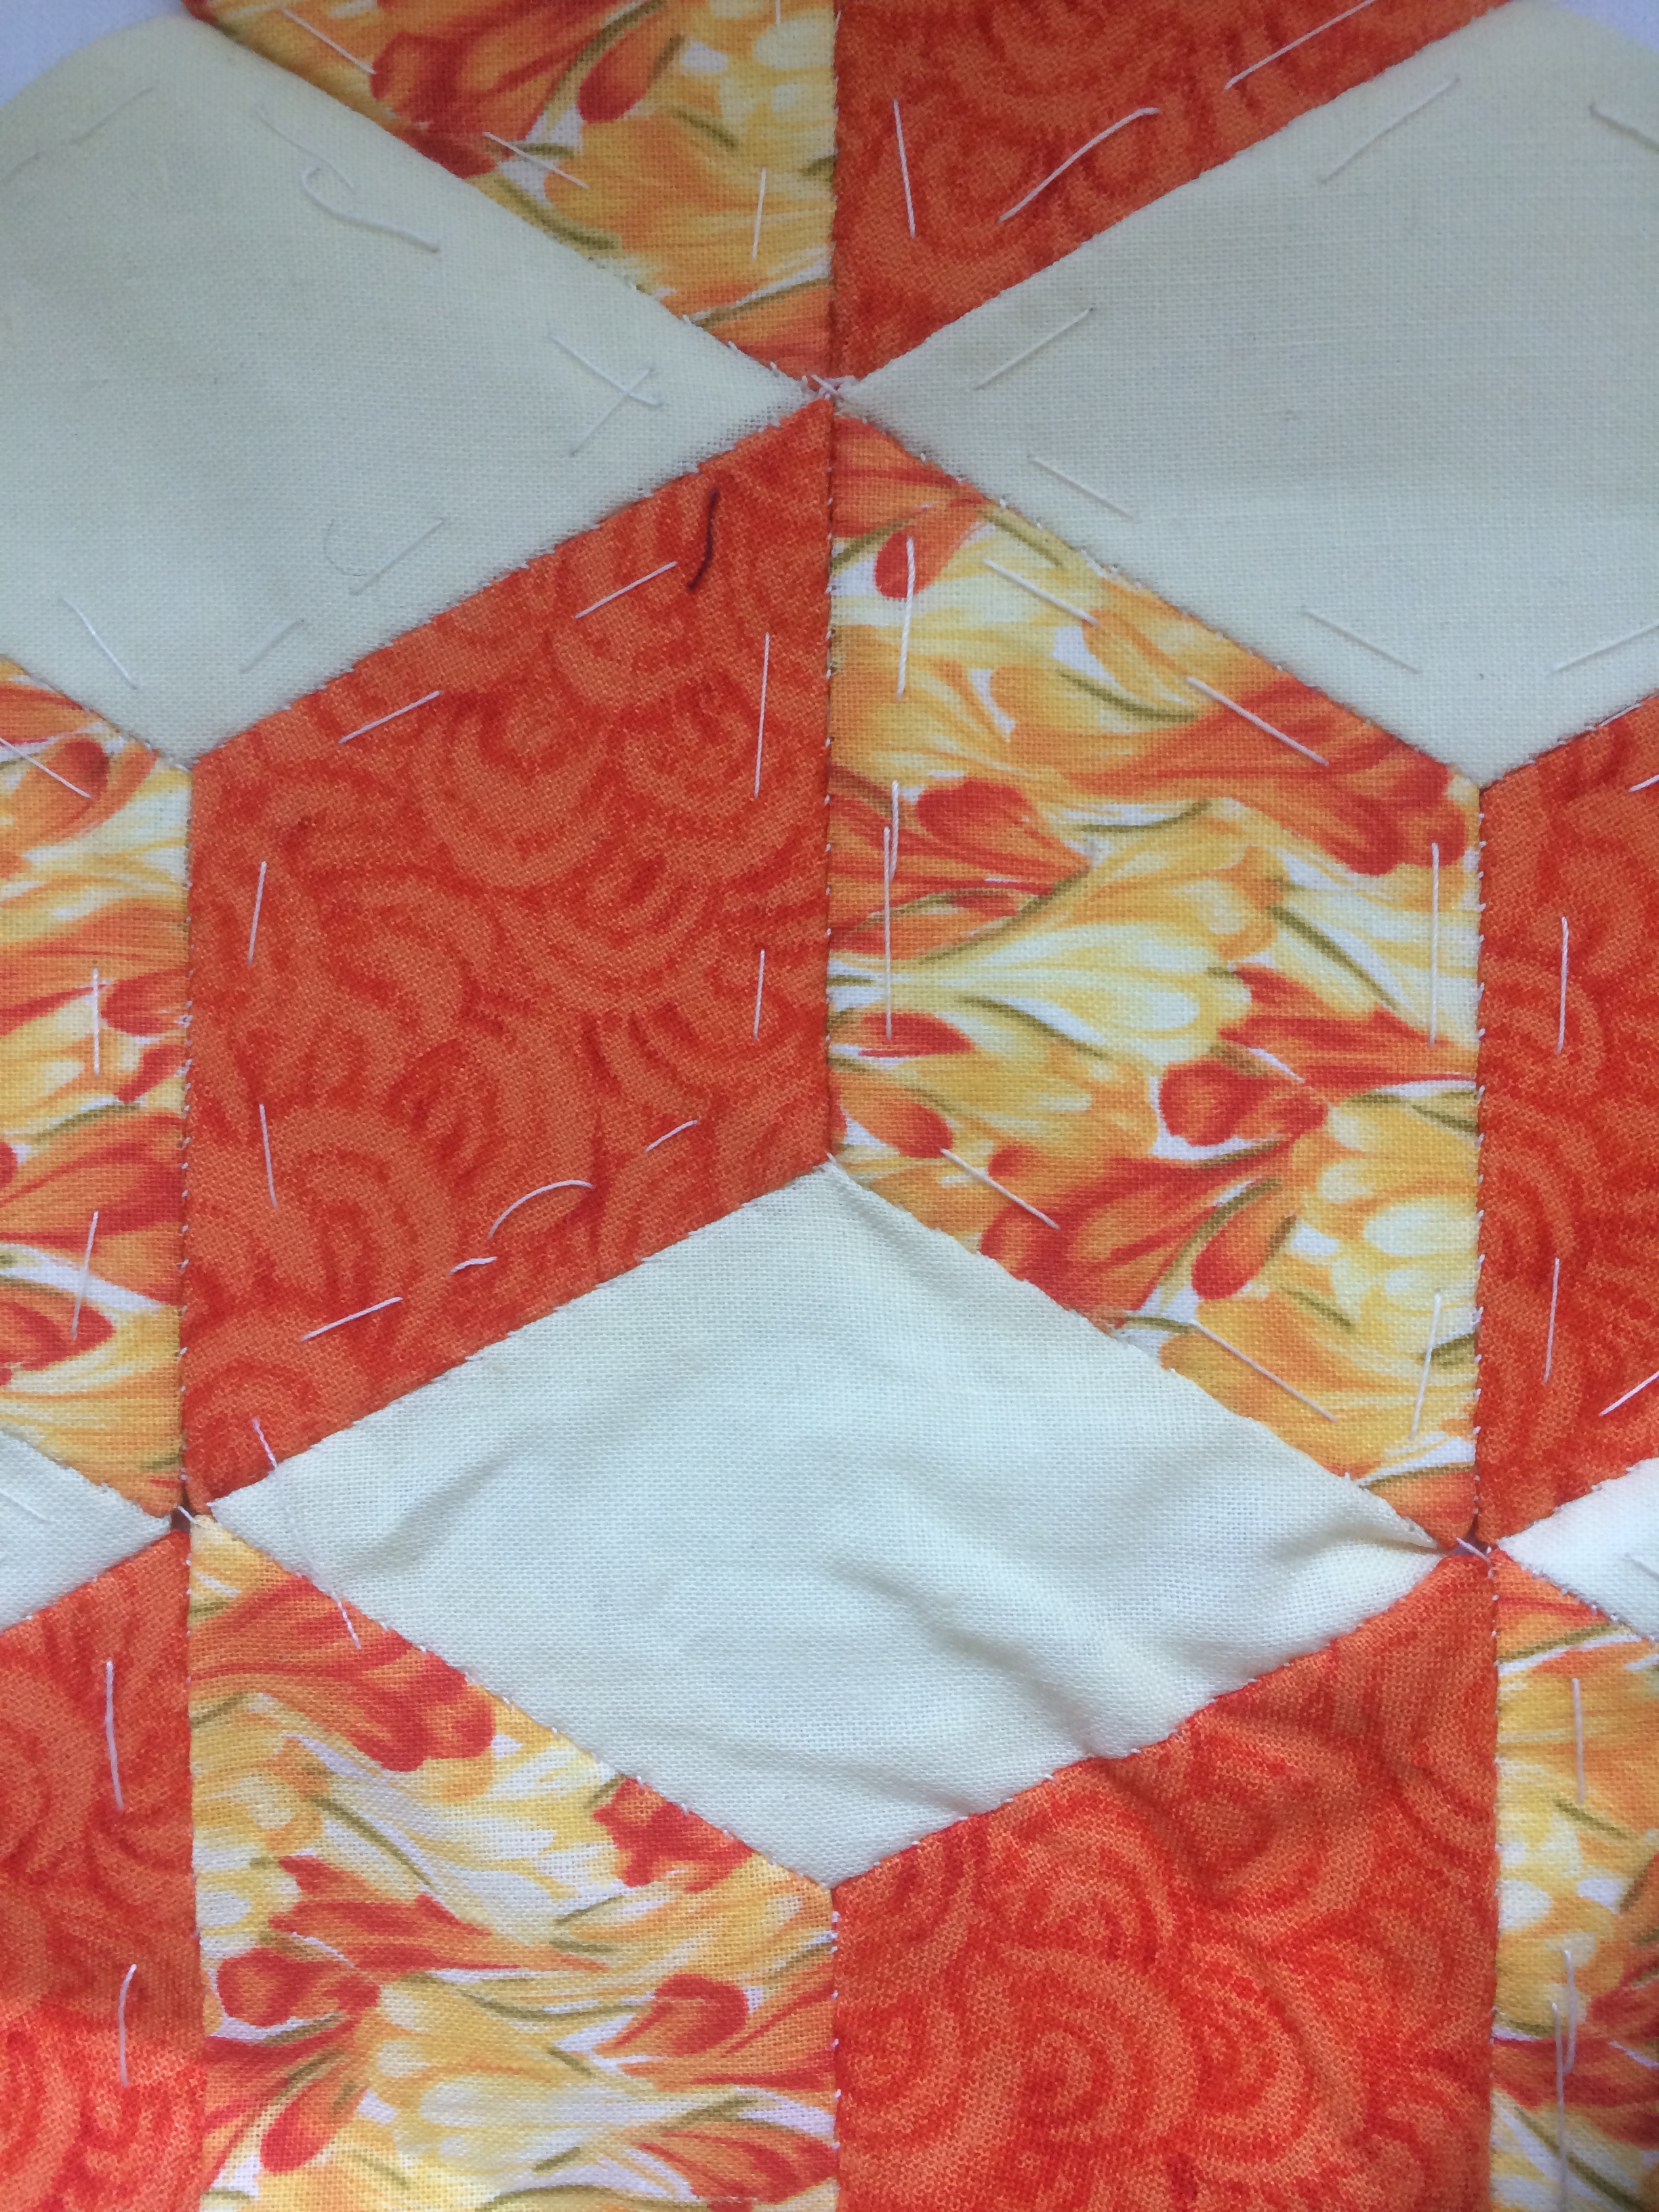
One other thing to watch is the background colour – if you applique a pale fabric onto a dark background you may want to cut away some of that background so it doesn’t show through. These tumbling blocks still have their papers in, except for the centre pale diamond and you can see how the dark fabric is showing behind it.
In Part 2 we’ll have a look at appliqueing more complex ‘pictures’ – including Sunbonnet Sue and a traditional Tulip design.
In the meantime you can download a free pdf summarising the different methods of machine applique.

Responses