
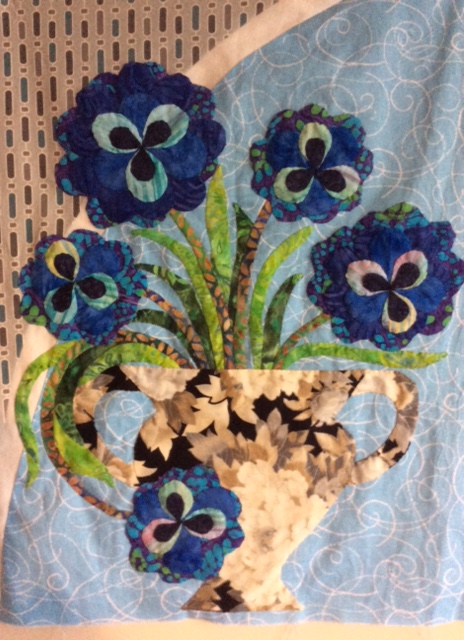
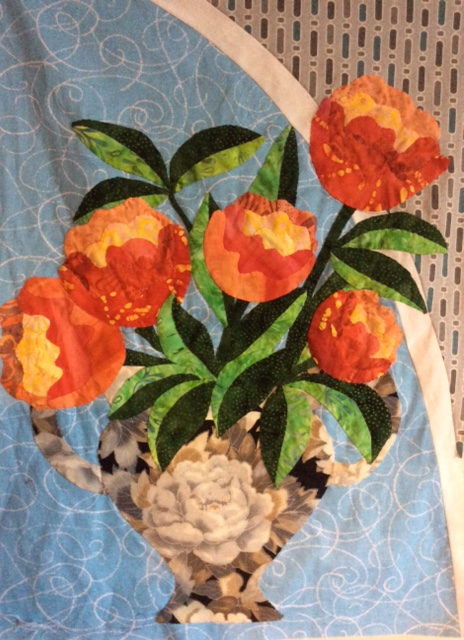
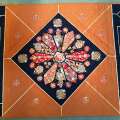
Pattern: Beth Ferrier – “A Fine Romance”
Confession time. I now have four applique projects on the go (plus one that is sewn but needs hand quilting) and I’m having a very hard job holding off starting another two. I like hand sewing, though until recently I wasn’t particularly keen on all the preparation required for applique. I’m not usually one for buying the latest gadget, tool, ruler, or product, but I’ve come to realise that sometimes there is something out there that will help a lot. So here is my essential list for hand sewn applique:
- First is my A3 LED lightbox. I persisted for some time holding things up to a window before I finally bit the bullet and got an LED lightpad. It is brilliant. Plenty big enough, so easy to use, and no aching arms.
- Next is a roll of freezer paper. This replaced the plain paper, bondaweb, steam a seam, and Vilene that I had previously tried.
- Then it’s my Sewline glue pen. I do still use Pritt stick as a cheap alternative for some jobs, but for complex applique shapes I love this glue. Yes, it costs more, but for the result, I’m prepared to pay.
- My last essential tool is my seam ripper, and no, not for ripping seams. You can buy special tools for this job, but as a price compromise, I find my cheap tool works fine for me.
So here is how I use all these items:
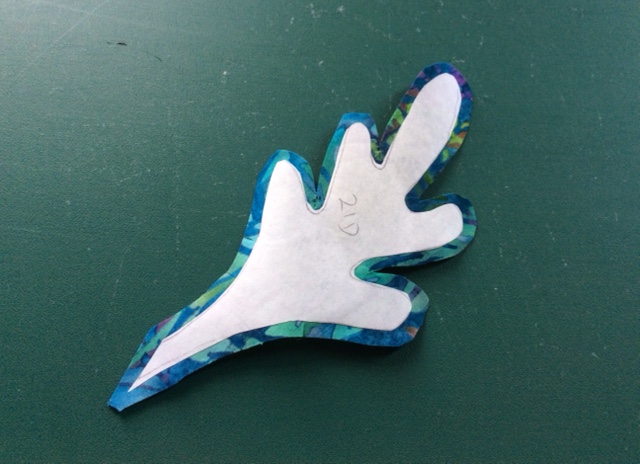
I start by tracing my shapes directly onto freezer paper – the right way round. There is no need for reversing patterns with this method. They then get cut out and ironed (dry iron, fairly high heat, at least 5 seconds) onto the RIGHT side of the fabric. The fabric gets cut with a small seam allowance – 1/8th to absolutely no more than ¼ inch, depending on the shape, and then any inside curves get clipped.
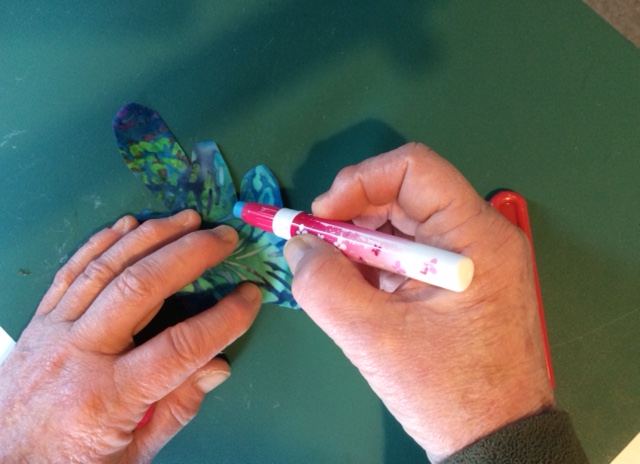
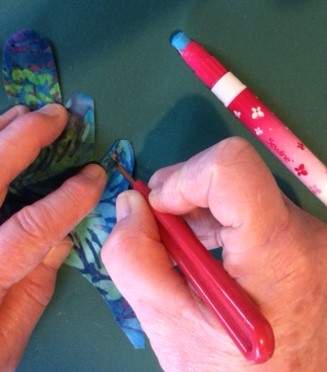
The next step is to glue under the seam allowance, so I flip the piece over and working a small section at a time from left to right (I’m right handed), run the glue pen along the edge, then use the point of my seam ripper to draw back the seam allowance to the edge of the freezer paper. My left hand follows along behind, pressing down the seam allowance so it sticks to the glue.
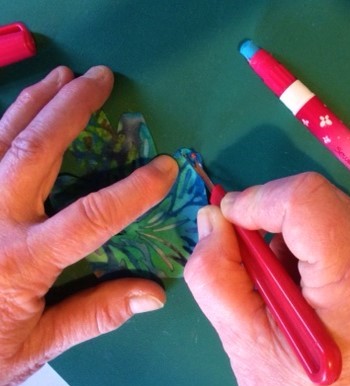
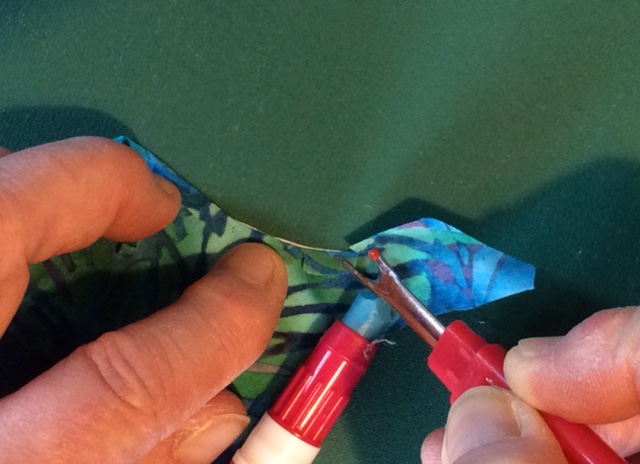
If you work on a dark mat (the reverse of a small cutting mat is great, and you can wipe clean with a damp cloth when done), you should be able to just barely see the white edge of the freezer paper as you draw back the edge of the fabric. Curves get kind of pleated into place. When you are done, you can peel the freezer paper off and use it again. I find I can get at least four uses out of one pattern piece, sometimes up to 8, before it loses its ability to stay firmly stuck to the fabric while you are working.
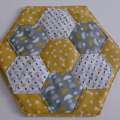
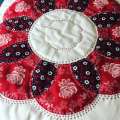
Once prepared the pieces can be pinned, tacked or glued onto the backing and stitched in place with whatever method you prefer. I usually hand sew and find a ladder stitch is neatest, though a blind hemming stitch is much quicker. Please comment if you have found this method useful for you. It’s always great to get reader feedback.
Very neat and tidy. I will definitely be giving this a go. Thanks Corinne.
I’ve not seen this method before. I’ve seen where you turn the edge over the paper, and then struggle to release the paper after sewing the applique down. I shall be giving this method a try. Thanks
Very interesting Corinne – I’m definitely going to give your method a try!