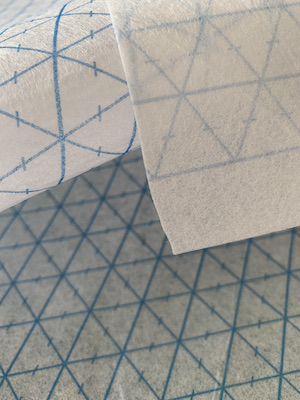
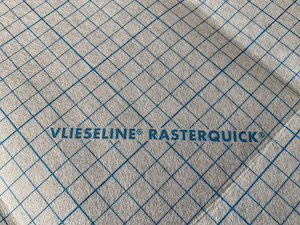
This is new to me at Strictly Quilting – Quickscreen in both triangles and squares. I’ve not used it before so it was fun to give it a go. Quickscreen from Vlieseline is similar to a light interfacing, and has markings in either triangles or squares. The lines are to help you to sew fabric in different shapes. The triangle marked version enables you to make 60° shapes such as diamonds – the squares lend themselves to regular squares and rectangles.
It’s quick to use and, because of the lines, you can be precise if you choose to. I went for a more random approach. A light box of mine has been crying out for a sleeve to protect it and, as I have lots of scraps left over from other quilts, putting these together seemed a great idea. Scrapbusting for a useful project.
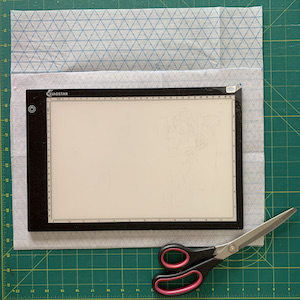
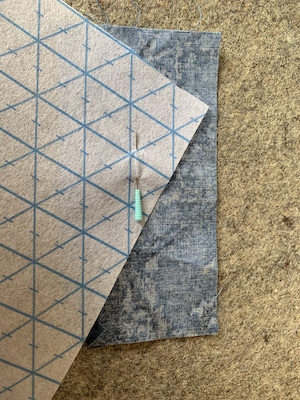
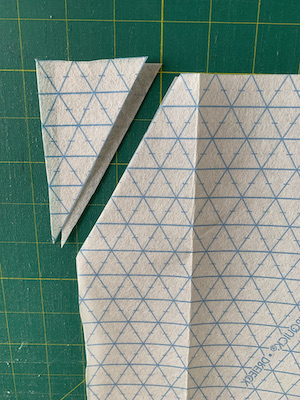
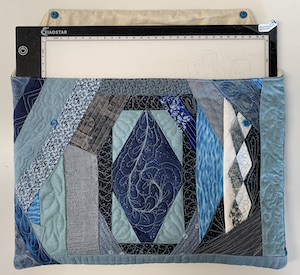
First, I decided on the size by laying the light box on the Quickscreen and added a generous inch around each side. This is to allow for the seam allowance and ease and, if I was being honest, I could have left a bit more space – try 1.5” around each side. I then repeated to cut a piece for the back and added a flap. For this the 60° lines were brilliant to ensure I cut both sides evenly and accurately. The Quickscreen was very easy to cut, like a knife through butter, so I was confident it wouldn’t be too stiff within the item. This bodes well for using in projects such as quilts or wall hangings. Having said that, once quilted, it did give the sleeve a slightly firmer/structured feel which was perfect for my project. If you were looking for something with a softer drape, this might not be the right product.
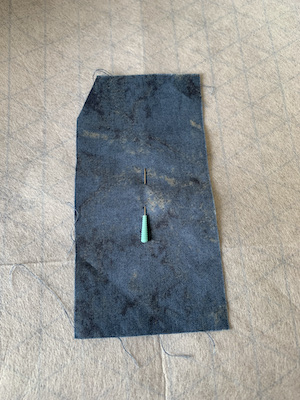
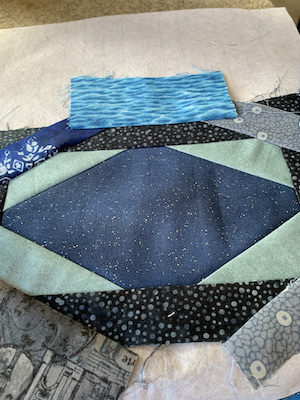
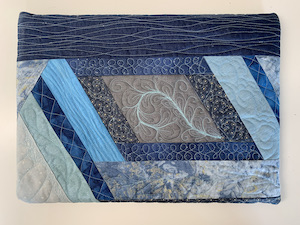
I made this in a stitch and flip sort of method, using the grid lines to line up my pieces, in a similar way as working Foundation Piecing. Placing a piece of fabric on the plain side of the fabric, adding another strips right sides together. Pin in place if that helps (a flat headed pin is useful for this) and then turn over and sew along one of the lines. Initially I was planning on keeping diamond shapes working across the piece but then I got a little carried away using strips of fabric, filling the space. The back section was next and I used the gridlines to line up the sections. You could turn this into a Crazy Patchwork project by then adding embroidery stitches over each of the joins.
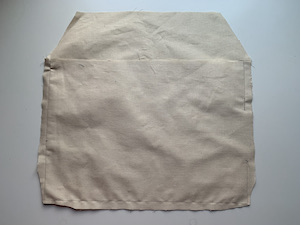
Once the front and back were fully covered with fabric I layered it with some wadding and fabric, from an old sheet, as a backing to allow me to quilt it. I have recently taken possession of a new machine – I’ve called her Queenie – a sit down long arm, so a small project like this is ideal to practice upon. I filled each section with different Free Motion Quilting designs which was fun. The sleeve needed a lining which I made from calico, not forgetting to leave a gap for turning!

Outer and inner were then placed right sides together and I sewed them around the top opening edge. Turn right way out, sew up the turning hole and finish by topstitching around the opening edge which gives it a more professional finish. Just a couple of poppers and voila.
Thanks to Vlieseline for allowing me to trial this product. If you are a beginner, this is something that you may find useful. Easy and quick to use it was an excellent way to use up my offcuts for an effective project. I did like the added body it gave to my sleeve so I’ll be keeping this in mind for future bags or sleeves for similar items.
Responses