This is a fun Easter decoration….of the no calorie sort!
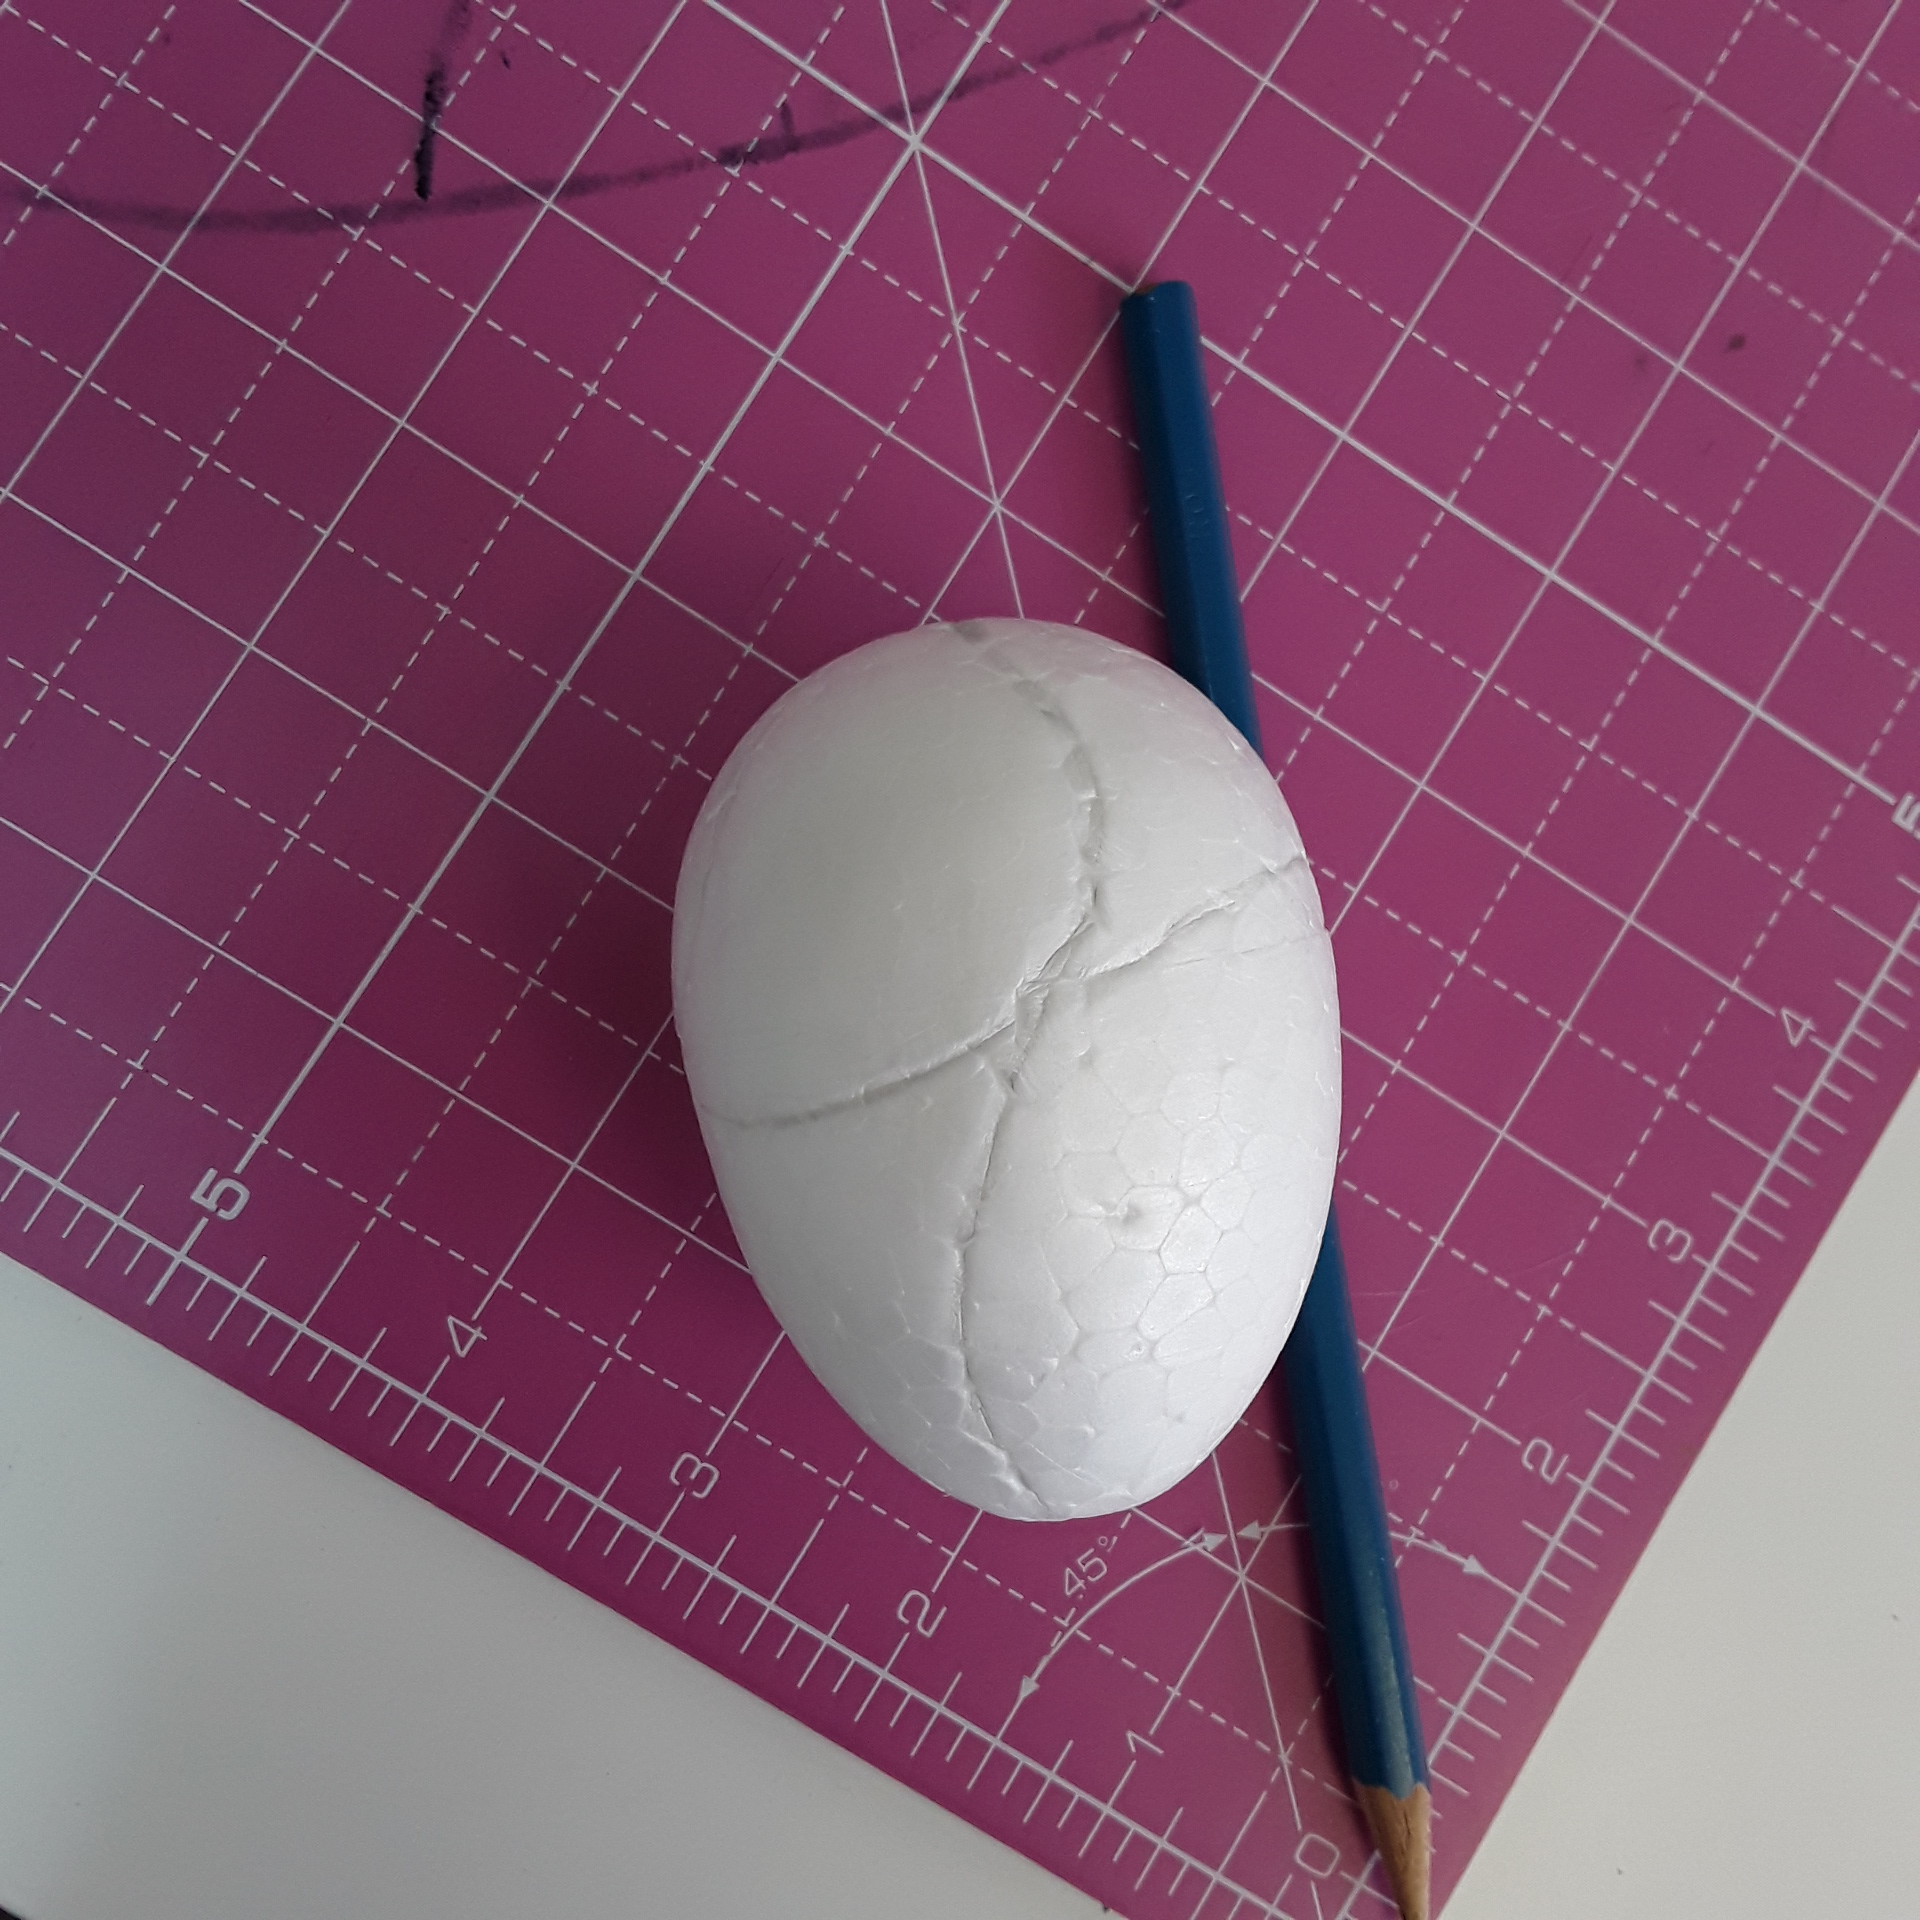
You will need a polystyrene egg, scraps of fabric, fabric for bias strips, 1/4″ bias maker (Clover), fusible tape, mini iron,Stanley knife and pencil.
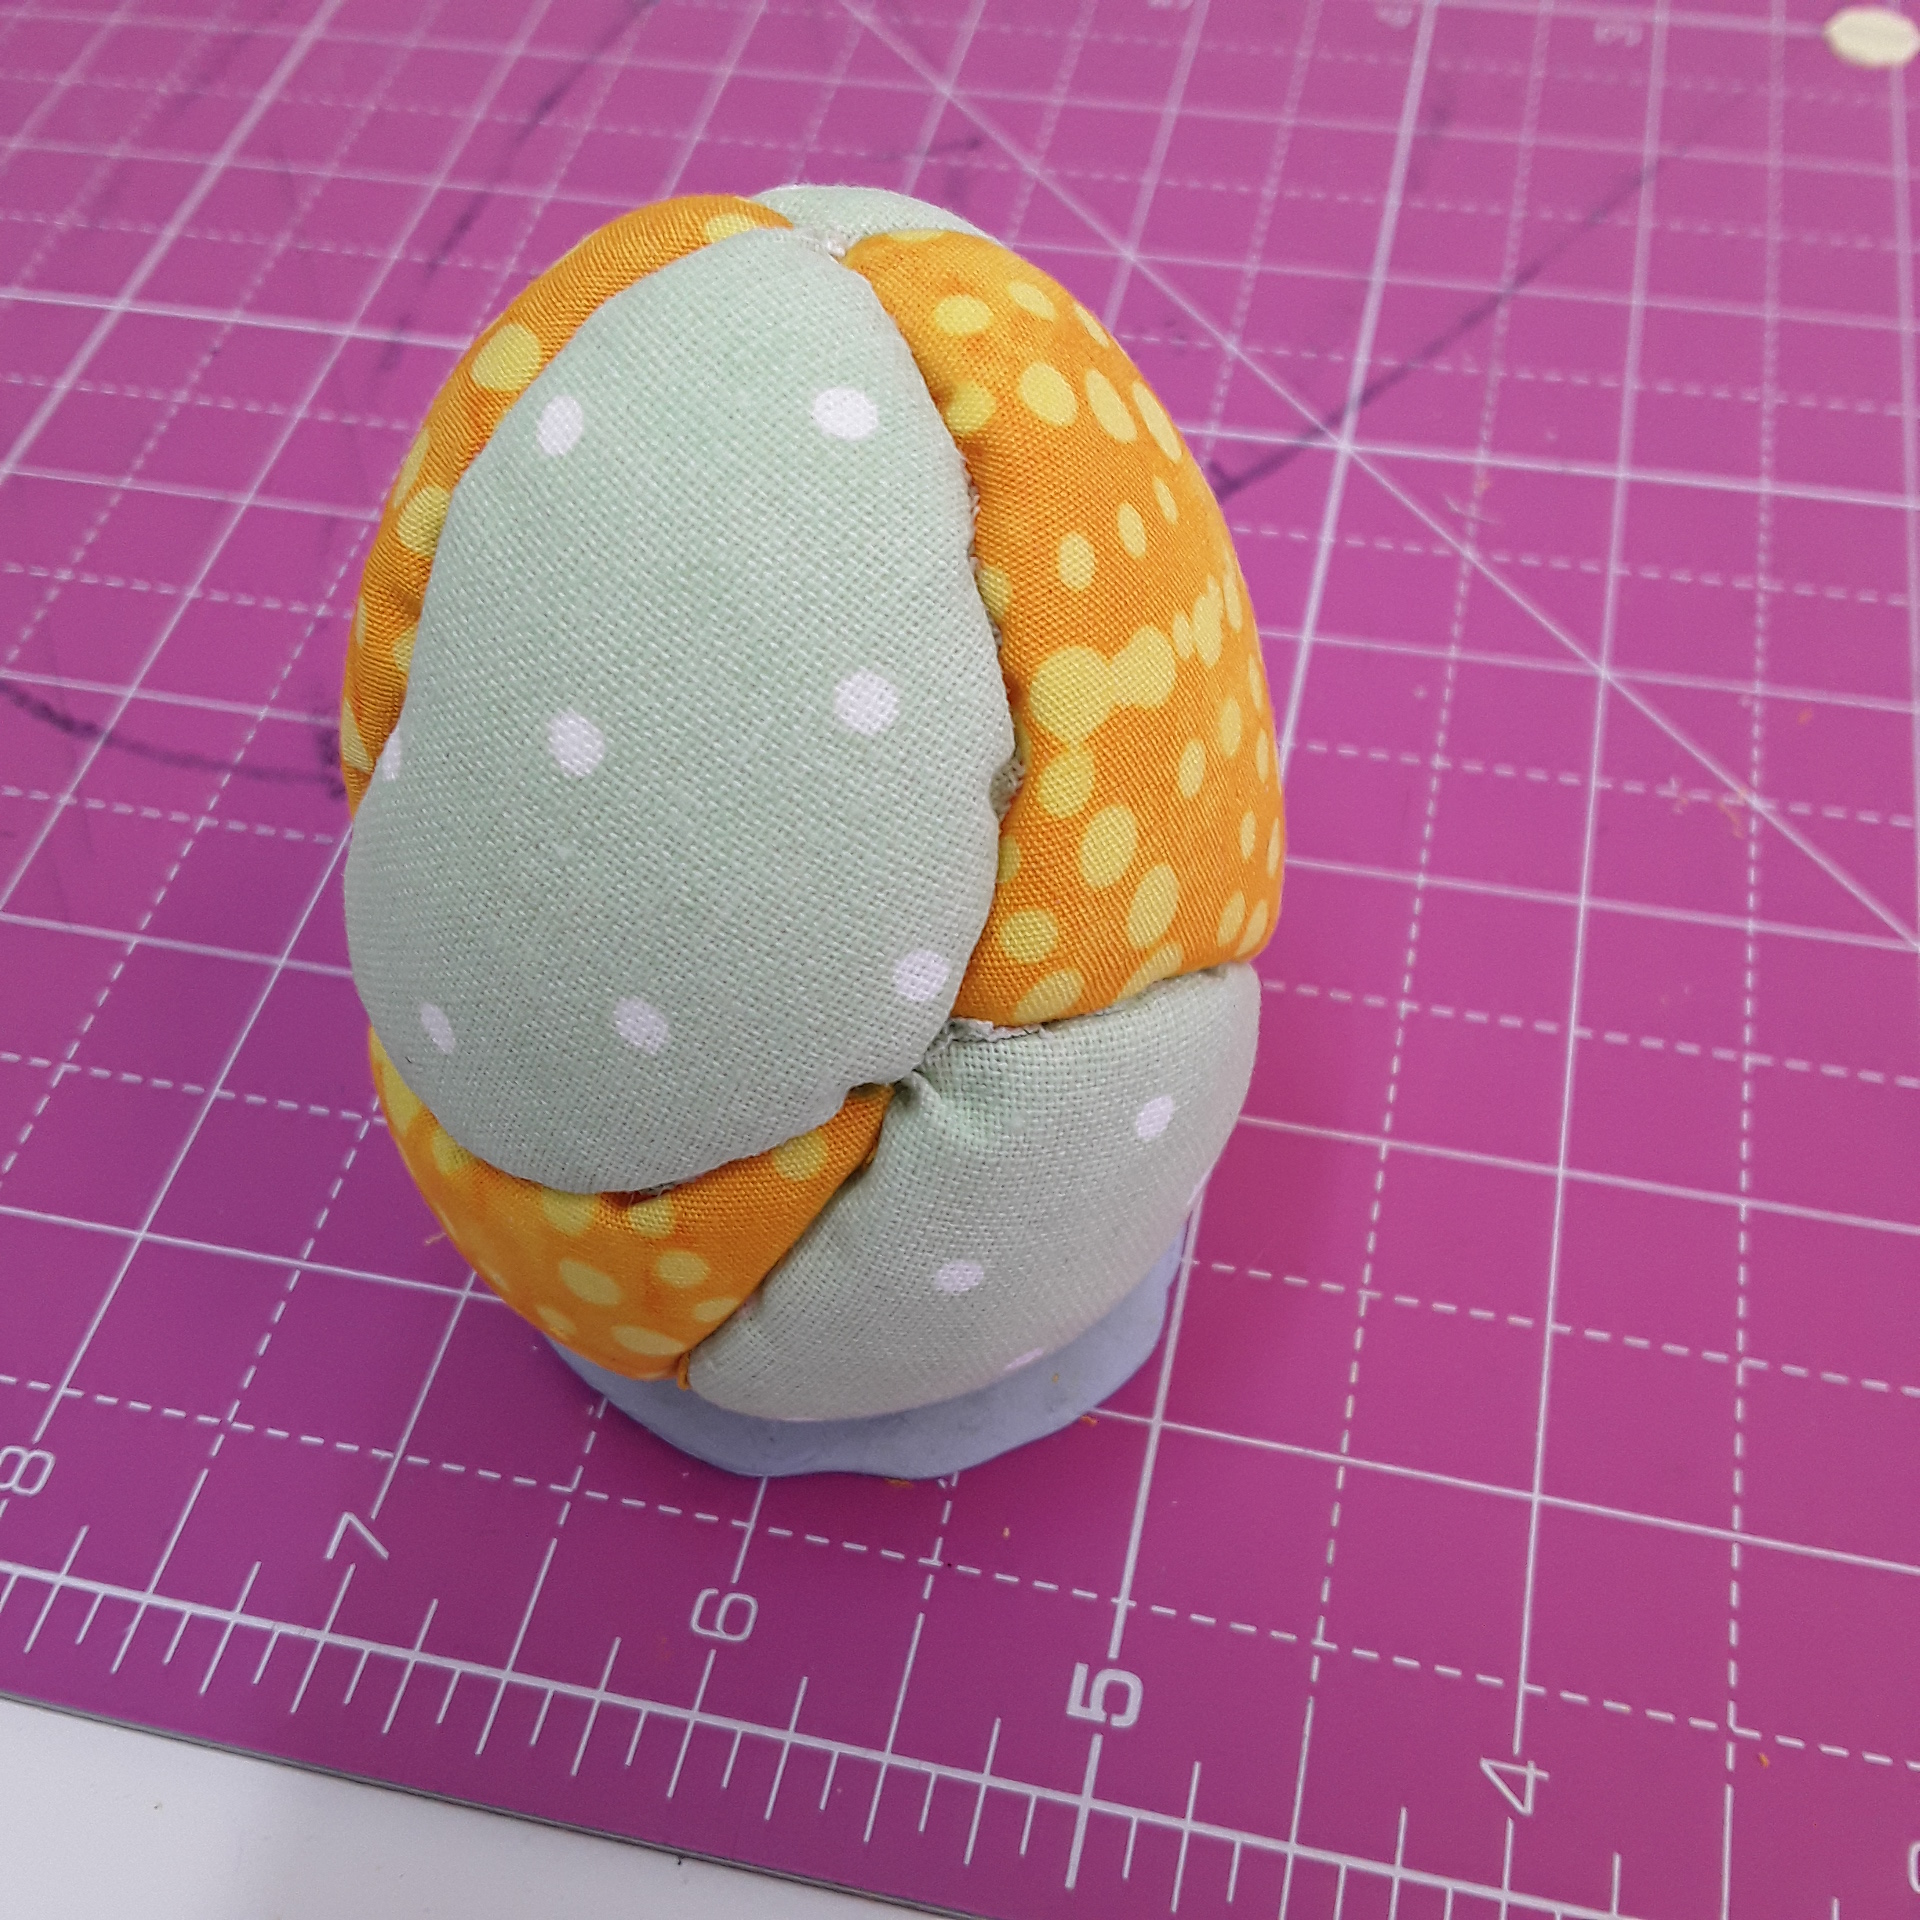
First mark your pattern, keep it simple, I just marked four curved lines evenly from point to base, then a curved horizontal line.
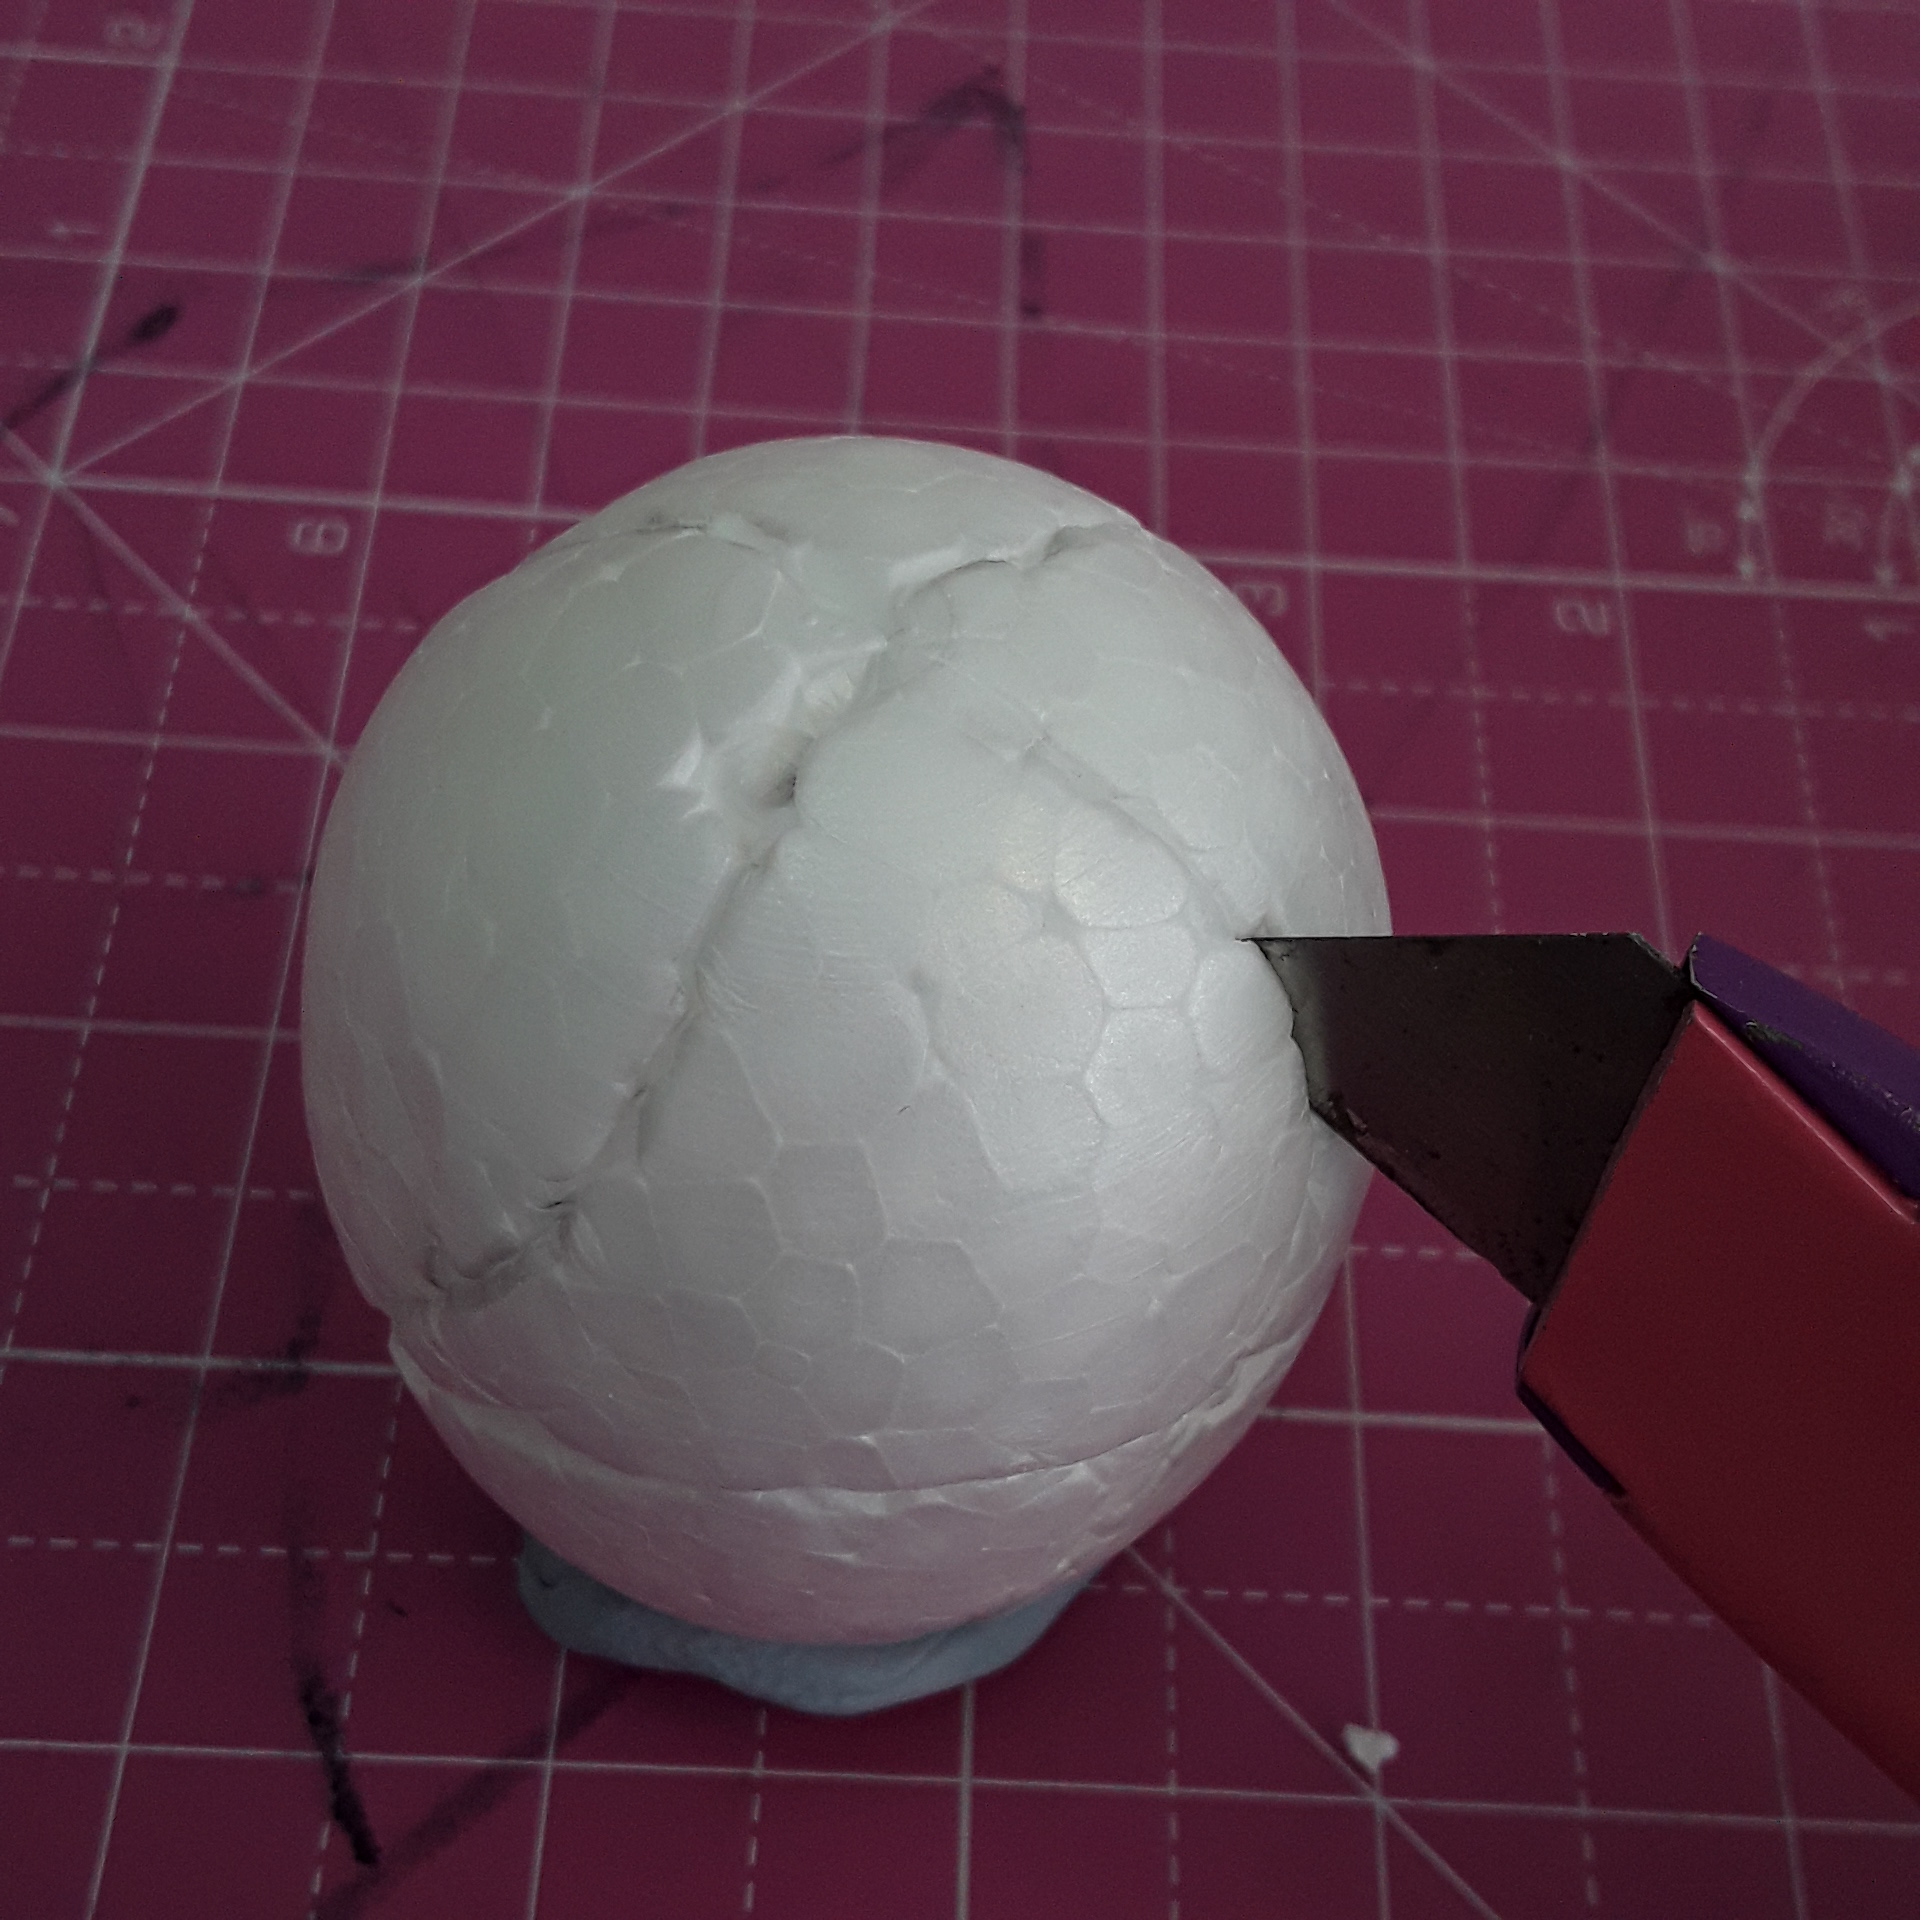
Next, place the egg on a piece of blue tack to keep steady and with a sharp Stanley knife cut grooves just under 1/4″ deep into the lines.
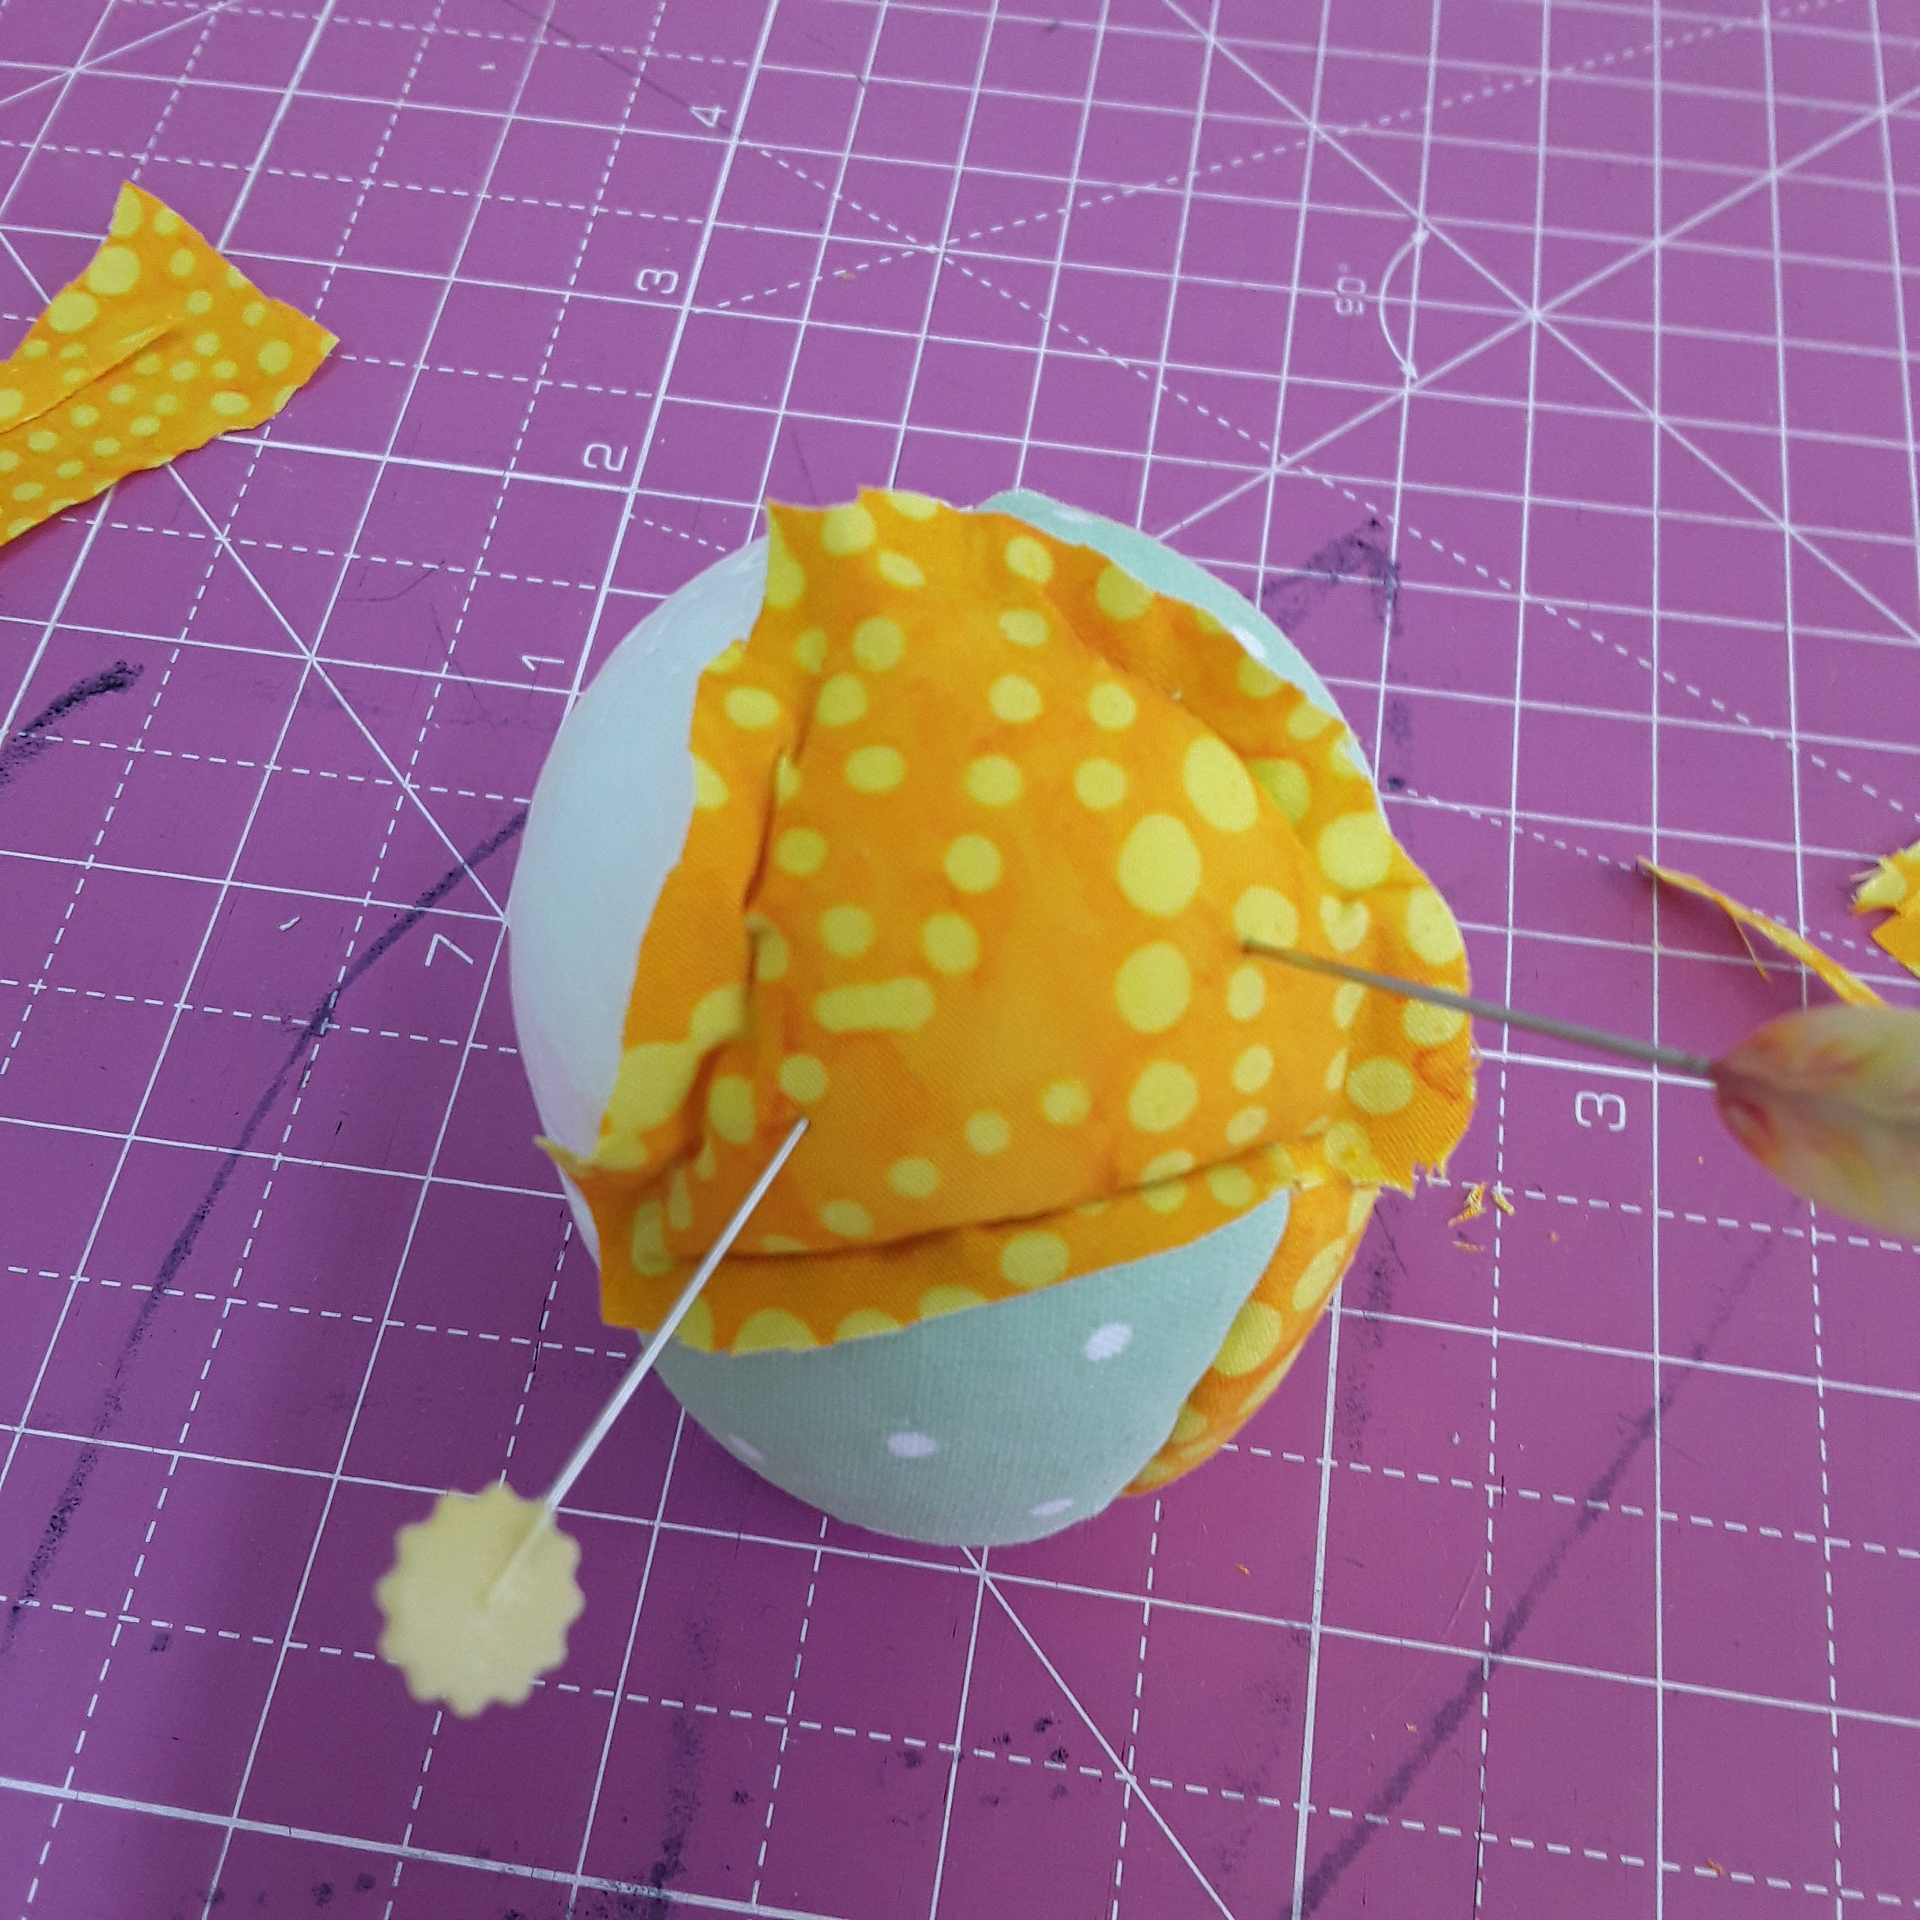
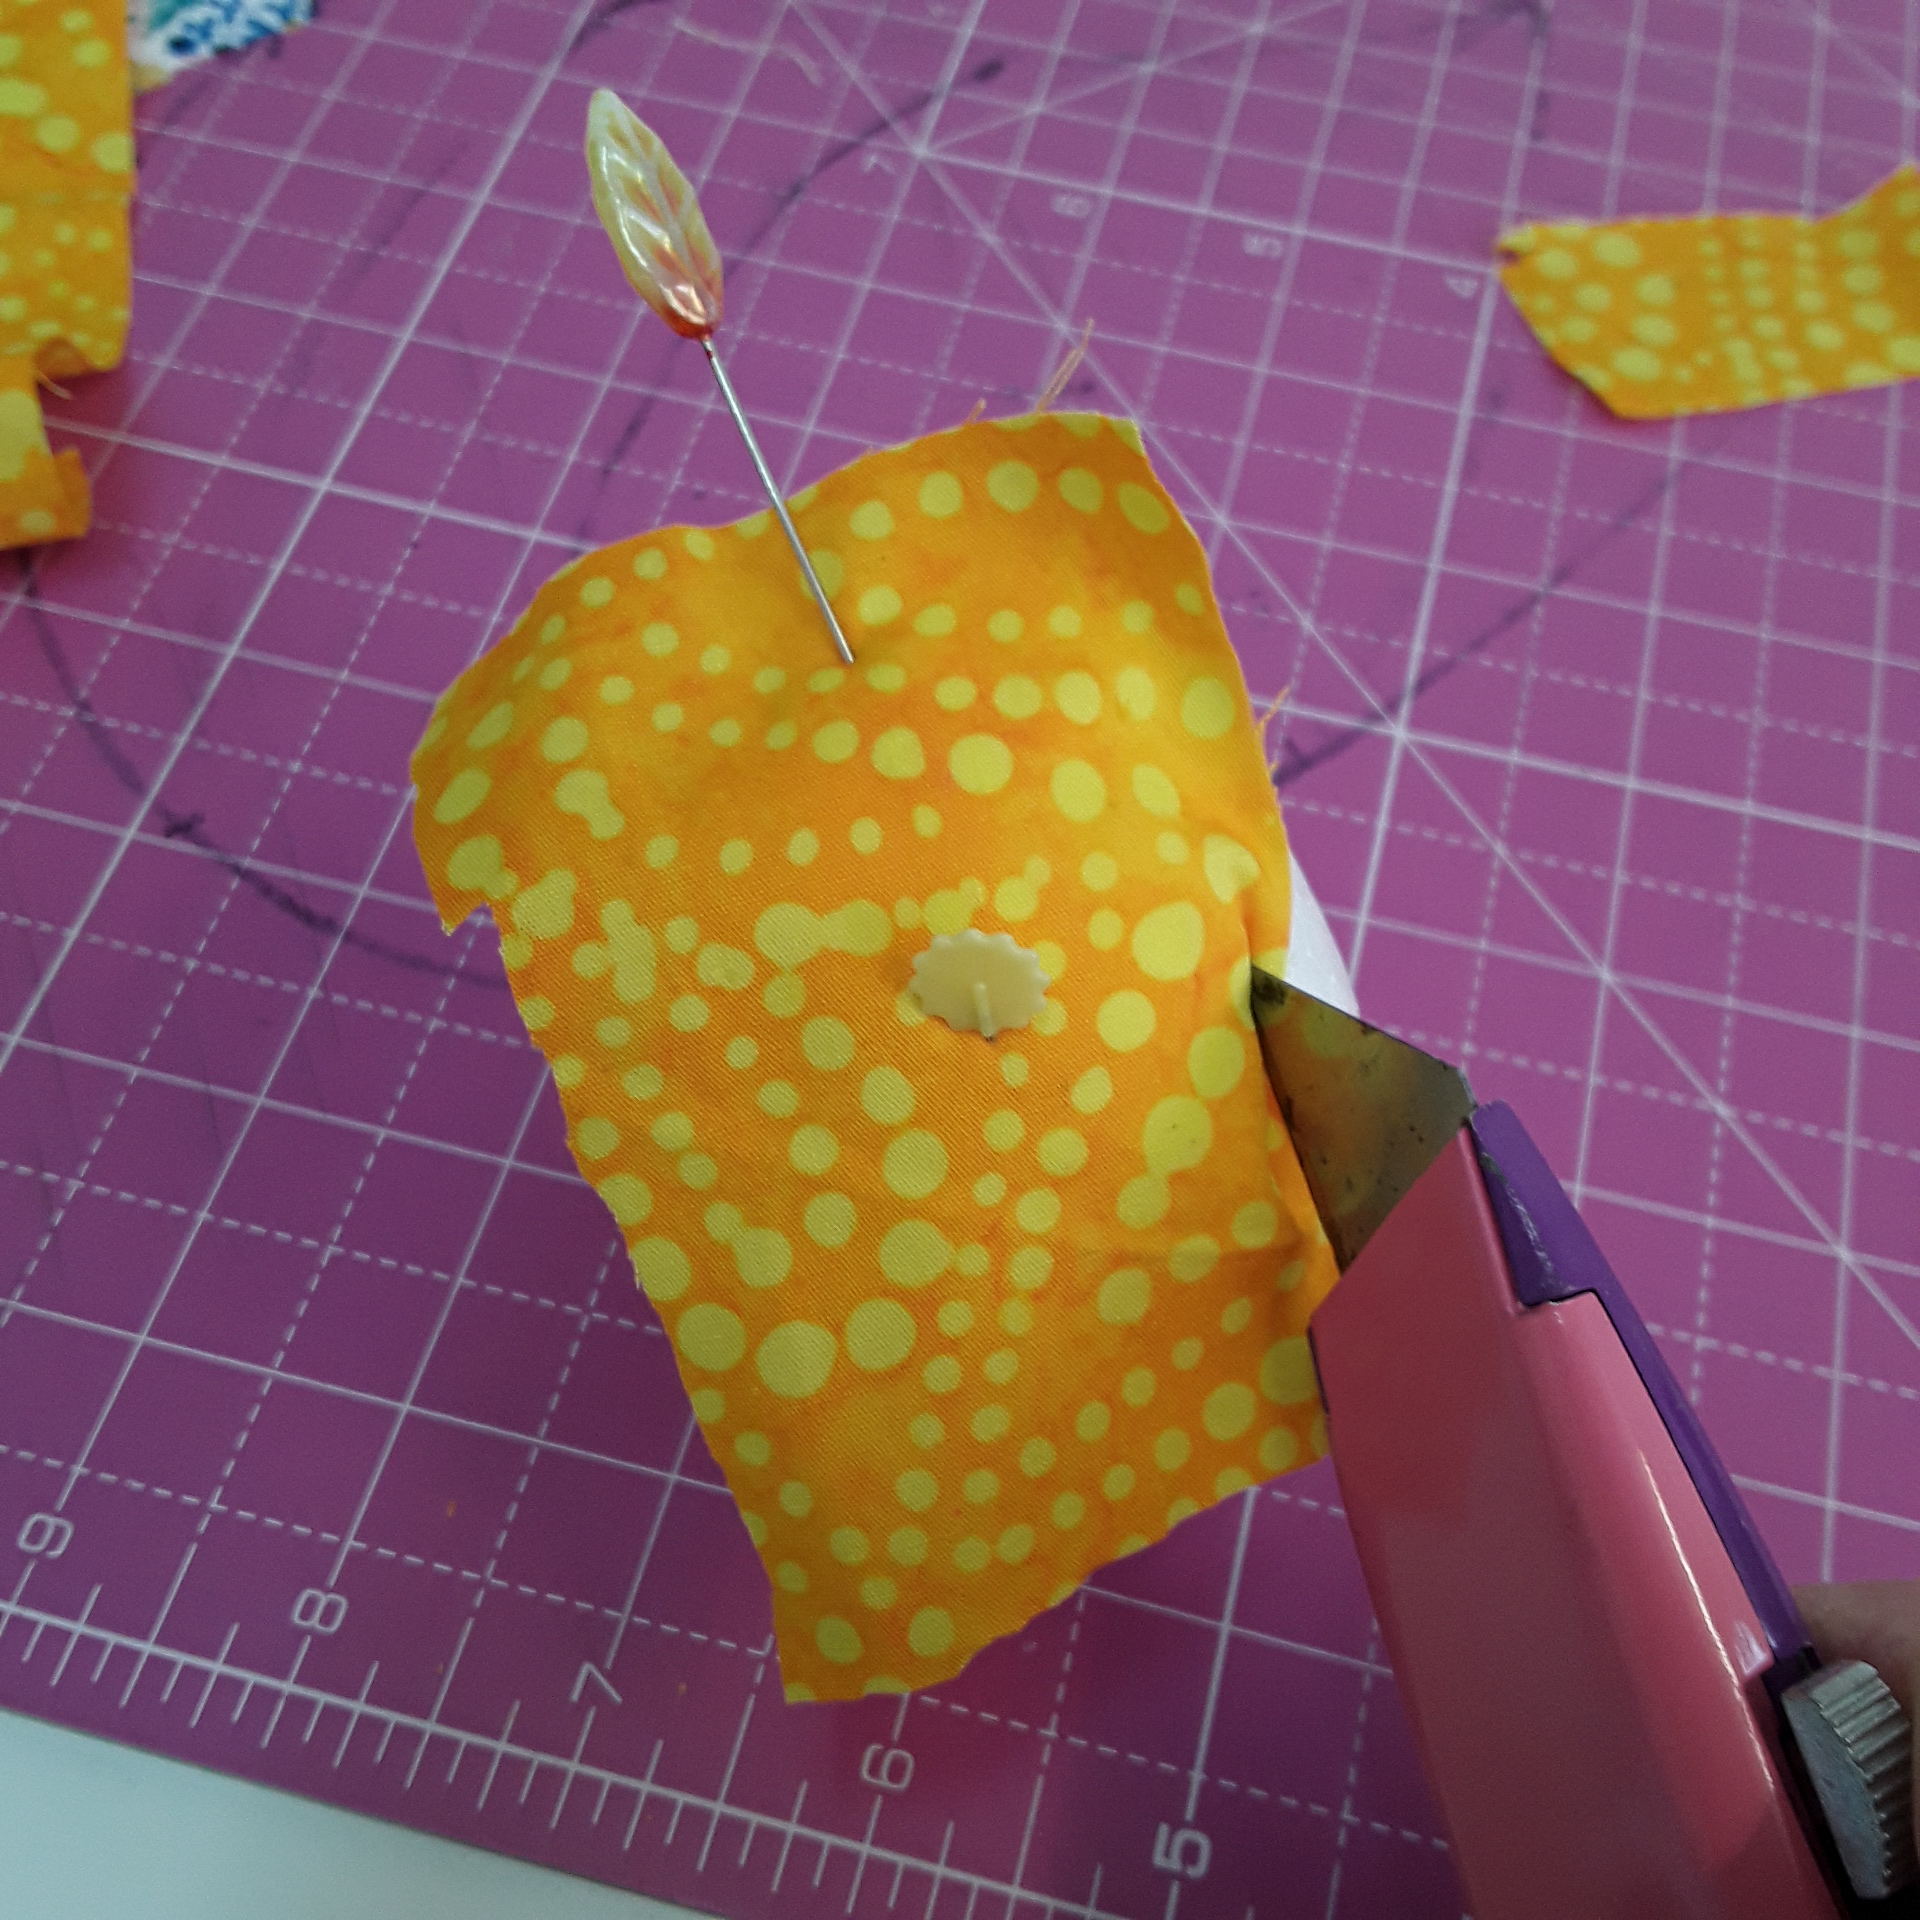
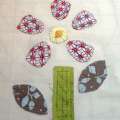
Choose your fabrics and roughly cut a piece to fit one of the segments, pin in place, and trim away, leaving about 1/8″ to push into the crevices. Push the edges into the crevices with the knife. Repeat with the other fabrics until covered.
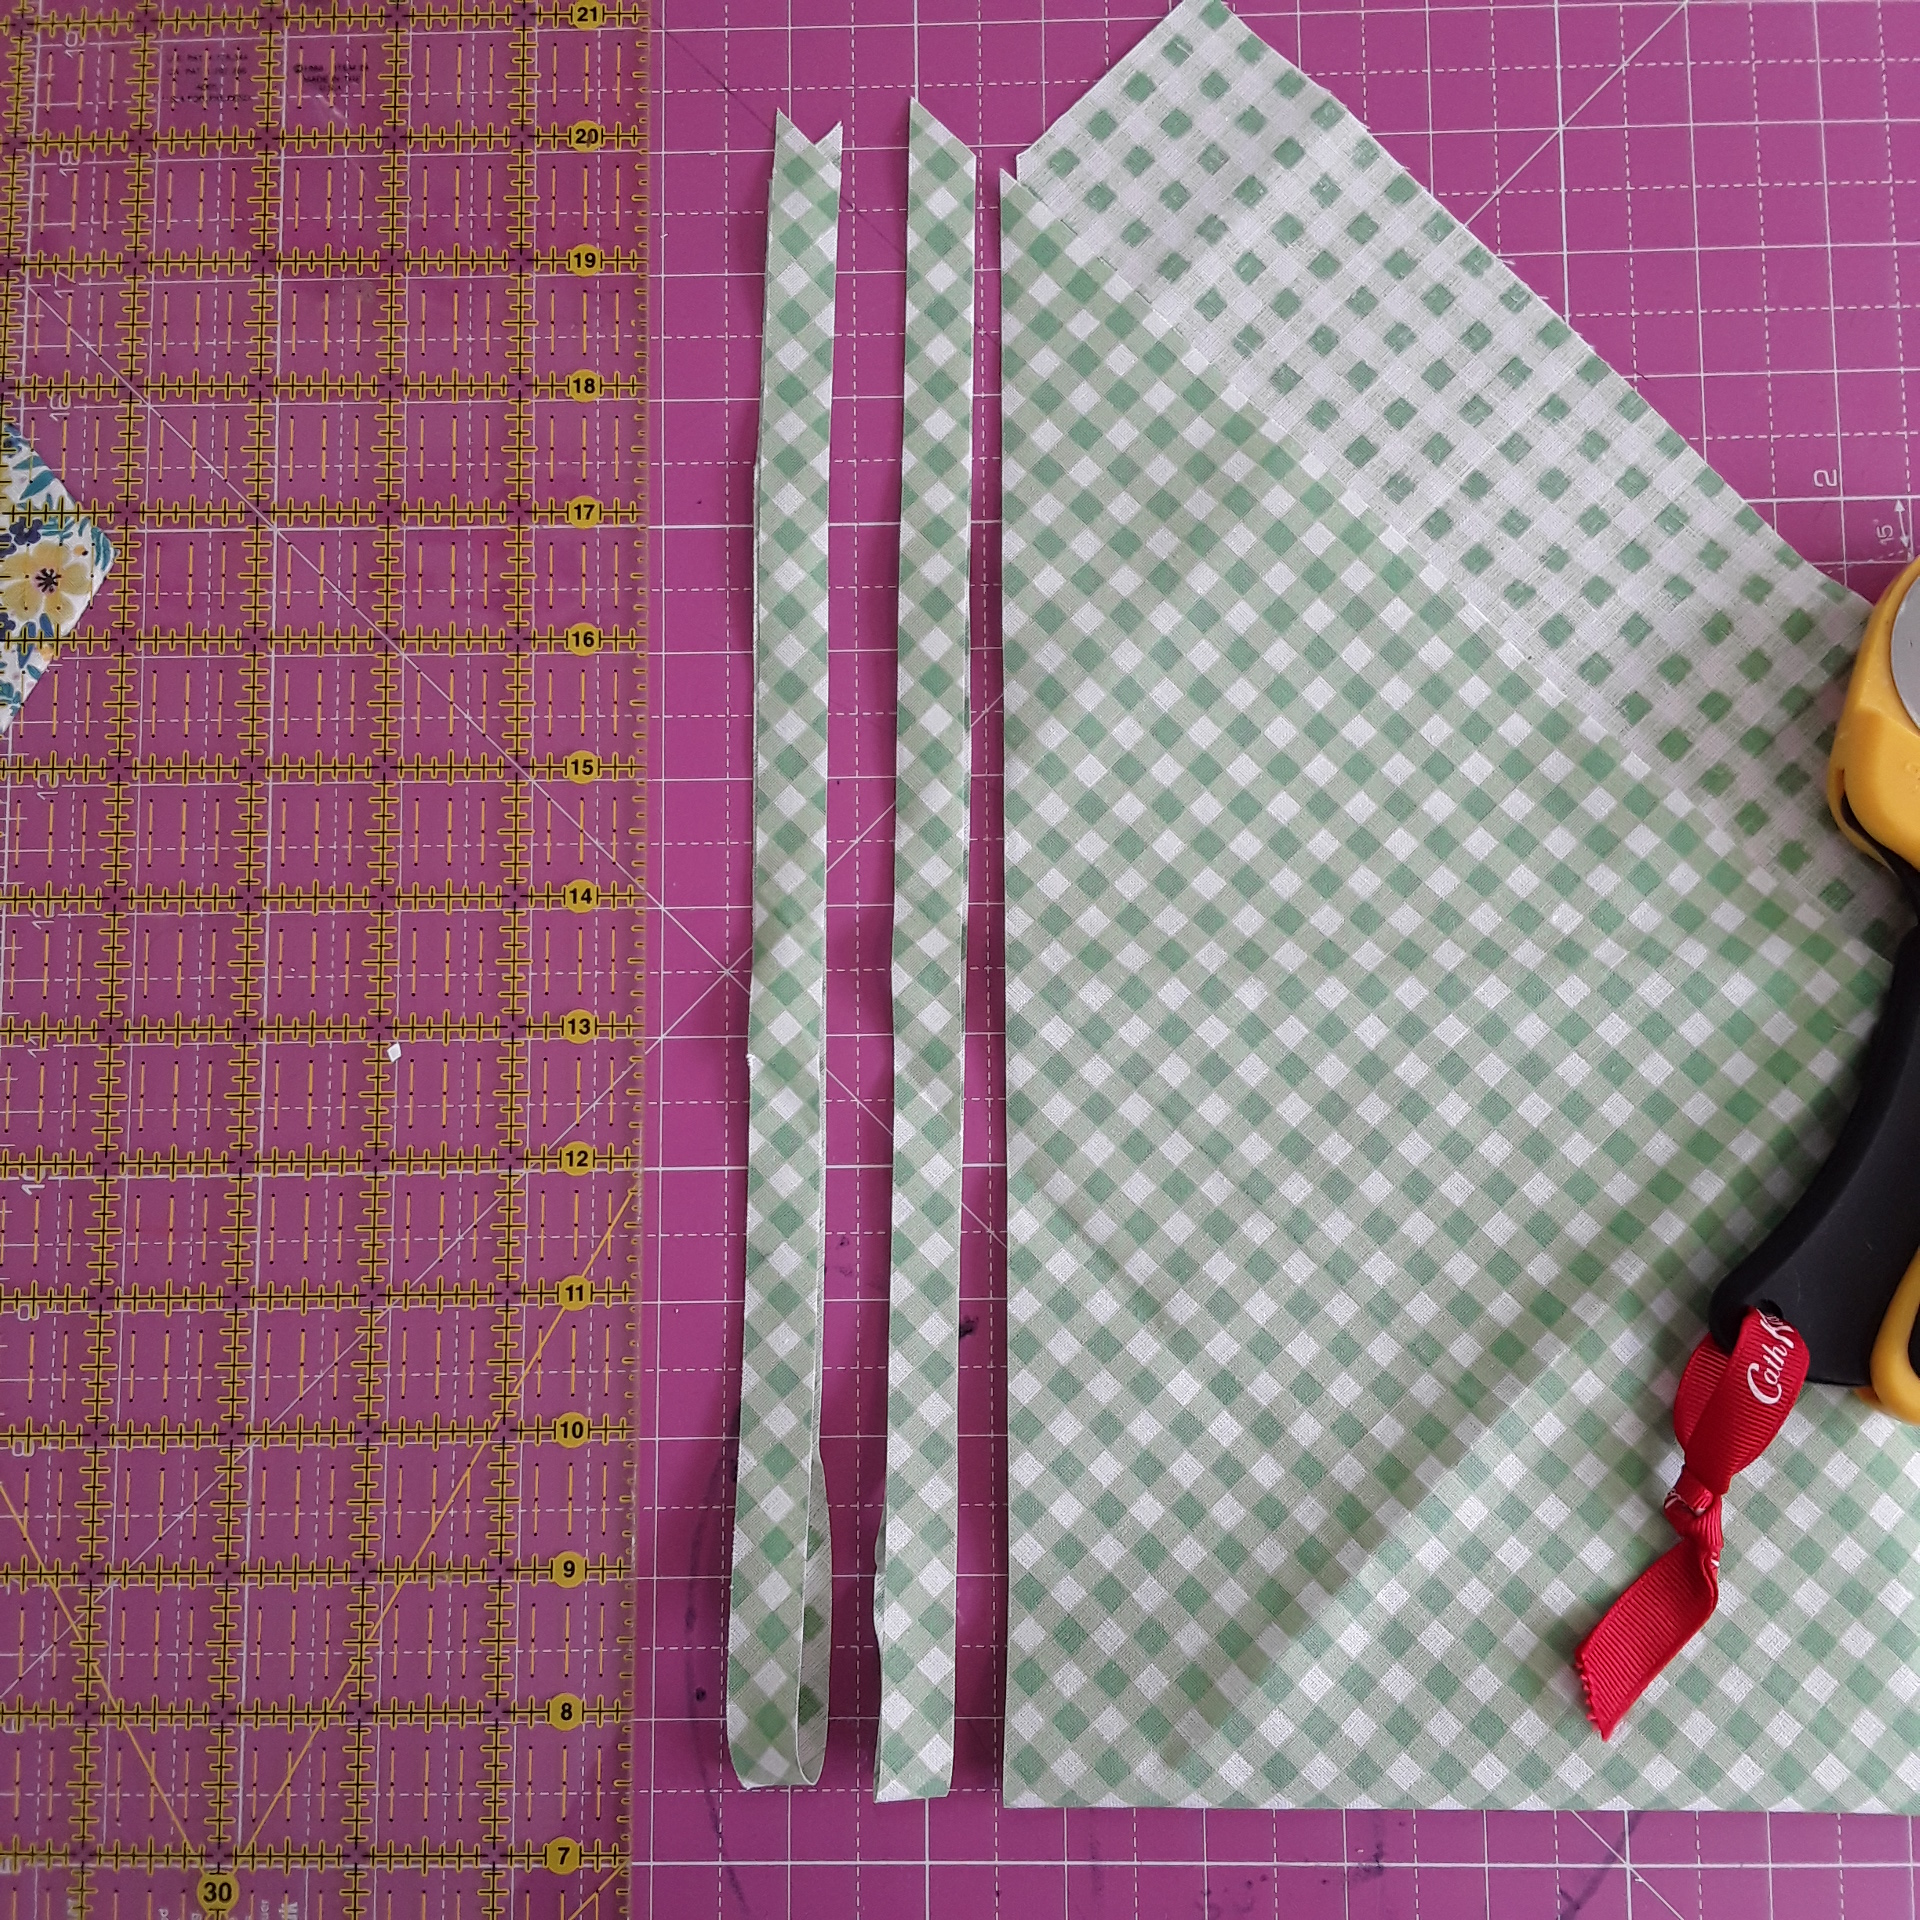
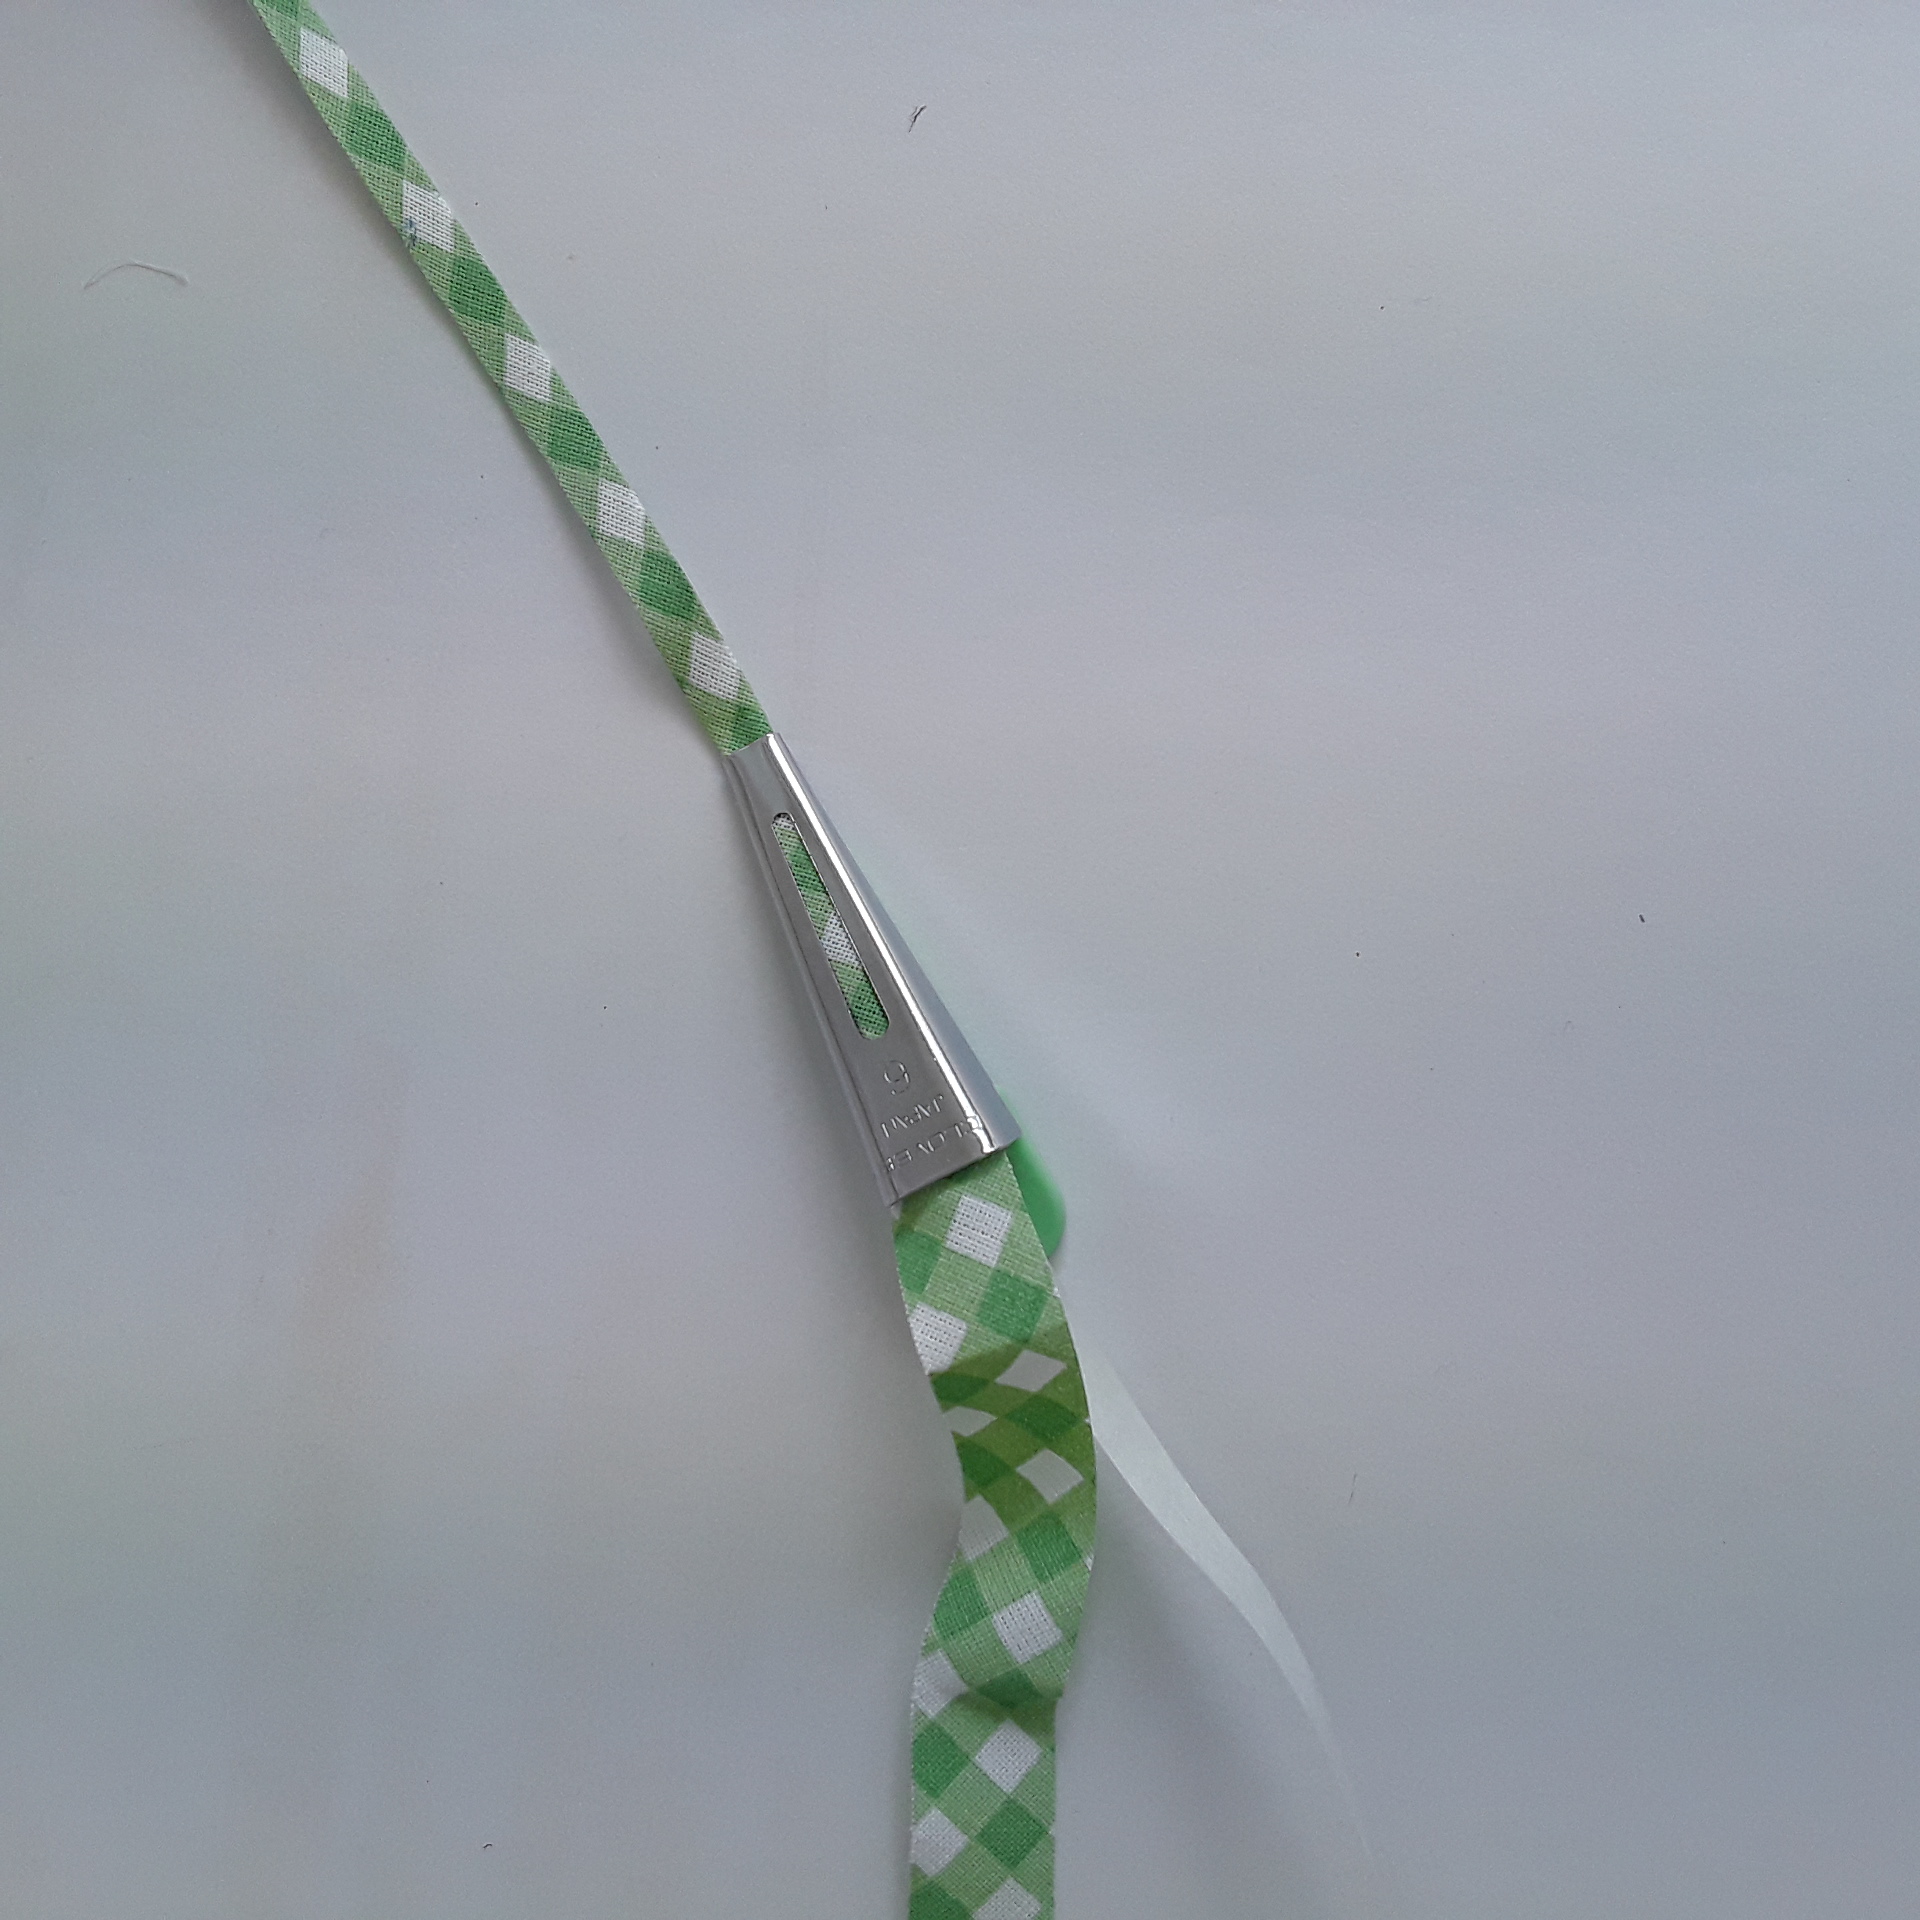
Make up some bias strips of 1/2″. MUST be cut on the bias. Feed through the bias maker along with the fusible tape.
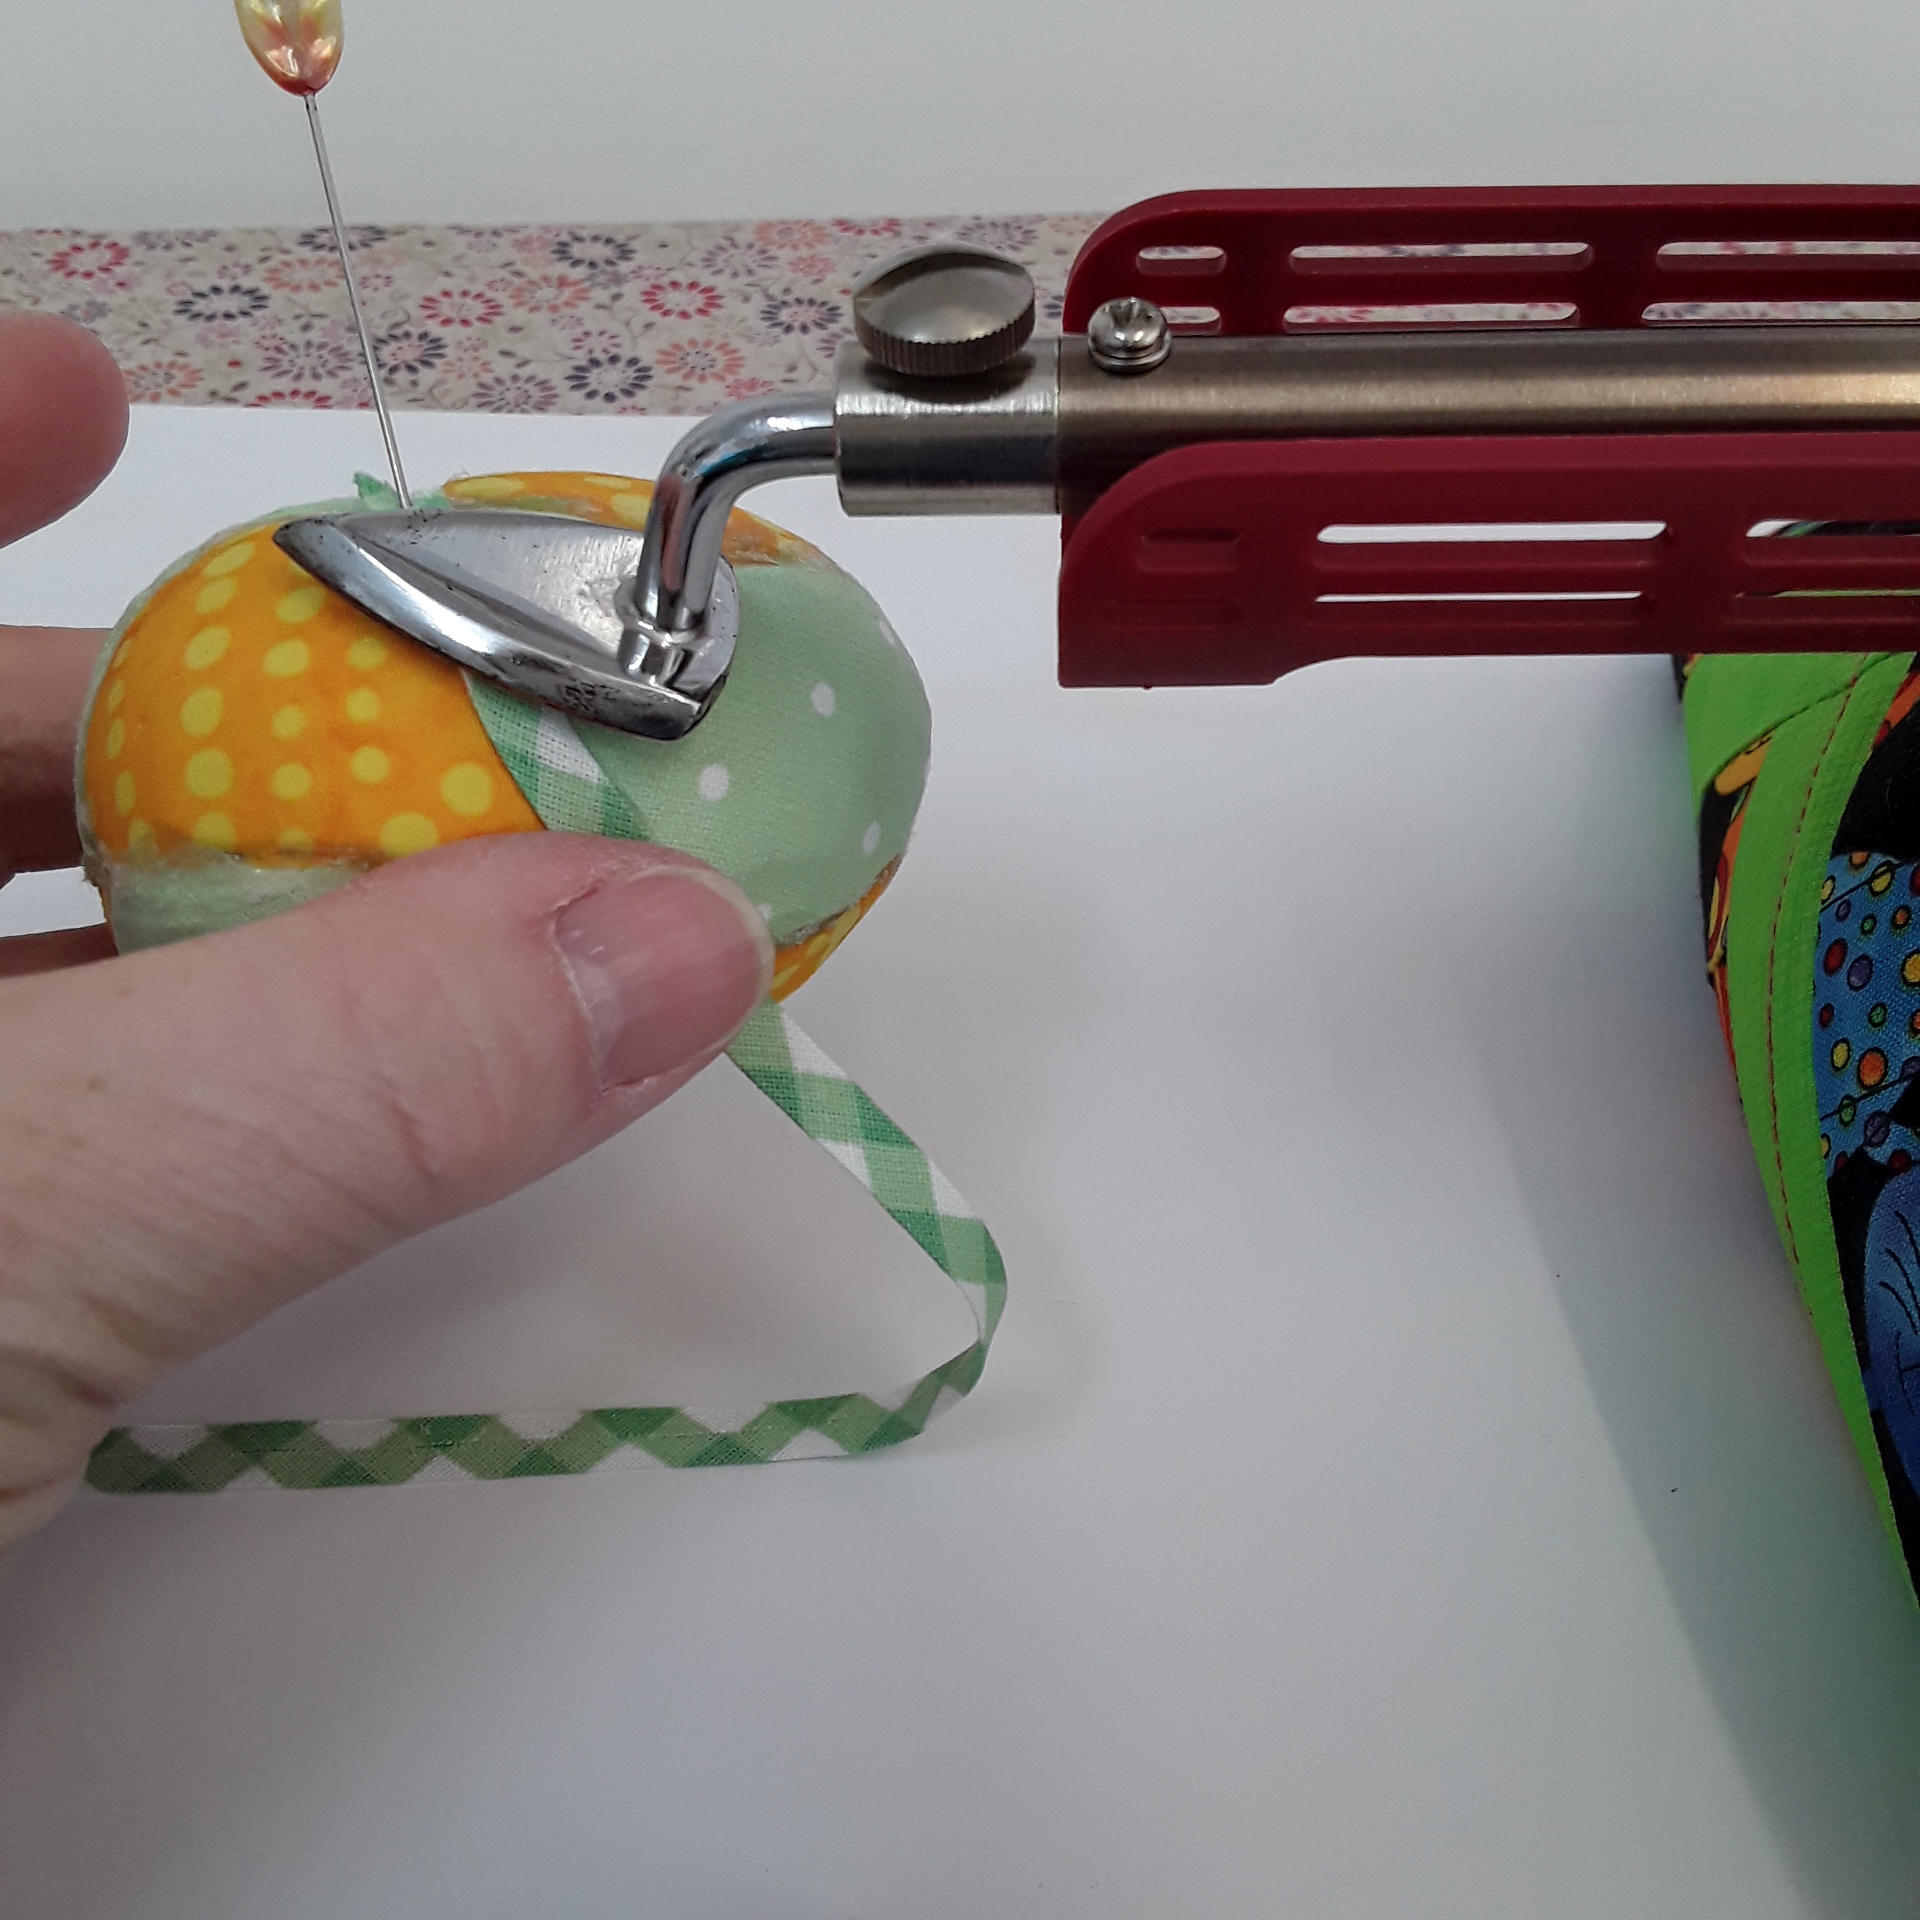
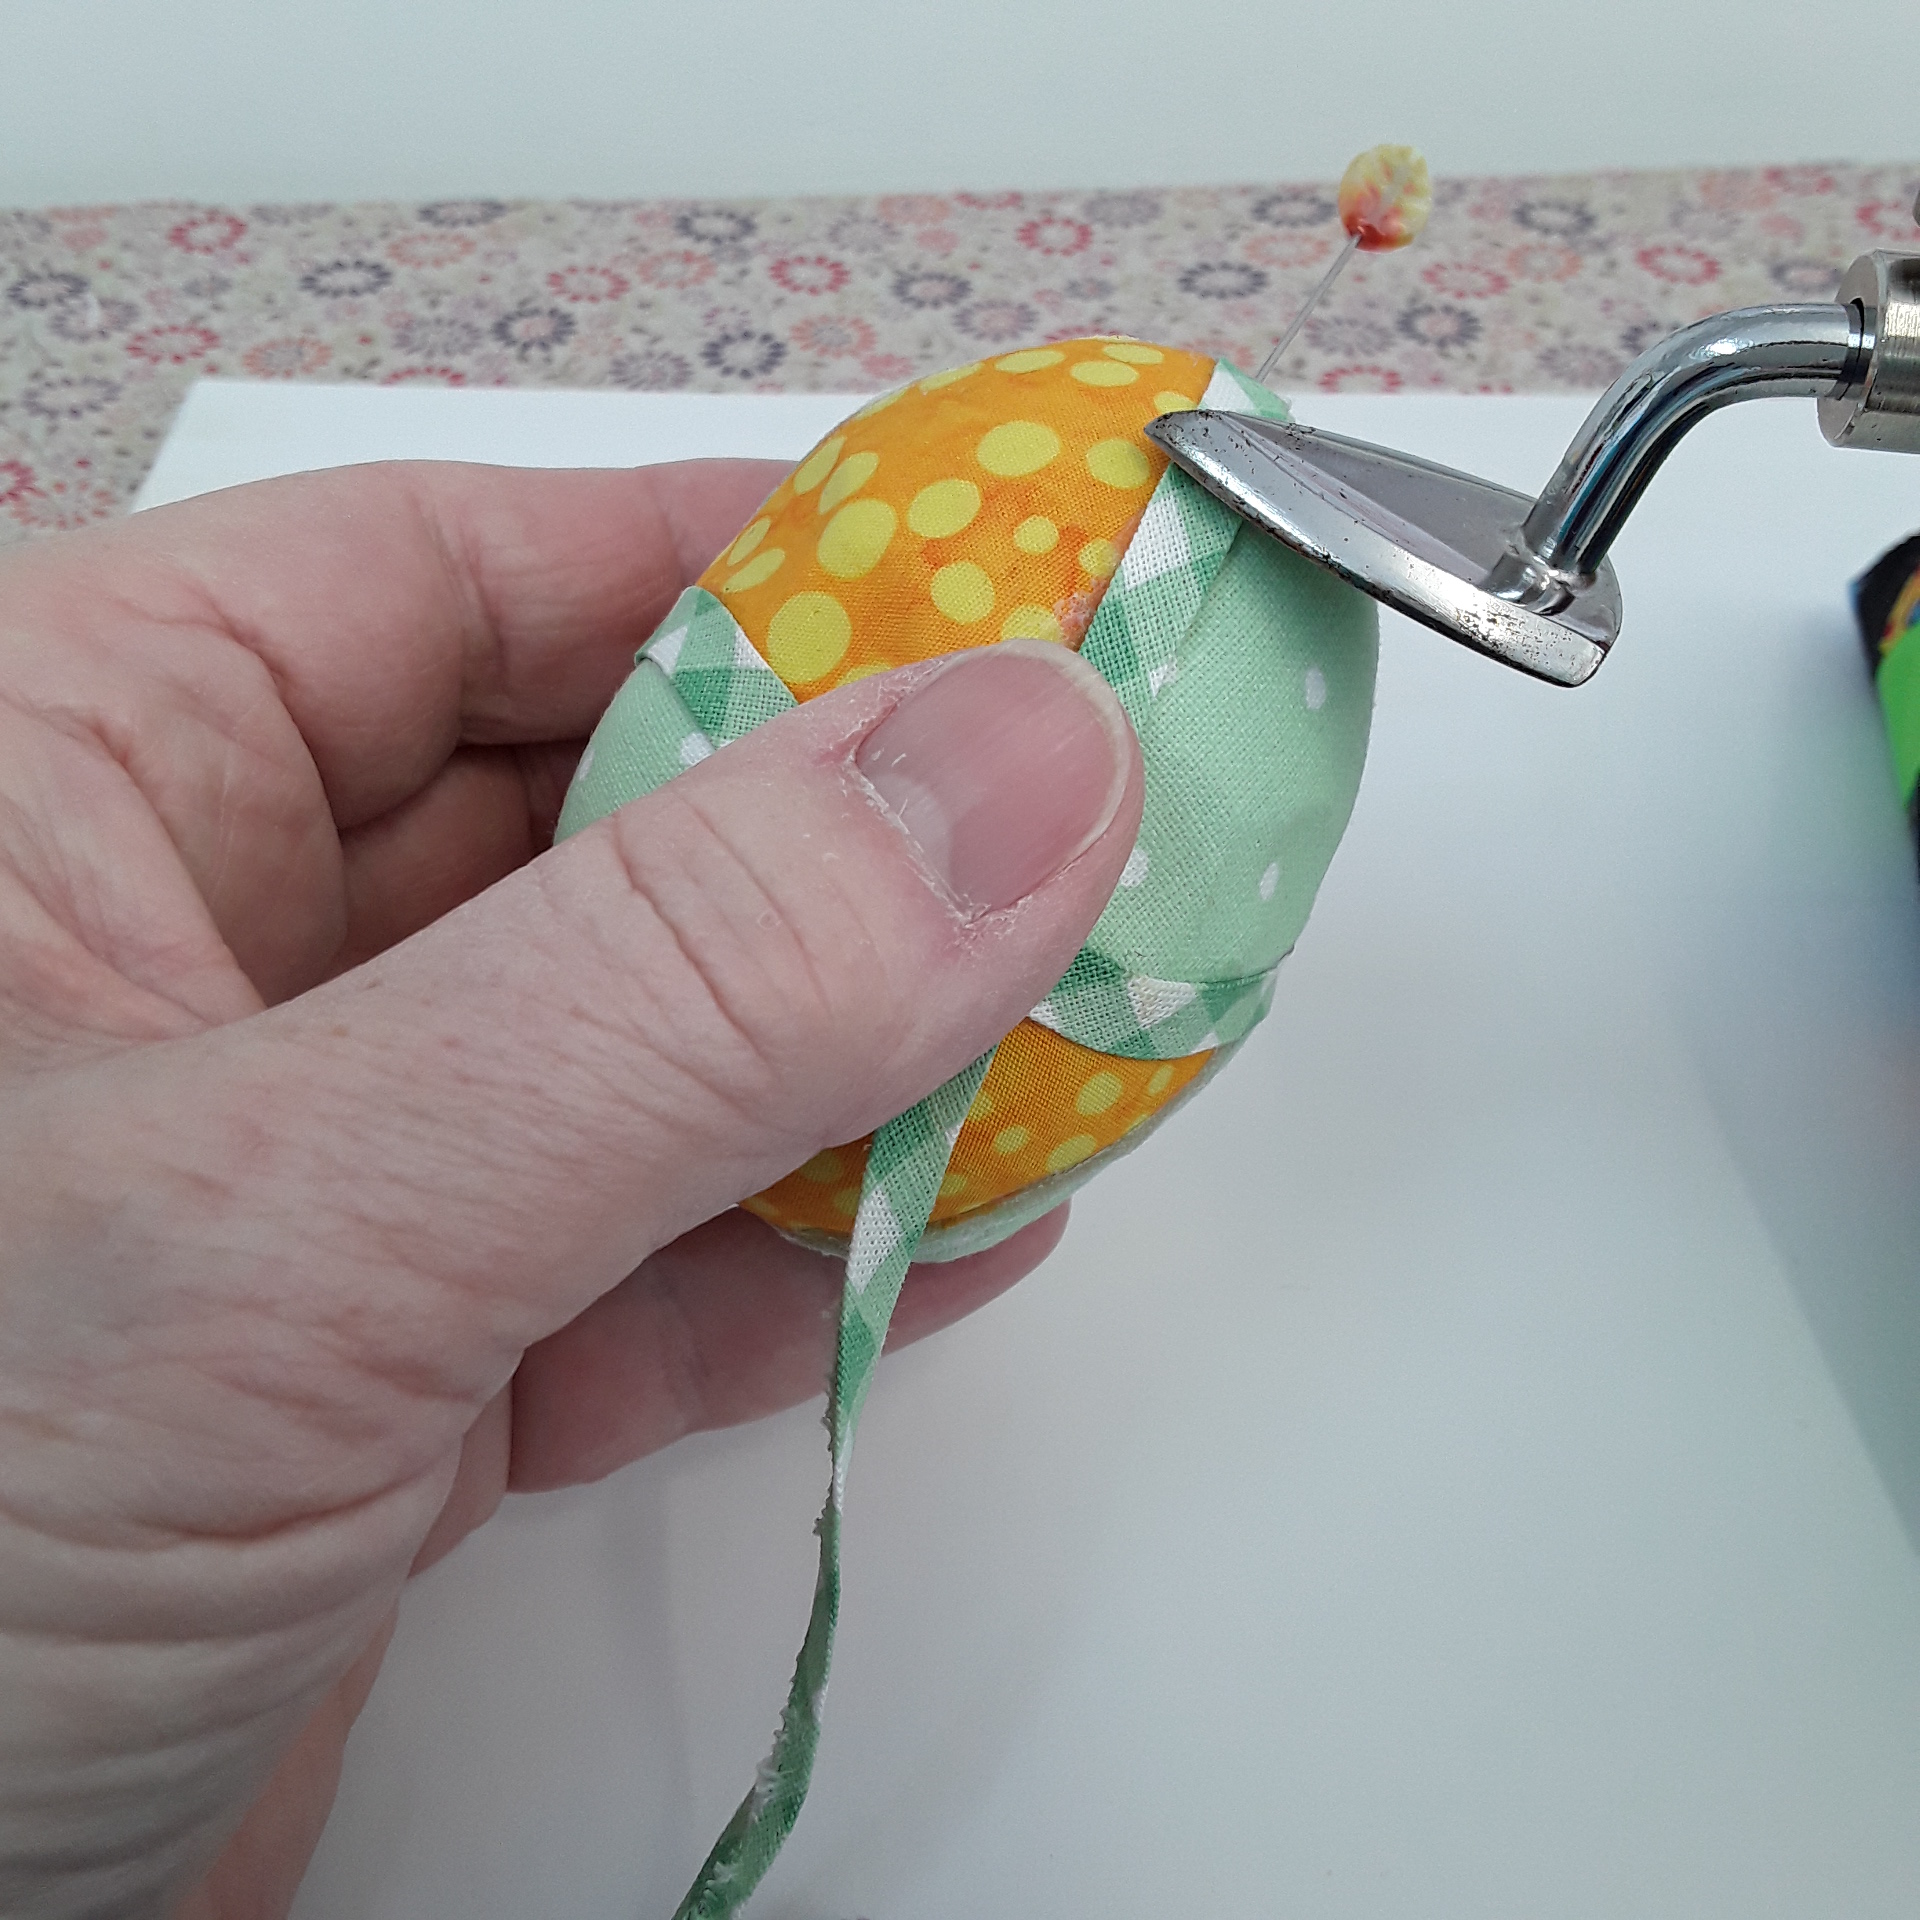
Start with the horizontal mark, trim end and pin at a junction.
Using the mini iron, lightly touch the bias enough to melt the fusible tape, but DON’T press too hard or too long as it will melt a dent in the polystyrene egg! Ask me how I know .
.
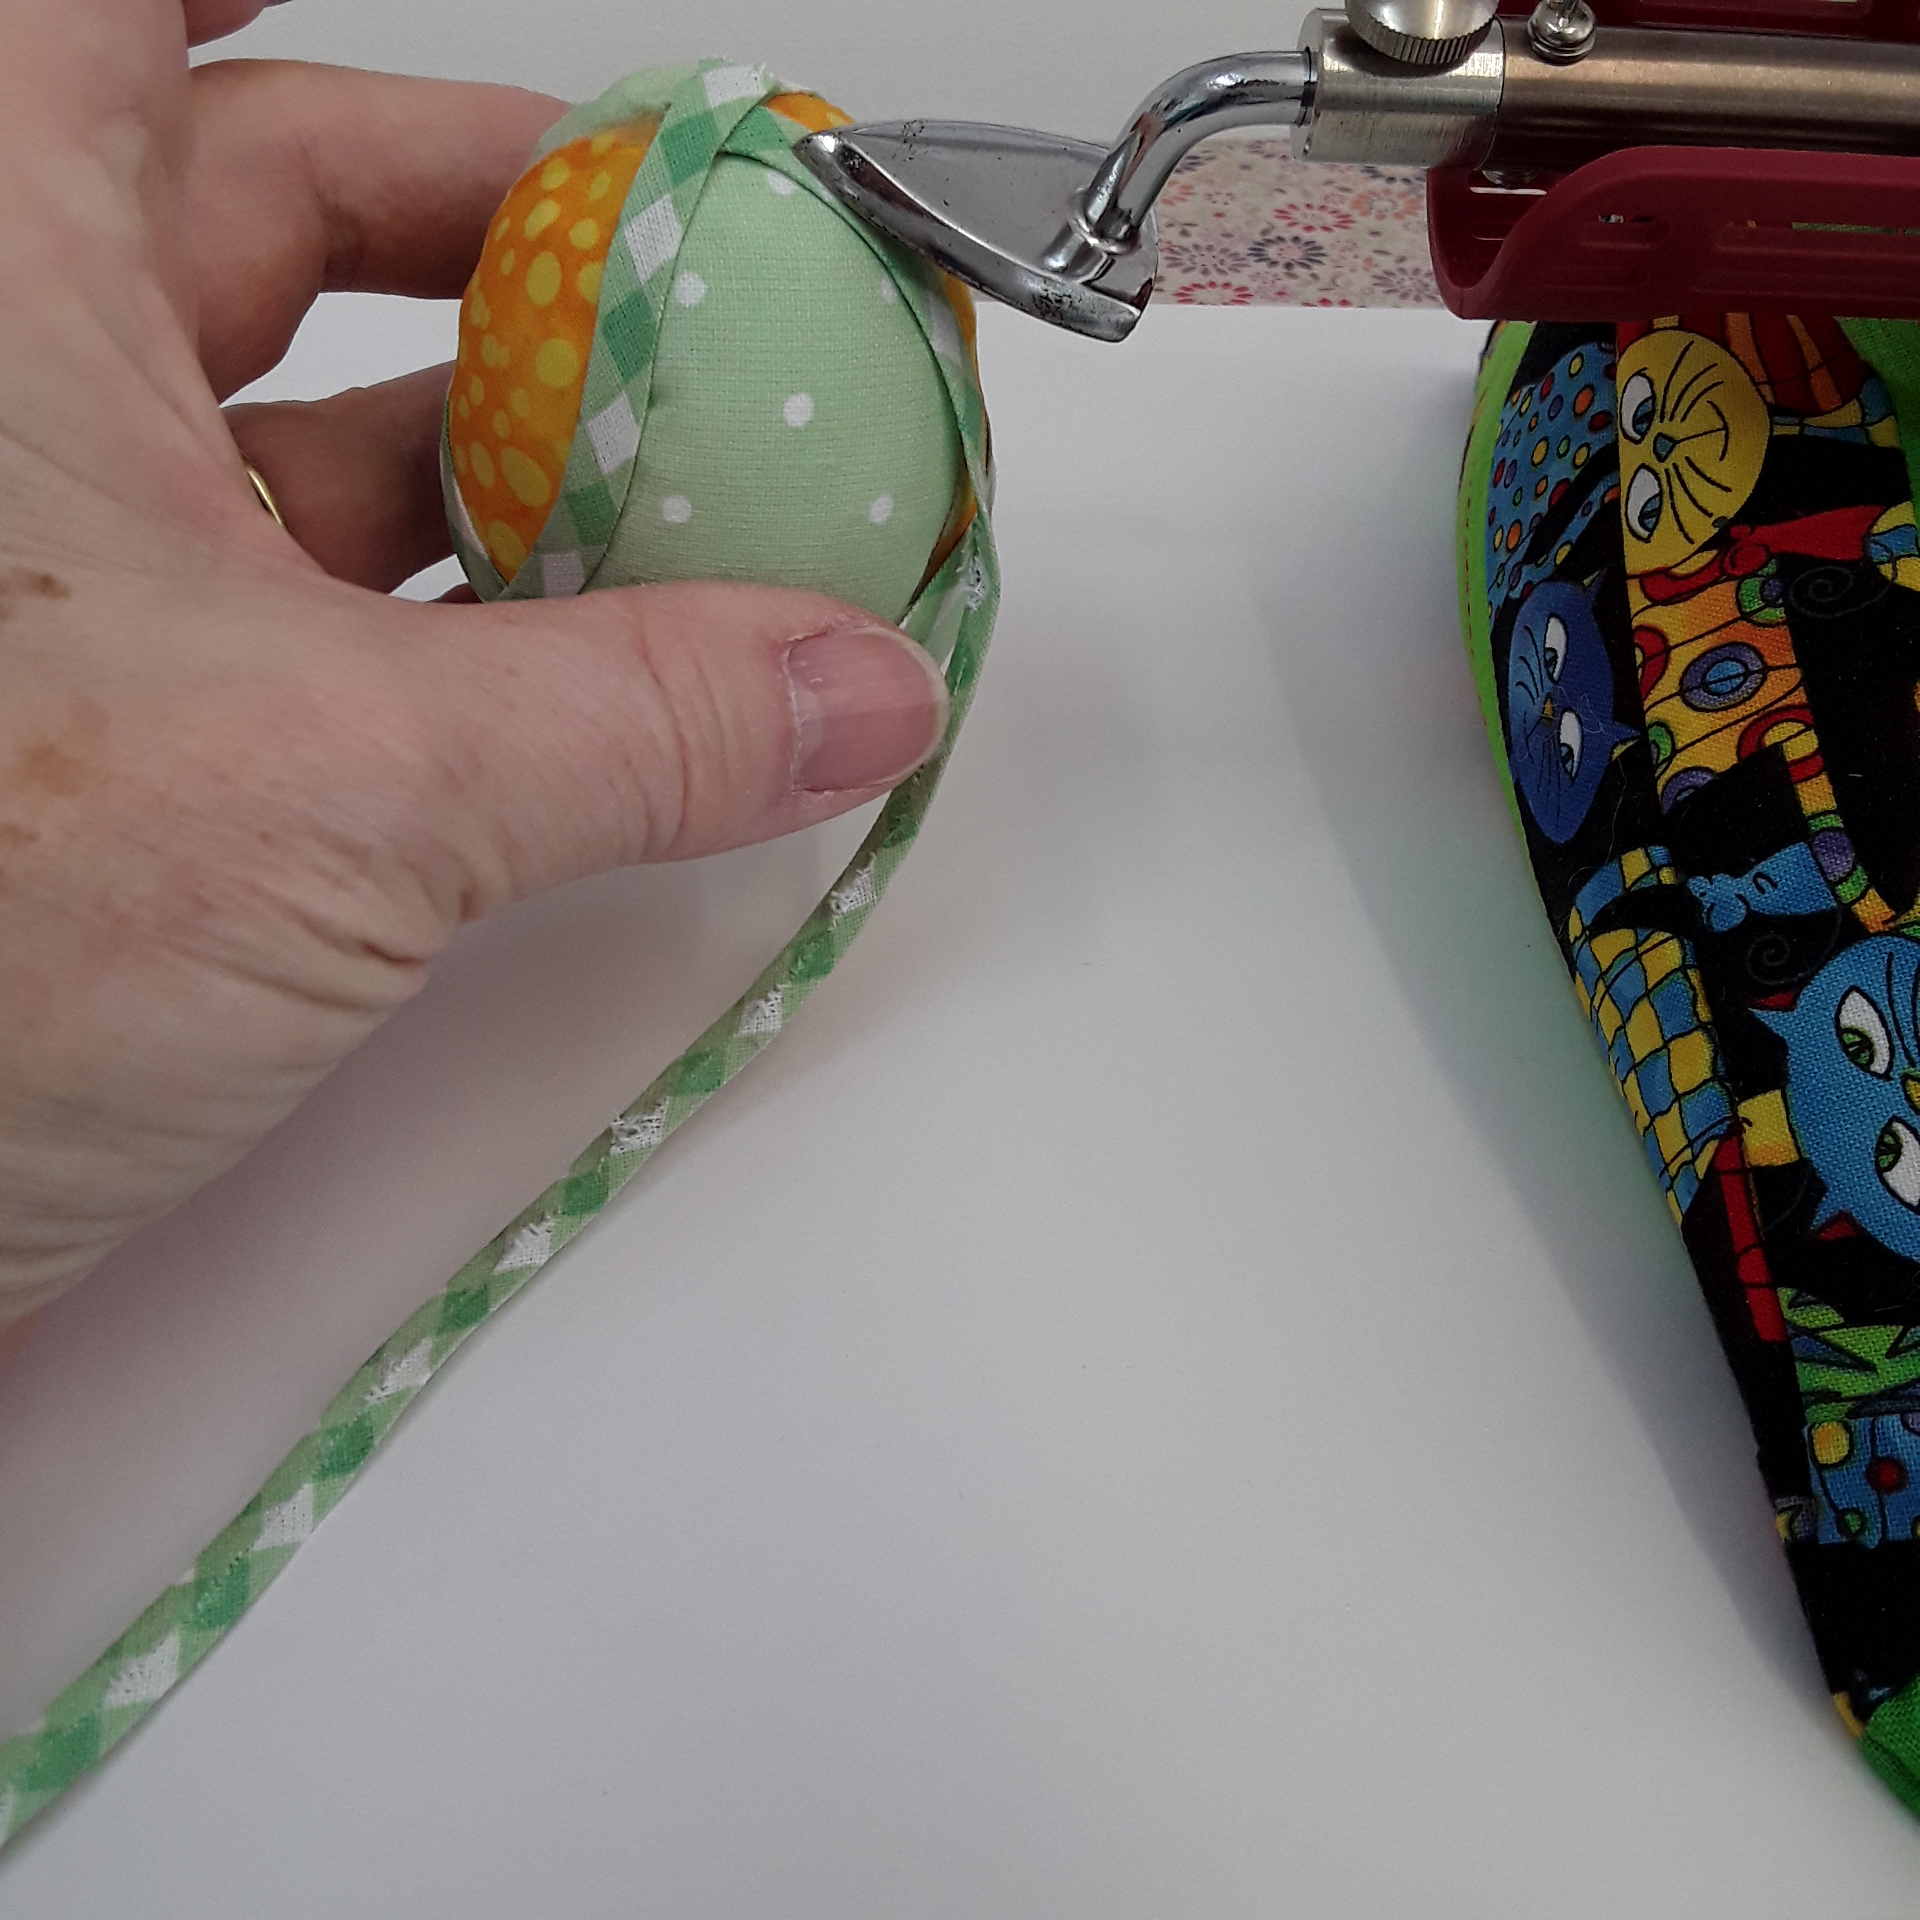
Run the tape round following the curves until you finish back at the beginning, trim to line up with the start.
Next pin to the top point of the egg, and follow vertical contour lines down and back up to the start, trim.
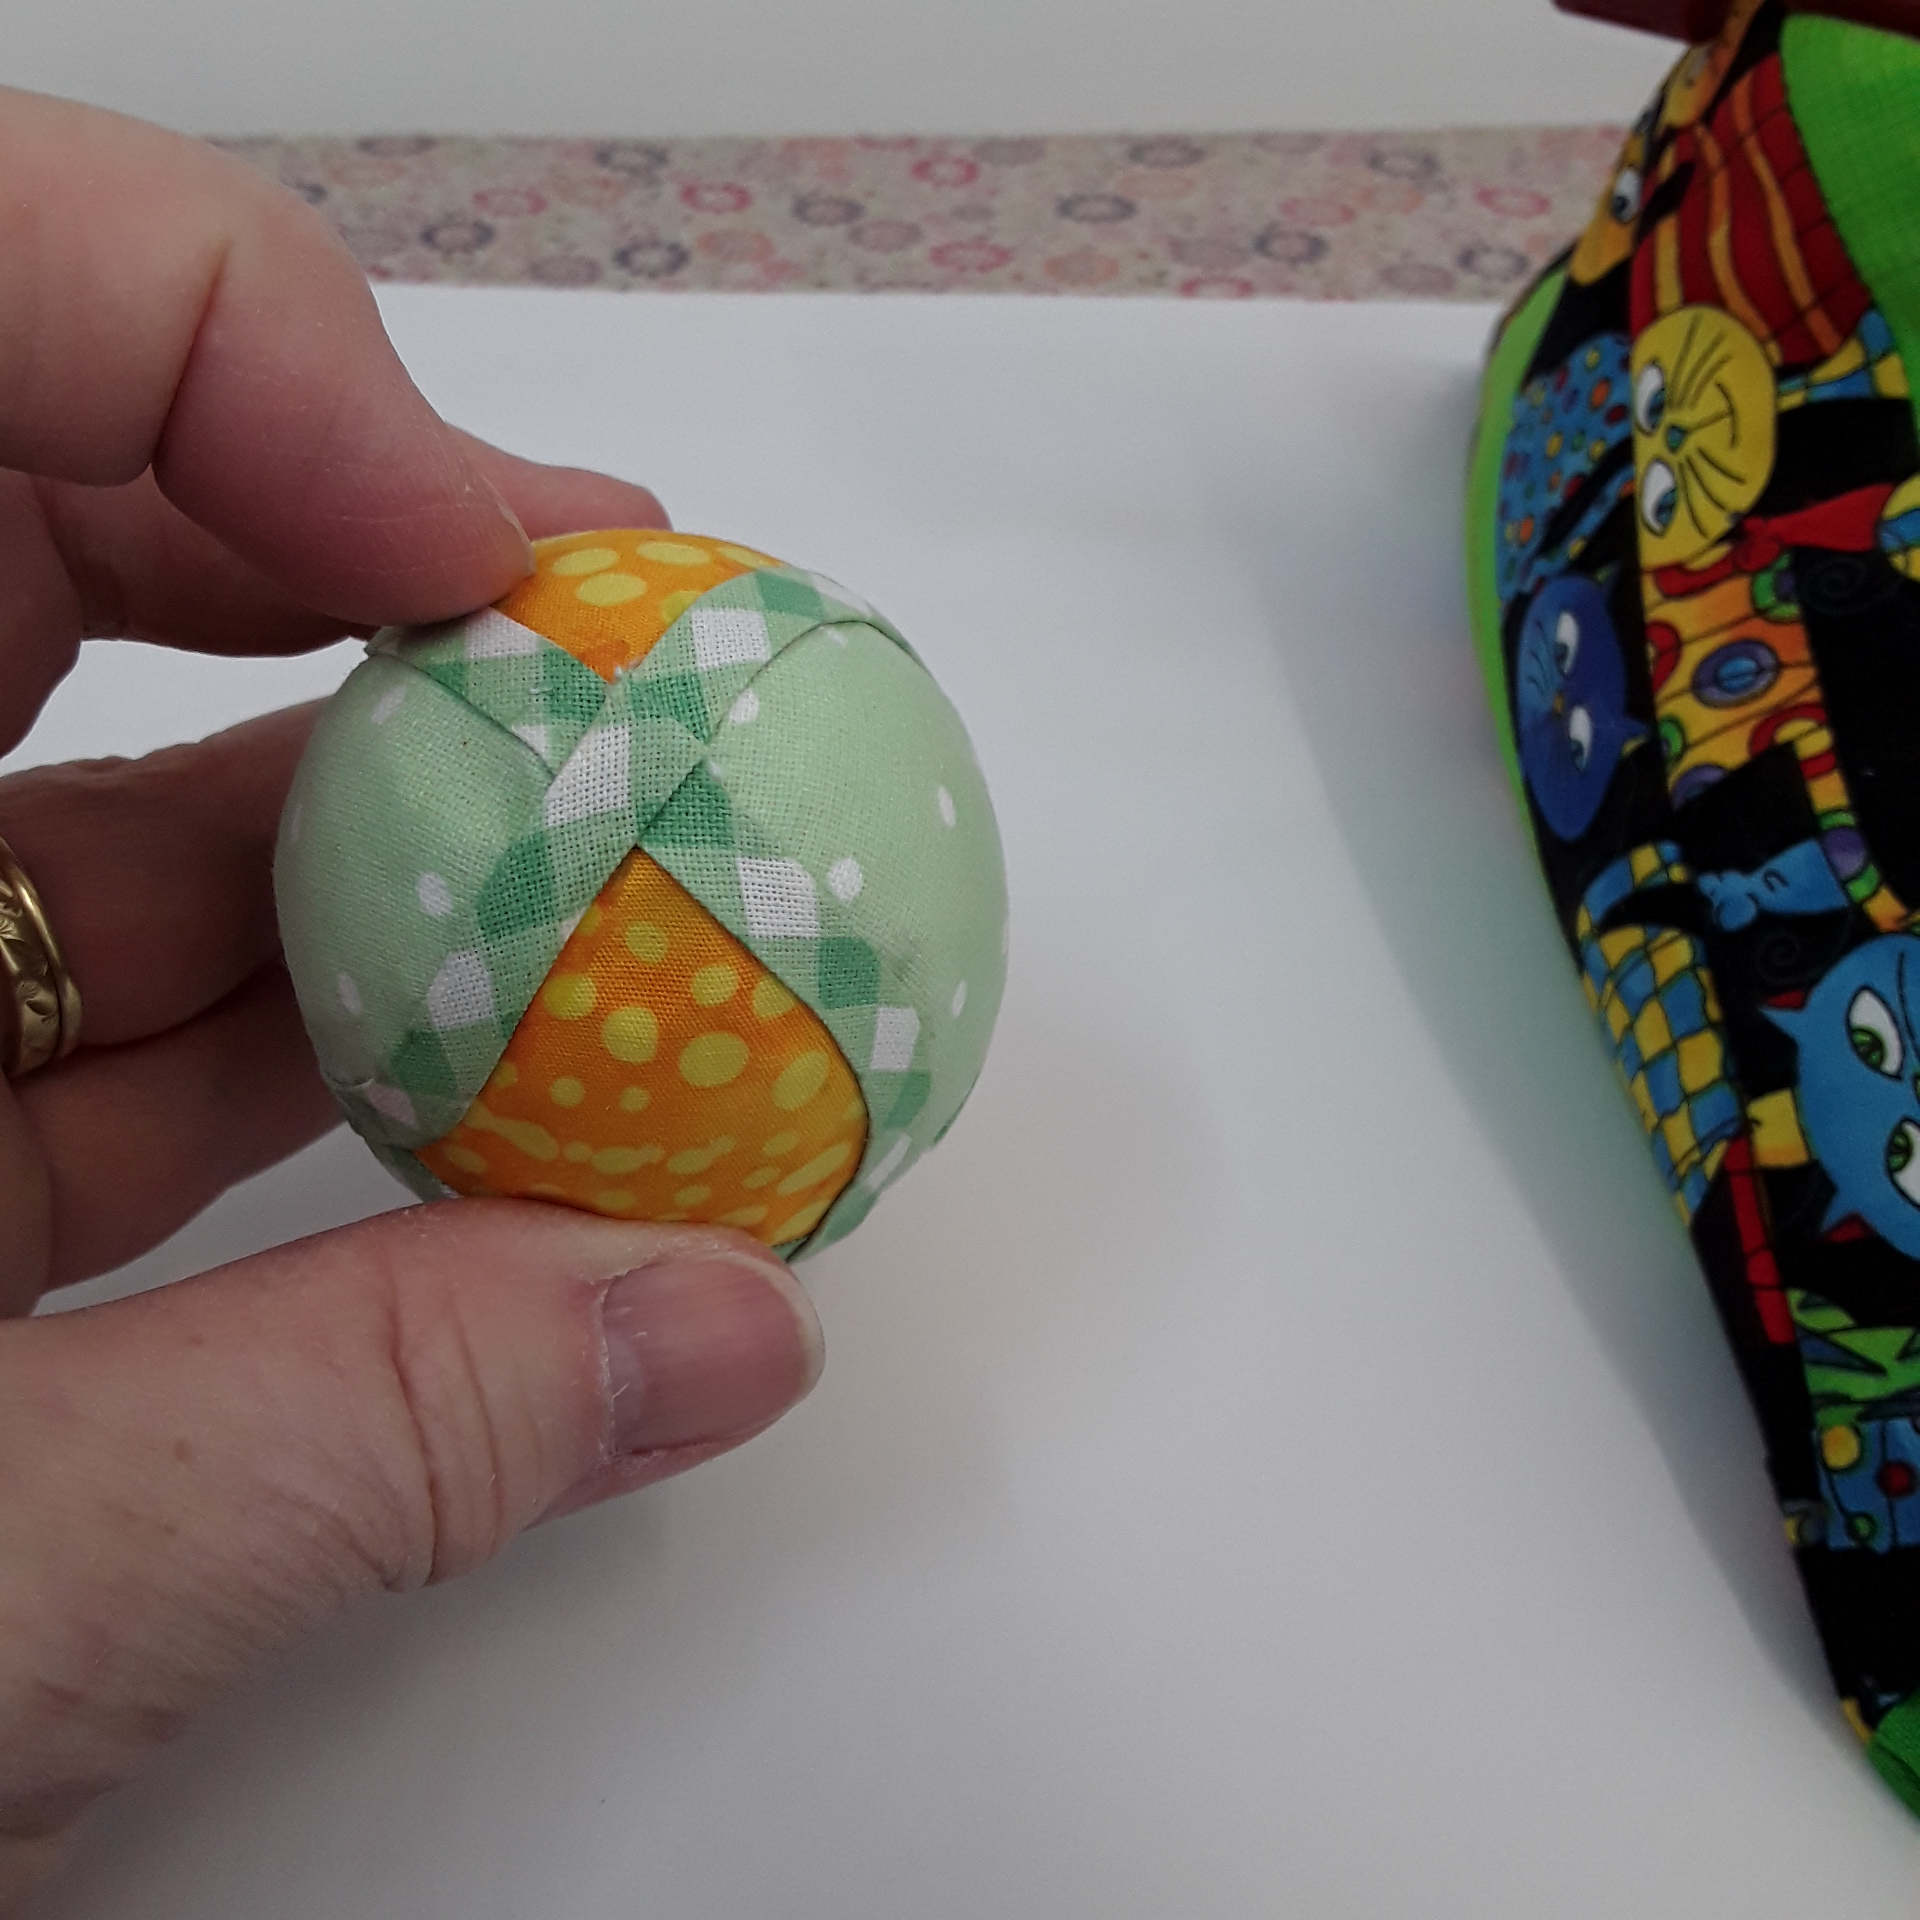
Repeat with the other verticals.This should cover the join of the horizontal cuts.
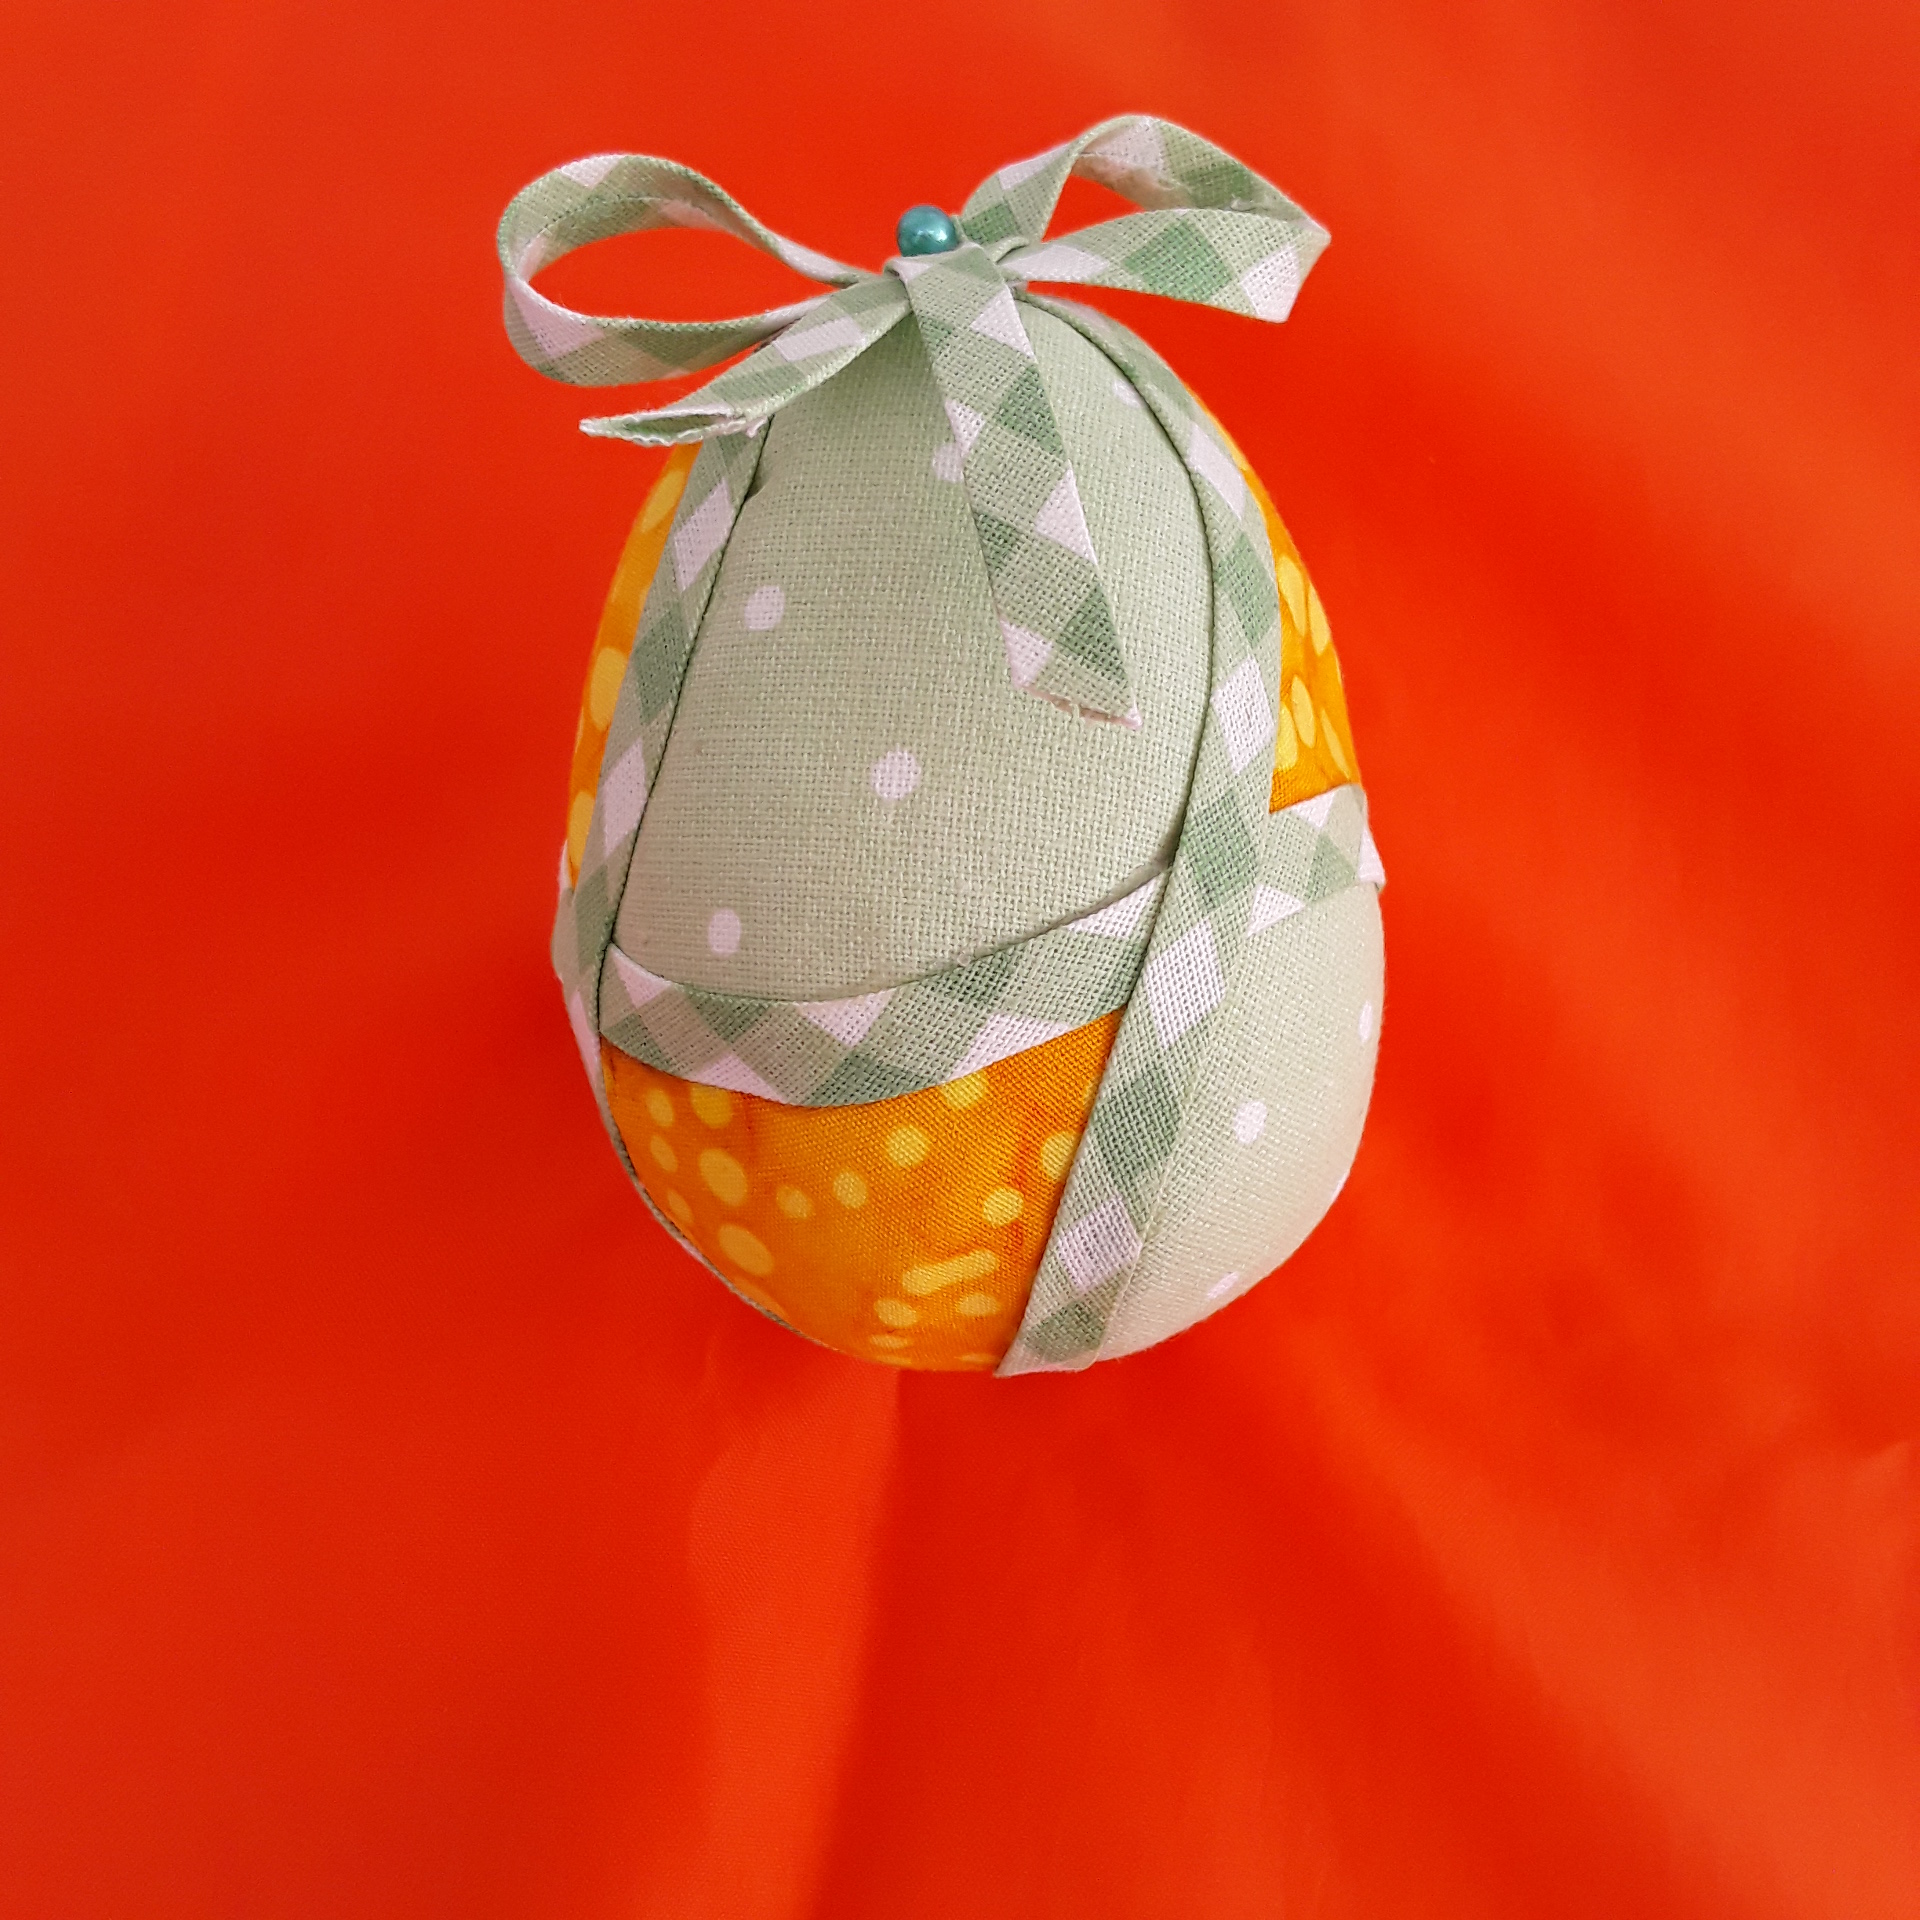
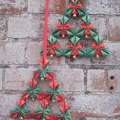
Place a bow at the top to hide the joins…eggsellent!


Responses