The Wandering Way quilt – or ‘how to make the best of a bad job’
Disclaimer – this is an old kit and the pattern and fabrics may no longer be available.
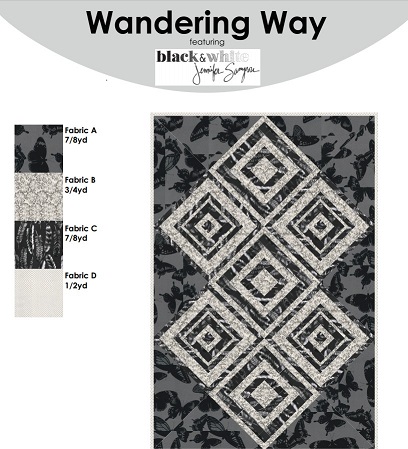
So Mo had me dig out some of my kits, I have a few  This is a Craftsy kit for a wallhanging, 31″ x 51″ from Robert Kaufman. I adore the fabrics – the butterflies, the feathers and the fabulous diamond-like pattern. I didn’t really want to cut it up but that is what we do…
I made such a mess of it – I cut the diamond fabric along the wrong side so I thought I’d not been sent enough. Plus for some reason I didn’t have bits cut that I needed even after ticking them off as I cut them – so did I cut a width wrong? And such ridiculous sizes, it was to be cut into 1 5/8″ strips, 1 7/8″ silly sizes like that. There’s no reason for it really, it could easily have been designed with whole or half inch wide pieces. I used the included binding fabric to replace some of the diamond fabric I thought I was missing. I trimmed some blocks down half way through to square them up so those blocks ended up smaller… I even cut far too many triangles for the corners and did a fair bit of ‘unstitching’ putting it together. It needed a bit more oomph though so I fudged the rest of the fabric to make sashing with cornerstones for the blocks I ended up with! Then I found a stash fat quarter to make a flange. Love a flange and I have my own way of ‘flanging’ (see below) that is very handy with un-accurate edges – especially on a top with bias edges. I added some fab black butterfly fabric from my ‘I really don’t want to cut this up’ stash, as a border. I ended up with enough of the binding fabric to use as binding as well in the end, came out pretty good in the end I think. It ended up about 57″ x 40″
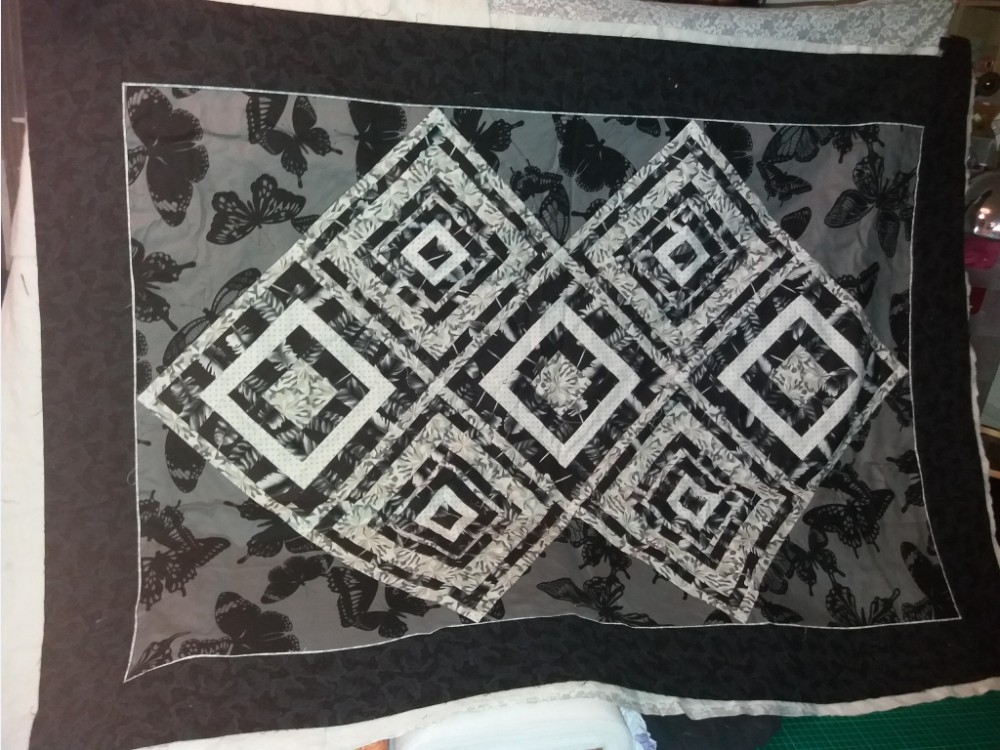
Then I tried to quilt it. Tried being the operative word. It took me 4 days to do two of the squares with a fairly simple stencil pattern. The thread shredded every two inches or made loops on the back. It drove me completely bonkers and I put it away… for now.I didn’t unpick what I just about managed to do. I’ll decide what to do with it some other time! Still, another top for the box and I’m happy with that. I added the leftover fabric to the box too, once it’s quilted and bound I was contemplating making it into a quillow, or a cushion cover to match.
The moral of this story is everything can be saved! By using a bit of your stash or putting it away until you’re ready to deal with it, or until you’re better at freemotion… Even if it comes out really ugly (I have one of those, used the fabric in the picture and it still looked really poo) one day you’ll be able to dig it out again and know what to do to make it better 🙂
Juliet’s Flange method
This method of flanging works brilliantly if you have bias edges as in my quilt above, and at least the 1/4″ seam allowance. (It increases the seam allowance to 3/8″ i.e. 1/4″ + 1/8″) I did dream this method up but that doesn’t mean I was the only one to have ever dreamed it, and there are other flange methods out there too.
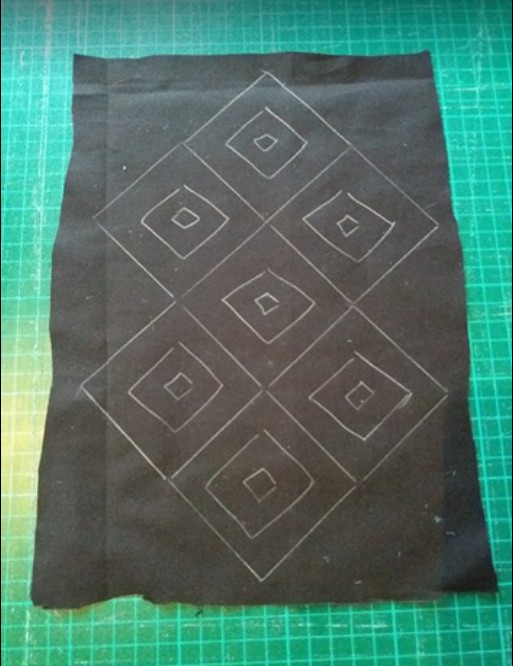
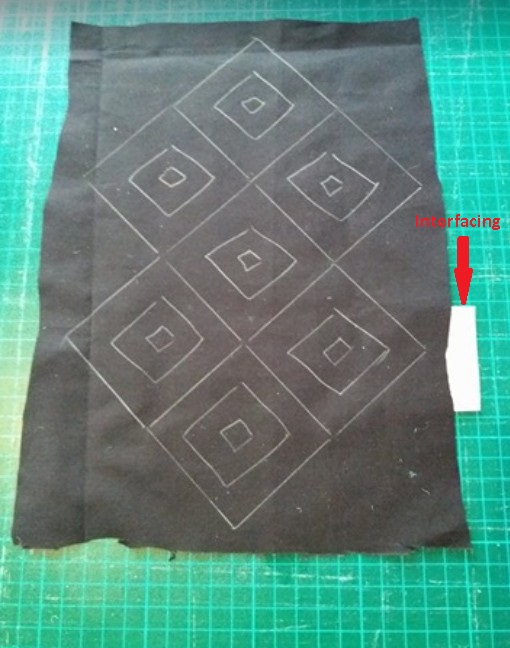
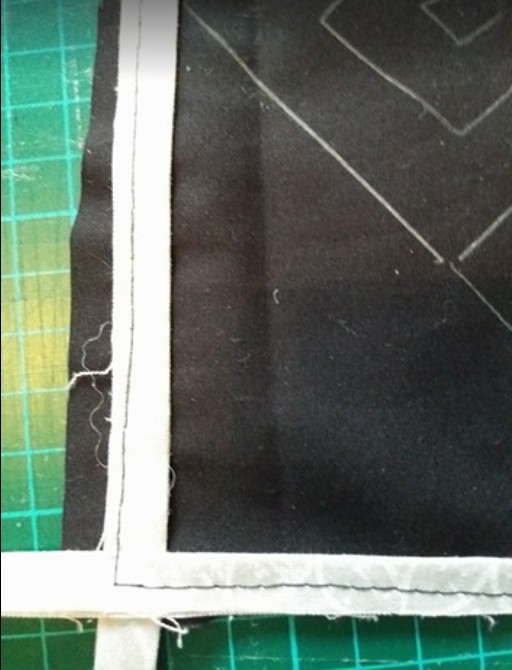
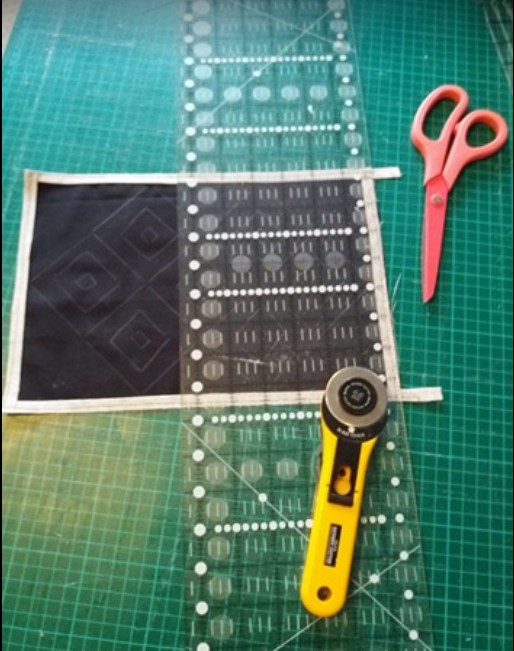
I always forget to take photos as I go, so this is my quilt top ‘in miniature’! You can see how rubbish the edges are. That’s pretty much how my top looked! When adding bias triangles I like to cut the triangles larger than the pattern states so I’m not stretching them at all to fit. Also I use plenty of starch to stop the bias edge stretching. If you do have any ‘thin’ seam allowances, iron a small piece of interfacing behind it to give it some strength
My flange is 3/4″ strips folded in half, right sides out. If they need to be joined to make them longer a straight seam will do but I like to use a tiny stitch, say a 1.5 so that you get enough stitches in that tiny seam. I use a washable glue stick (I always wash my quilts when they are finished) to stick the flanging down on all sides, following the points on my top, making a nice straight rectangle and ignoring those rubbish edges. This way you don’t stretch anything and you can be sure your top lies flat and you get all your points in and lovely straight edges. Total cheat – I love it! I use a basting stitch less less than 1/4″ from the edge to hold the flange in place. Trim the edges to the flange strip and it’s ready for a border

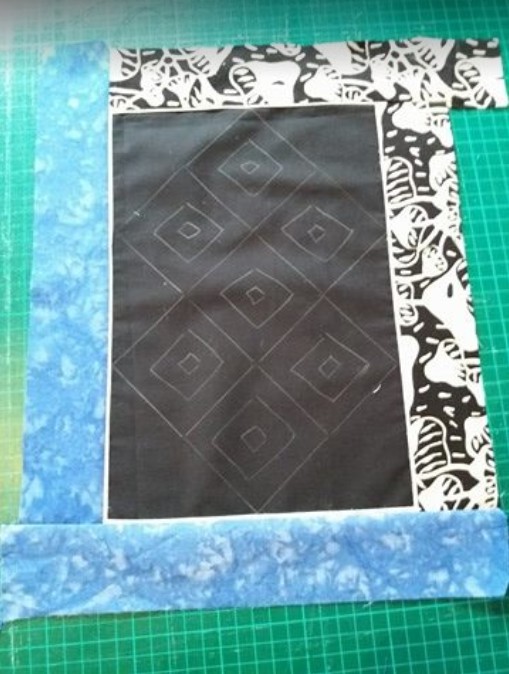
Add the border as normal with your 1/4″ foot matching up to the flange raw edge and then press. The black and white fabric was a terrible idea for this demonstration so I did the other edges in blue
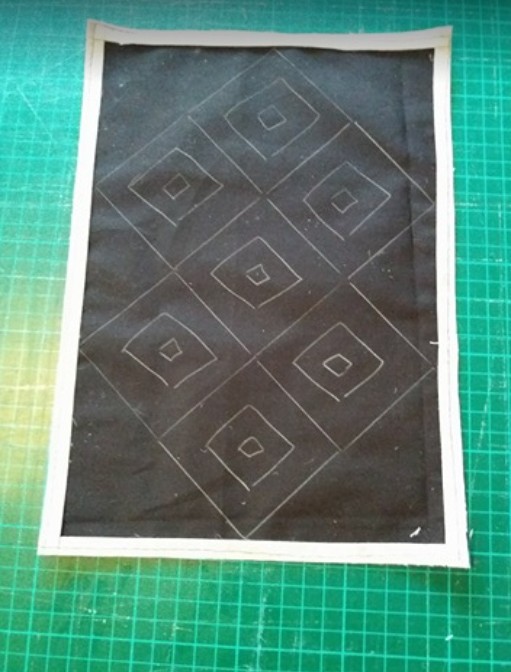
Admire your beautiful flange and congratulate yourself on a nice square (rectangular) top!

I hope you enjoyed that and I apologise for my awful photography, it is not one of my special skills! xx

Hi Juliet – i normally do this type of Flange on my quilts! Great minds…..
You are the queen of flange
Very comforting to know that I am not the only one to get things upside down, inside out, and back to front, some [most] days! Lol ! I reckon that your beautiful black and white butterfly quilt is going to look amazing once finished. How about some regular straight-line quilting to hold it all together, and then go back for some FMQ another time (in a few days/weeks/months) aaannnddd, meanwhile, your mini-flange-demo-quilt (and thank you for that too btw, brilliant) might be the perfect playground for practising your FMQ too – yay hey, win win x
I enjoyed the way you write! Makes me feel better about my ‘bad’ cutting, if others have the same problem.
I enjoyed the way you write! Makes me feel better about my ‘bad’ cutting, if others have the same problem. Did notice you didn’t do any ‘tags’ though…lol
A really interesting read and you can’t beat a good flange .. I am rapidly being converted to the idea of a kit, apart from the fear of cutting it wrong! Abbie Searle’s Mystery Quilt will be dispatched soon so I am looking forward to that .. but cutting the fabric will be a big thing for me. What tips would you suggest to avoid anxiety of that, apart from a large glass of vodka?
The old measure twice! Take it slow, mark on your pattern as you have cut and cut as you go rather than cut it all out before sewing. Basically not what I did 😉 Cutting as you go forces you to slow down too so you are paying more attention.
Perhaps avoid the large glass of vodka until AFTER the cutting LOL
With the 365 (not a kit btw, but enough pieces and very complex to make it feel like the chosen fabric is a somewhat scarce resource) I sometimes planned out the cutting into a chart, and ticked as I went, and had labelled paper plates on the floor around the walls of the room to put the various pieces on according to the chart ! Sounds a bit OTT ? Then I ‘challenge’ you to have a go at some of the more intricate 365 blocks ! !
I get downhearted when I see lovely quilts and imagine everyone is getting them right first time (unlike me!). Thanks for sharing Juliet. Lovely quilt you have there; even if not quite finished yet.
I feel your pain (with cutting it wrong). Great insight into others troubles with using lovely fabric. Thank you for sharing and being so honest