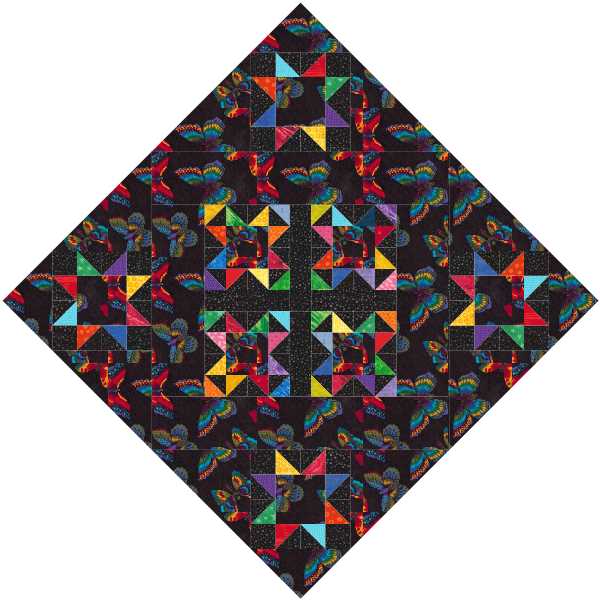
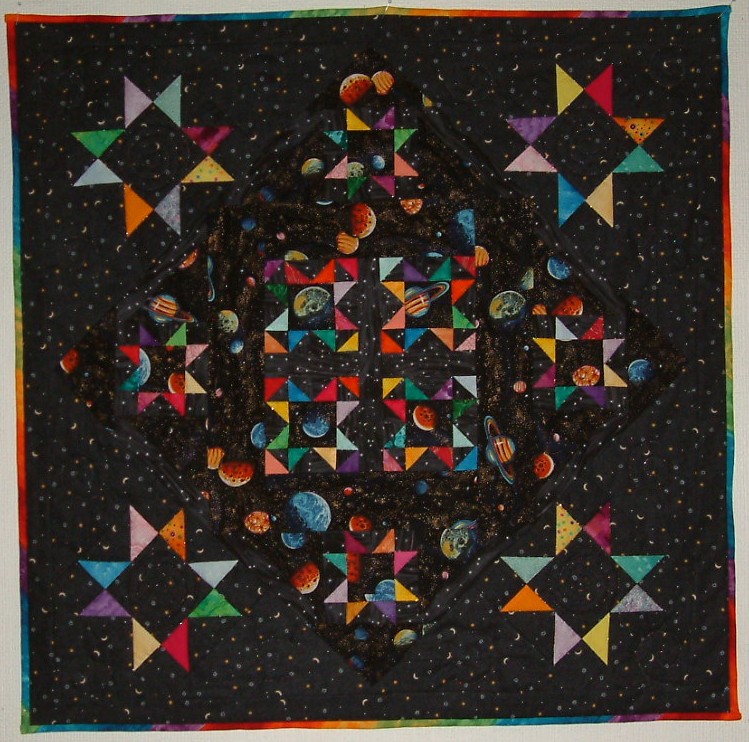
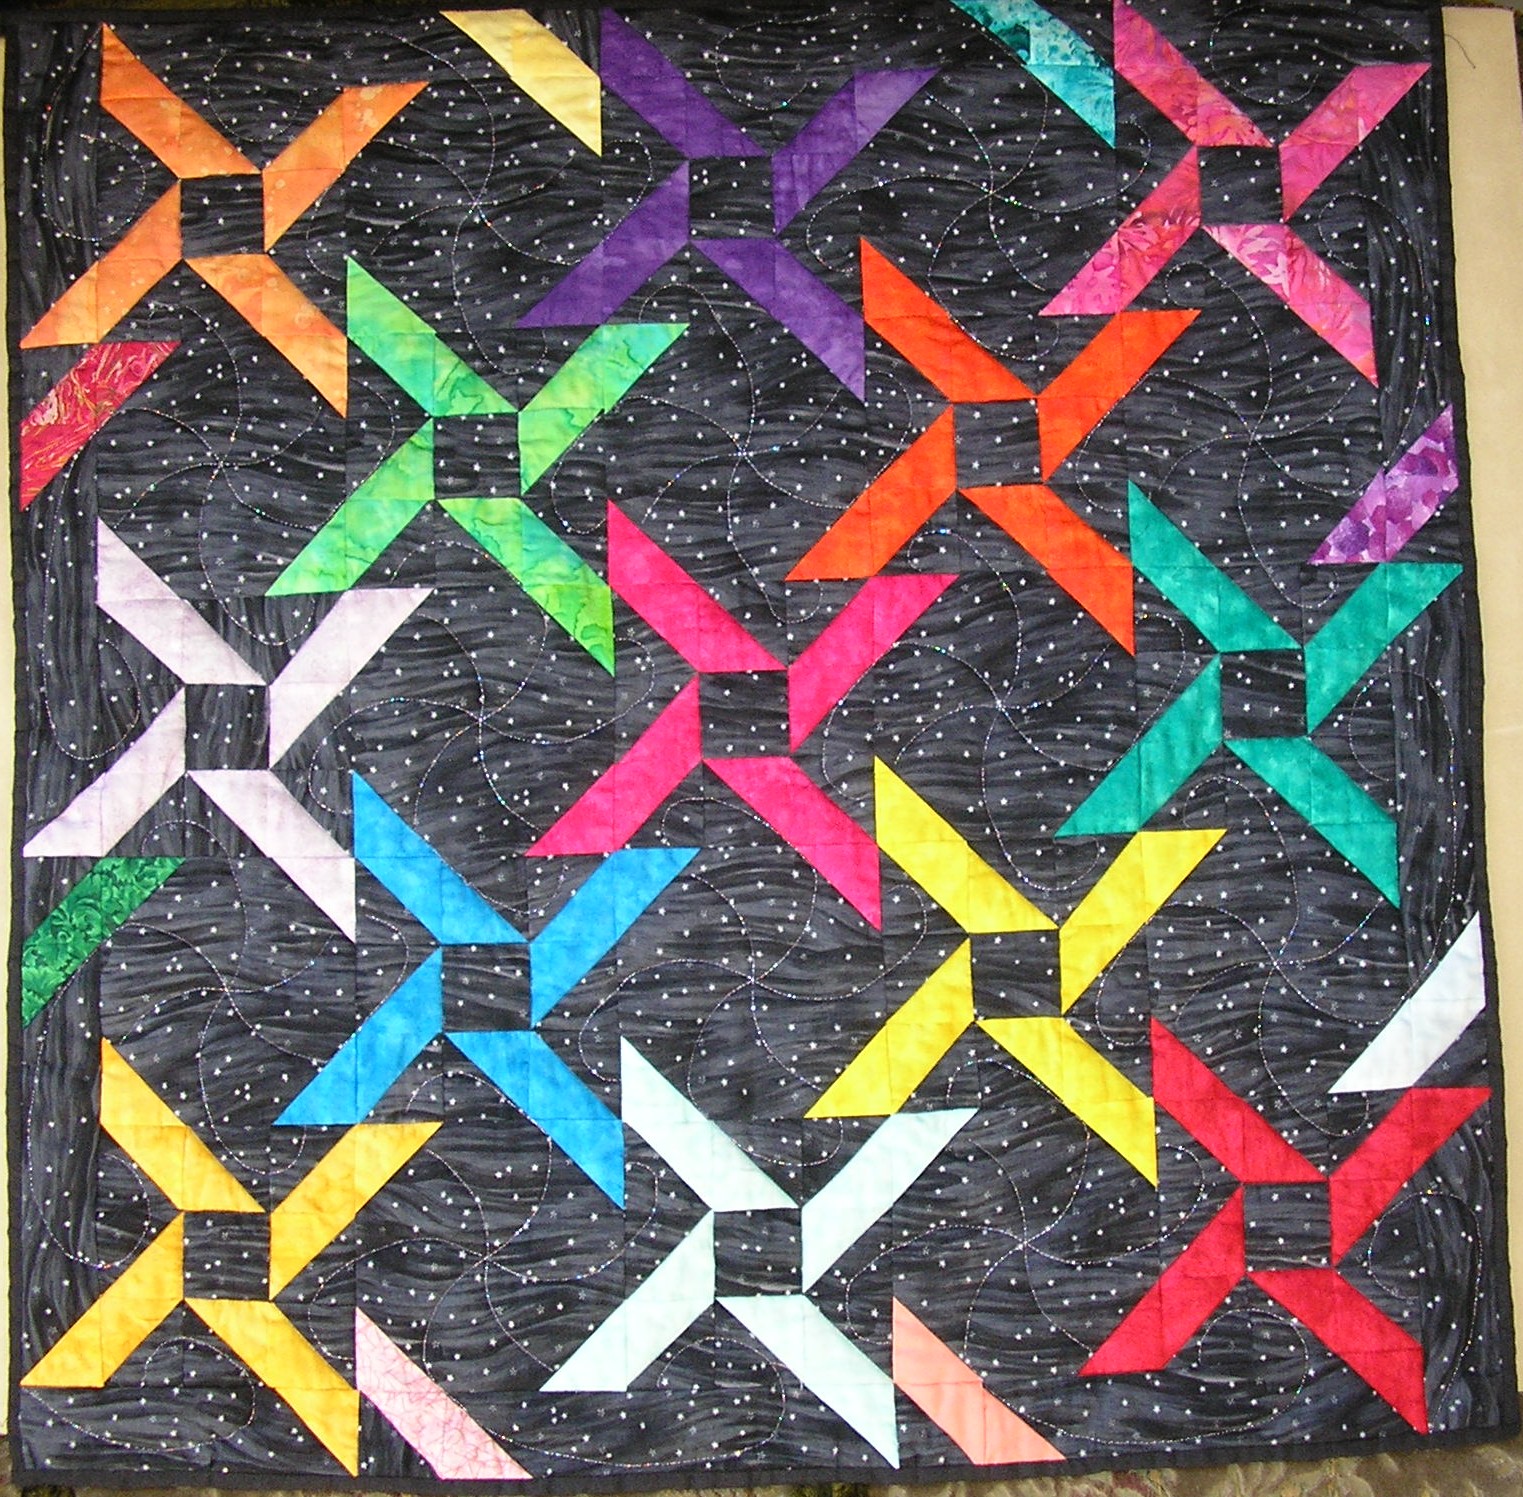
This quilt probably isn’t the easiest to write about as it was made from random scraps and left-over units – one of those designs that ‘just grew’. However, I will attempt to show how, armed with just a picture and no indication of scale, you can deconstruct it and work out how to make one for yourself.
The first thing to note is the centre. This appears to be made of four Variable Star blocks with sashing between. A much wider border has then been added.
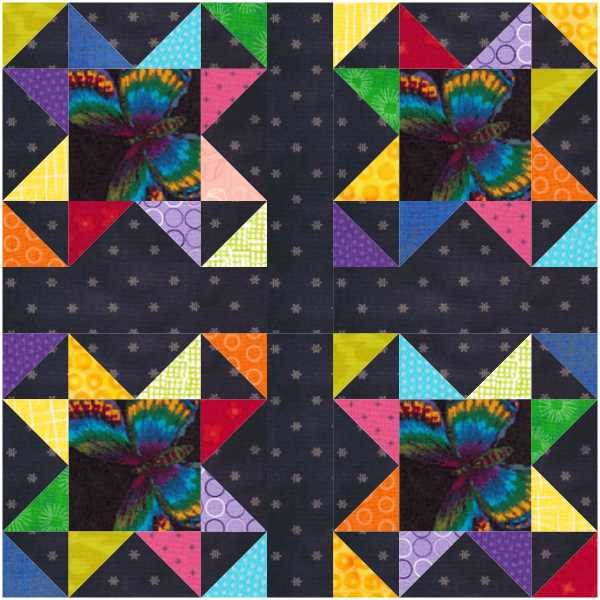
A big print has been fussy cut (more or less) to make the block centre squares and the same fabric used as the border. The border seems to be twice as wide as the sashing, which itself seems to be the same width as the units in the blocks.
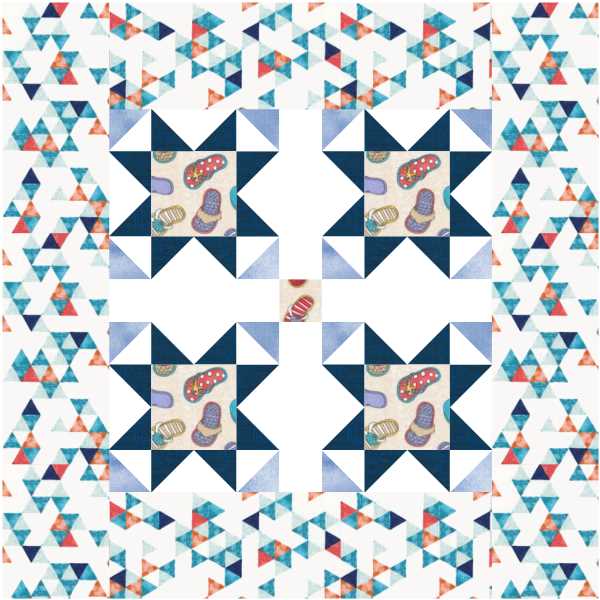
So far, so good. We can draw this out and try it out with a number of different colours and fabric choices – the outer space print is certainly not available anymore, although you may be lucky to find something similar. You may want to use all the same colours for your star points rather than random bits, and perhaps a white background, maybe a plain instead of a print . . .
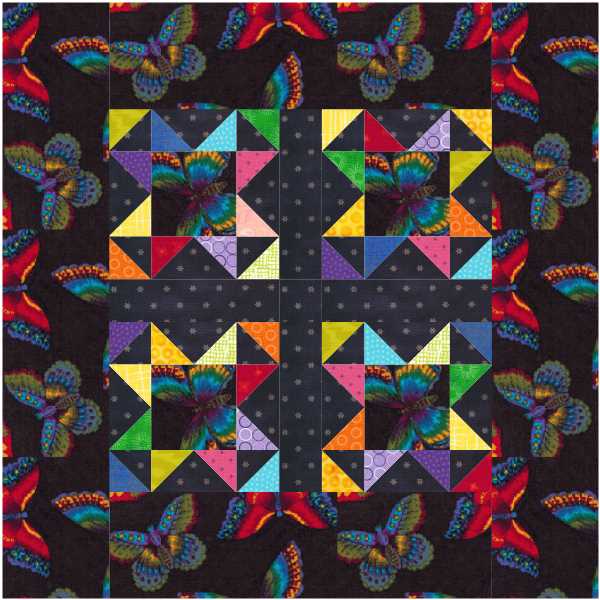
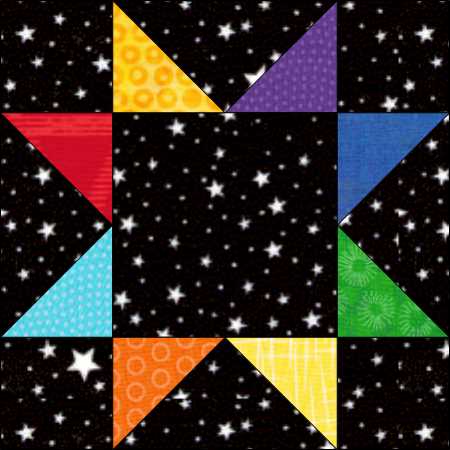
Now we come to the trickier bit. Pieced corners have been added to this centre to turn it on point. This time the Sawtooth Star block has been used.
Two triangles of the main print bordered with the plainer black print on the long edge have been added to two sides of the block. A large main print triangle has then been added to a third side to make a large corner triangle of the right size to fit the quilt centre.
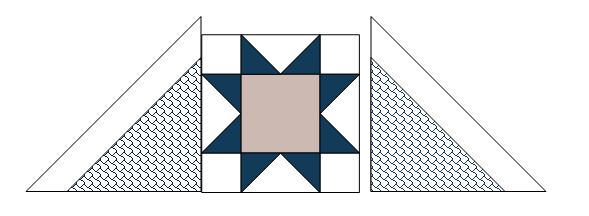
If you were making this using bought yardage instead of trying to use up your scraps then you wouldn’t bother with making the side triangles larger with an extra strip of a different fabric, you would simply cut the right sized triangle from your chosen fabric – I didn’t have enough of the fabric with the planets to do this.
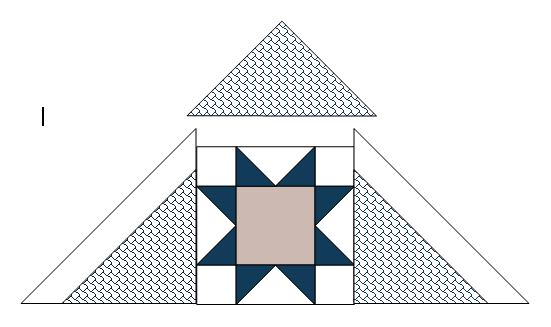
And now this quilt is turned on point by adding another four pieced corners. The star blocks in the corners look like Ohio Star blocks but are in fact Sawtooth Star blocks on point, made in much the same way as before but without the extra strip at the sides – this time I did have enough fabric.
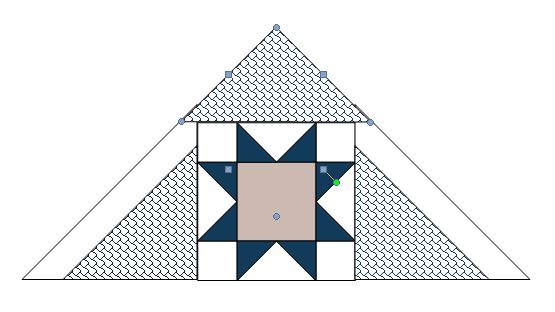
Its all very well having worked out all the different components but now we need some sizes. Graph paper is very useful for this – as is lining paper, newspaper and other big paper sheets because sometimes it is just easier to cut paper pieces to the right size and then measure them to get the size (adding ¼ inch seam allowance all round!) to cut your fabric.
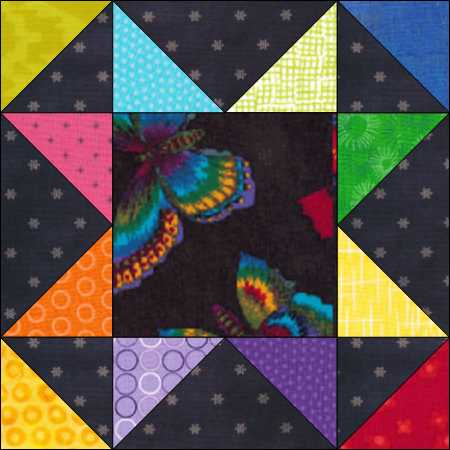
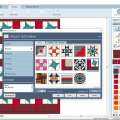
The little Variable Star blocks in the centre actually measure 5 inches (or thereabouts) which is a complicated measurement for a 4-patch block, but then I was using up bits and pieces. Yours could be 4 inches (fiddly) or 8 inches say. Perhaps your sashing would be narrower – only the same size as mine (1 inch) instead of the 2 inches that the units would be in an 8 inch block, or perhaps it looks better at 1.5 inches? Then that first border – would you want to make it 3 inches, or 4 inches? These sizes might affect the sizing for those awkward corner triangles. Hmm. At this point graph paper and drafting paper are definitely useful. Either that or you give up and wait for me to work it all out and put the pattern up on my website. Sorry, but you could be waiting a while! It has taken me a day to work out how to draw it more or less to scale in EQ. Don’t forget that I have done a lot of the hard sums for you in the form of the free downloadable tables ‘What size do I cut . . . ?’. Anyone up for a challenge??!
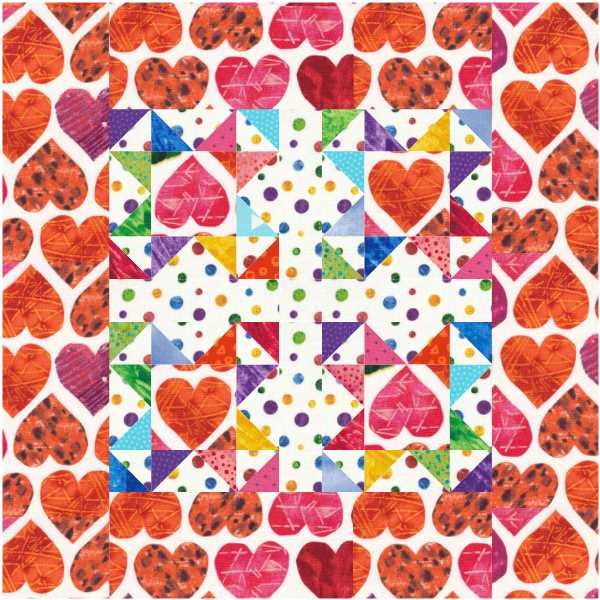
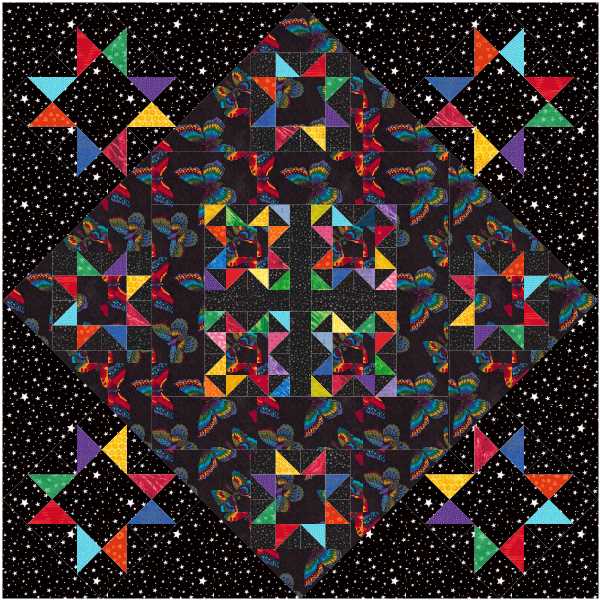
In the meantime I think the quilt those tiny leftover triangles (mostly) came from was this one
Have you found the blocks? I called it Catherine Wheels and it was in one of the patchwork magazines a good many years ago, when I suggested that with a sky-blue background it could look like those windmills you used to put on your sandcastles as a child.

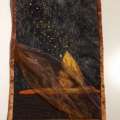
Ooo nicely done!