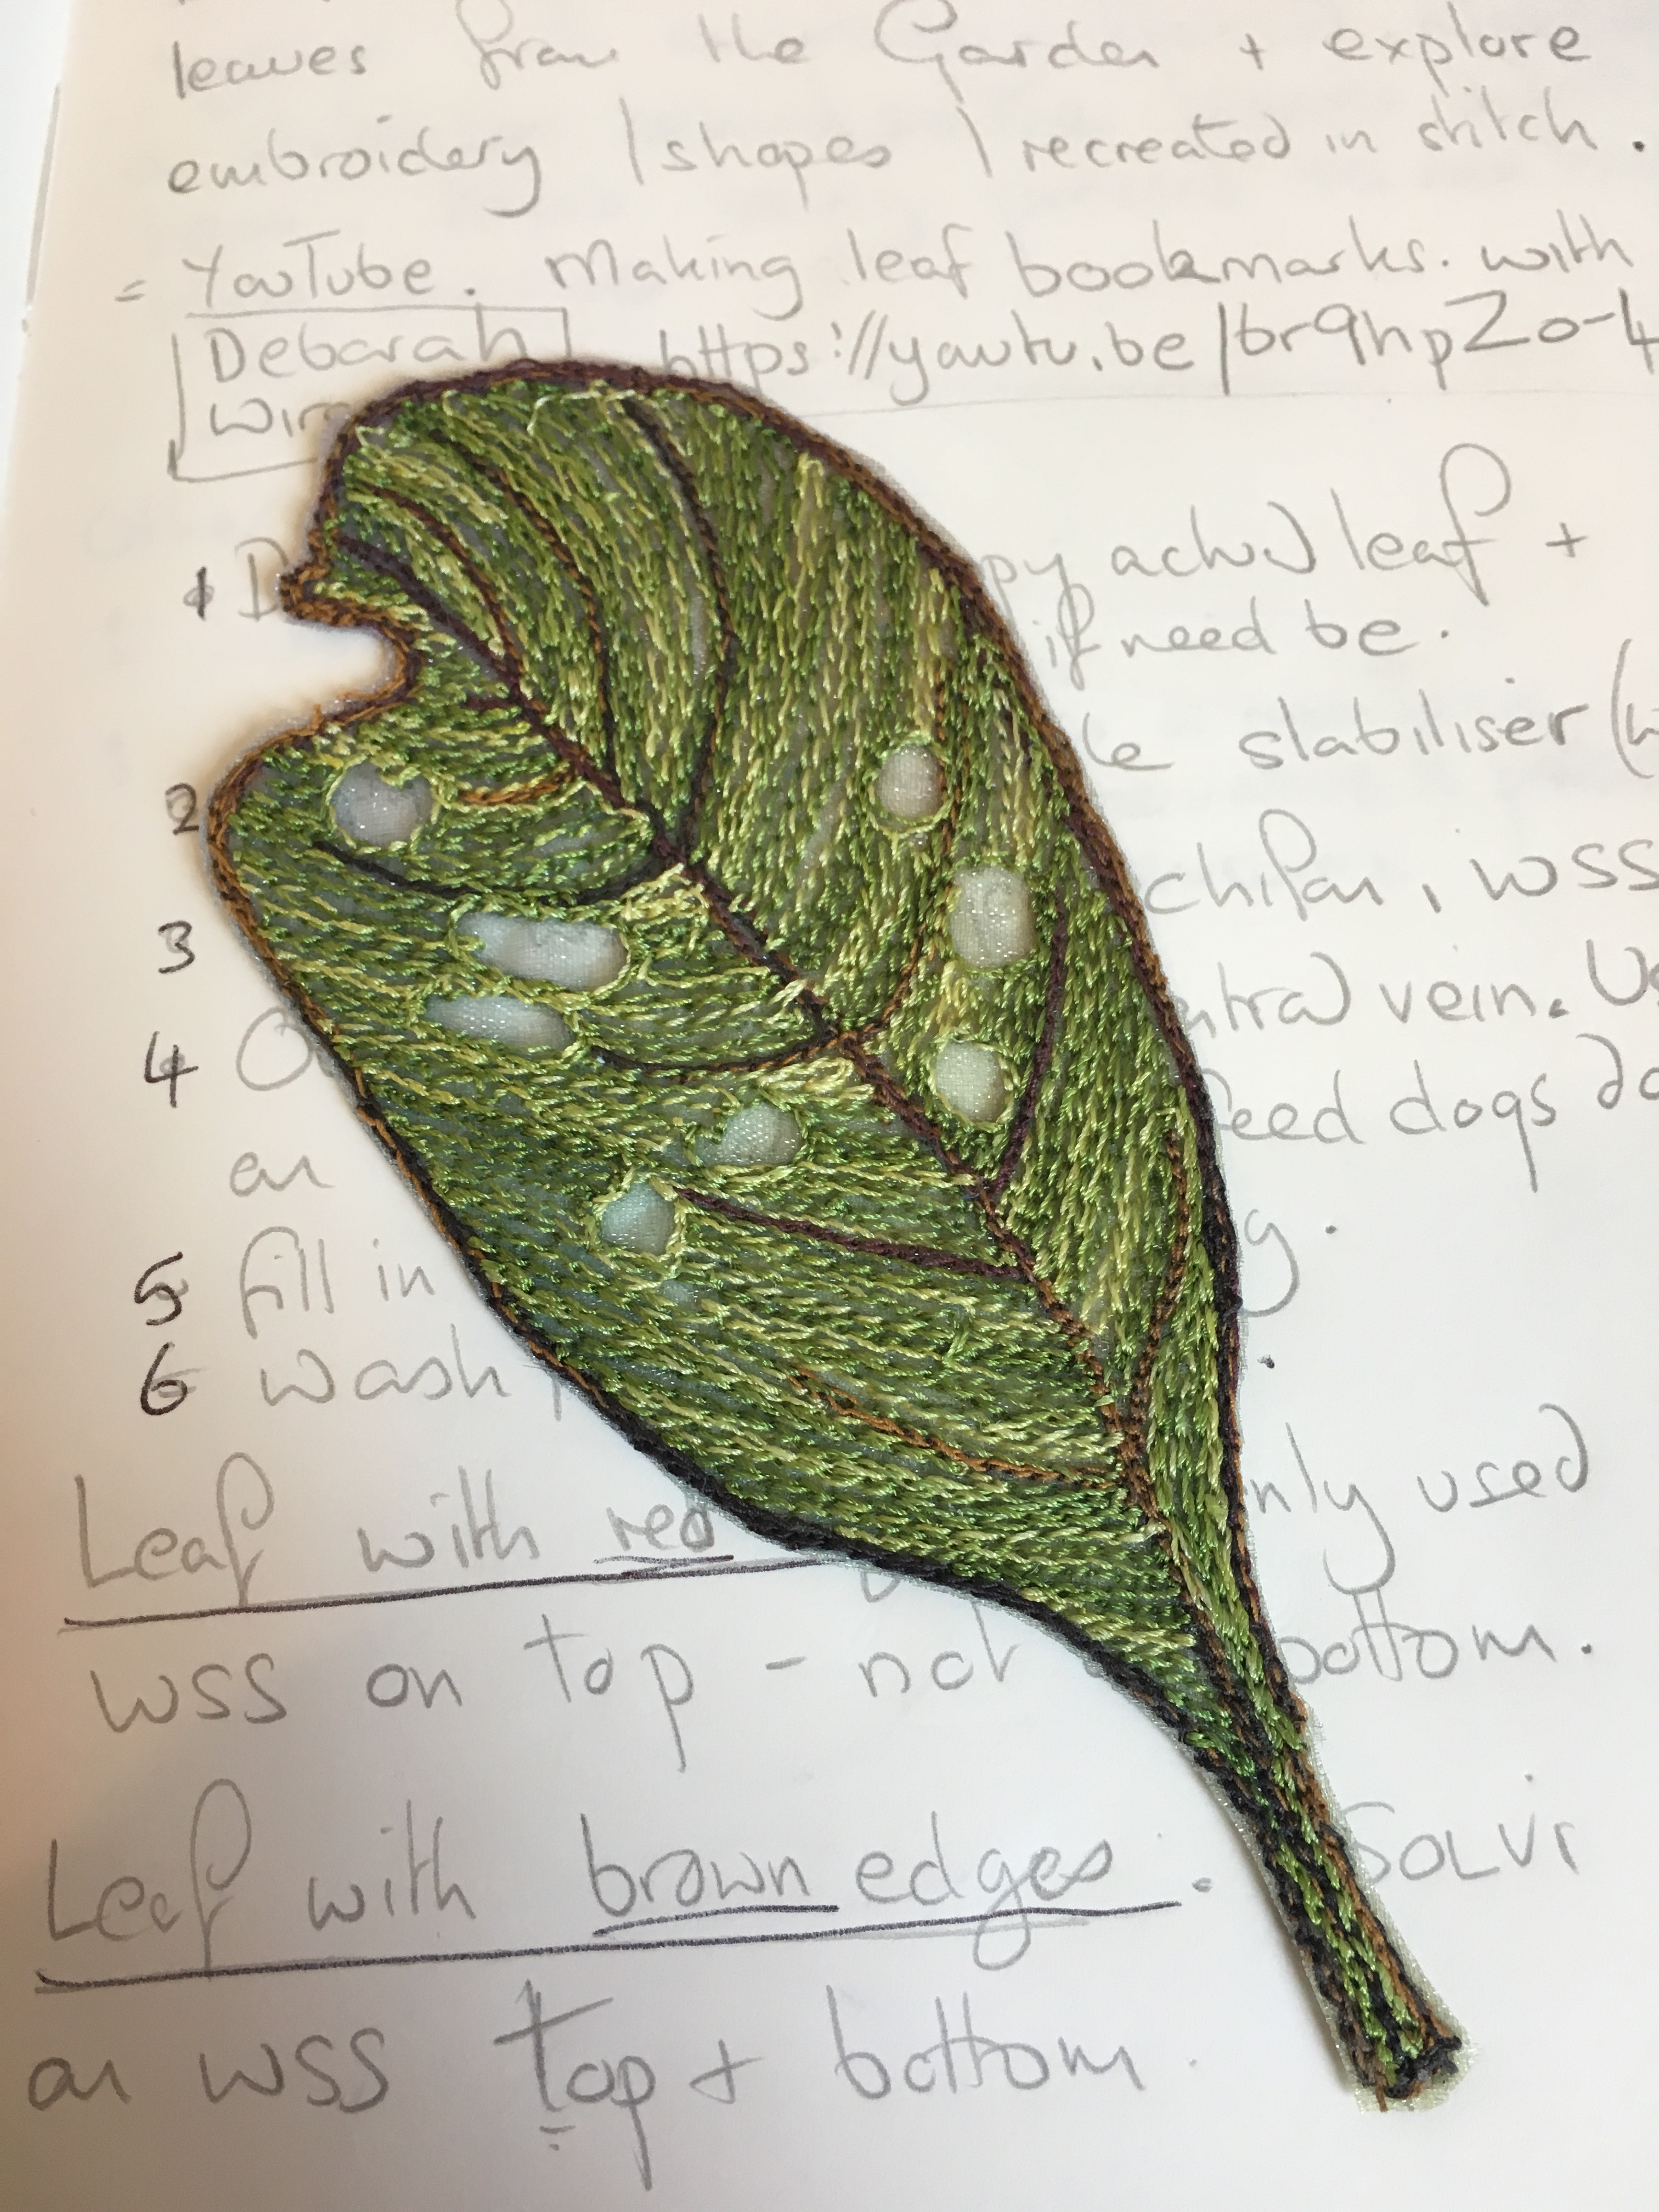
Water soluble stabiliser (WSS) reinforces hand and machine embroidery and is a fun material to work with. Looking for ideas to ‘play’ with this material I came upon a lovely YouTube tutorial by Deborah Wirsu called Textile Leaf Bookmarks.
The idea is to collect leaves, draw the outline of one on a piece of WSS and layer this on top of two pieces of leaf-coloured chiffon before putting into an embroidery hoop and free motion quilted. The outline and the veins were stitched in one colour (twice around) and the leaf was then filled in. I used a variegated green to do this, following the direction of the veins. Care was taken to overlap the stitches in the middle and edges in order to make a sturdy piece. You can see on the image on the left that I left some holes so that the chiffon could show through in the light.
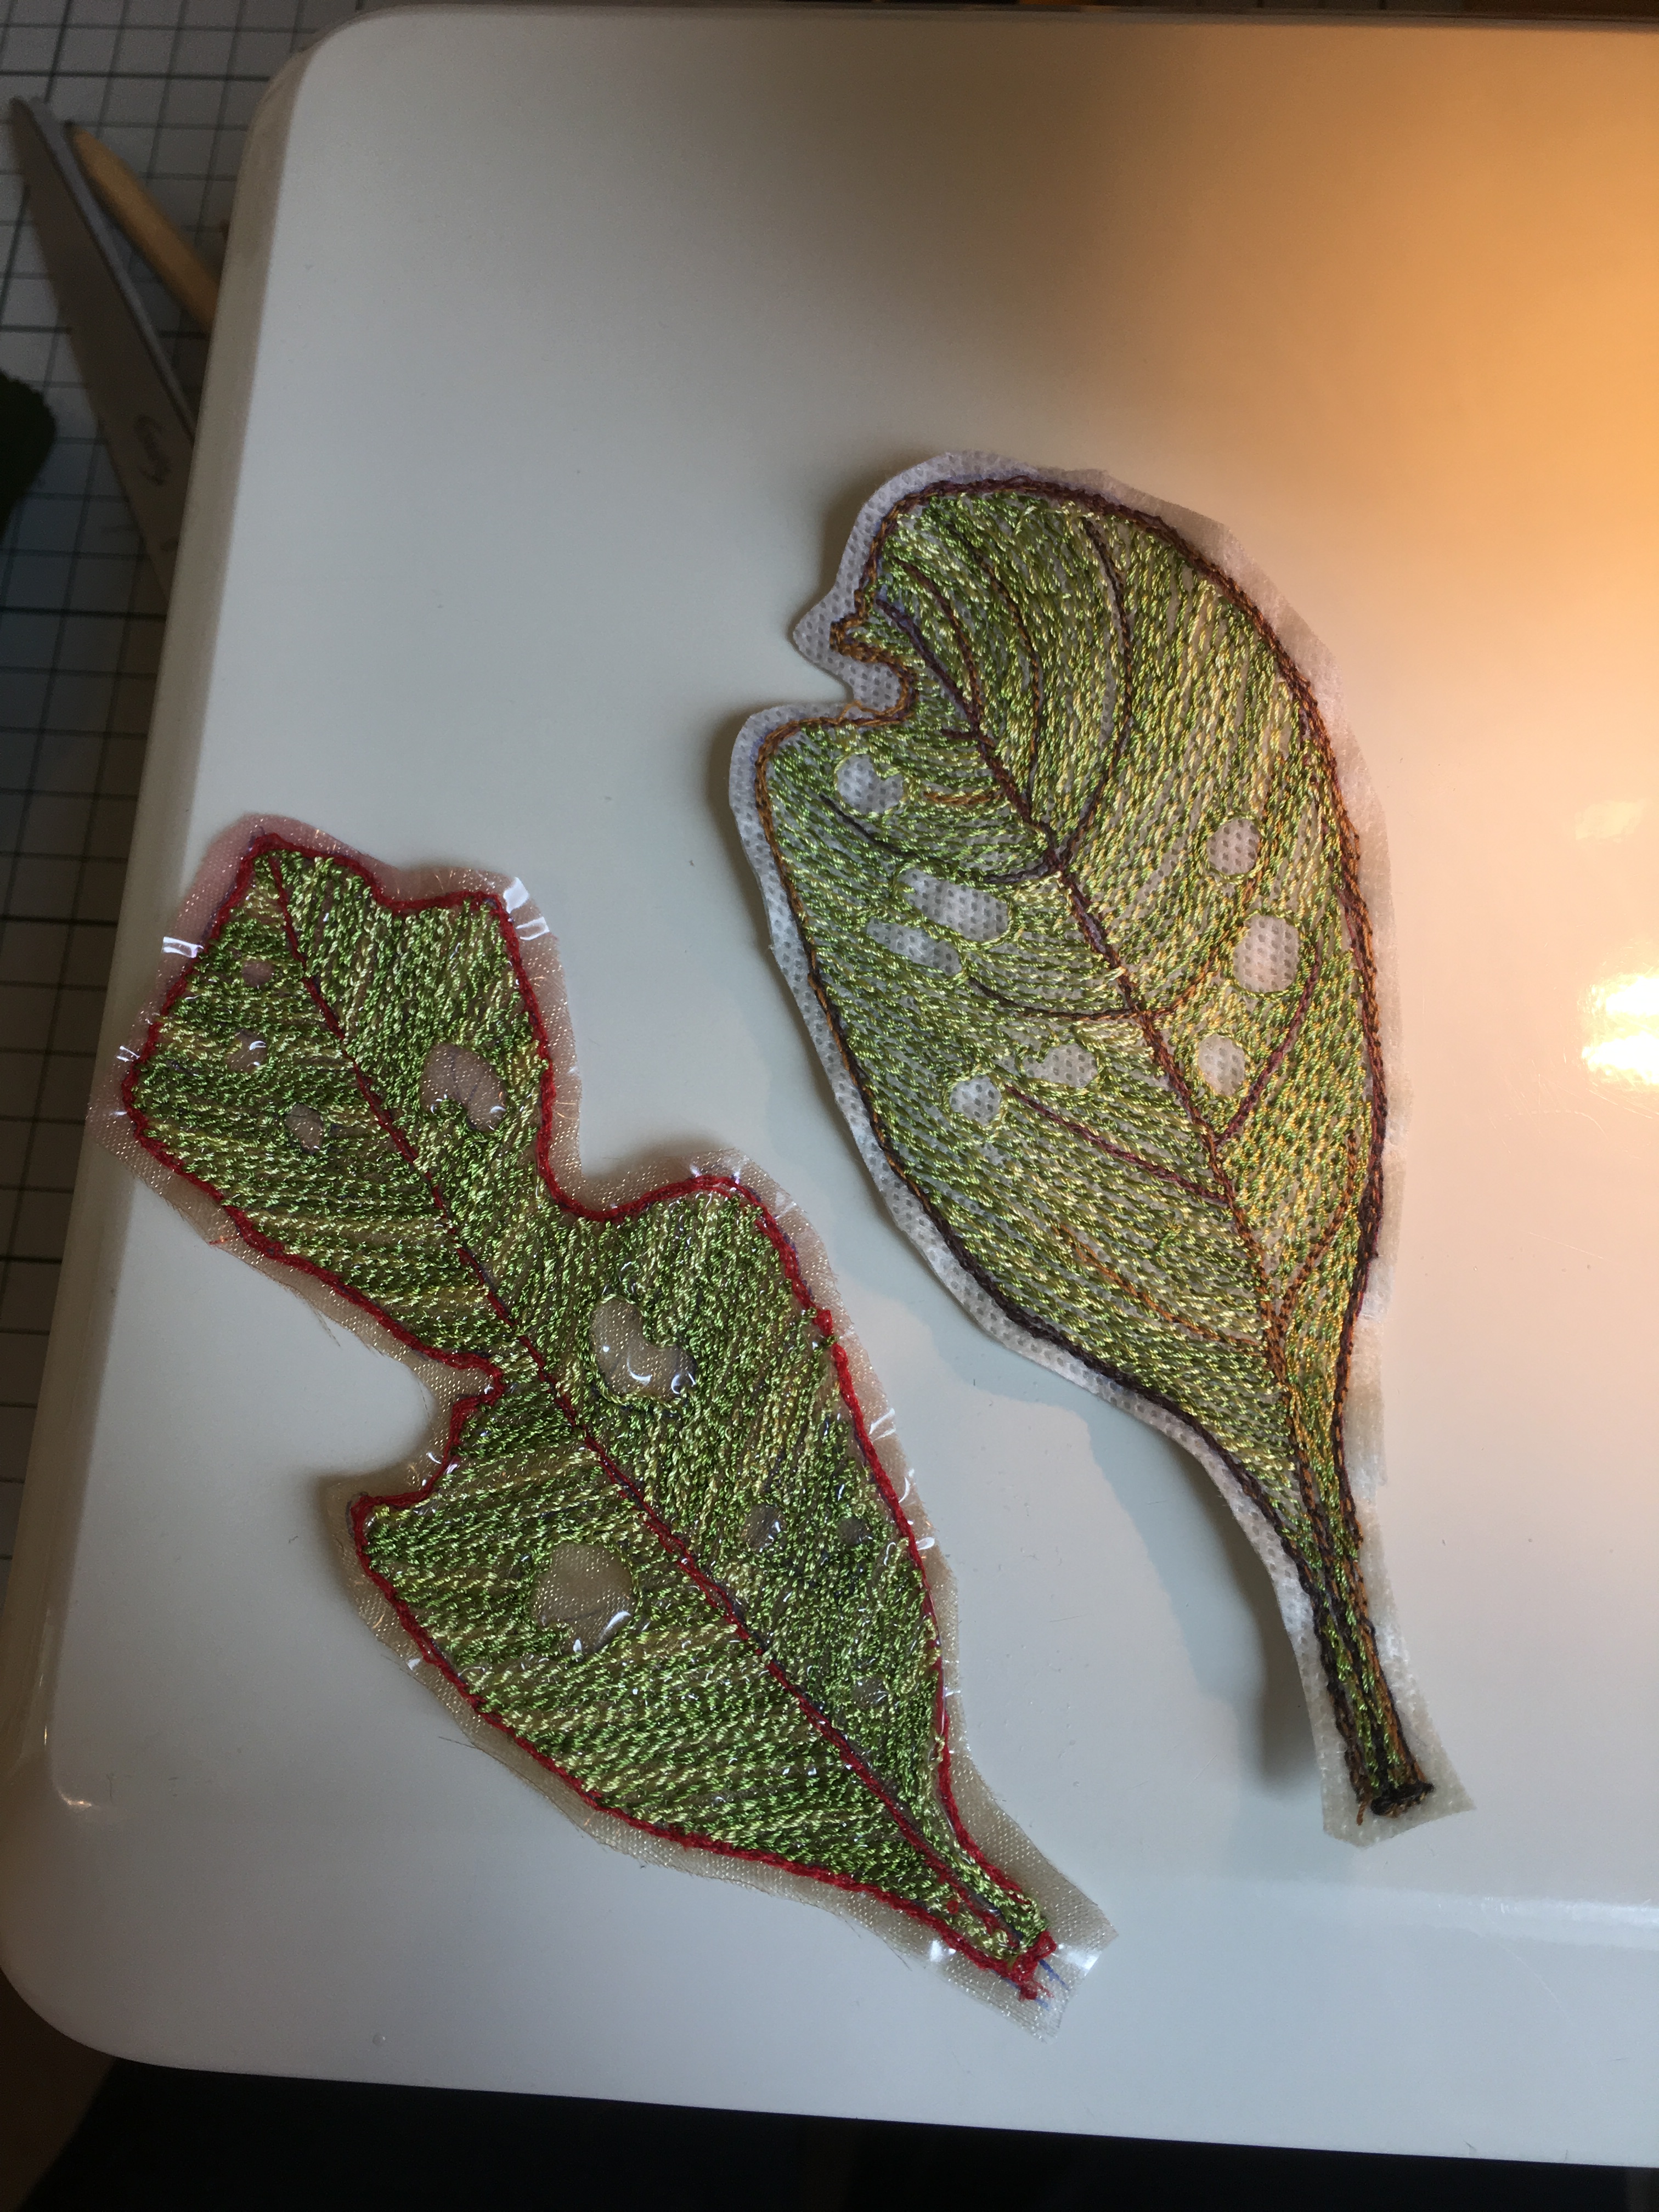
Trim Water Soluble Stabiliser before running under water to dissolve it.
The leaf was then trimmed to remove as much WSS as possible and then rinsed under running water until the stabiliser started to dissolve. I left some in so that the leaf would remain stiff but you could wash more out if you were using it in applique. I did a second leaf with WSS on the back and front of the chiffon and this one turned out to be much more sturdy. You can see from the image on the right that there are different kinds of WSS and you need to explore these to see which you prefer.
This is a neat idea so I decided to go further and see if I could make name book marks. The name was drawn out so each letter was touching and the layers of WSS, chiffon and WSS were assembled. This time I pinned the layers together and set off outlining and filling each letter. It was fun to use different threads and different patterns within each letter, making sure the top and bottom thread matched (the back is as important as the front).

Only the outline of the letters was trimmed and any holes in the letters or in the design were left for the chiffon to show through (make sure this matches your threads).
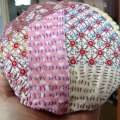
The blog header shows the trimmed bookmark with the centre of the ‘o’ left whole and the rest trimmed ready for dissolving. This was then put under running water to dissolve the stabiliser and, again, some left in to stiffen the book mark.
Just a word of caution: The WSS tends to make the thread a little dull so the brighter the thread the better.
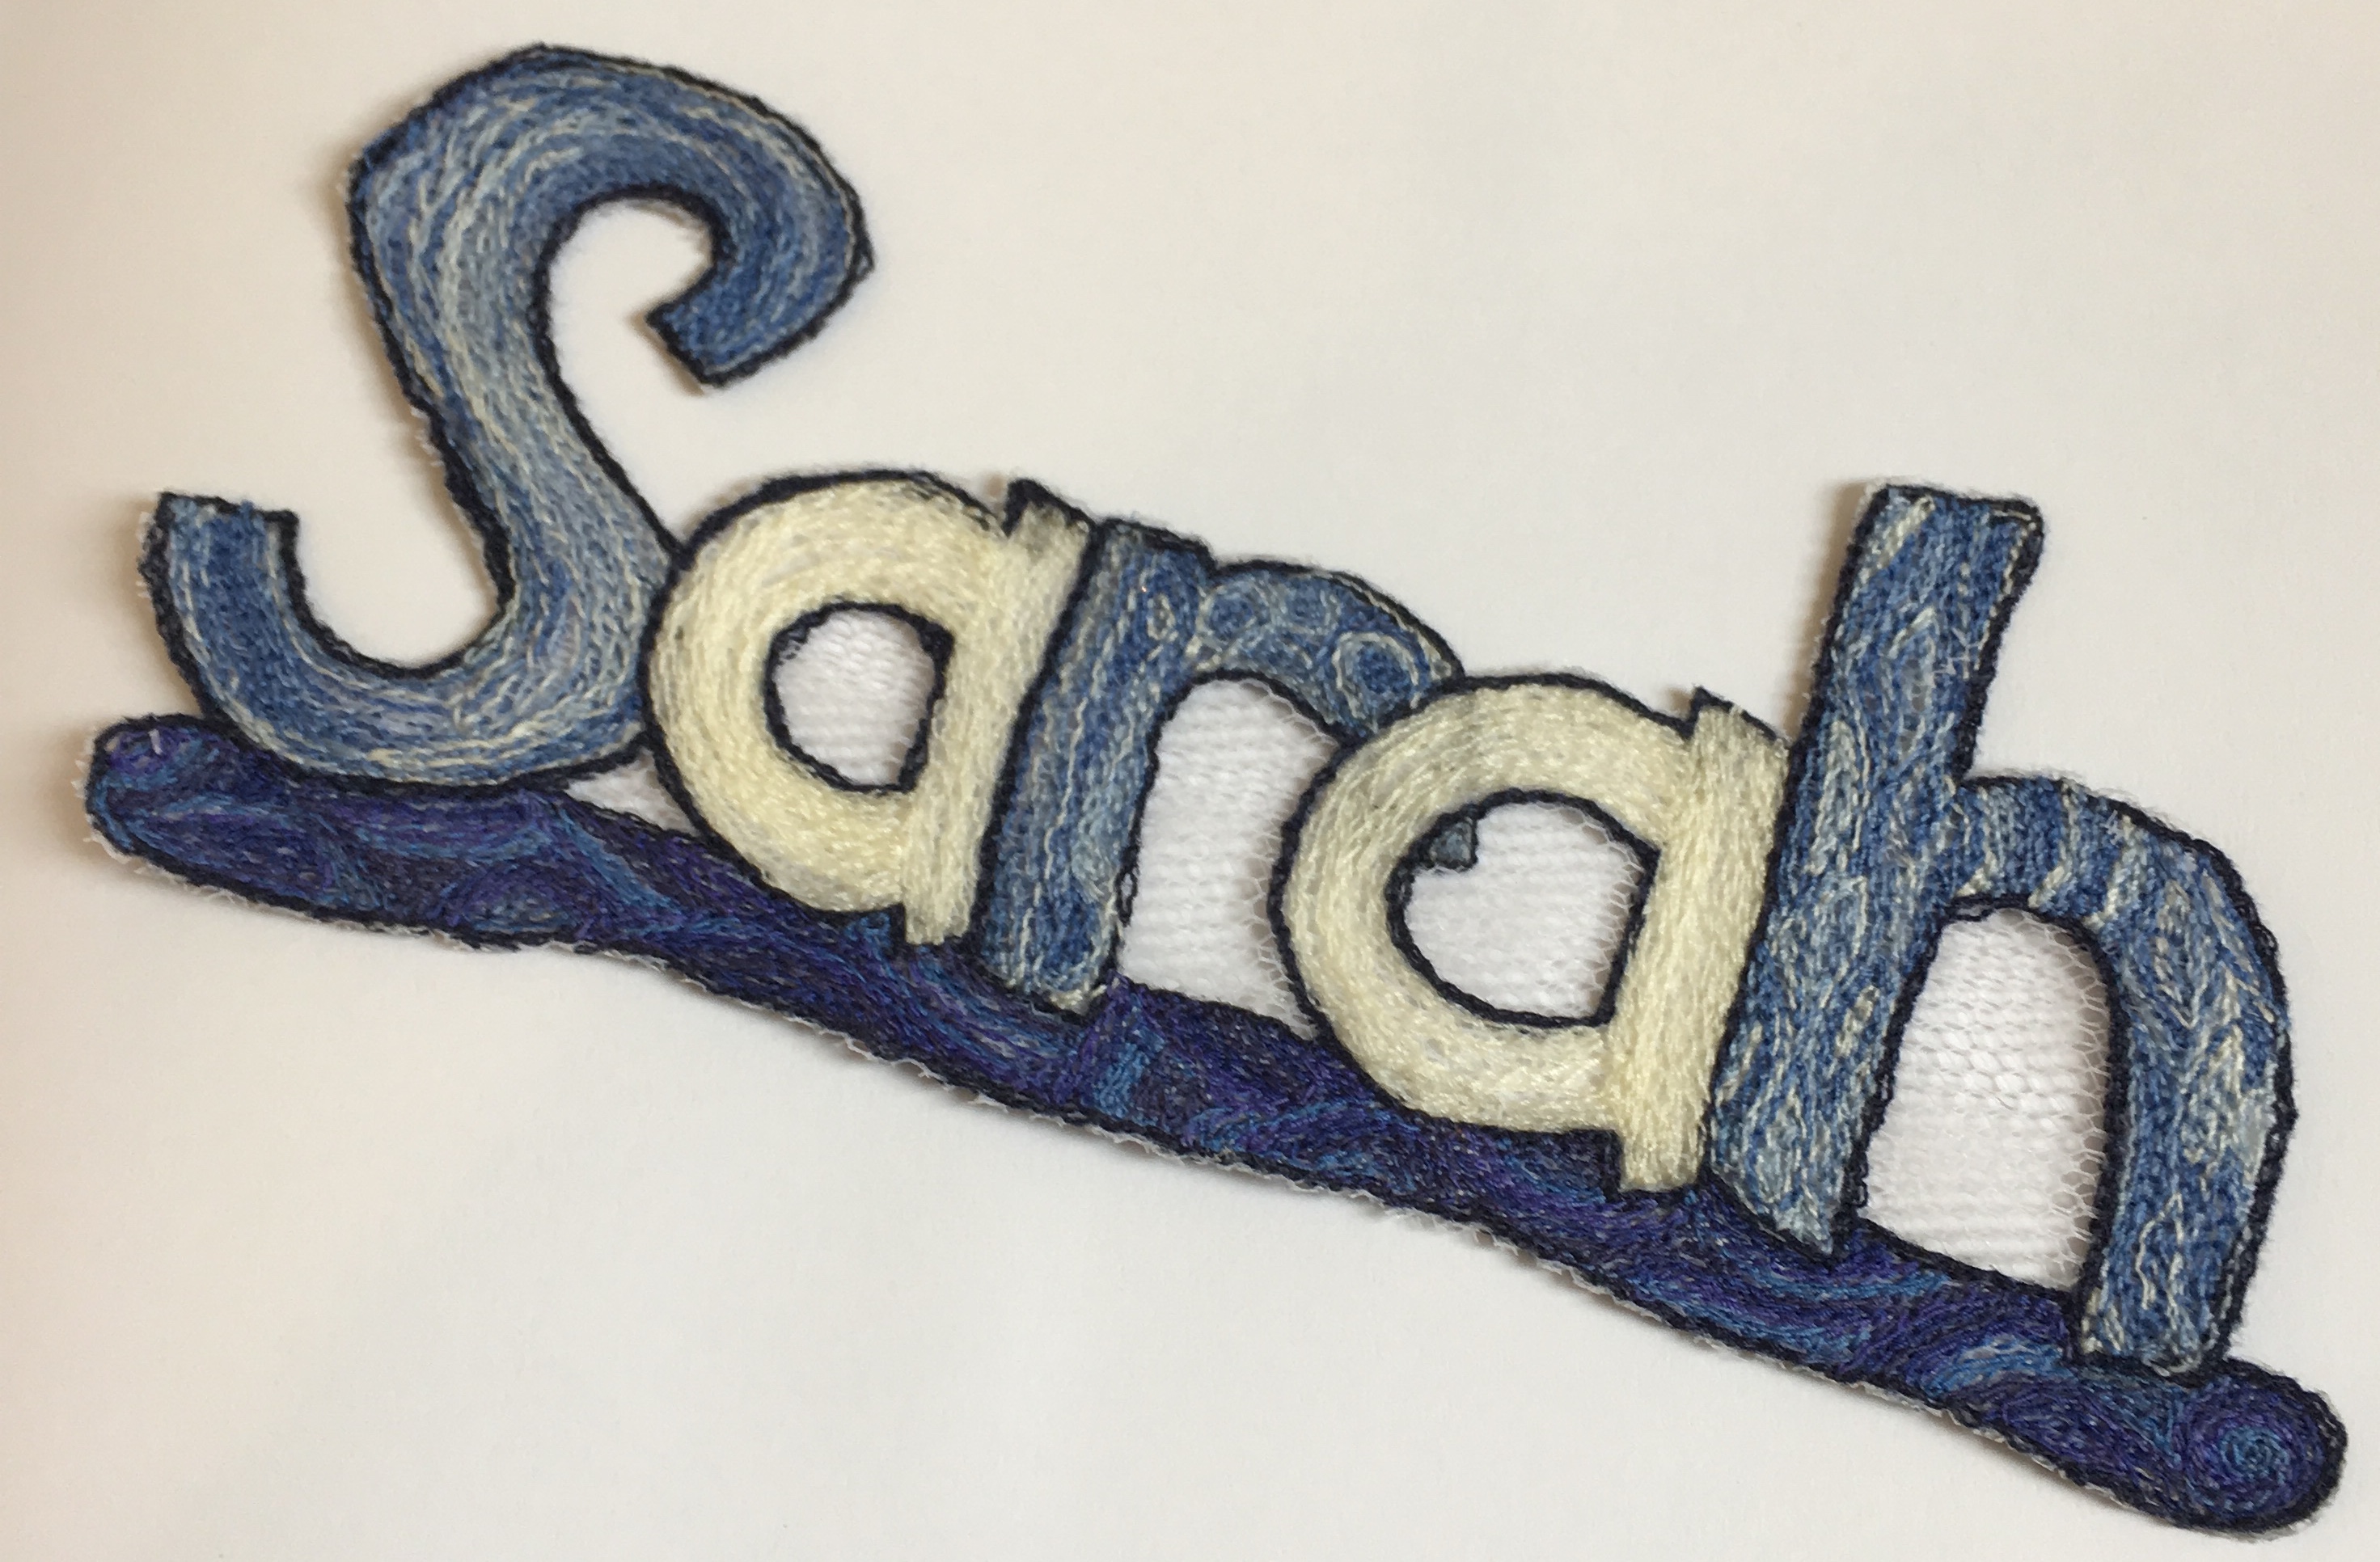
The next one was layered with net and because the name had an ‘r’ in the middle (making it a little fragile) it needed a line underneath to give it more stability. The net was a nice choice and blended well with the alternating white and blue threads used. You will note that where the ‘r‘ goes behind the ‘a‘ the pencil marks showed through the white so it is advisable not to draw the outline of letters where they cross (a good lesson learned!).
Now to try smaller letters on ribbon to make longer book marks but…. I can see lots of other applications for this technique. Have you used it and can you tell us about it? I would love to hear from you.
Responses