Before I begin let me first tell you that I first published this as a how to/this is how I did it document on the UKQU Facebook group approximately 2 years or so ago. I had some great feedback at the time and then promptly forgot all about it! Recently Juliet contacted me and asked me to blog for UKQU and I was shocked, firstly because I had forgotten I wrote the original and secondly because I was excited to be asked to write about something I love so much. So anyway I went back and looked at the original document and cringed… and cringed… and well you get the gist.
I should apologise for the quality or the photographs, I don’t know what I was doing at the time but clearly I wasn’t focussed on clarity or composition (future blogs will have far better pictures I promise). So with that said I will dive into the process of reliving and wittering on about how I made Perseus!

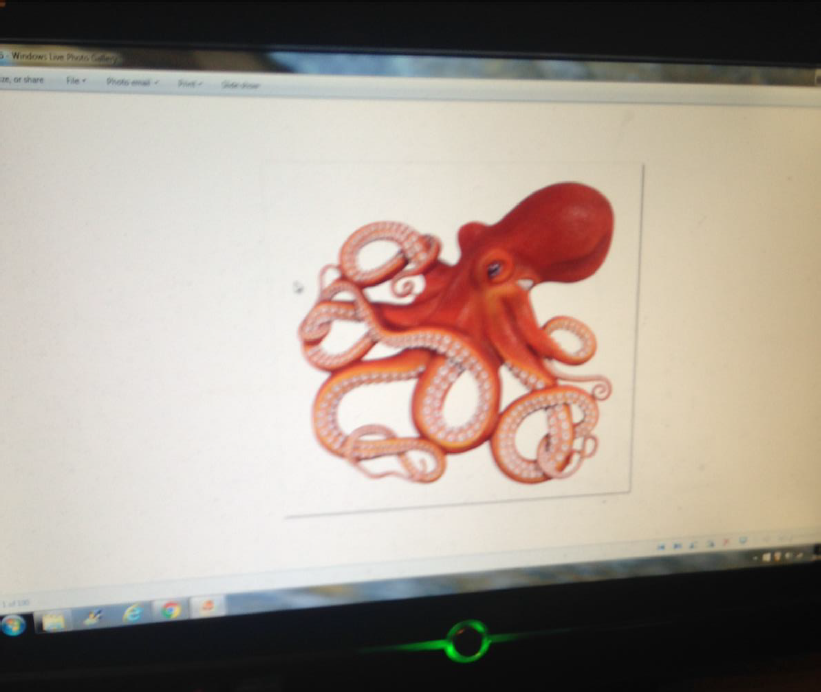
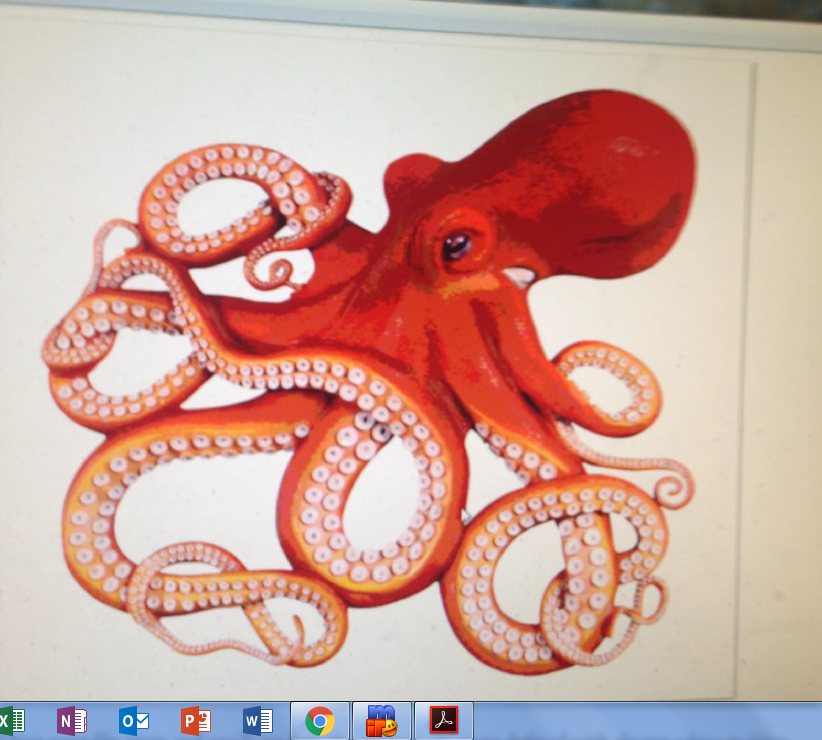
Firstly I chose my image, sometimes I draw a picture, other times I find an image online (please check copyright of an image before you use it). For Perseus I had no idea what I wanted to do so I looked at random images until something spoke to me.
To make your image ready to work with you need to resize and posterise it, It will make sense as I go along I promise!
First I saved my image using ‘save as’ so that I could clearly mark what the file was otherwise it can be difficult to find again once you have saved it!
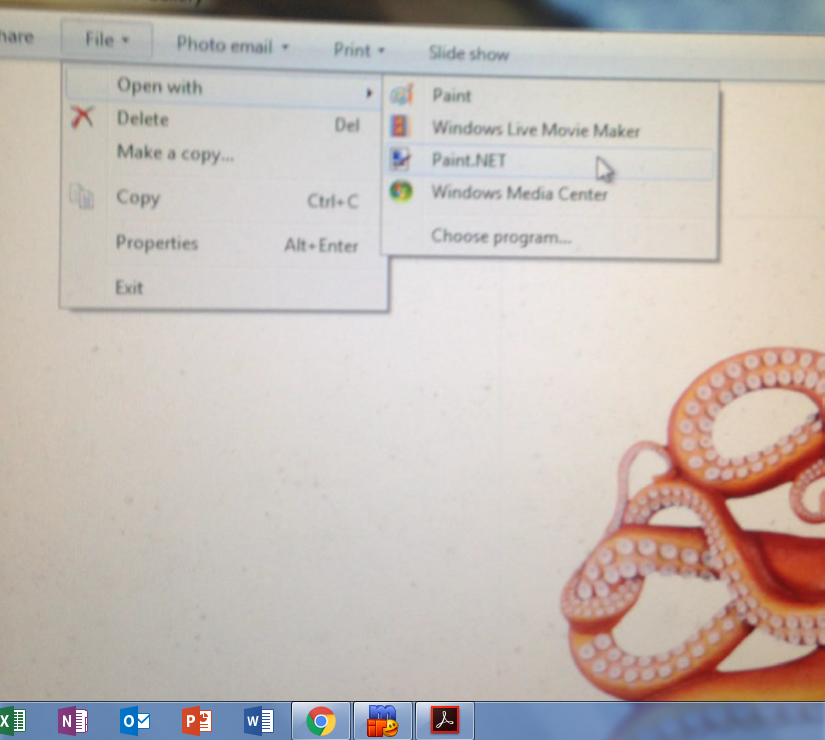
Then I reopened the image and selected ‘open with’ and then ‘paint.net’ (if you don’t have paint.net it is easily downloaded for free or you can use a free online photo editing tool such as picmonkey but using that reverses the process a little, as long as you posterise and resize it doesn’t matter what order you do it in)
When ‘paint.net’ opens up the screen will look like this…
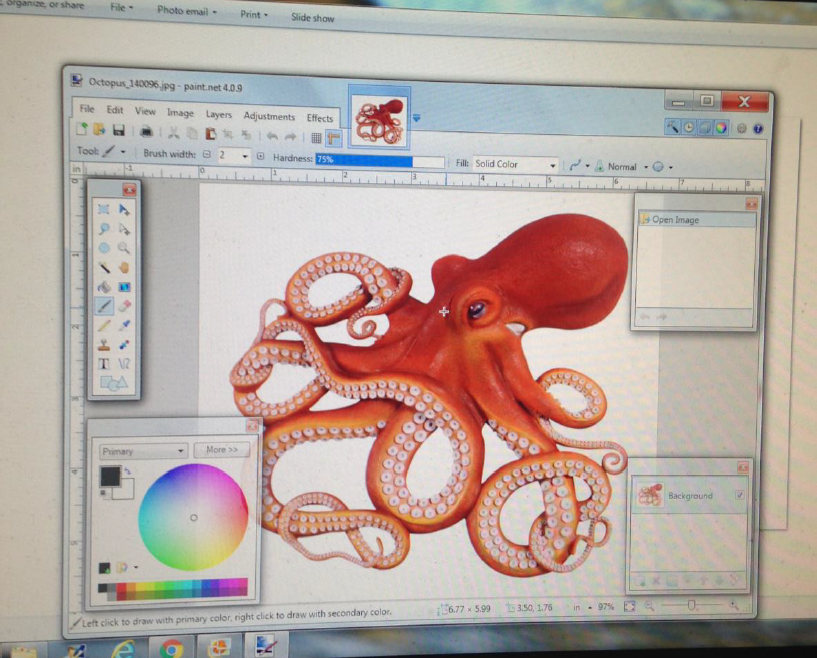
Don’t panic! You won’t be touching any of those little floaty boxes that make the whole thing look really confusing. The next pictures will take you through the steps I used.
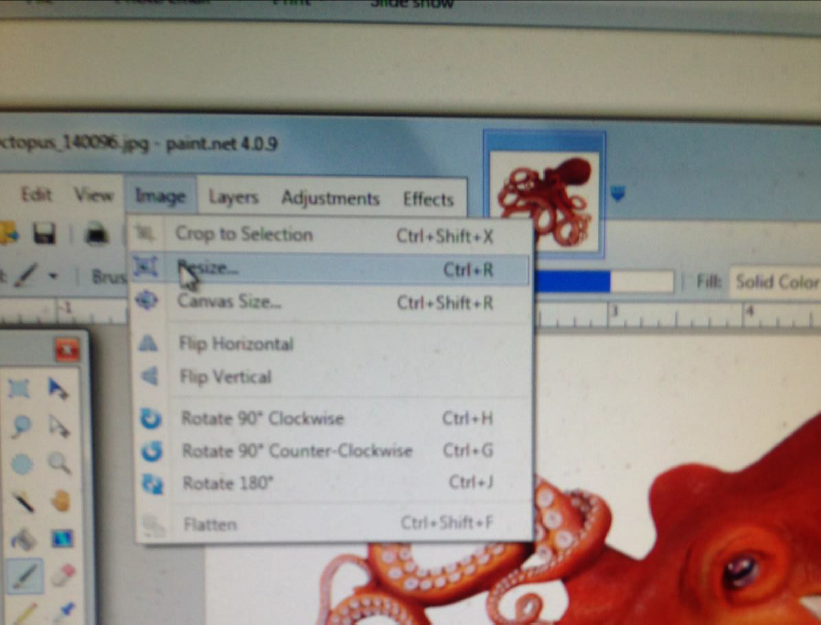
Select
Image > Resize
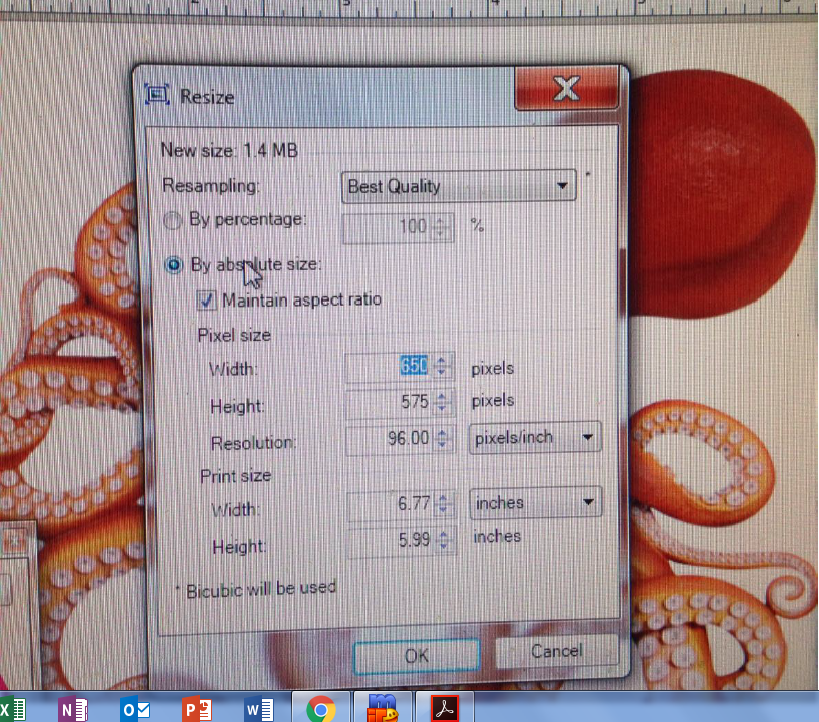
Ignore everything on here except the print size, if need be change the size to inches or if you are happier with ml and cms then stick with that. I personally work in inches when I’m quilting and cms when I’m dressmaking. Change the number using the up and down arrows to get the required size, don’t forget to make allowances for the background once you cut this out (if you aren’t keeping it) then it will reduce the size of your image. Now click ok, you have just resized your image.
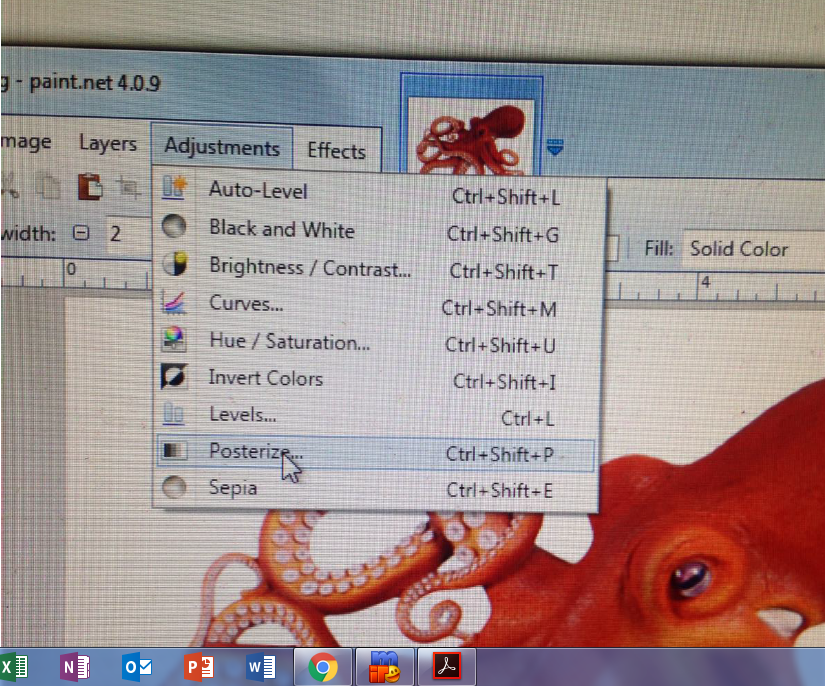
Now it is time to posterise, Posterising an image makes it slightly more animated and removes a little of the detail (you can determine how much) to make it look like a poster hence the name!
Select adjustments in the tool bar at the top of the screen and scroll to posterise, this will open a new window that looks like this.
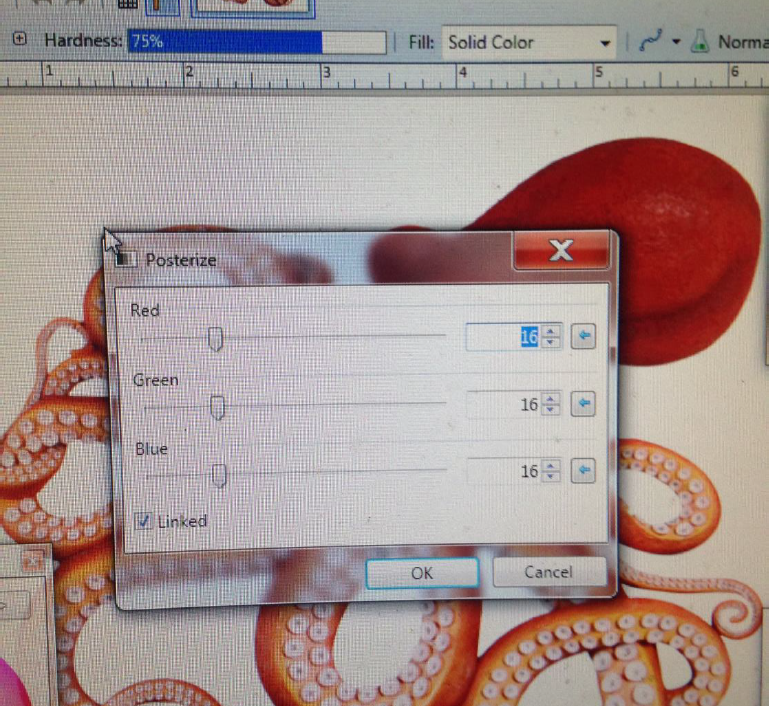
Change only the top number, the others will automatically adjust to match. You are selecting the amount of colors you want to keep in the image, the lower the number the lower the number of colors on the screen and the less detail in the final image.
This is your posterised image, you need to save this again labelling it as your resized and posterised image.
Open your file again and you’ll see how the colours are more defined with clearer edges making separating the colors far easier.
Now we need to print this to size!
Select open with, as before only this time we are opening it with good old fashioned paint.

Once it is opened with paint you will need to click on the clipboard type thing on the top left corner, select print but the arrow not the word, it will open a sub-menu where you need to select ‘page set up’.
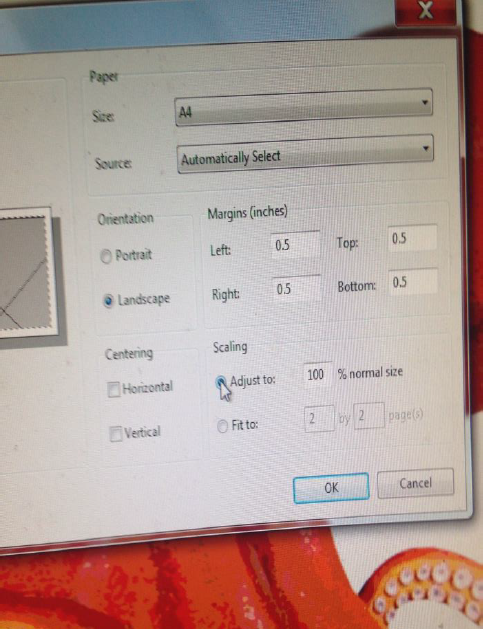
Select ‘adjust to’ to override your computers automatic mission to print all pictures on one sheet of paper and wasting the time you spent resizing the image. Now click ok and print your image!
I did take pictures for the next steps but I won’t put them here as they are easily explained, I printed the image, cut off the white borders around the pages, tape the image together on the back so that you end up with an image the size you want the final piece to be.
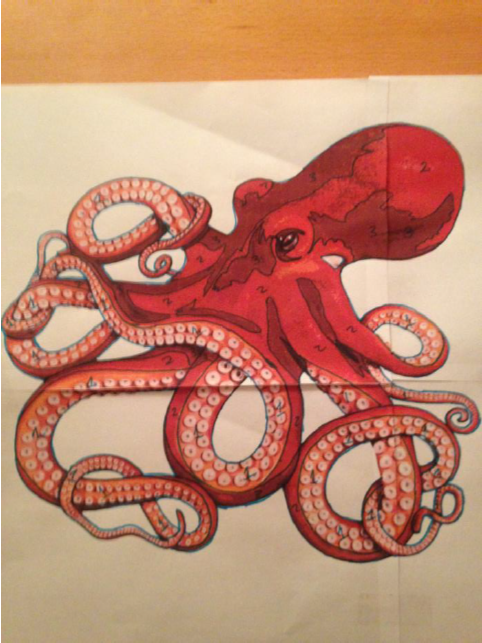
Using a pen that will show up against your image, outline the entire thing and isolate the individual colors, number the colors according to tone and select your fabric if you haven’t already. Use a postit note or scrap of paper and pin the fabric with corresponding numbers on your little image map.
This was a waste of time for me because I changed my mind after this step about what I was going to do but I think you can see where this is going. Each piece of numbered image acts like a puzzle piece. The steps are as follows.
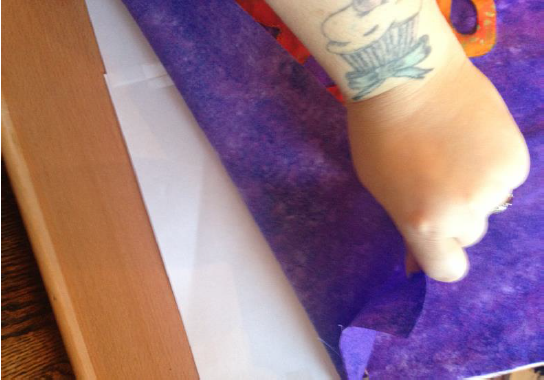
1. Decide which is your main fabric and trace the image onto this, you can use heat n bond or you can stick it with 505 temporary adhesive once it is cut out it is up to you so long as you get the whole silhouette down. TOP TIP: spray starch your fabric and press it well it will help with the drawing and cutting out.
2. Start from the outside and cut off one part of your image map at a time. Trace it onto the wrong side of your fabric (don’t forget to invert the template piece) use heat n bond again if you like it’s probably wise here because the pieces get fiddly. You will overlay the pieces onto your main silhouette and build them up from the outside in leaving a little room for overlap if you can.
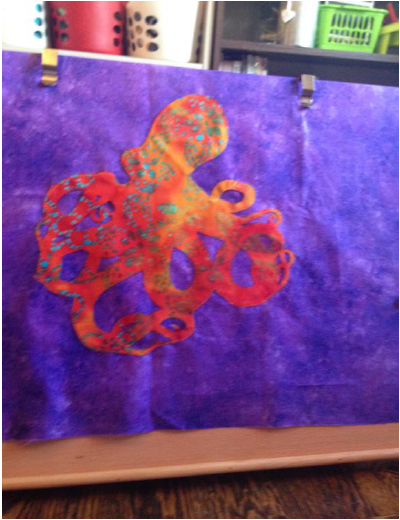
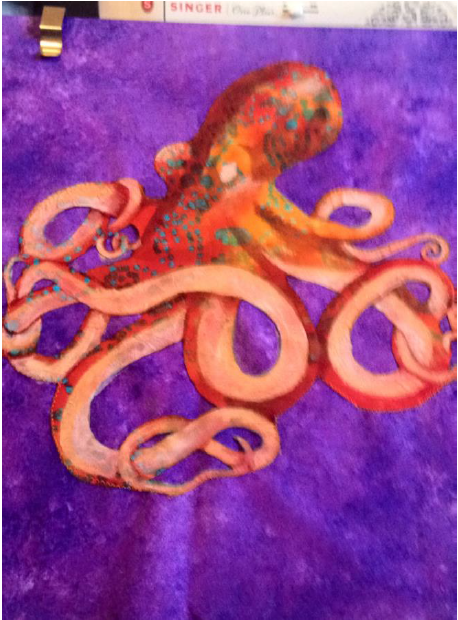
This is where I started using this process then changed my mind! (there are videos on youtube showing the above process just search art quilt and they will come up)

Here are photos of where this was heading before I did a 180 degree flip!
I stitched the main silhouette down with a small zigzag stitch, I didn’t worry about being overly accurate because I knew I was going to stitch over this later, but I got as close as possible.
I decided to use fabric paints instead so the next series of pictures are the stages I went through to paint.
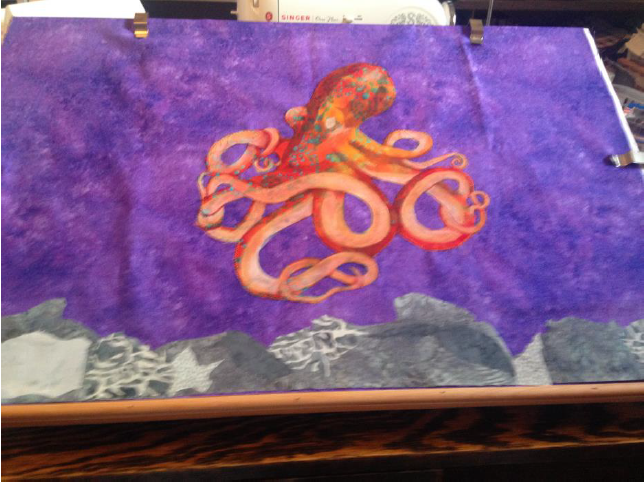
Used some left over grey batik from making Eden which already had heat n bond on the back to cut out random rock like shapes and iron them on along the bottom. I used a small zigzag stitch to anchor them.
Paper behind the
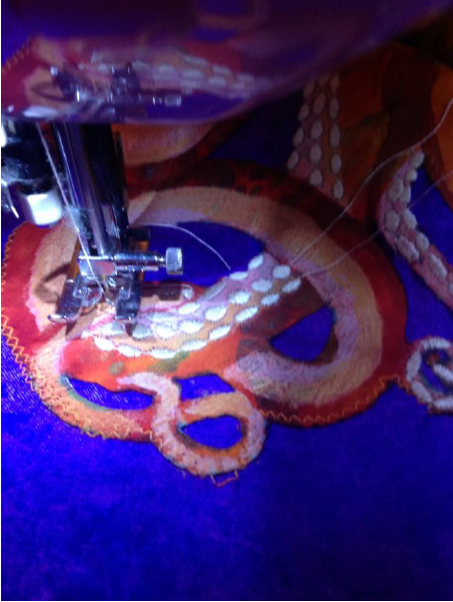
I thought long and hard about how I was going to do all of those tiny little suckers and settled on one of the decorative stitches on my machine, I varied the size as I went along to give a flow to the tentacles and to make it a little more realistic.
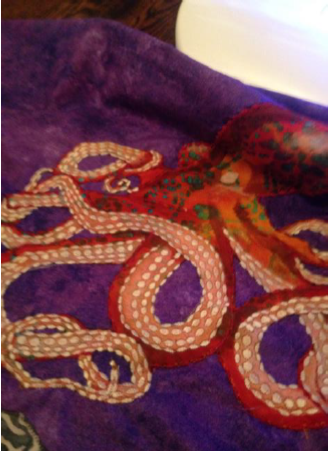
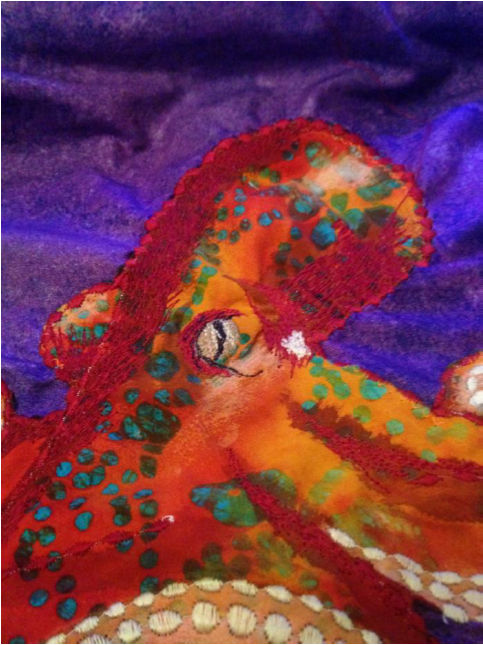
Then I filled in the details using free motion stitching, I have done this before I add batting and backing because I want him to sit proud of the final quilt and have a sort of 3D definition.
I outlined the octopus with an oval stitch to give the impression of texture, I paid close attention to where the shadows and light were on the original image and tried to duplicate that.
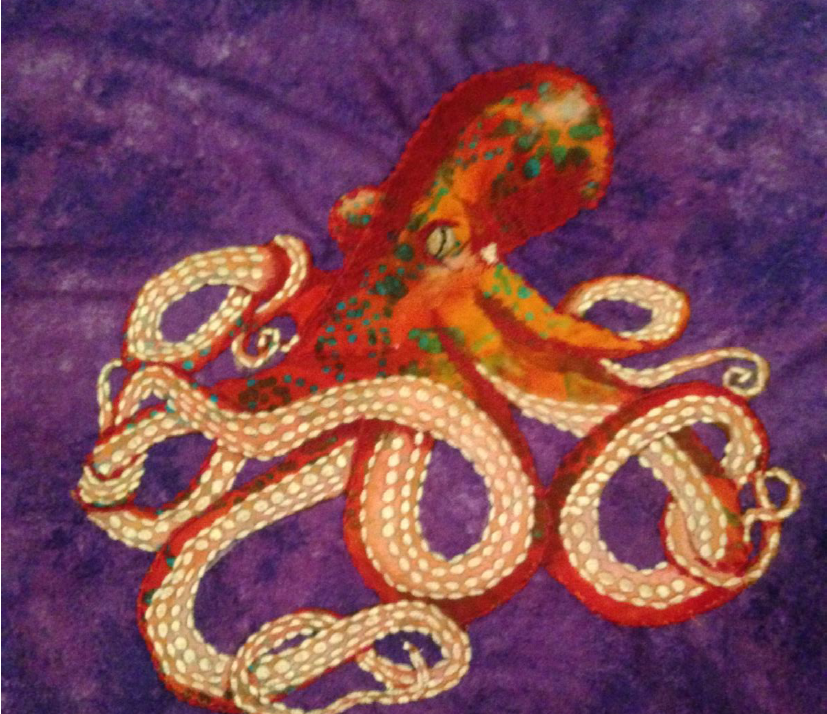
This is how much detail I added before I began to think about quilting. Time to add the batting and a cheap throwaway fabric to the back of the batting to stop the fibers getting tangled up in my machine. I added waves using a Gutterman variegated thread, along with bubbles (well they were
PAGE 24
supposed to look like bubbles anyway) and some free motion quilting to add texture and dimension to the background.
I just kind of went crazy here and added detail to the surrounding area while leaving Perseus himself with as much ‘loft’ as possible to give him his three dimensional appearance. I used decorative stitches to add texture and some lovely green/gold metallic embroidery thread to give the seaweed some lift, I don’t know if the photographs captured this at all. Quilts aren’t the easiest thing in the world to photograph!
So here are the last few photographs of the quilt process, my main idea is to have fun with it, if you want to have a go at an art quilt let yourself go a little and while the techniques you have from traditional quilting are vital they aren’t the final word in art quilting. In this piece I have left raw edges and gone off line more times than I can count but I am calling it texture and movement not mistakes… (phew! Think I got away with that one!)
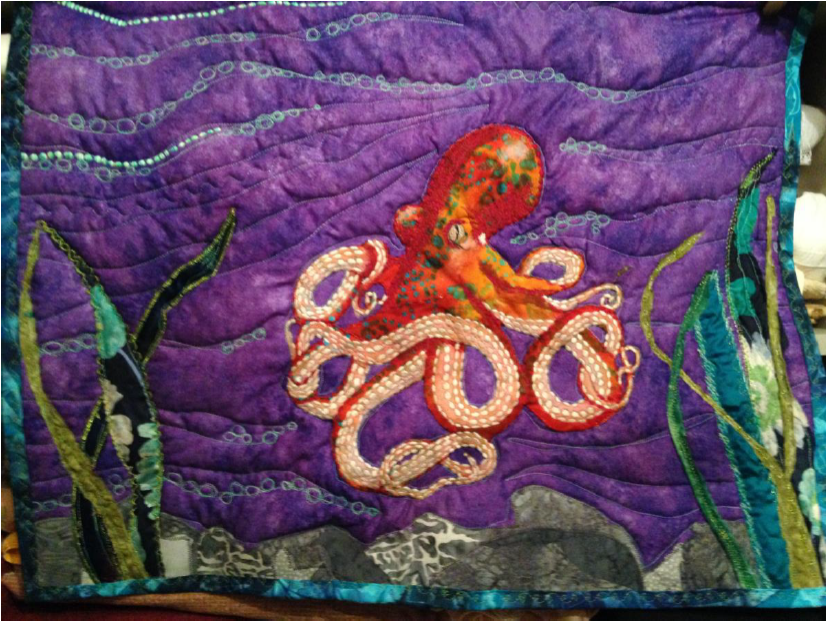
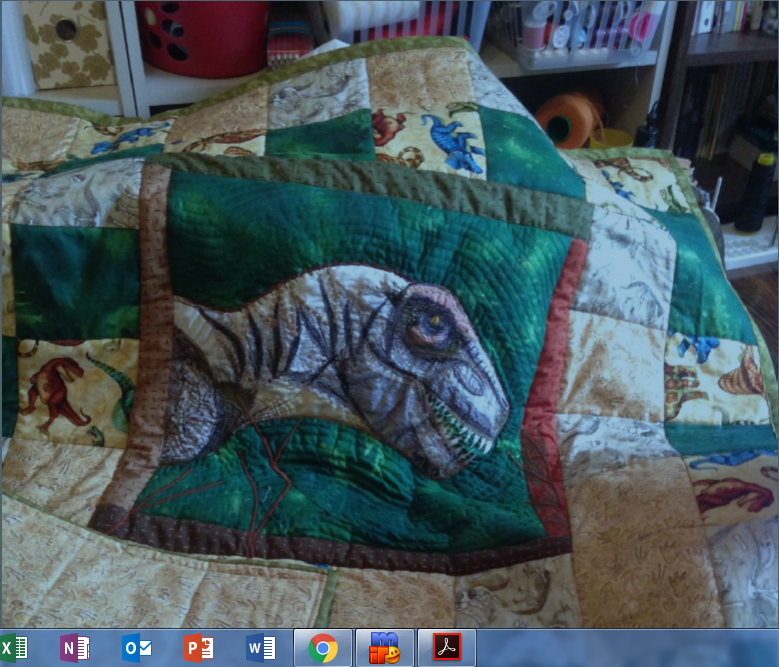
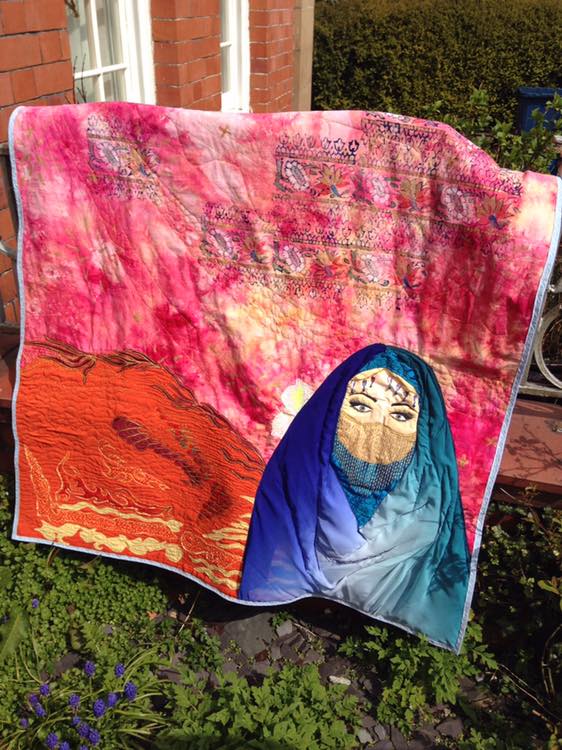
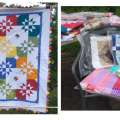
And so Perseus lives… Much of this blog is what I wrote on the original how to/this is how I made it. I’m aware that it is a very loose guideline type of affair but the goal is to give you the tools and send you off into the big wide world to create your very own art quilt. Its a process I find most interesting and I love the artistic freedom I have with it. Below I am adding a couple of pictures of other Art quilts I have done, I hope you like them! Many thanks again for reading my chattering and happy quilting!

Great blog Elizabeth, loving the tech info.