We don’t get much snow in Hampshire so imagine my delight when I woke up a couple of days ago to see it snowing heavily and work called a snow dye. After I got over the excitement of having to make the obligatory snowman and walk in the park with the other half the novelty began to wear off! Half way through the afternoon I suddenly remembered a friend of mine had done some dyeing with ice – could the same be achieved with snow? After a quick internet search I suddenly realised I had found a new technique to try – snow dyeing. I had all the equipment and materials needed so I set up a work space and went to collect some snow!
You’ll need a small amount of equipment for this technique, trays to put your fabric in, plastic to cover your work surface, gloves to protect your hands, a mask to protect yourself from the powdered dye, spoons to measure out your dye- make sure that you use spoons that you don’t use in the kitchen and of course your fabric and dyes. I used Procion Mx Dyes, you can also use brusho and dylon dyes, they are all pretty much the same thing. The fabric I used was from my fabric stash, a couple of pieces of Cotton Poplin and a couple of pieces of Cotton Sateen and it had already been soda soaked. Natural fibres work best and I guess if you are going to use them in quilting then 100% cotton is the fabric you would go for. Try to use the best quality you can afford as they will give you nicer results.
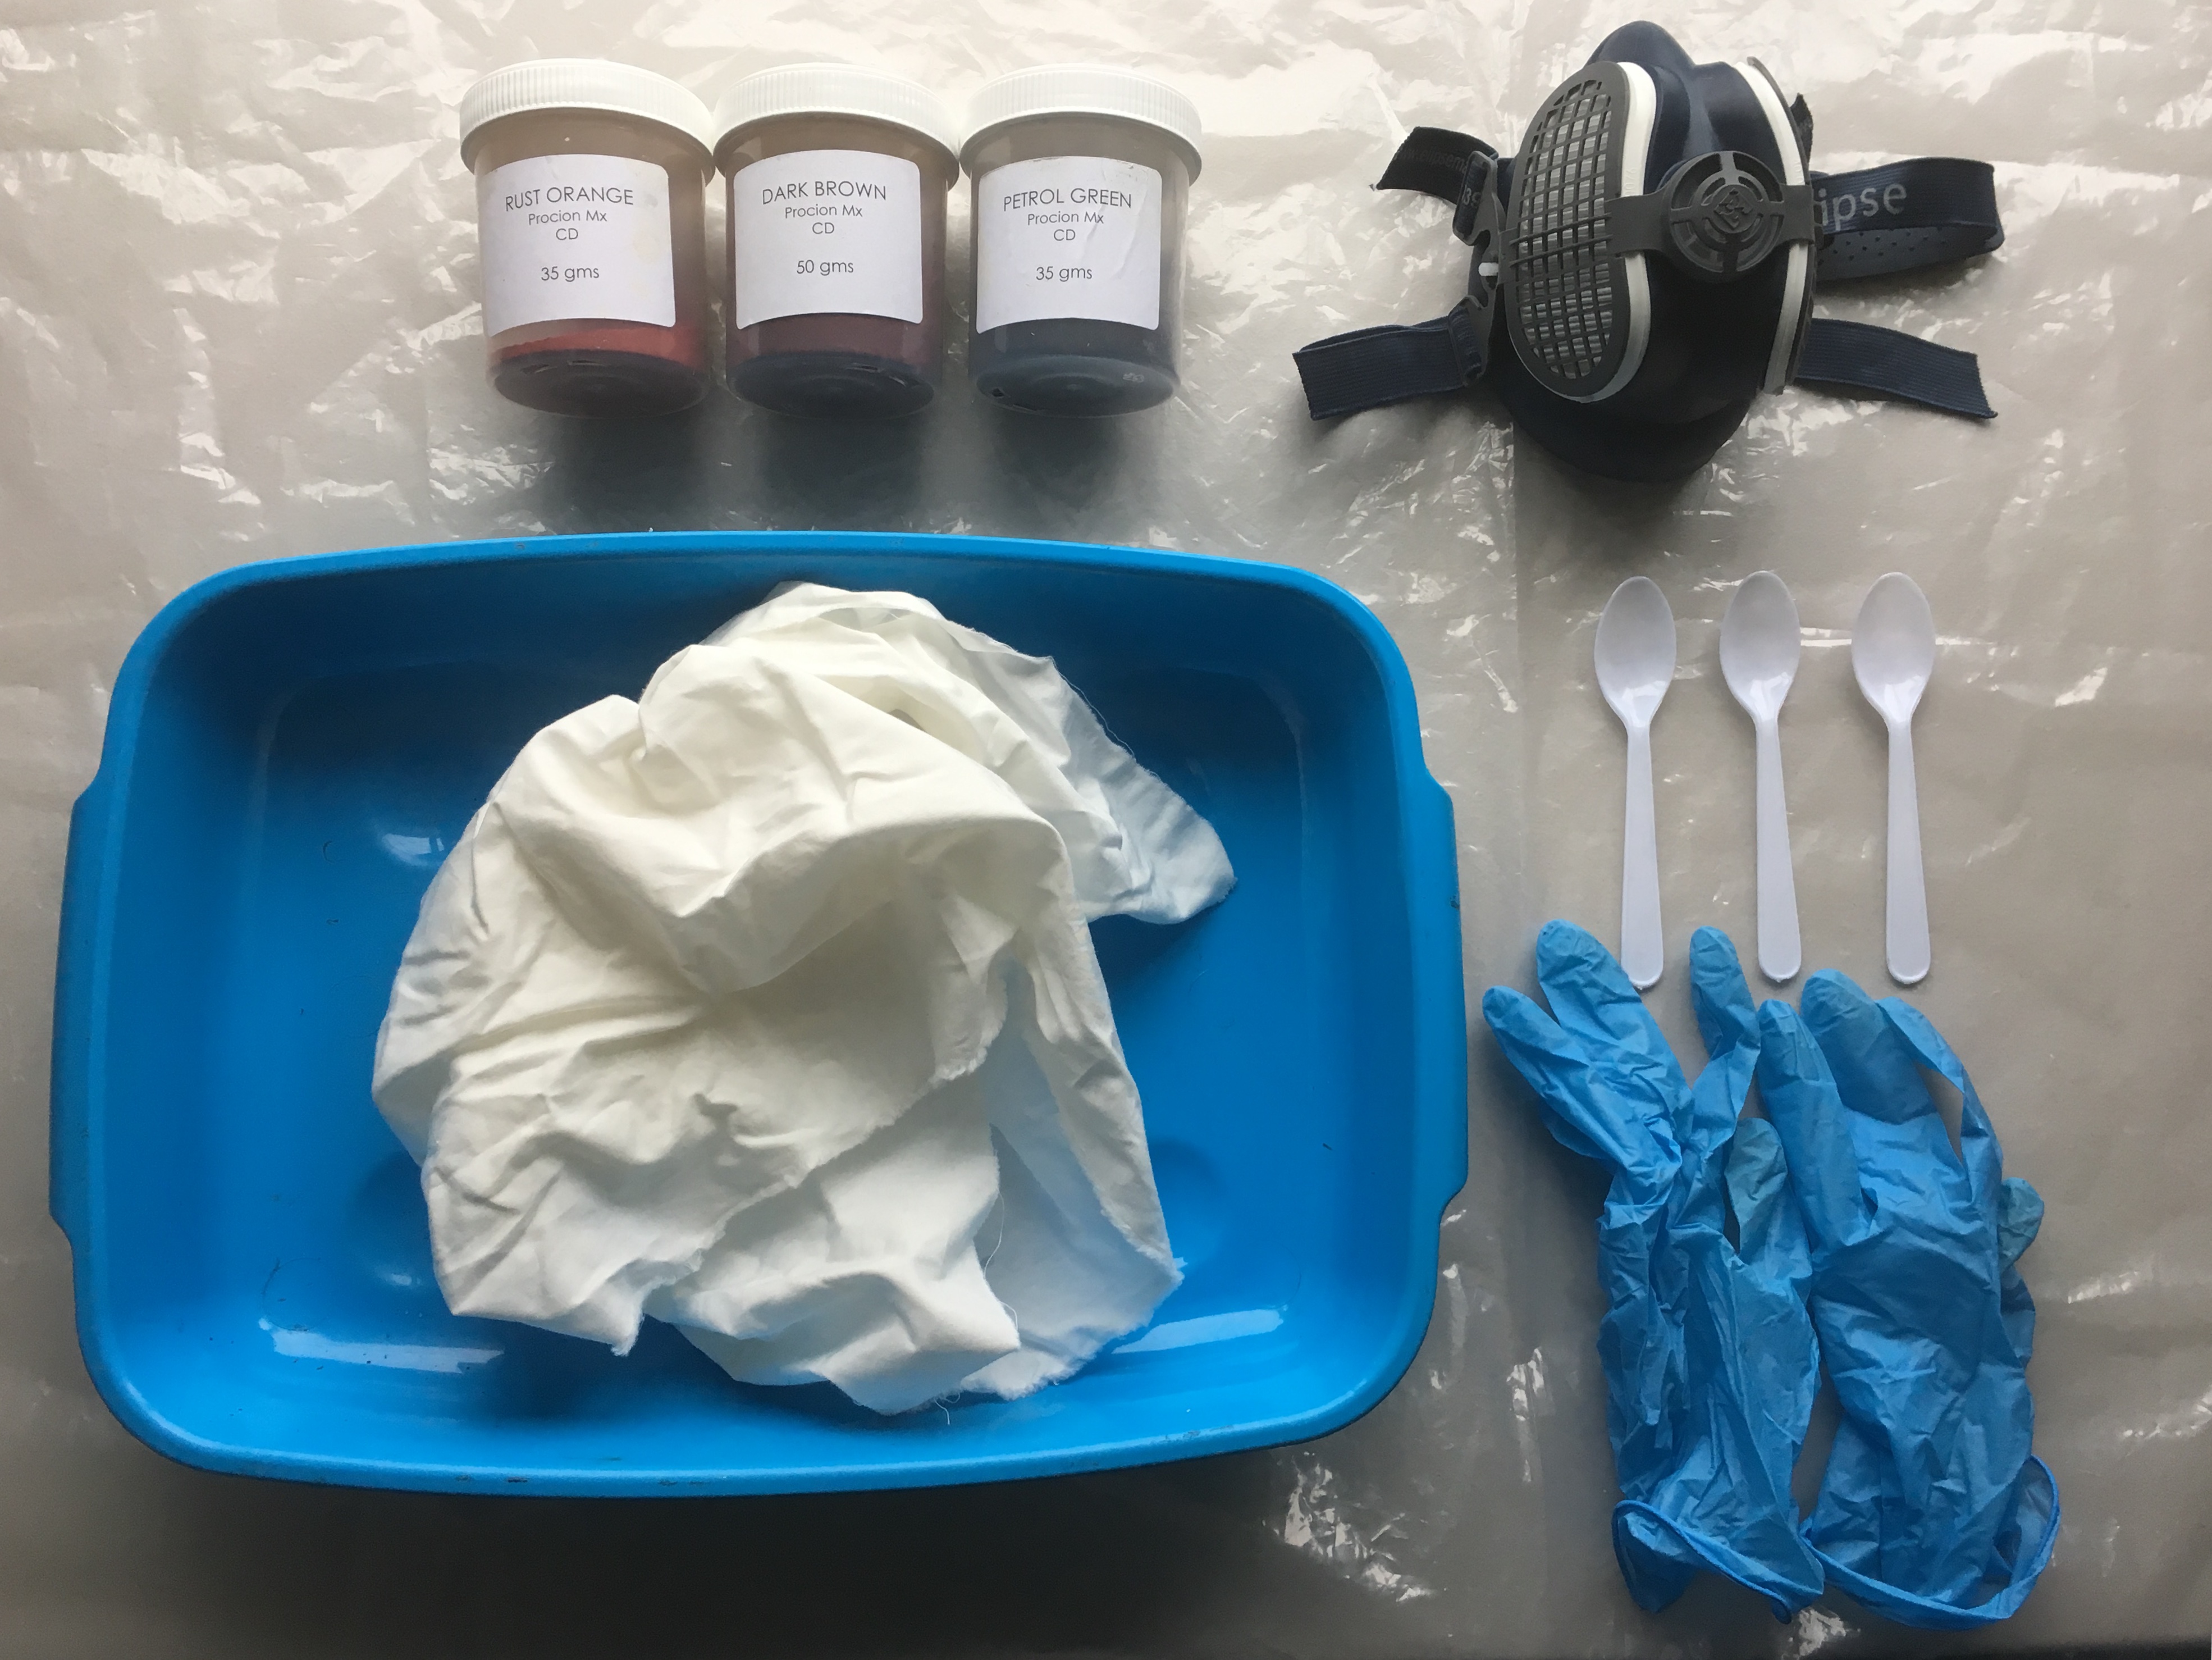
If you don’t have soda soaked fabric here’s what you do, firstly make sure you wash (scour) your fabric in a hot 60 degree wash, with soda ash in the wash, 3 tablespoons, put in the drum of your machine with your fabric, this takes out any size or dressing from the fabric. Once your fabric has been scoured you then need to soak your fabric in a soda solution, I use 3 tablespoons of soda ash per litre of water. Soda ash does not like to be dissolved in hot water so put your soda ash in a container and add a small amount of tepid water to start dissolving it then add cold water to the required amount. Once your soda solution is ready place your fabric in it and soak it for a minimum of 20 minutes. Your fabric is now ready to be used and you can use it wet or dry, your marks will be smoother if your fabric is wet and more pronounced if the fabric is dry.
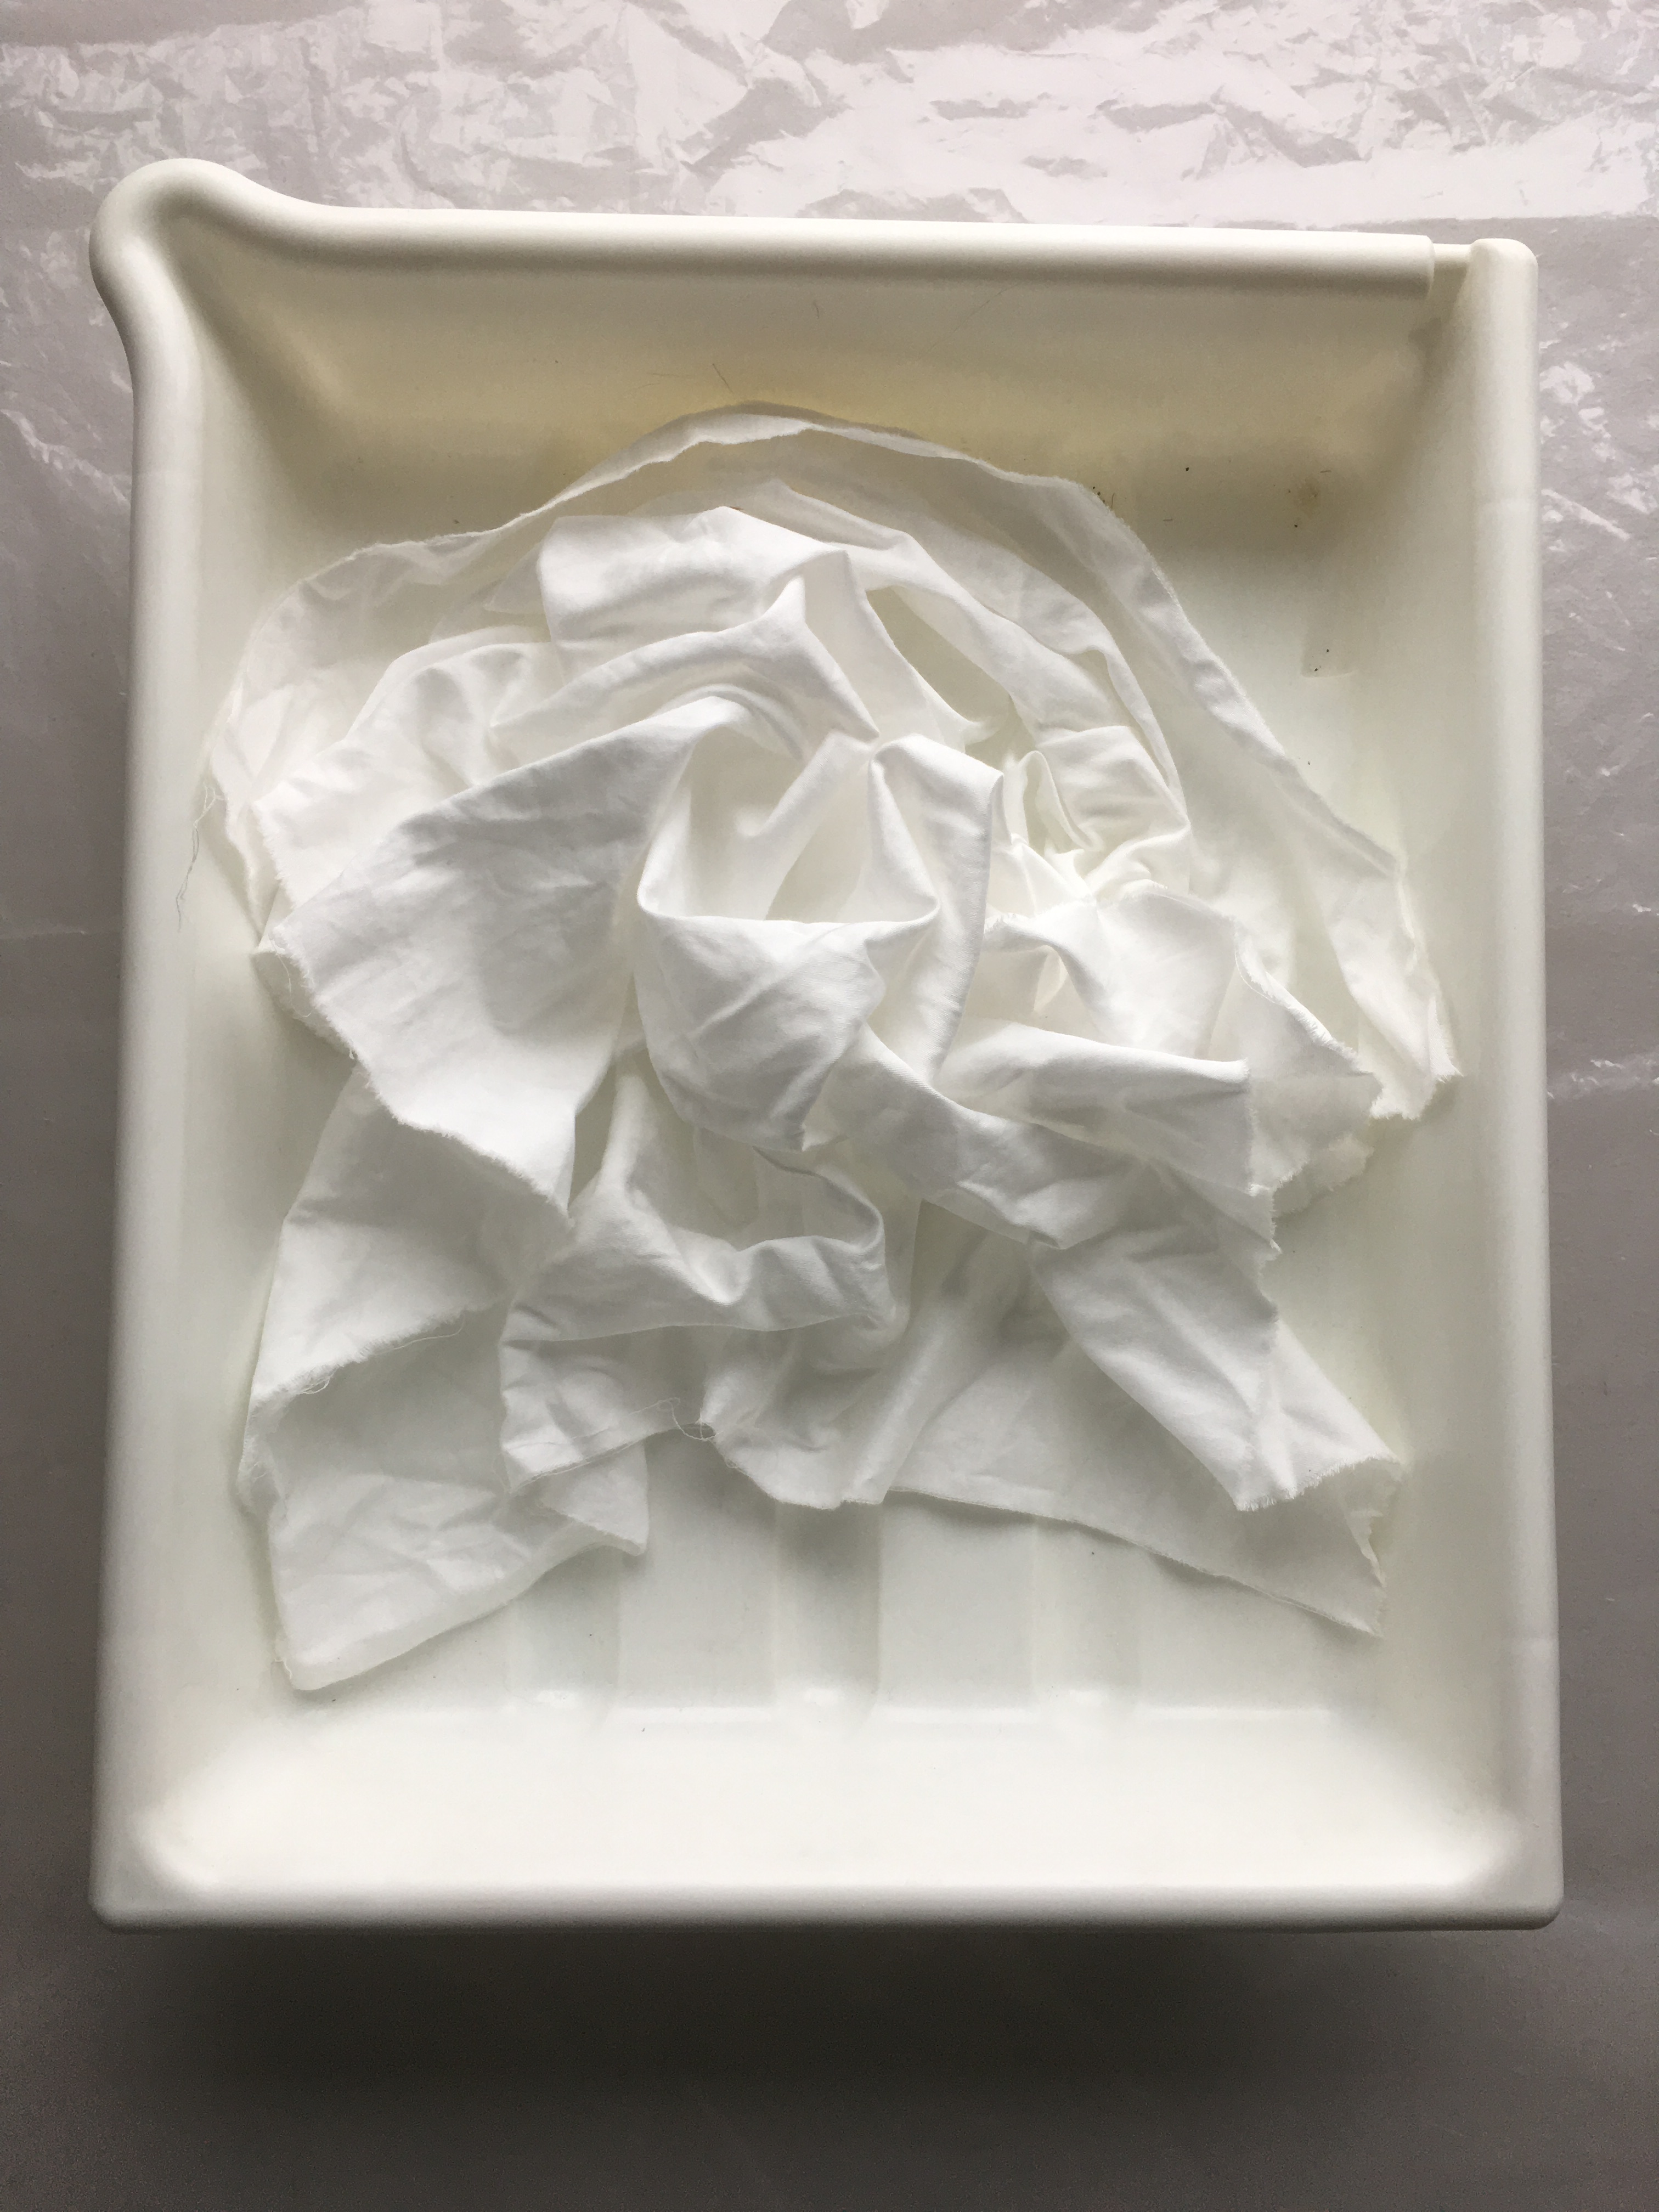
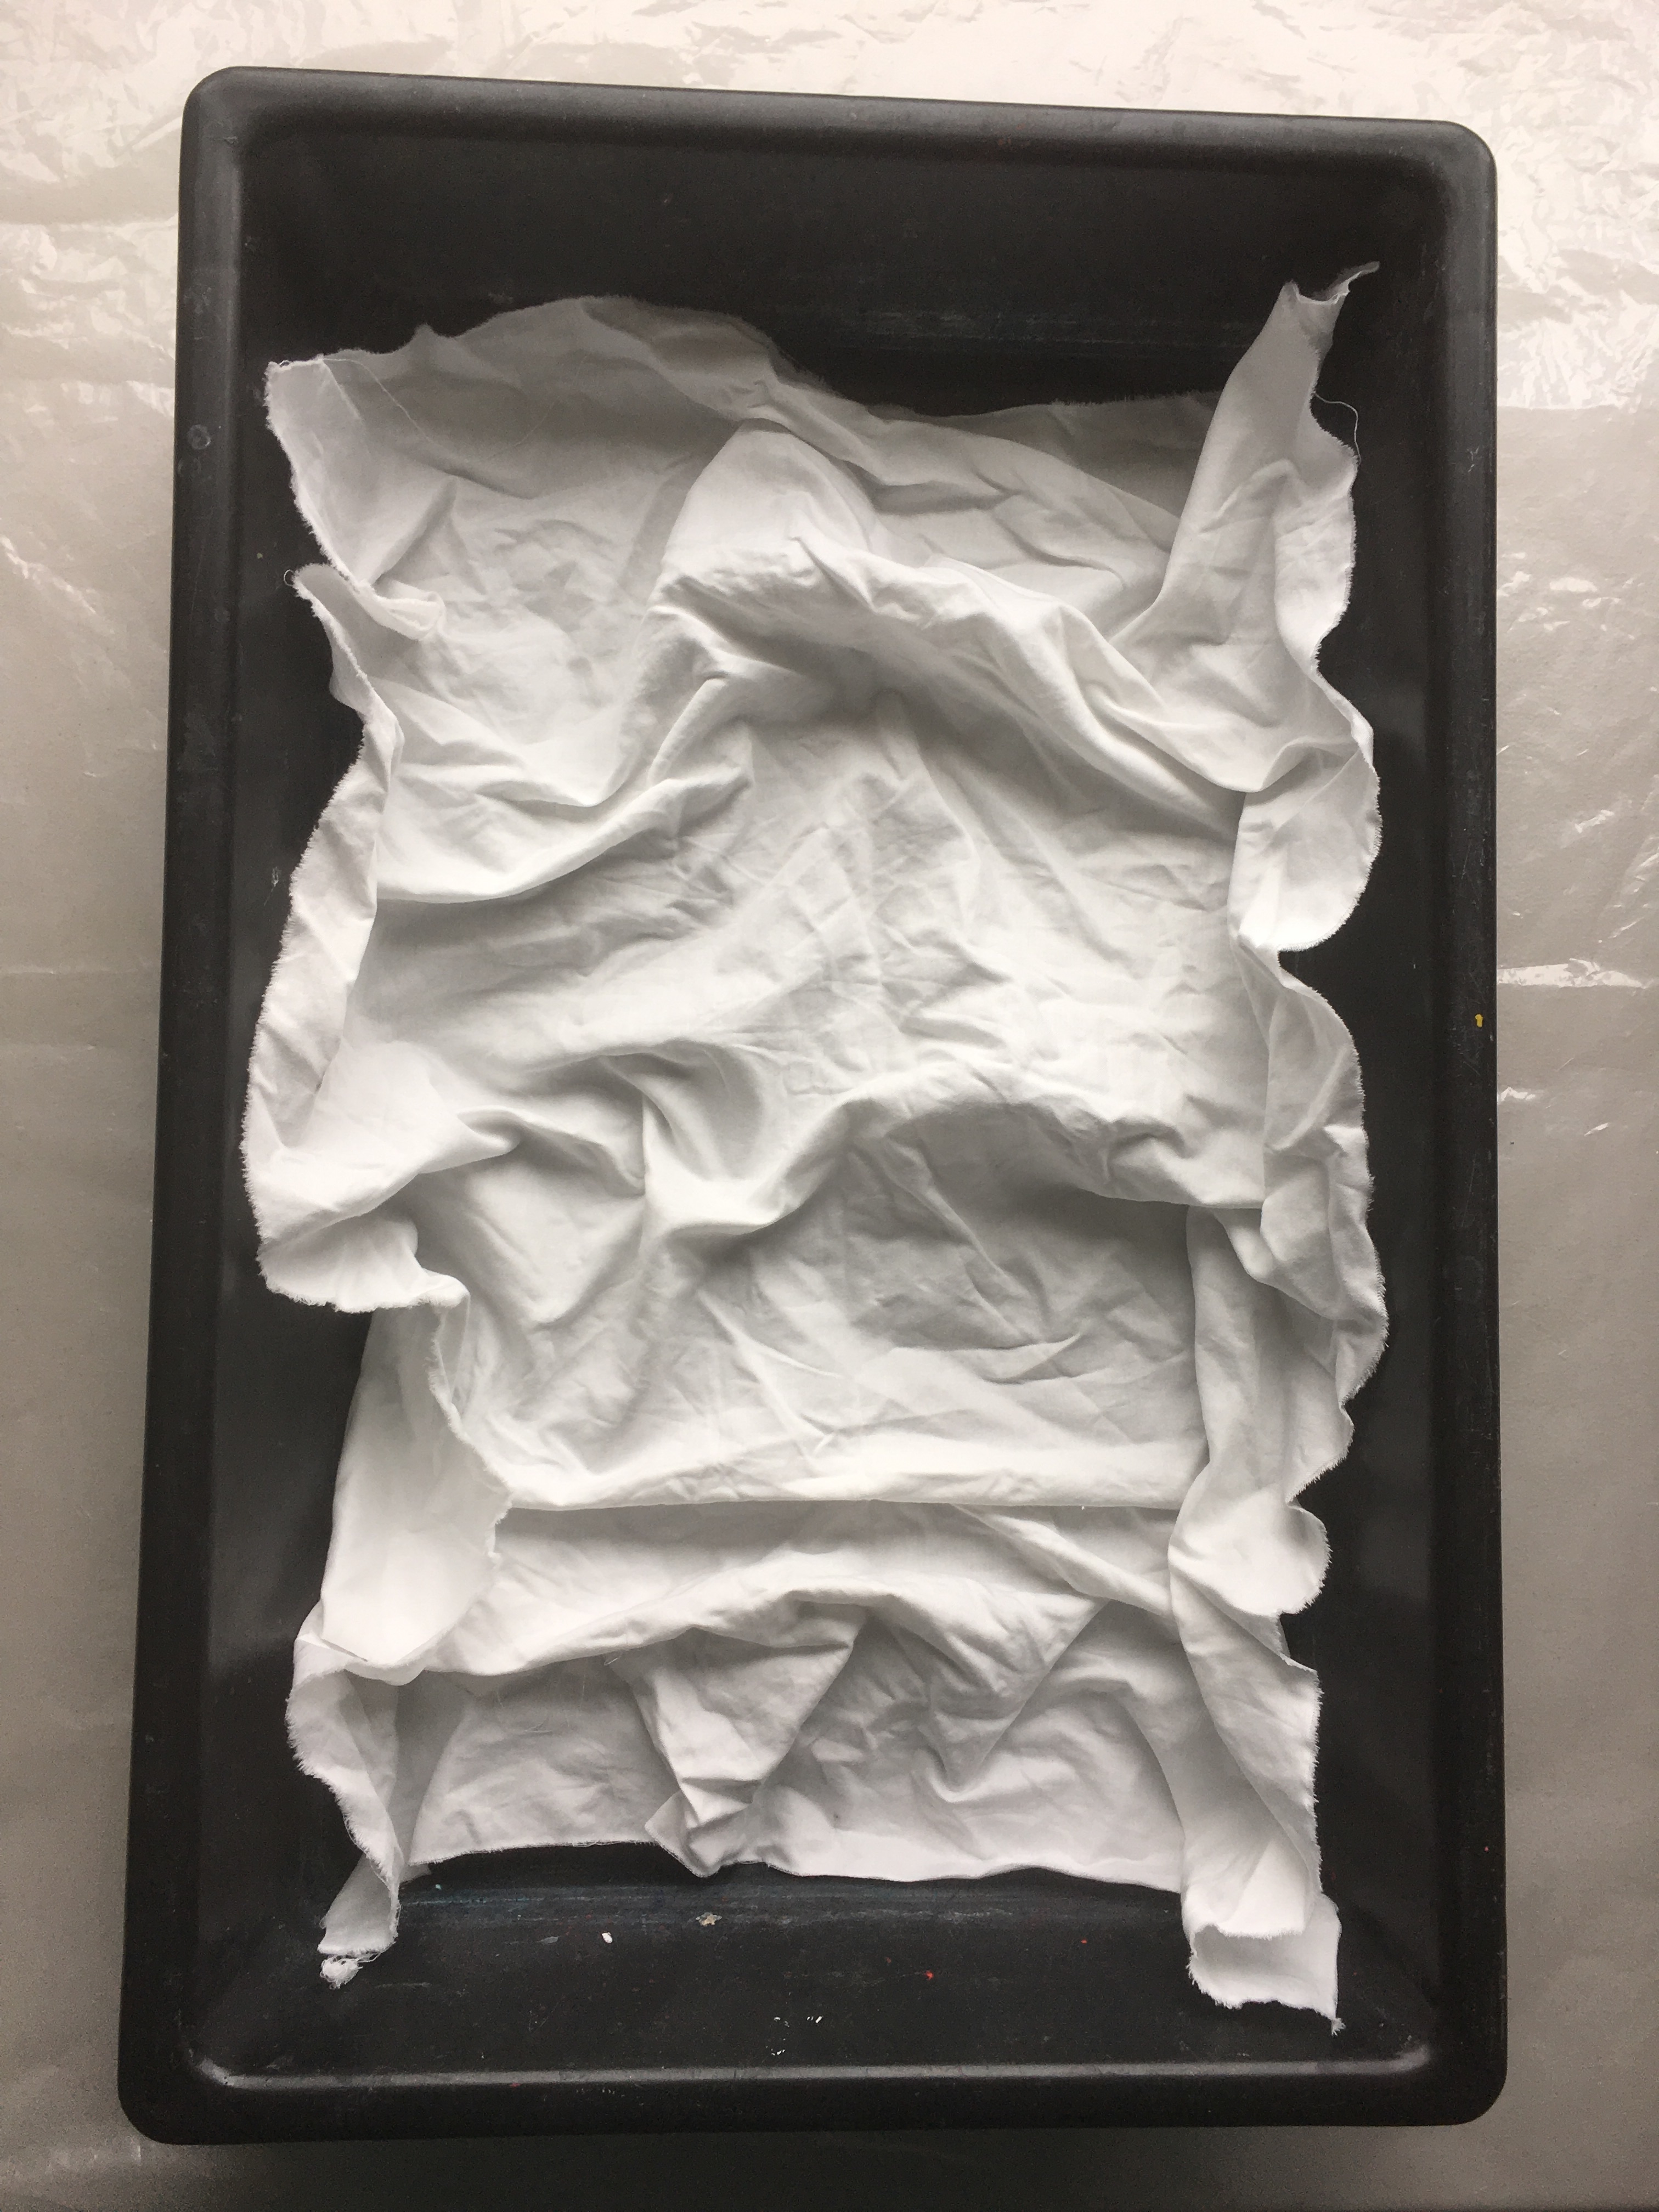
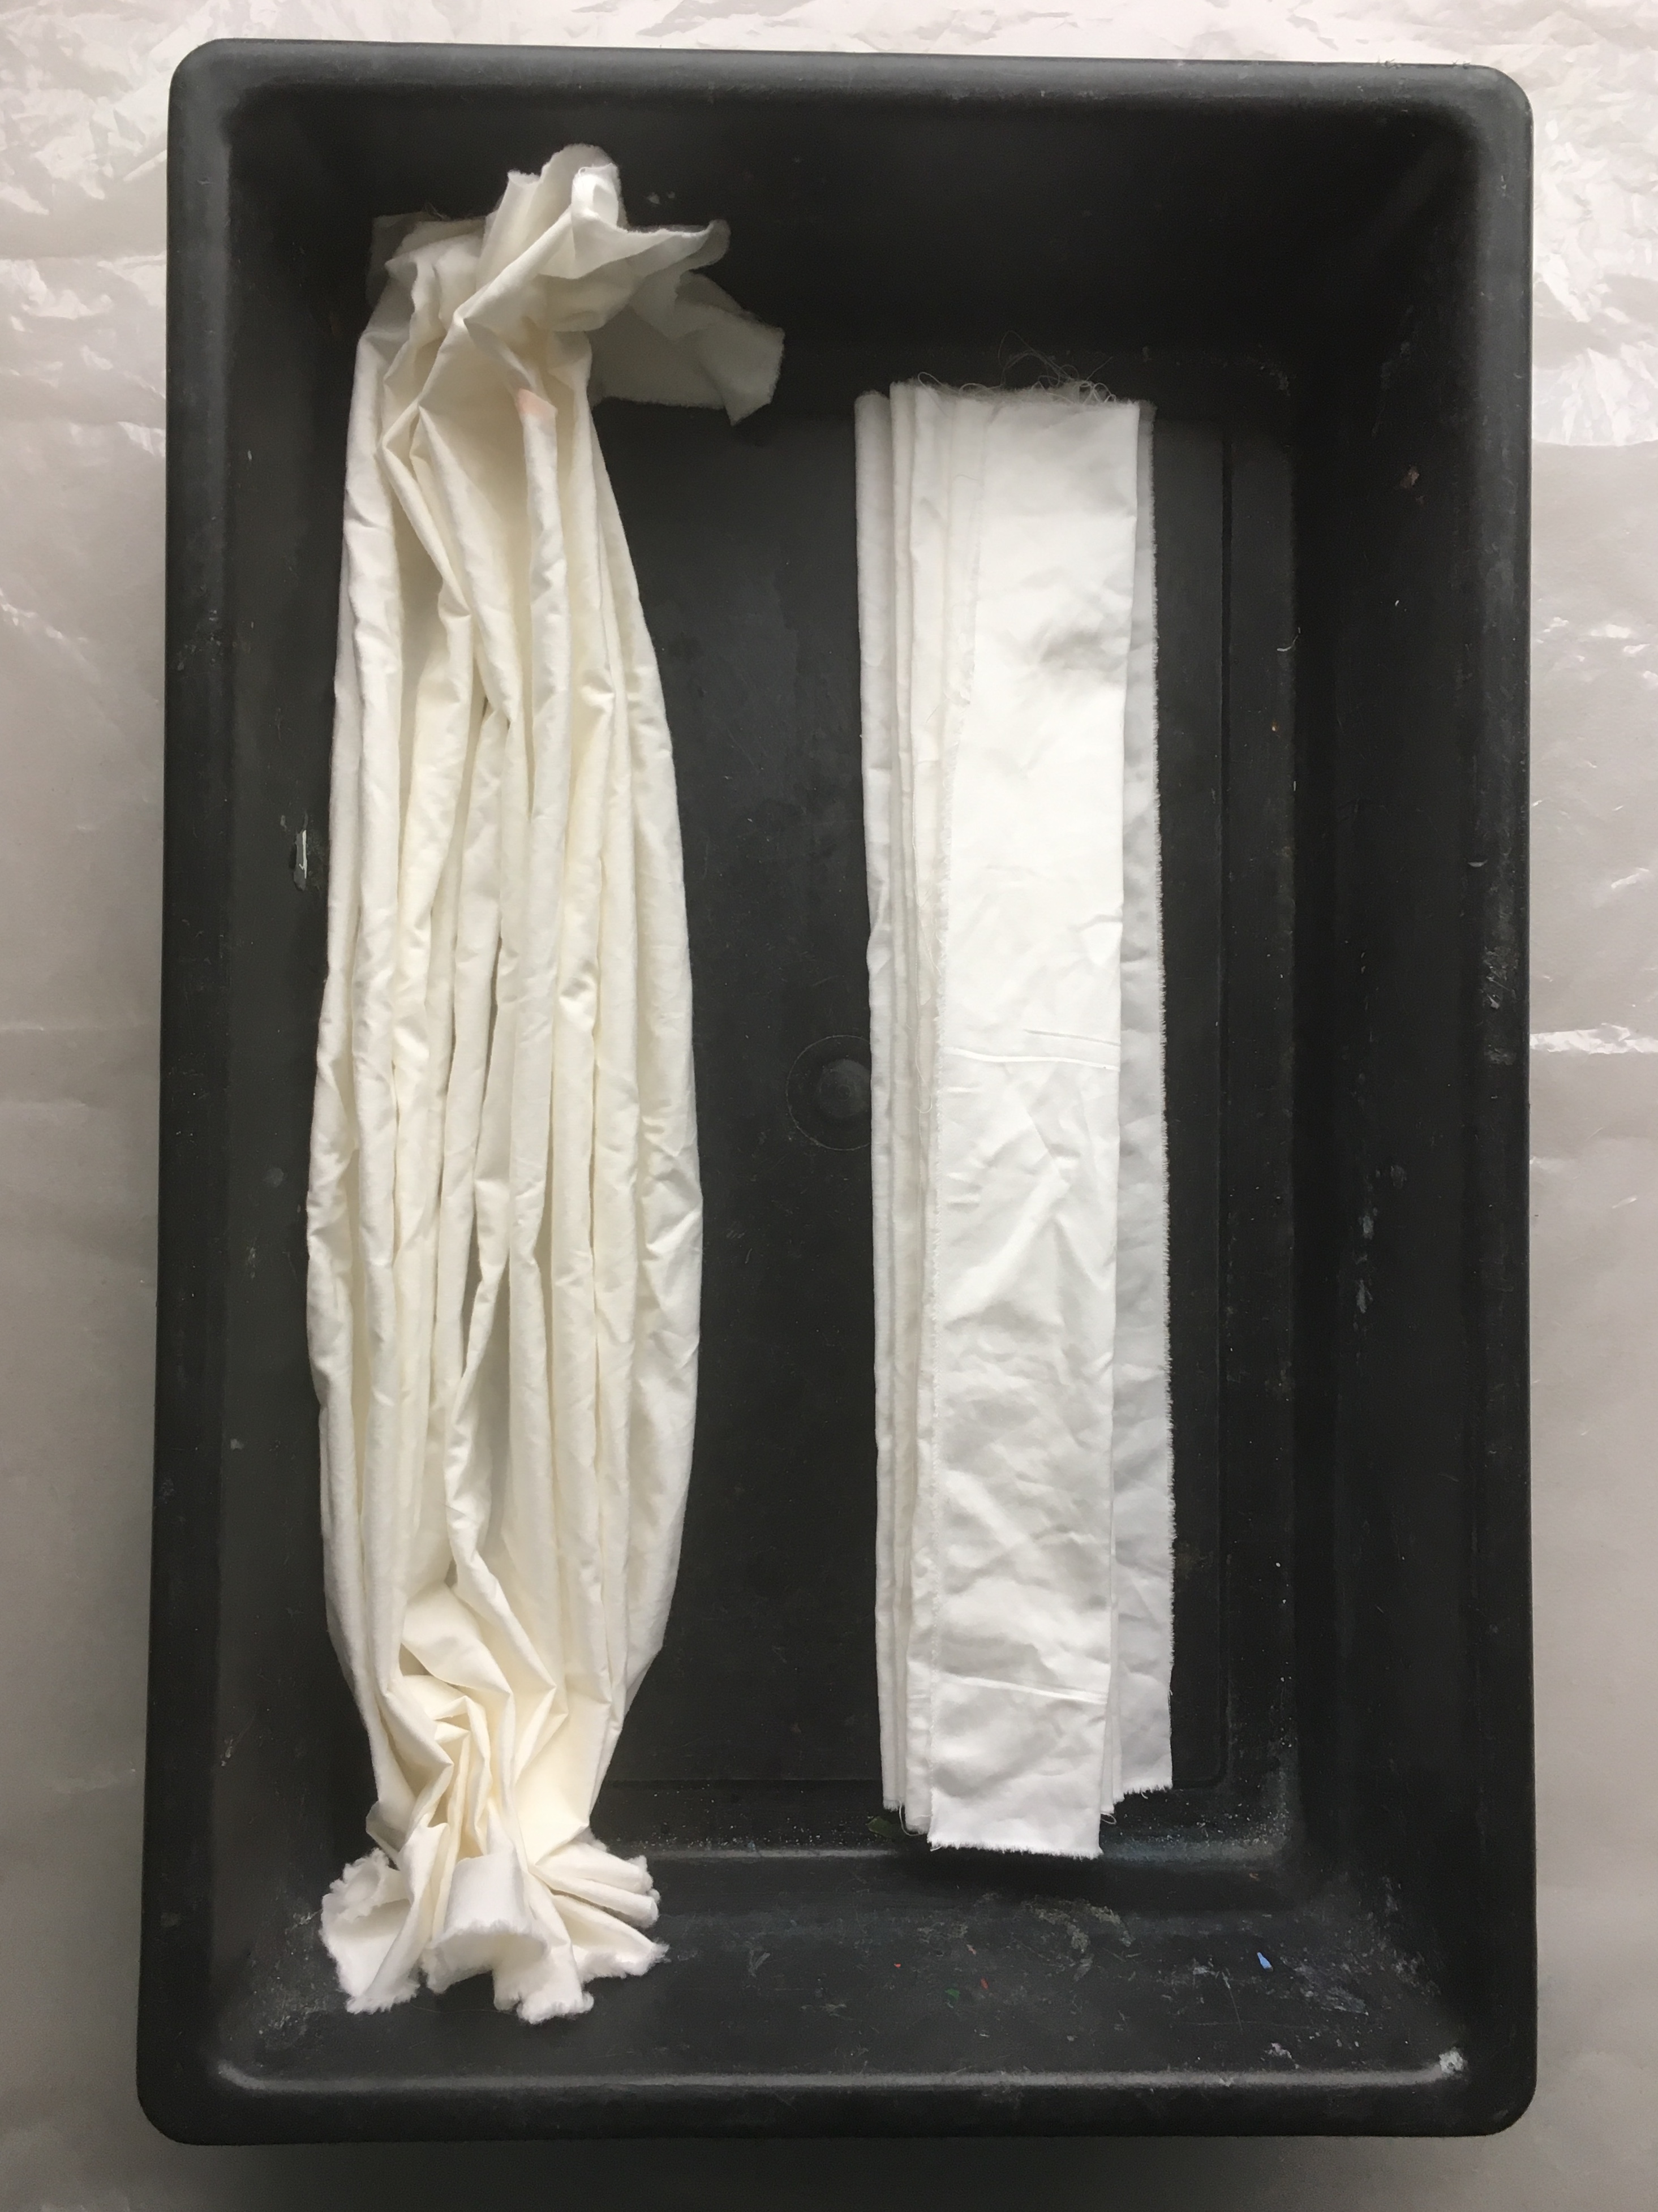
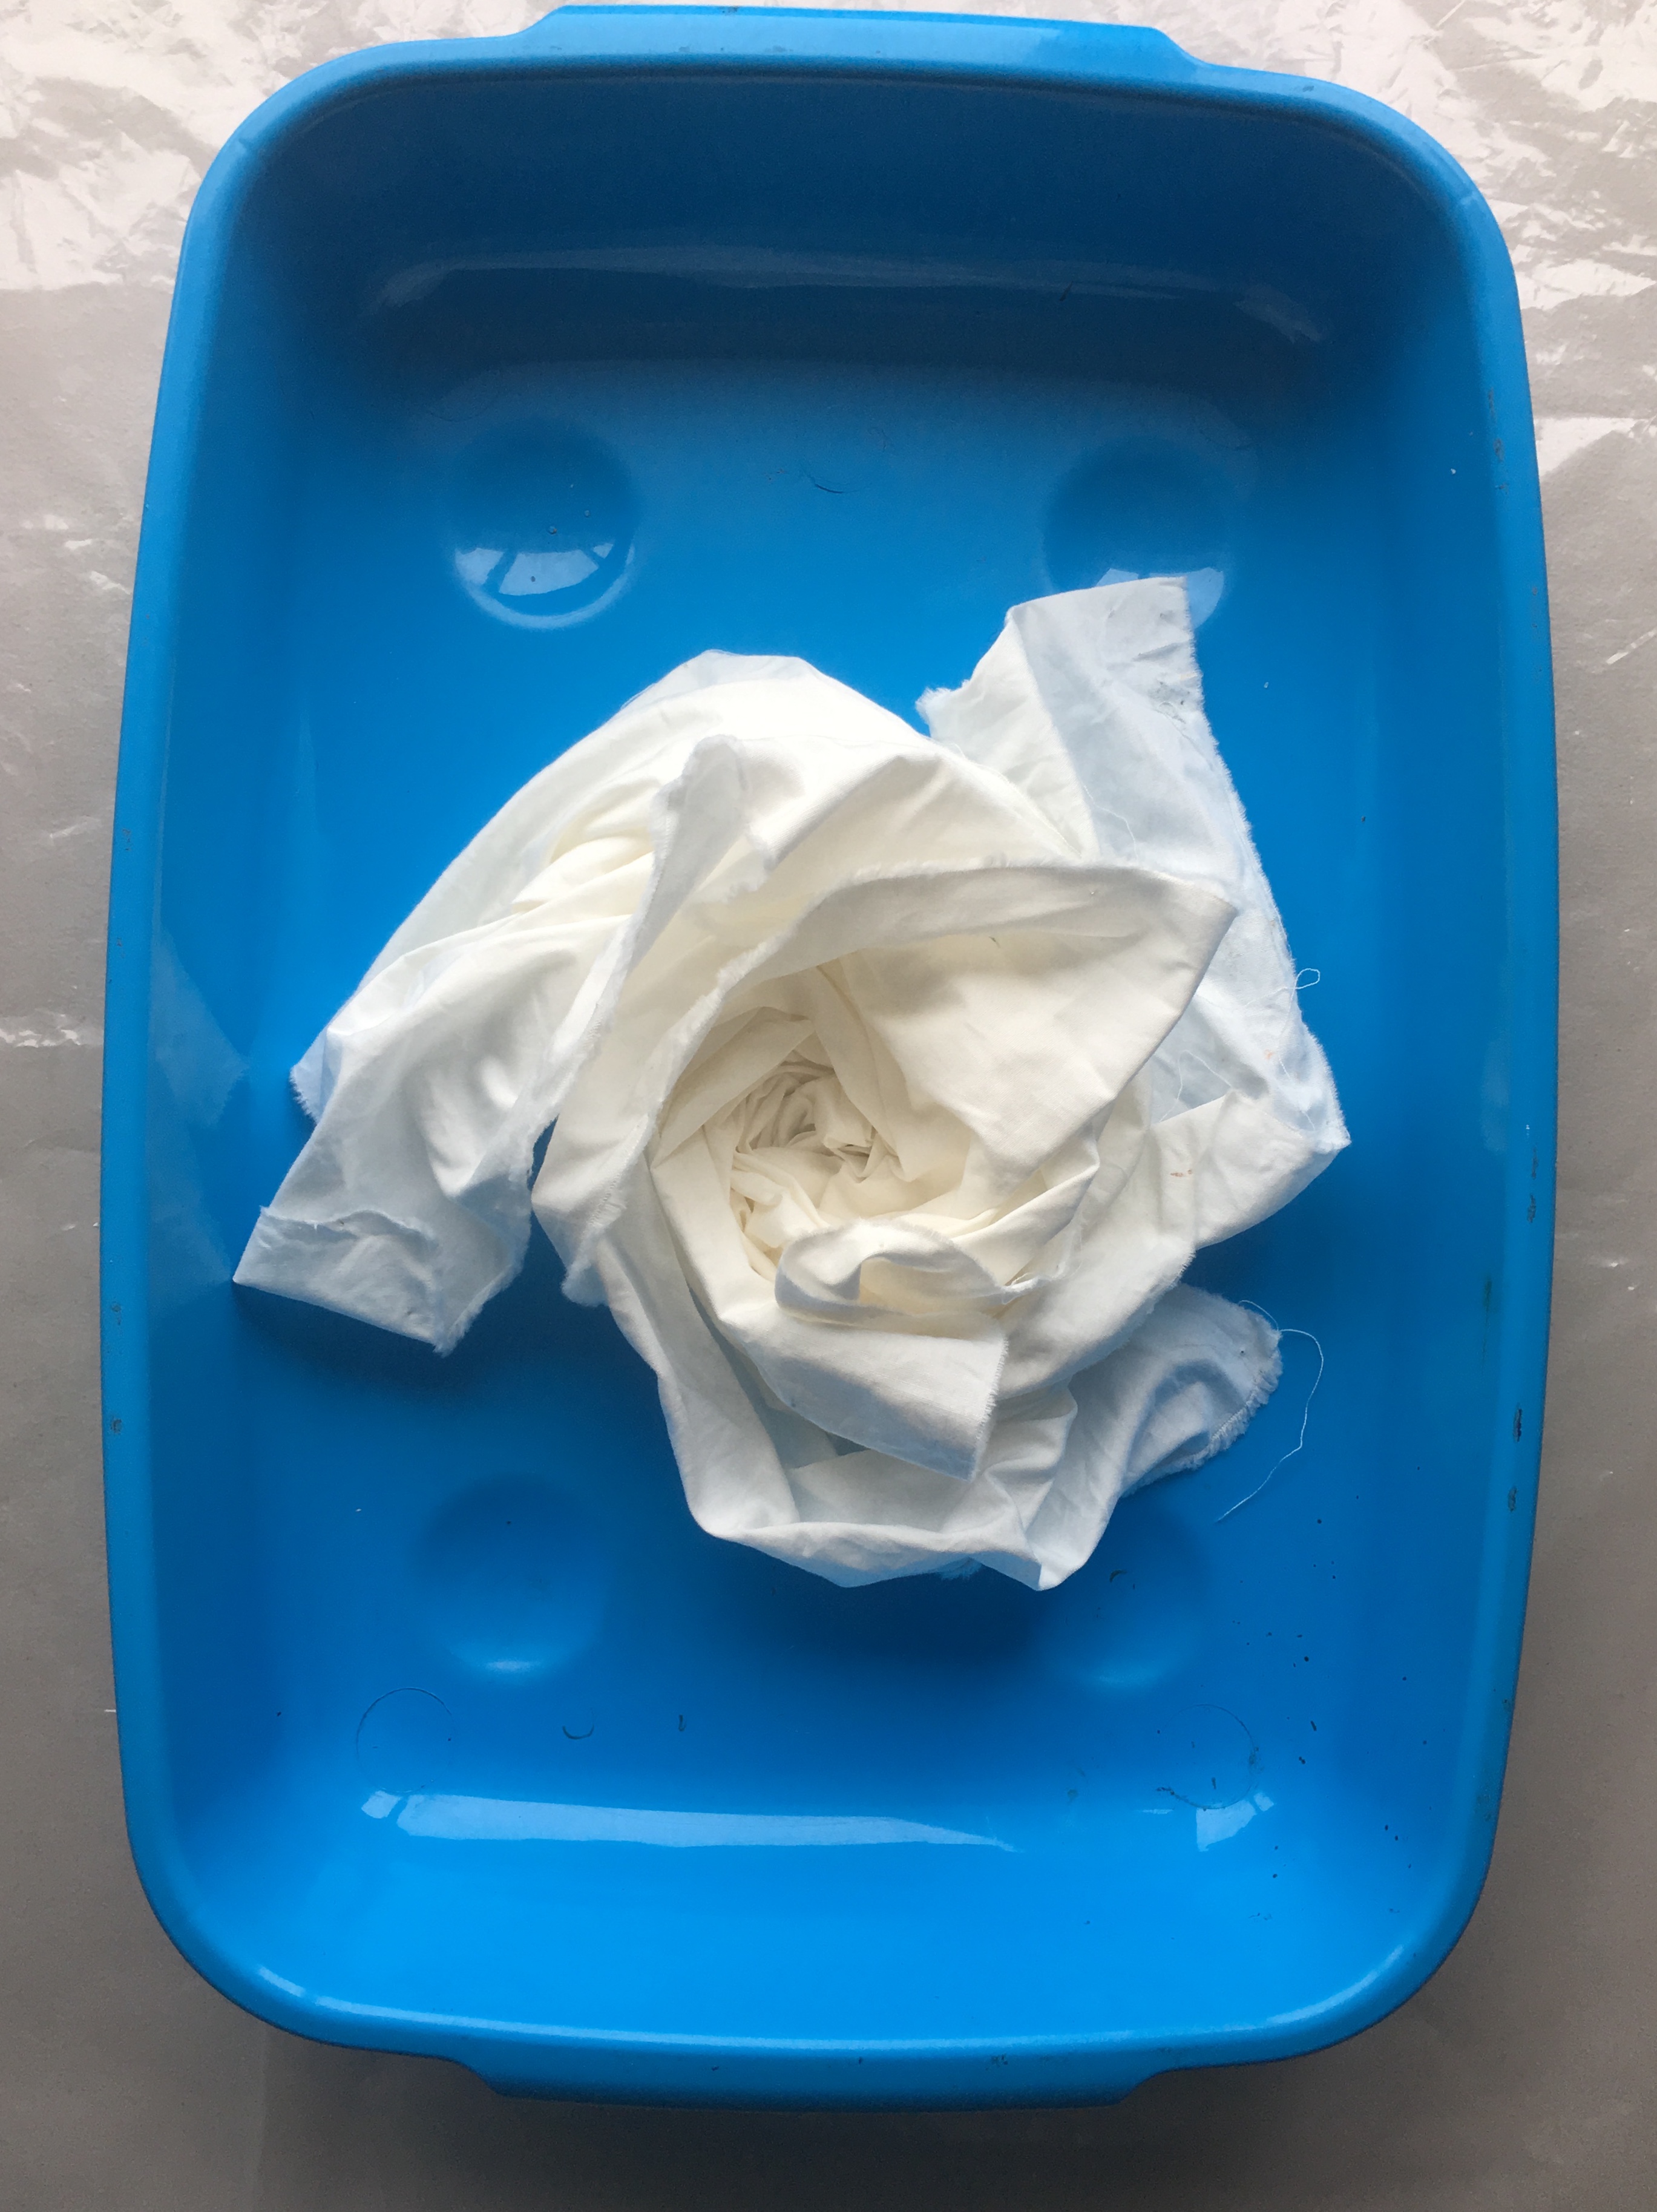
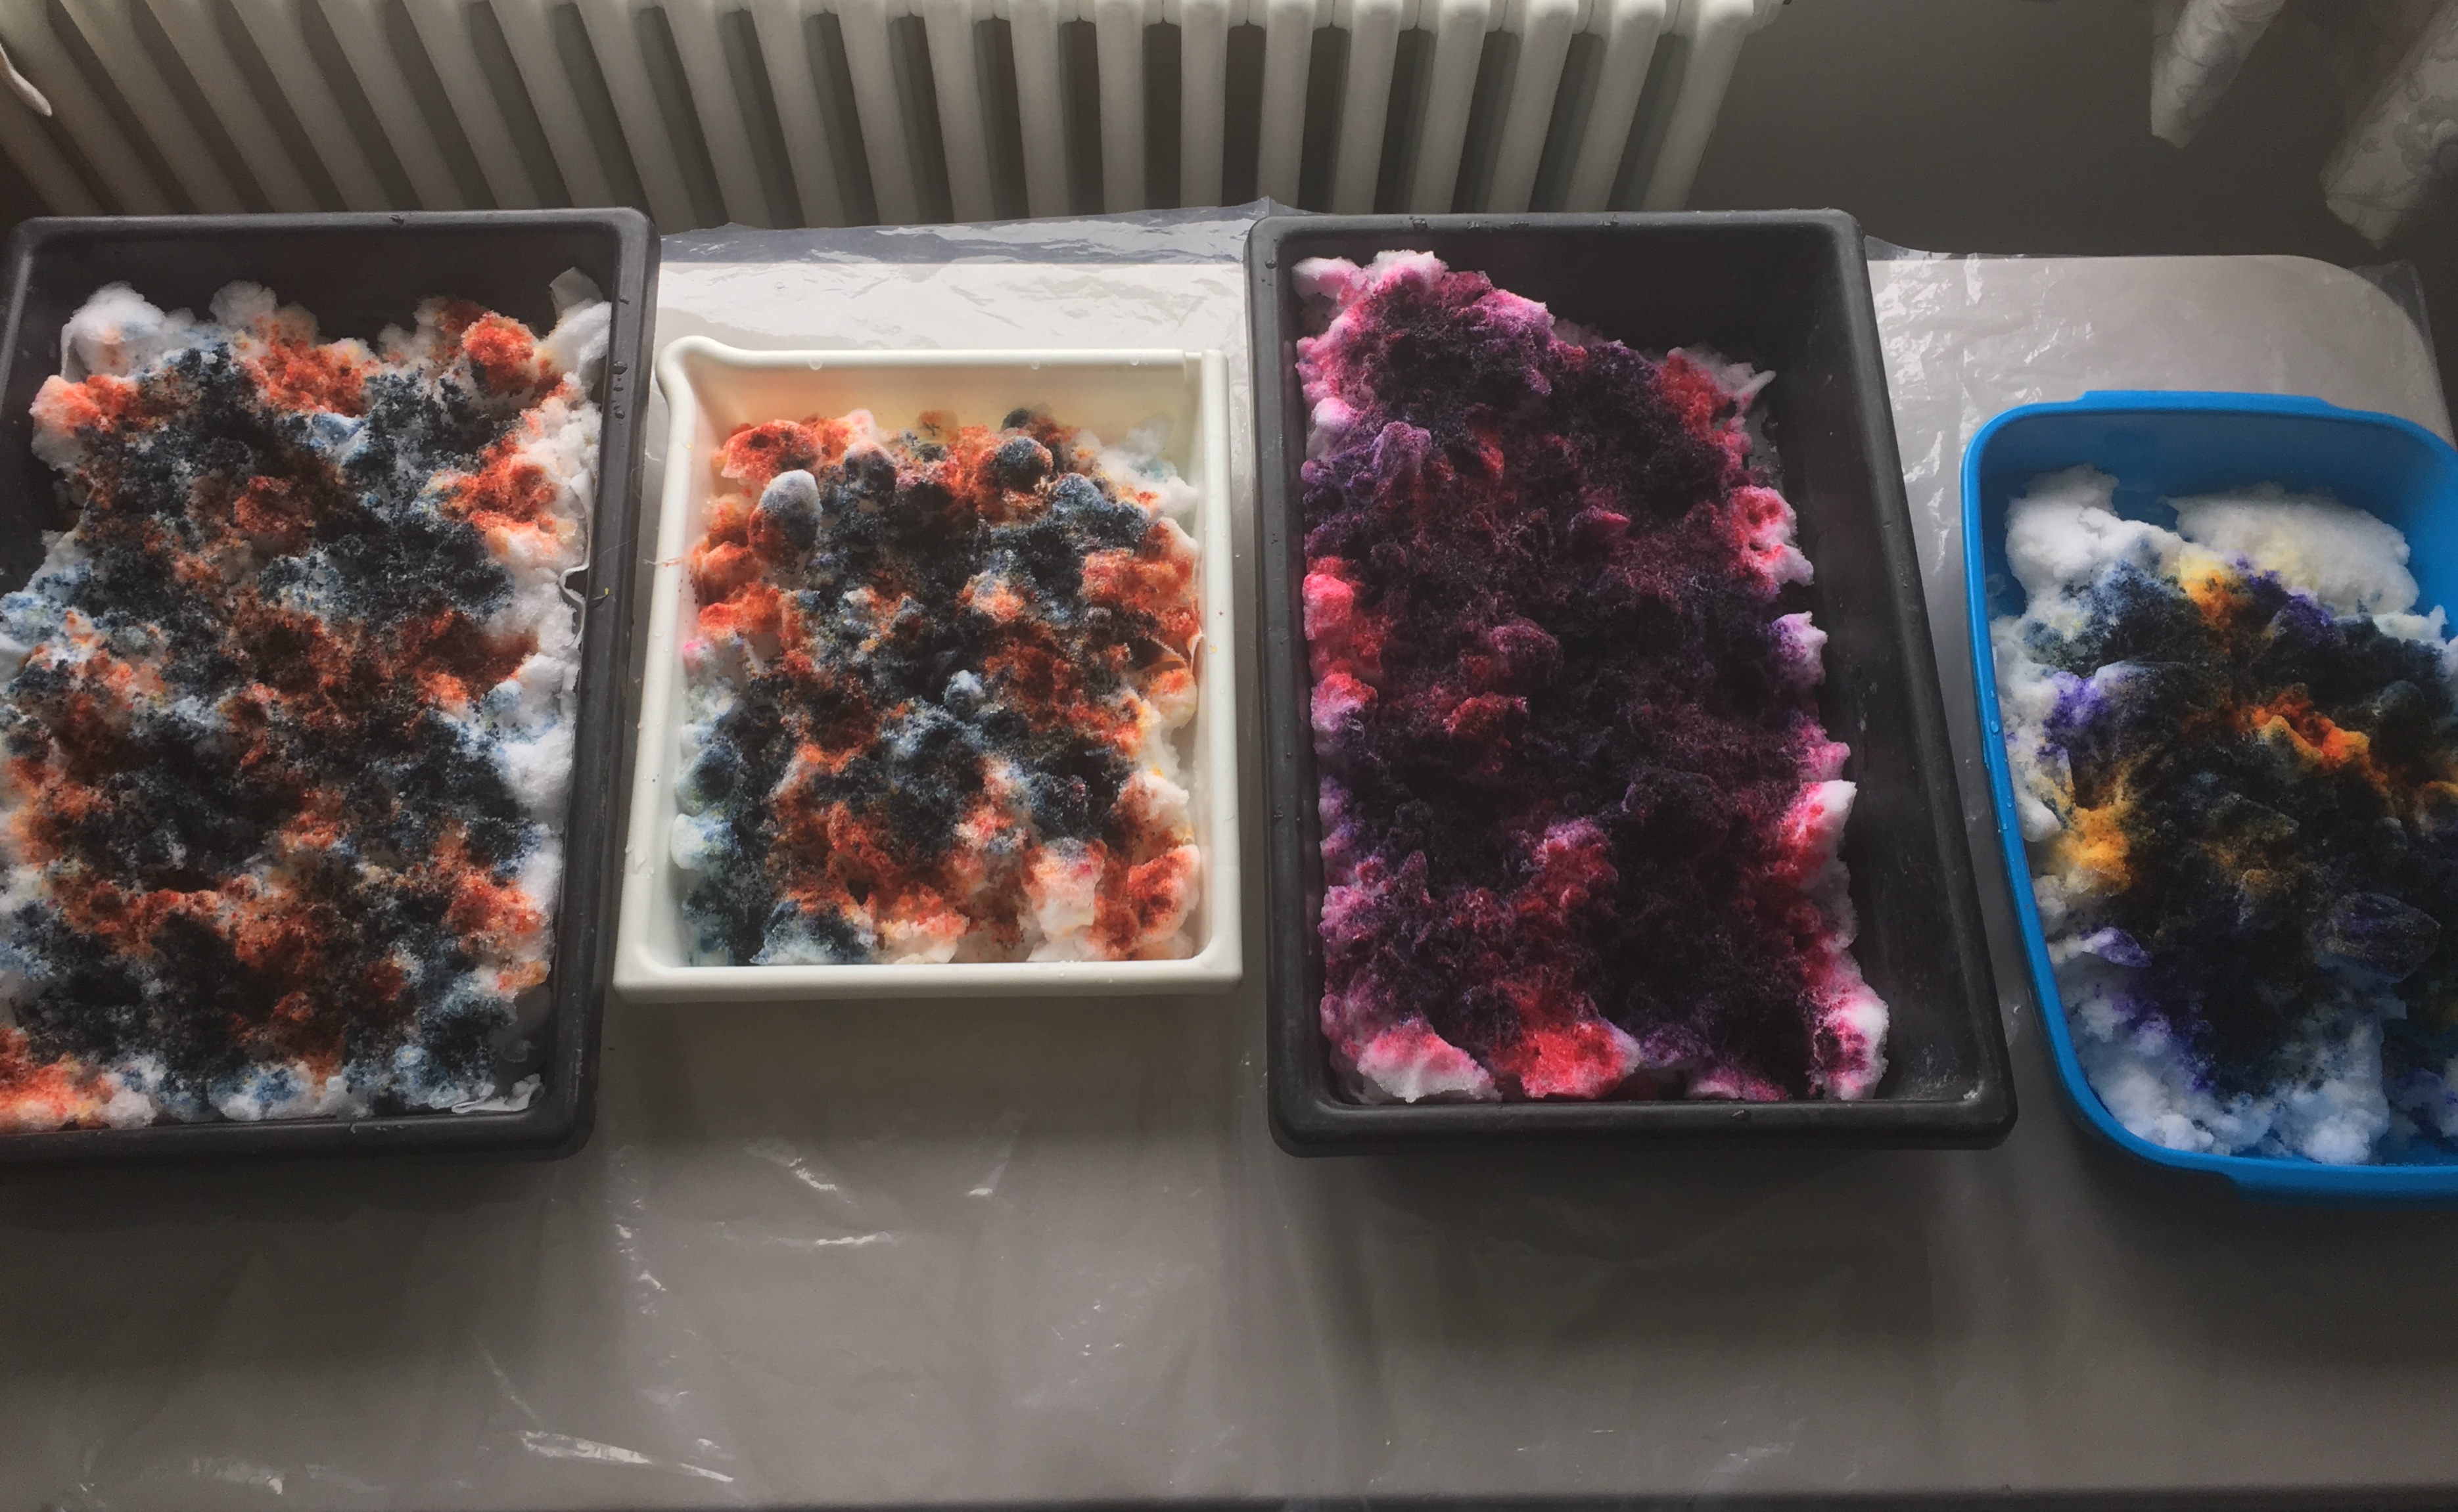
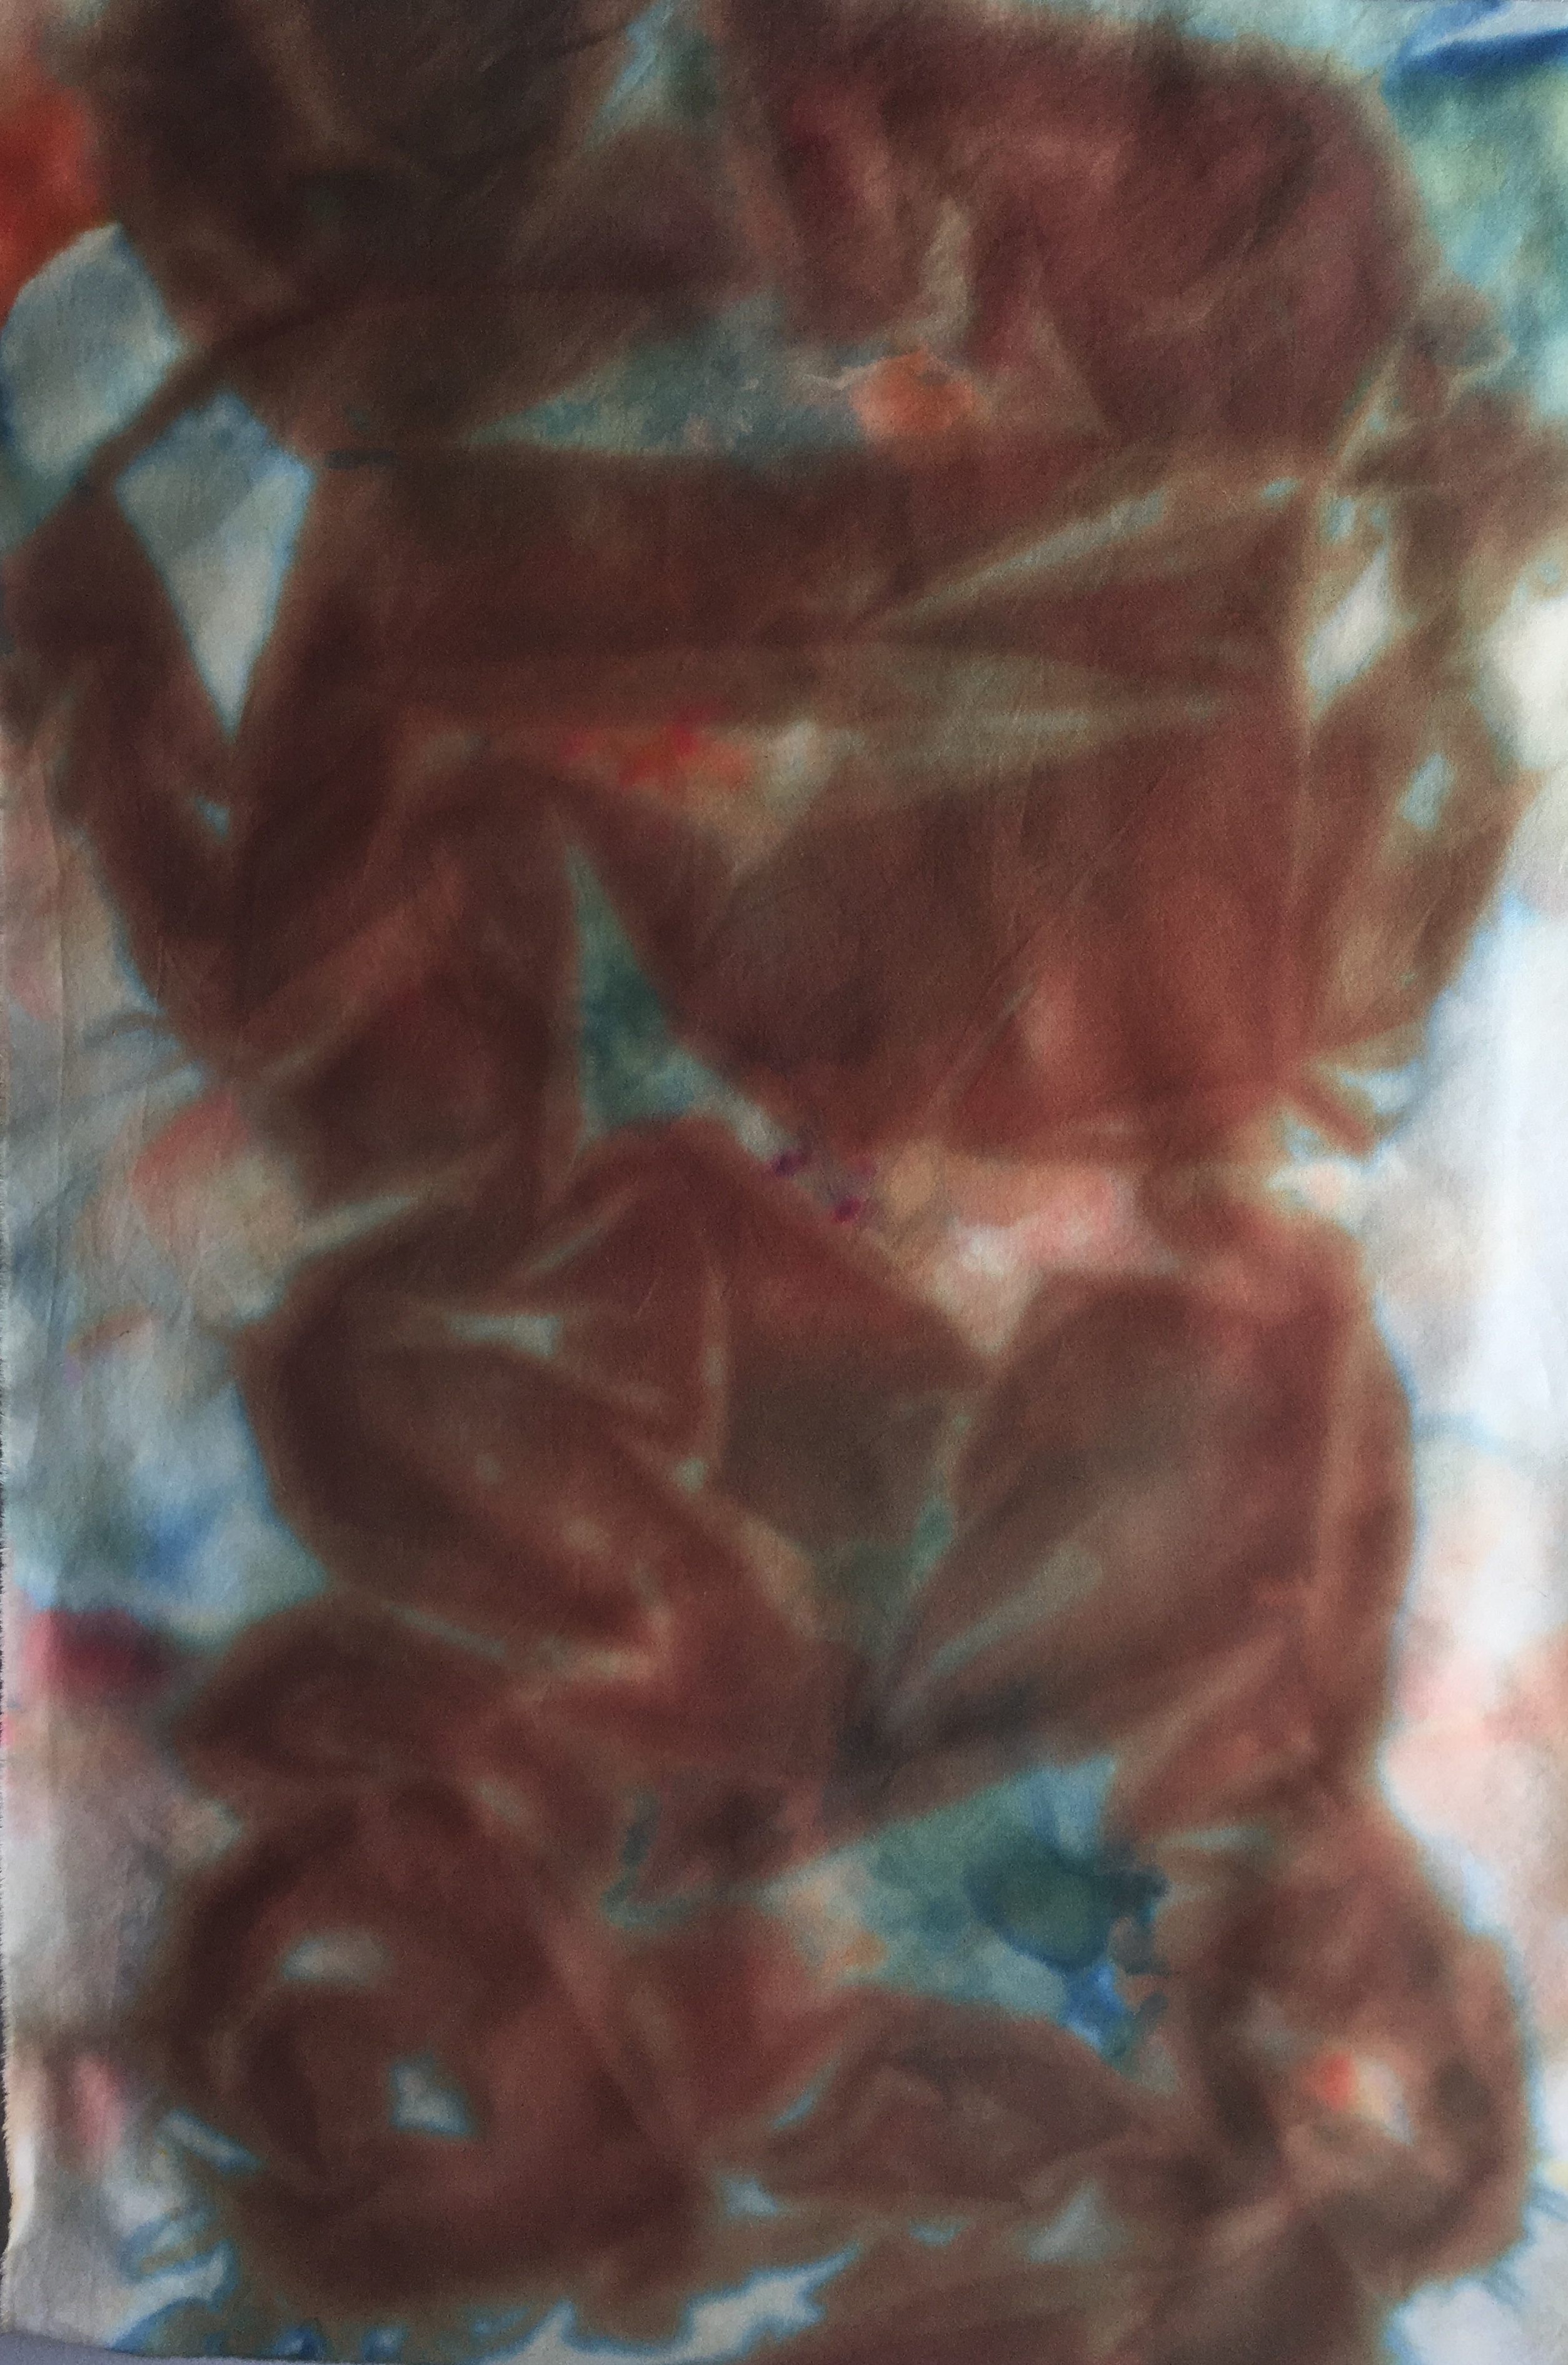
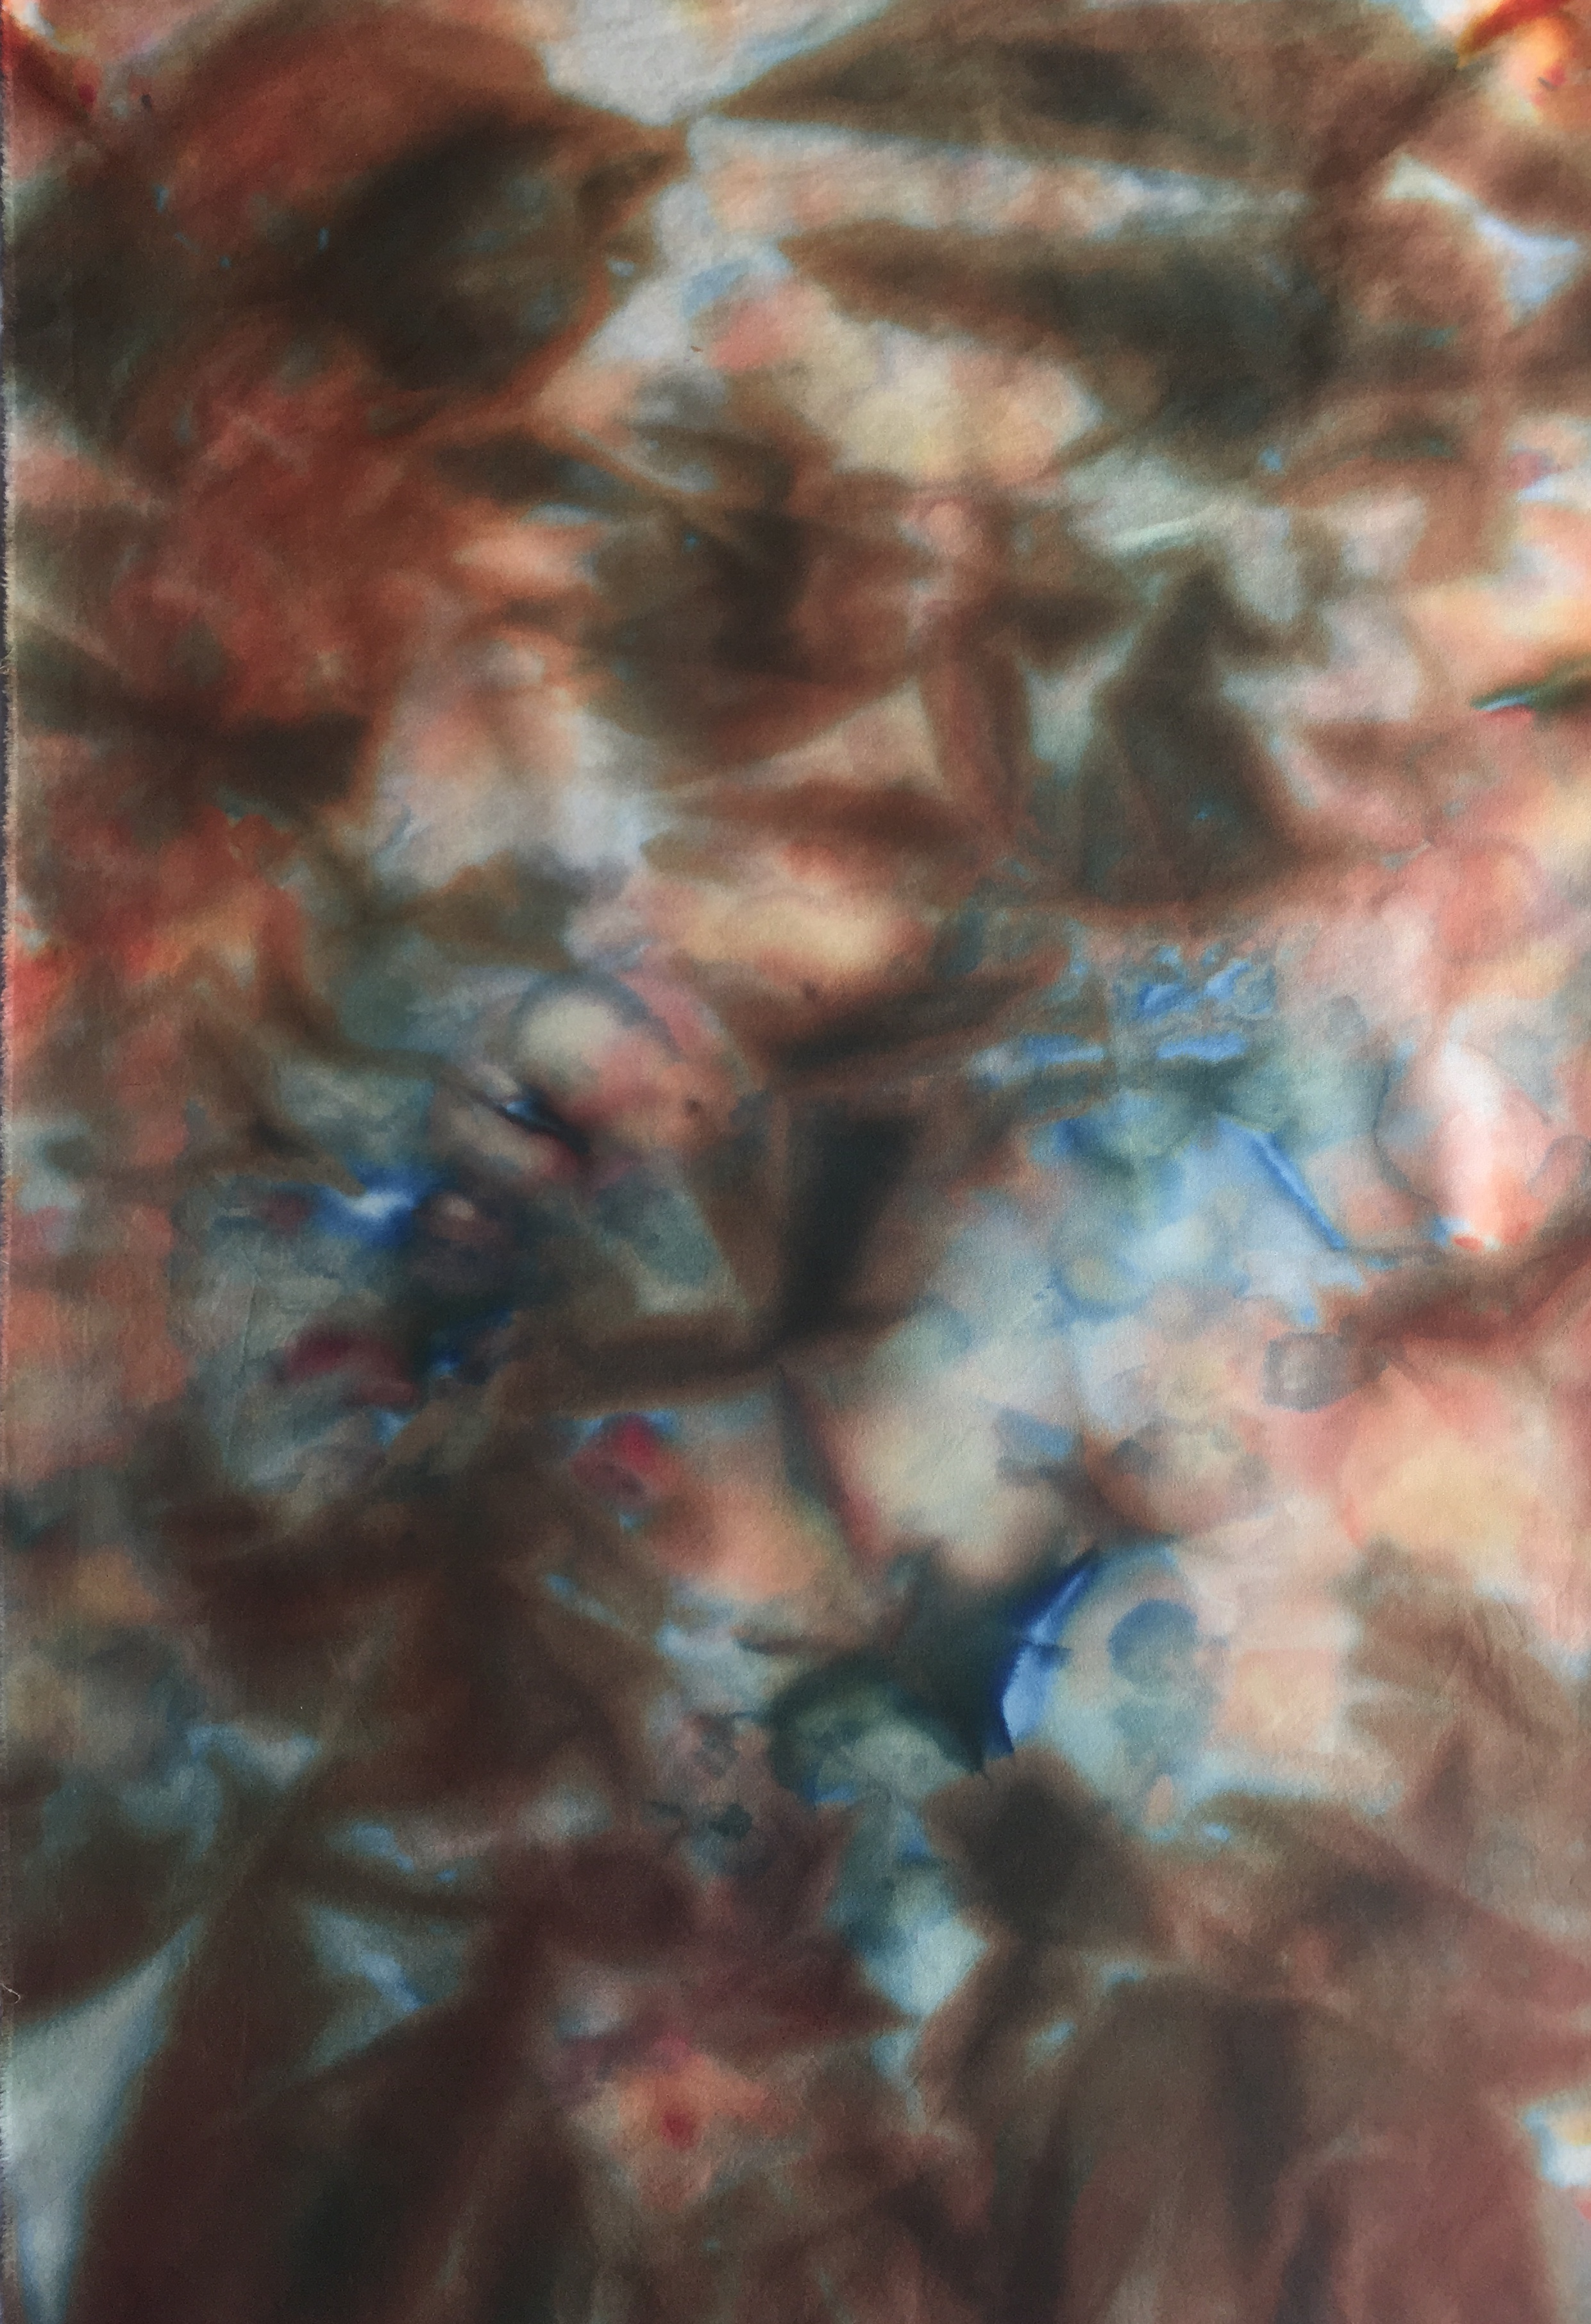
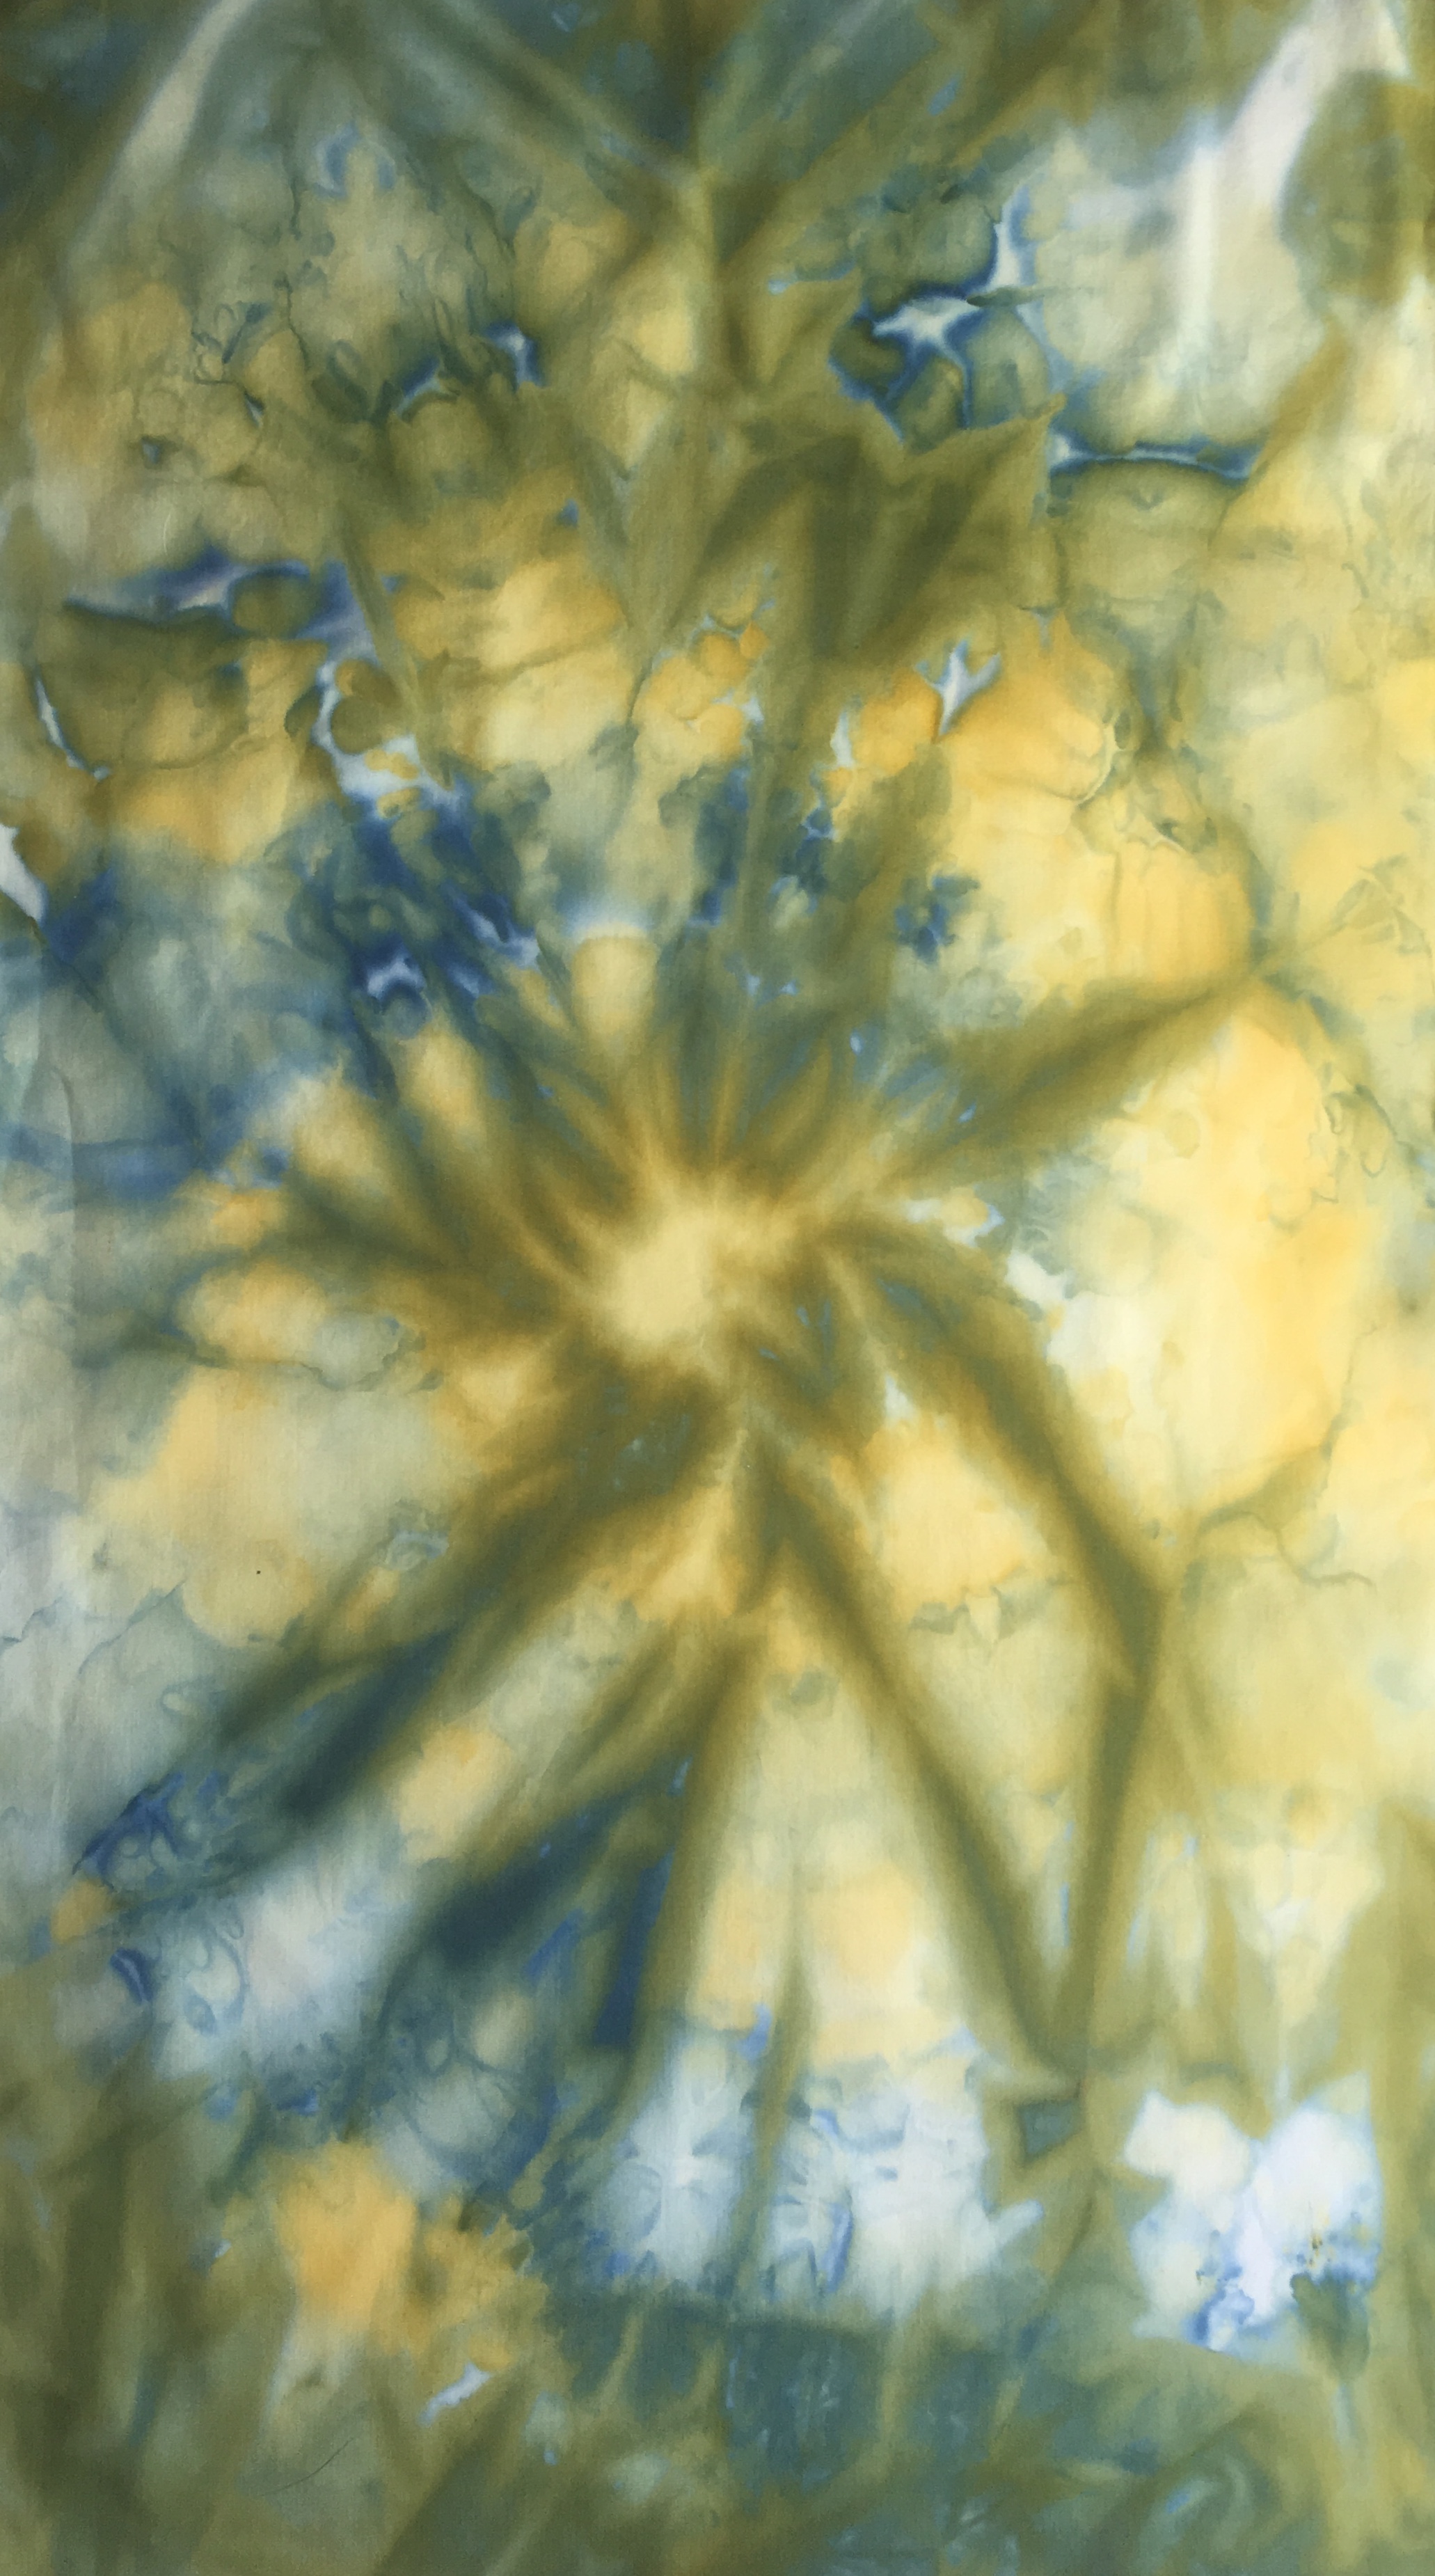
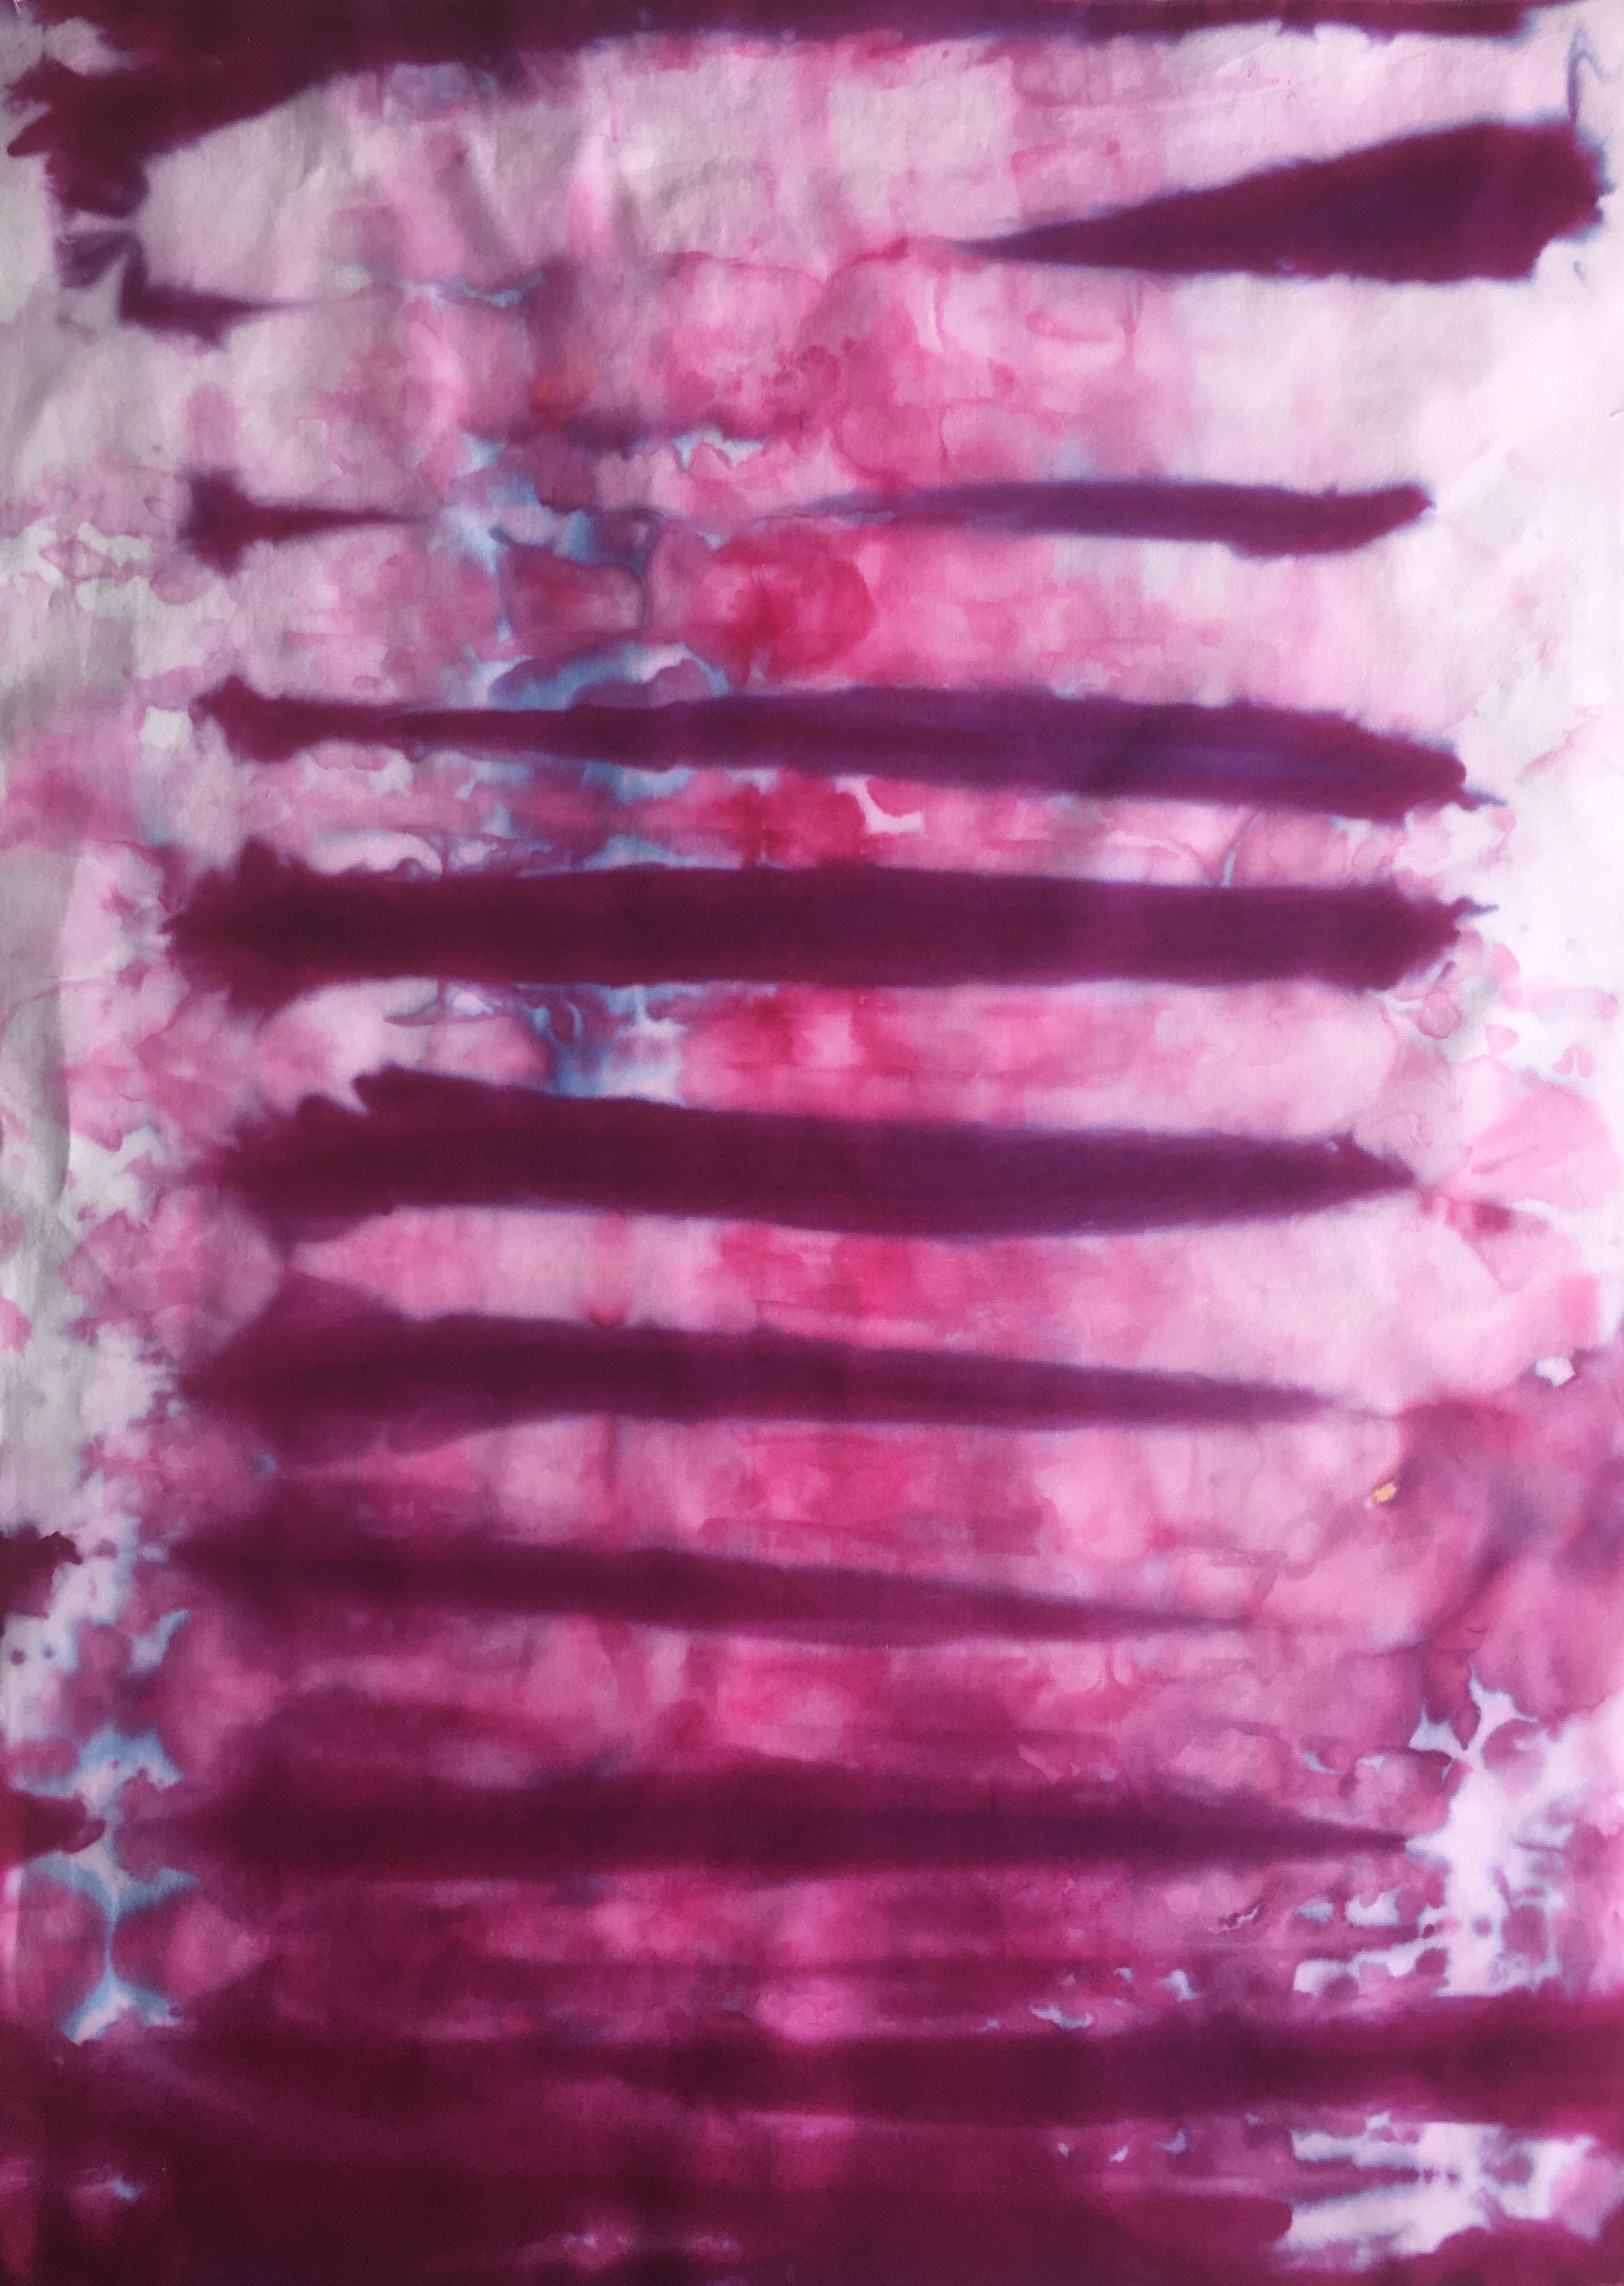
Now your fabric is ready you can get dyeing, firstly you need to arrange your fabric in your trays I did several things, tray one was lightly scrumpled, tray two was more heavily scrumpled. In Tray three I pleated my fabric the left piece was placed on my plastic and pleats pulled up and squashed together, the right hand piece was concertina pleated and placed on its side. In my fourth tray I twirled my fabric in a spiral.
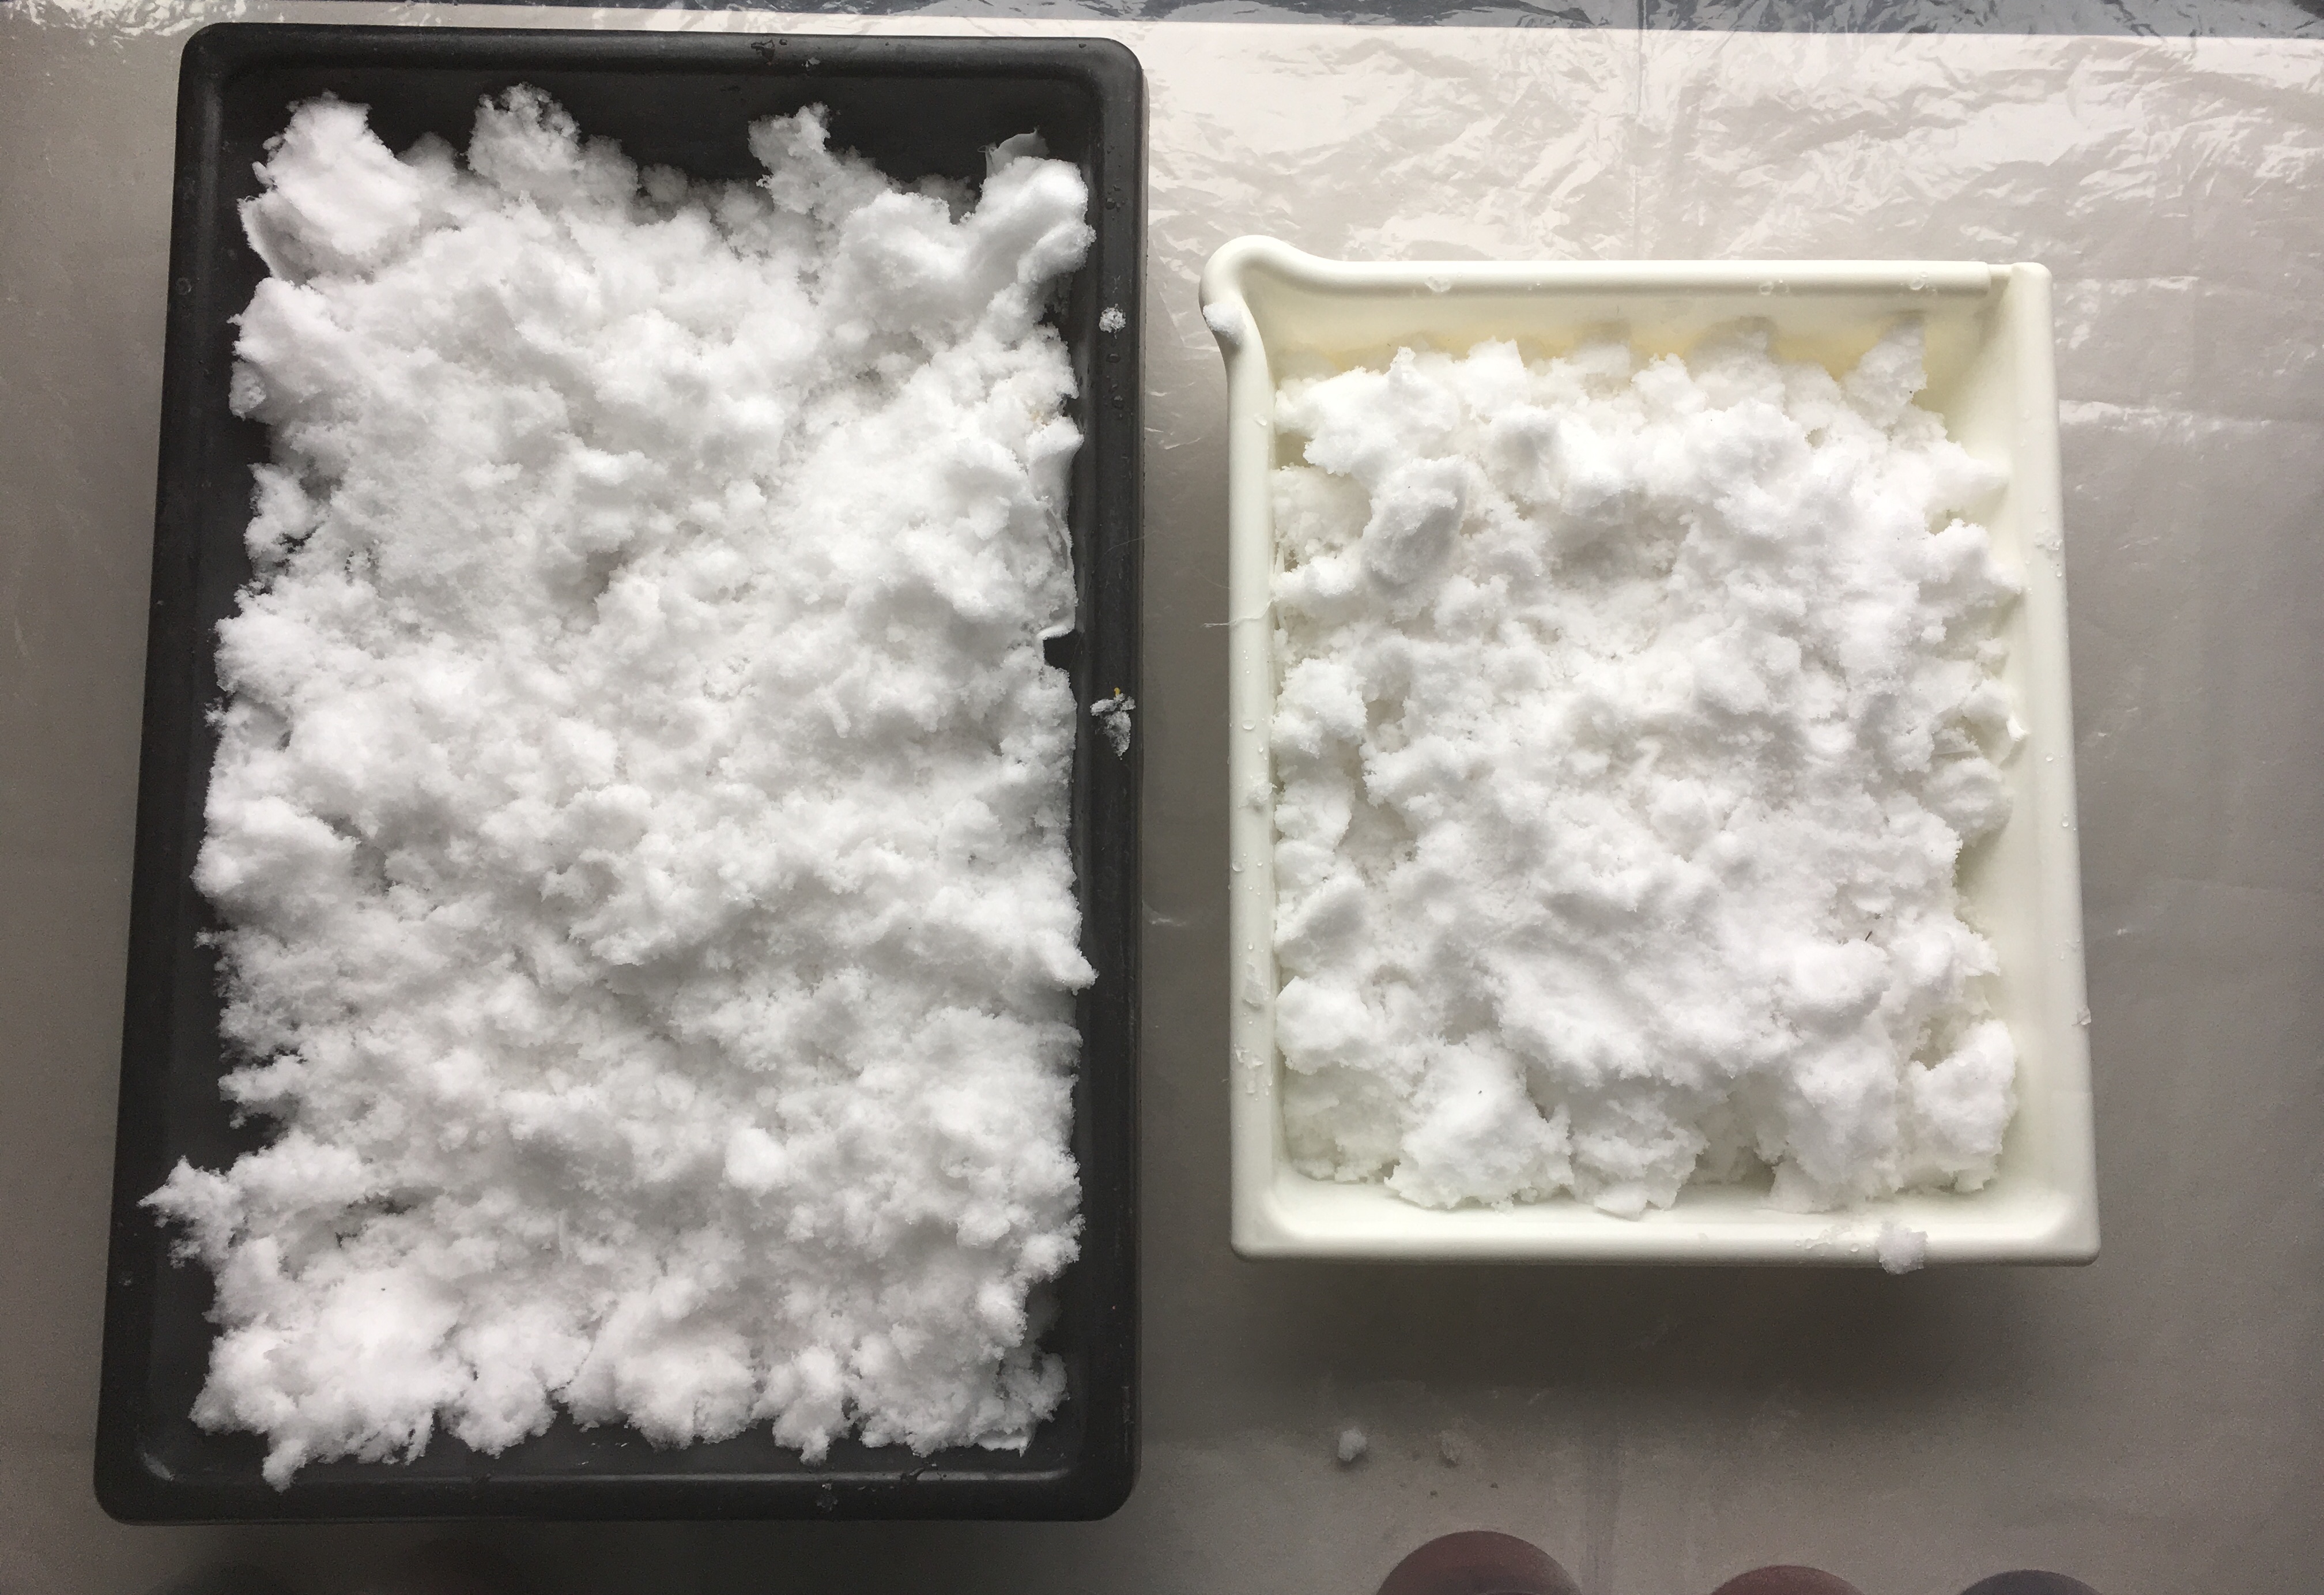
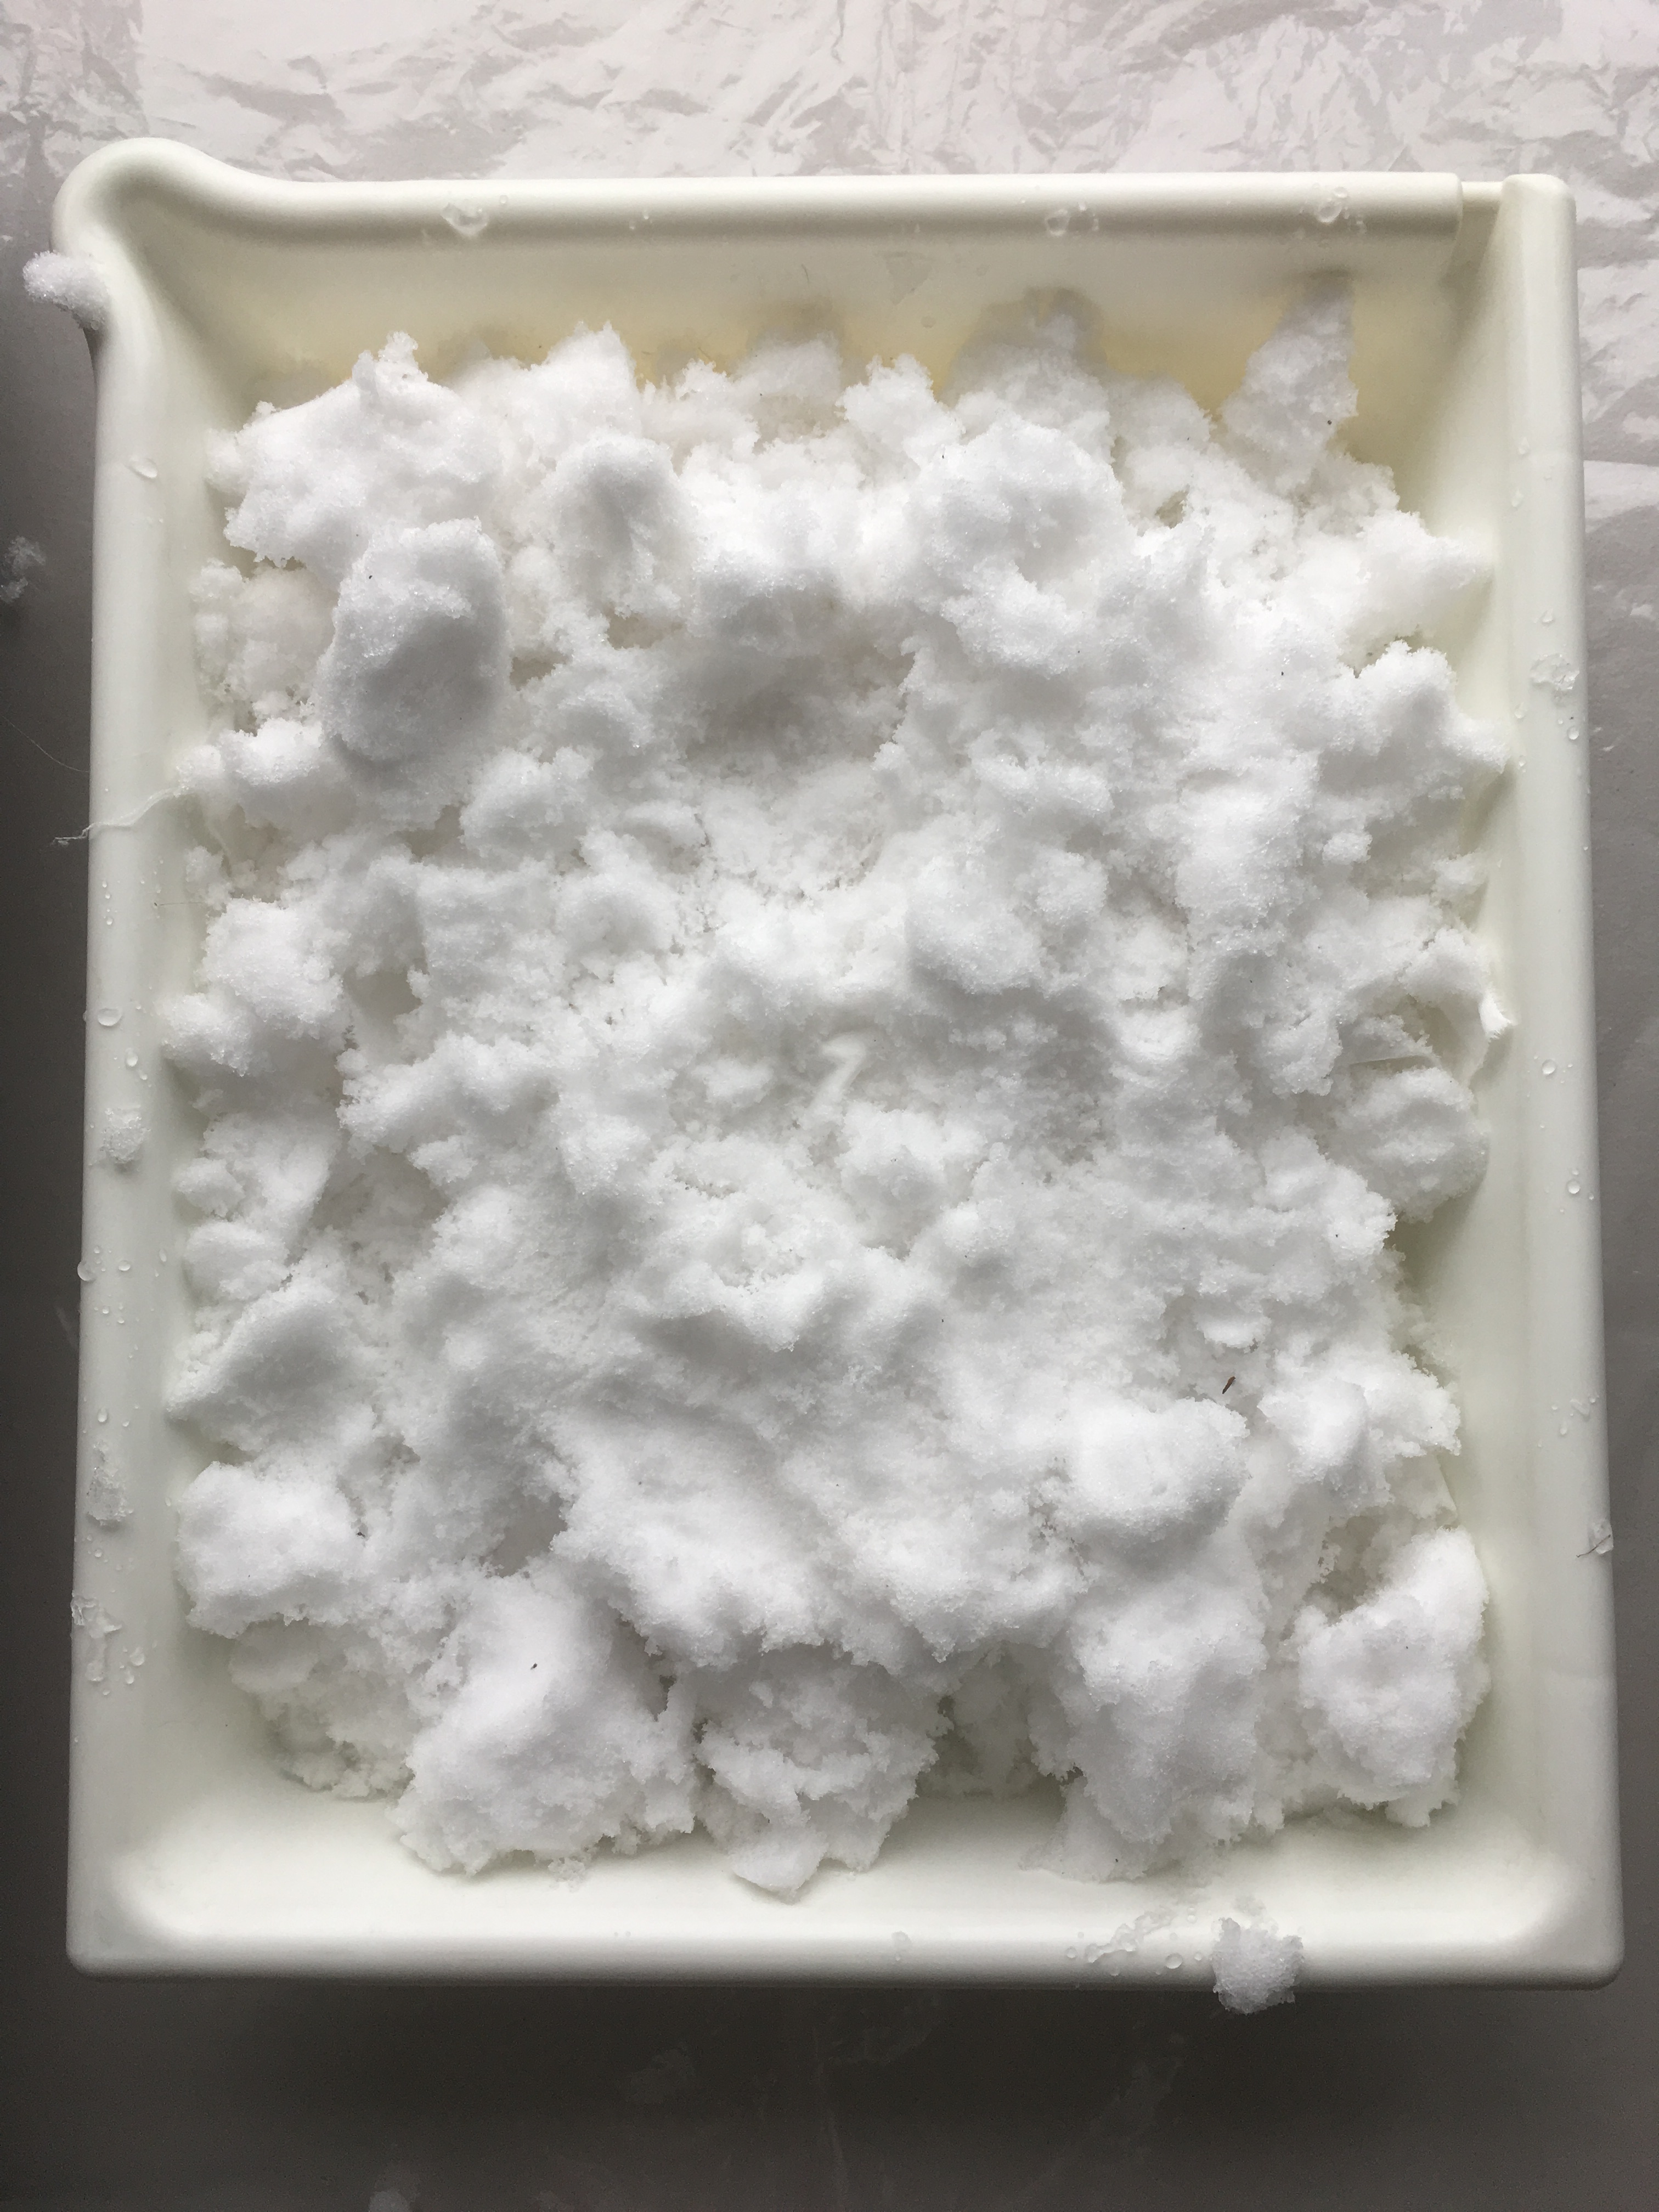
Next I collected my bucket of snow and placed a good layer all over my fabrics, I then put my mask on and opened up my dye pots. When dyes are in their powdered form they can be dangerous to your lungs so make sure you take adequate precautions to protect yourself. I used a variety of dye colours in my trays, see images below, you only need a small amount of dye no more than half a teaspoon of each of the colours you are using. Sprinkle them on top and leave for the magic to happen.

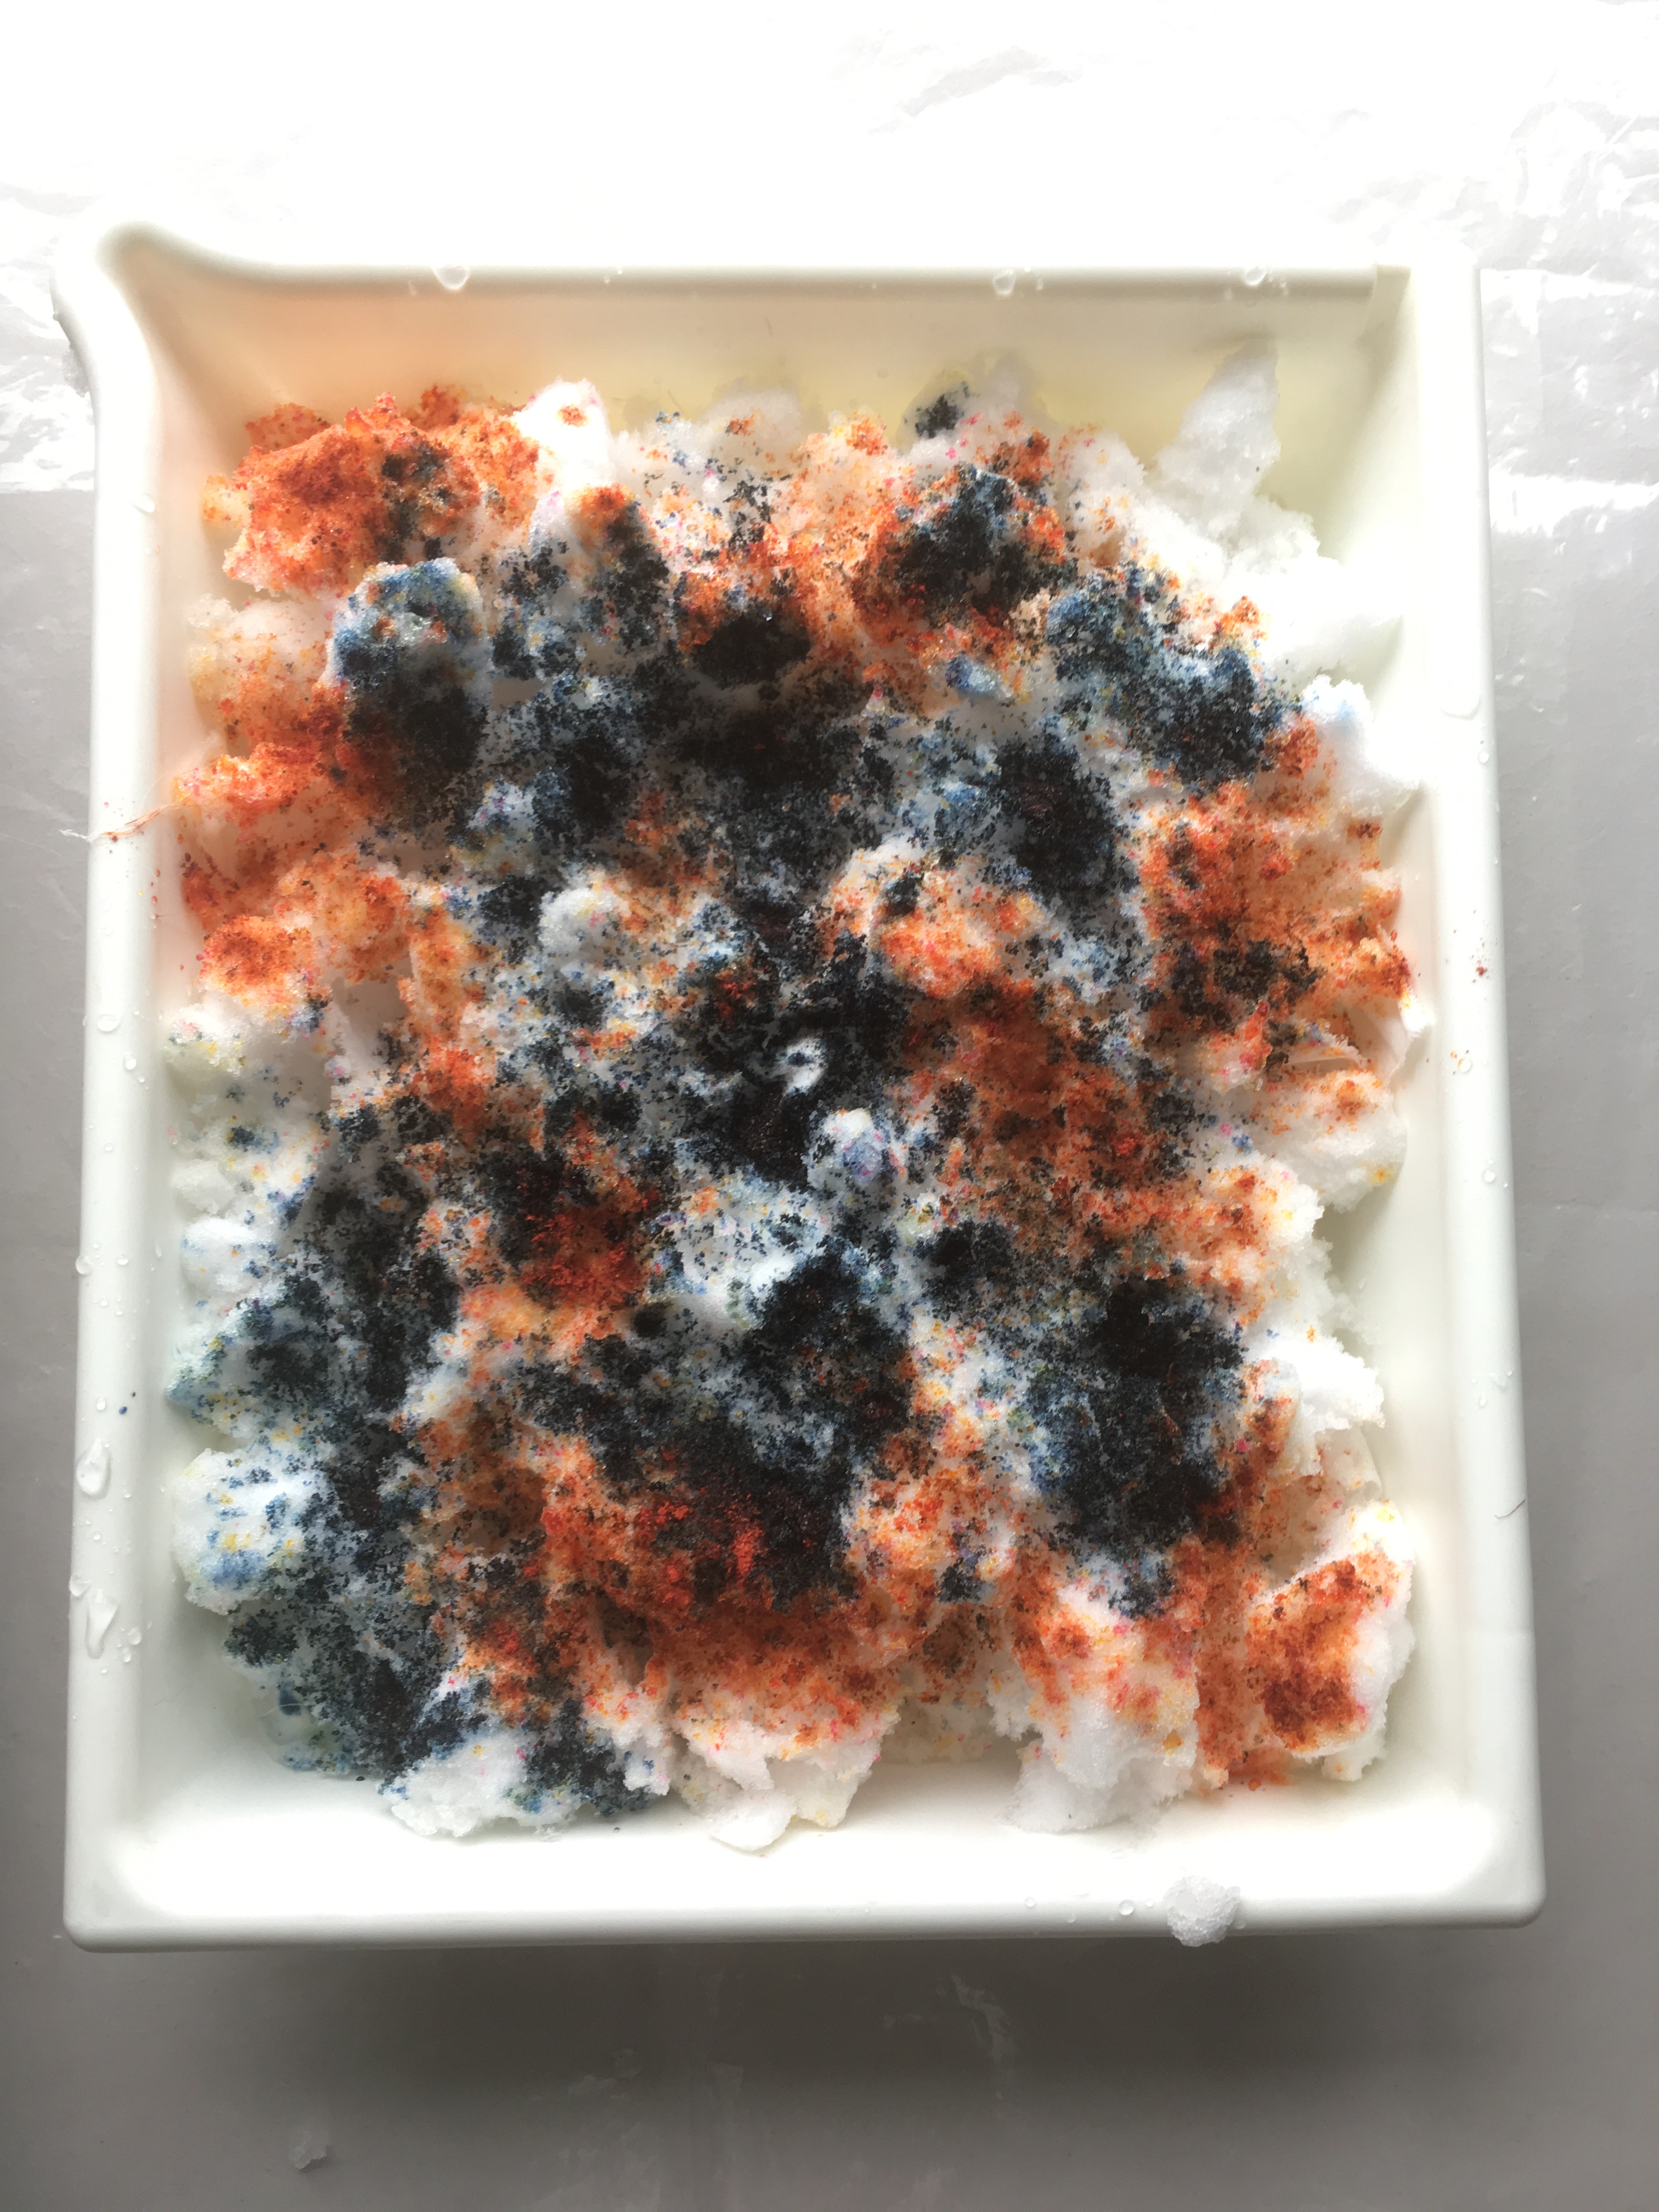
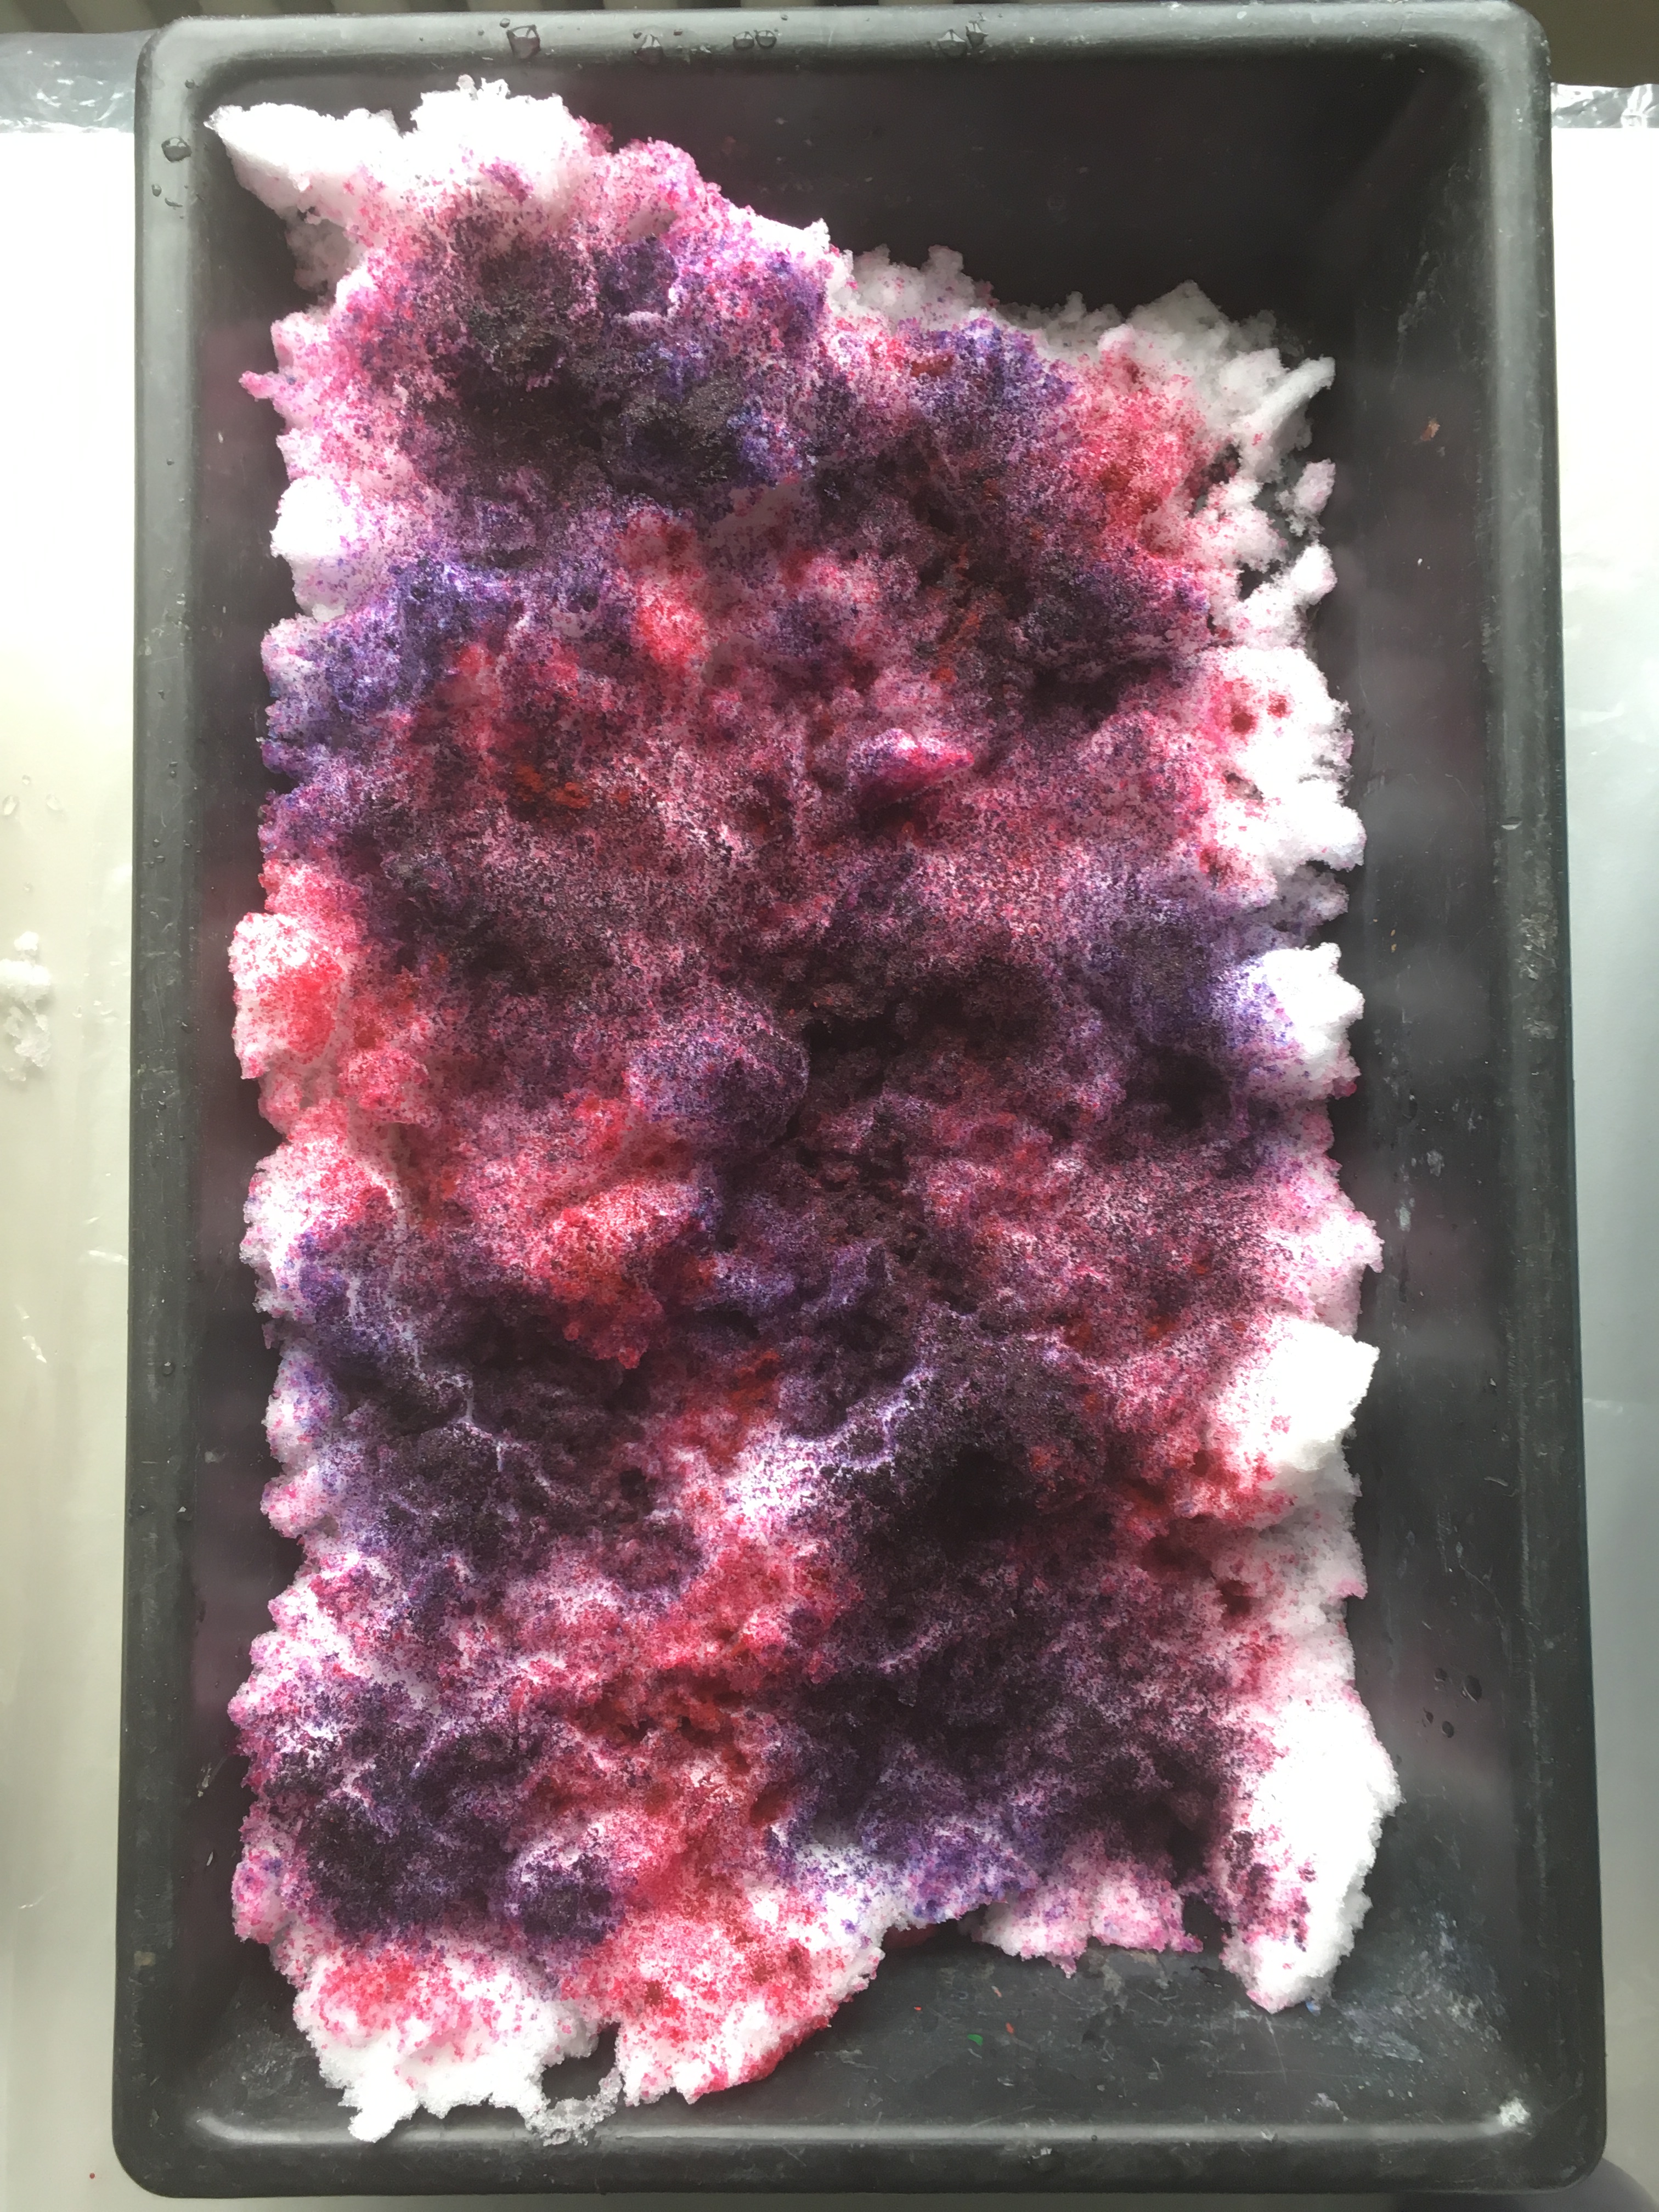
I left my fabrics overnight, its best for you to leave them for at least 4 hours or until your snow has melted in order for the dyes to penetrate your fabric fibres and have a chance to fix into them.The following morning I rinsed out my fabrics, you need to thoroughly rinse your fabric in cold water then warm water and keep repeating this process until the water runs clear. You can then hang them up to dry, your colours will appear darker when wet so make sure you have left your fabrics for a sufficient amount of time dyeing otherwise you may get lighter results than you anticipated.
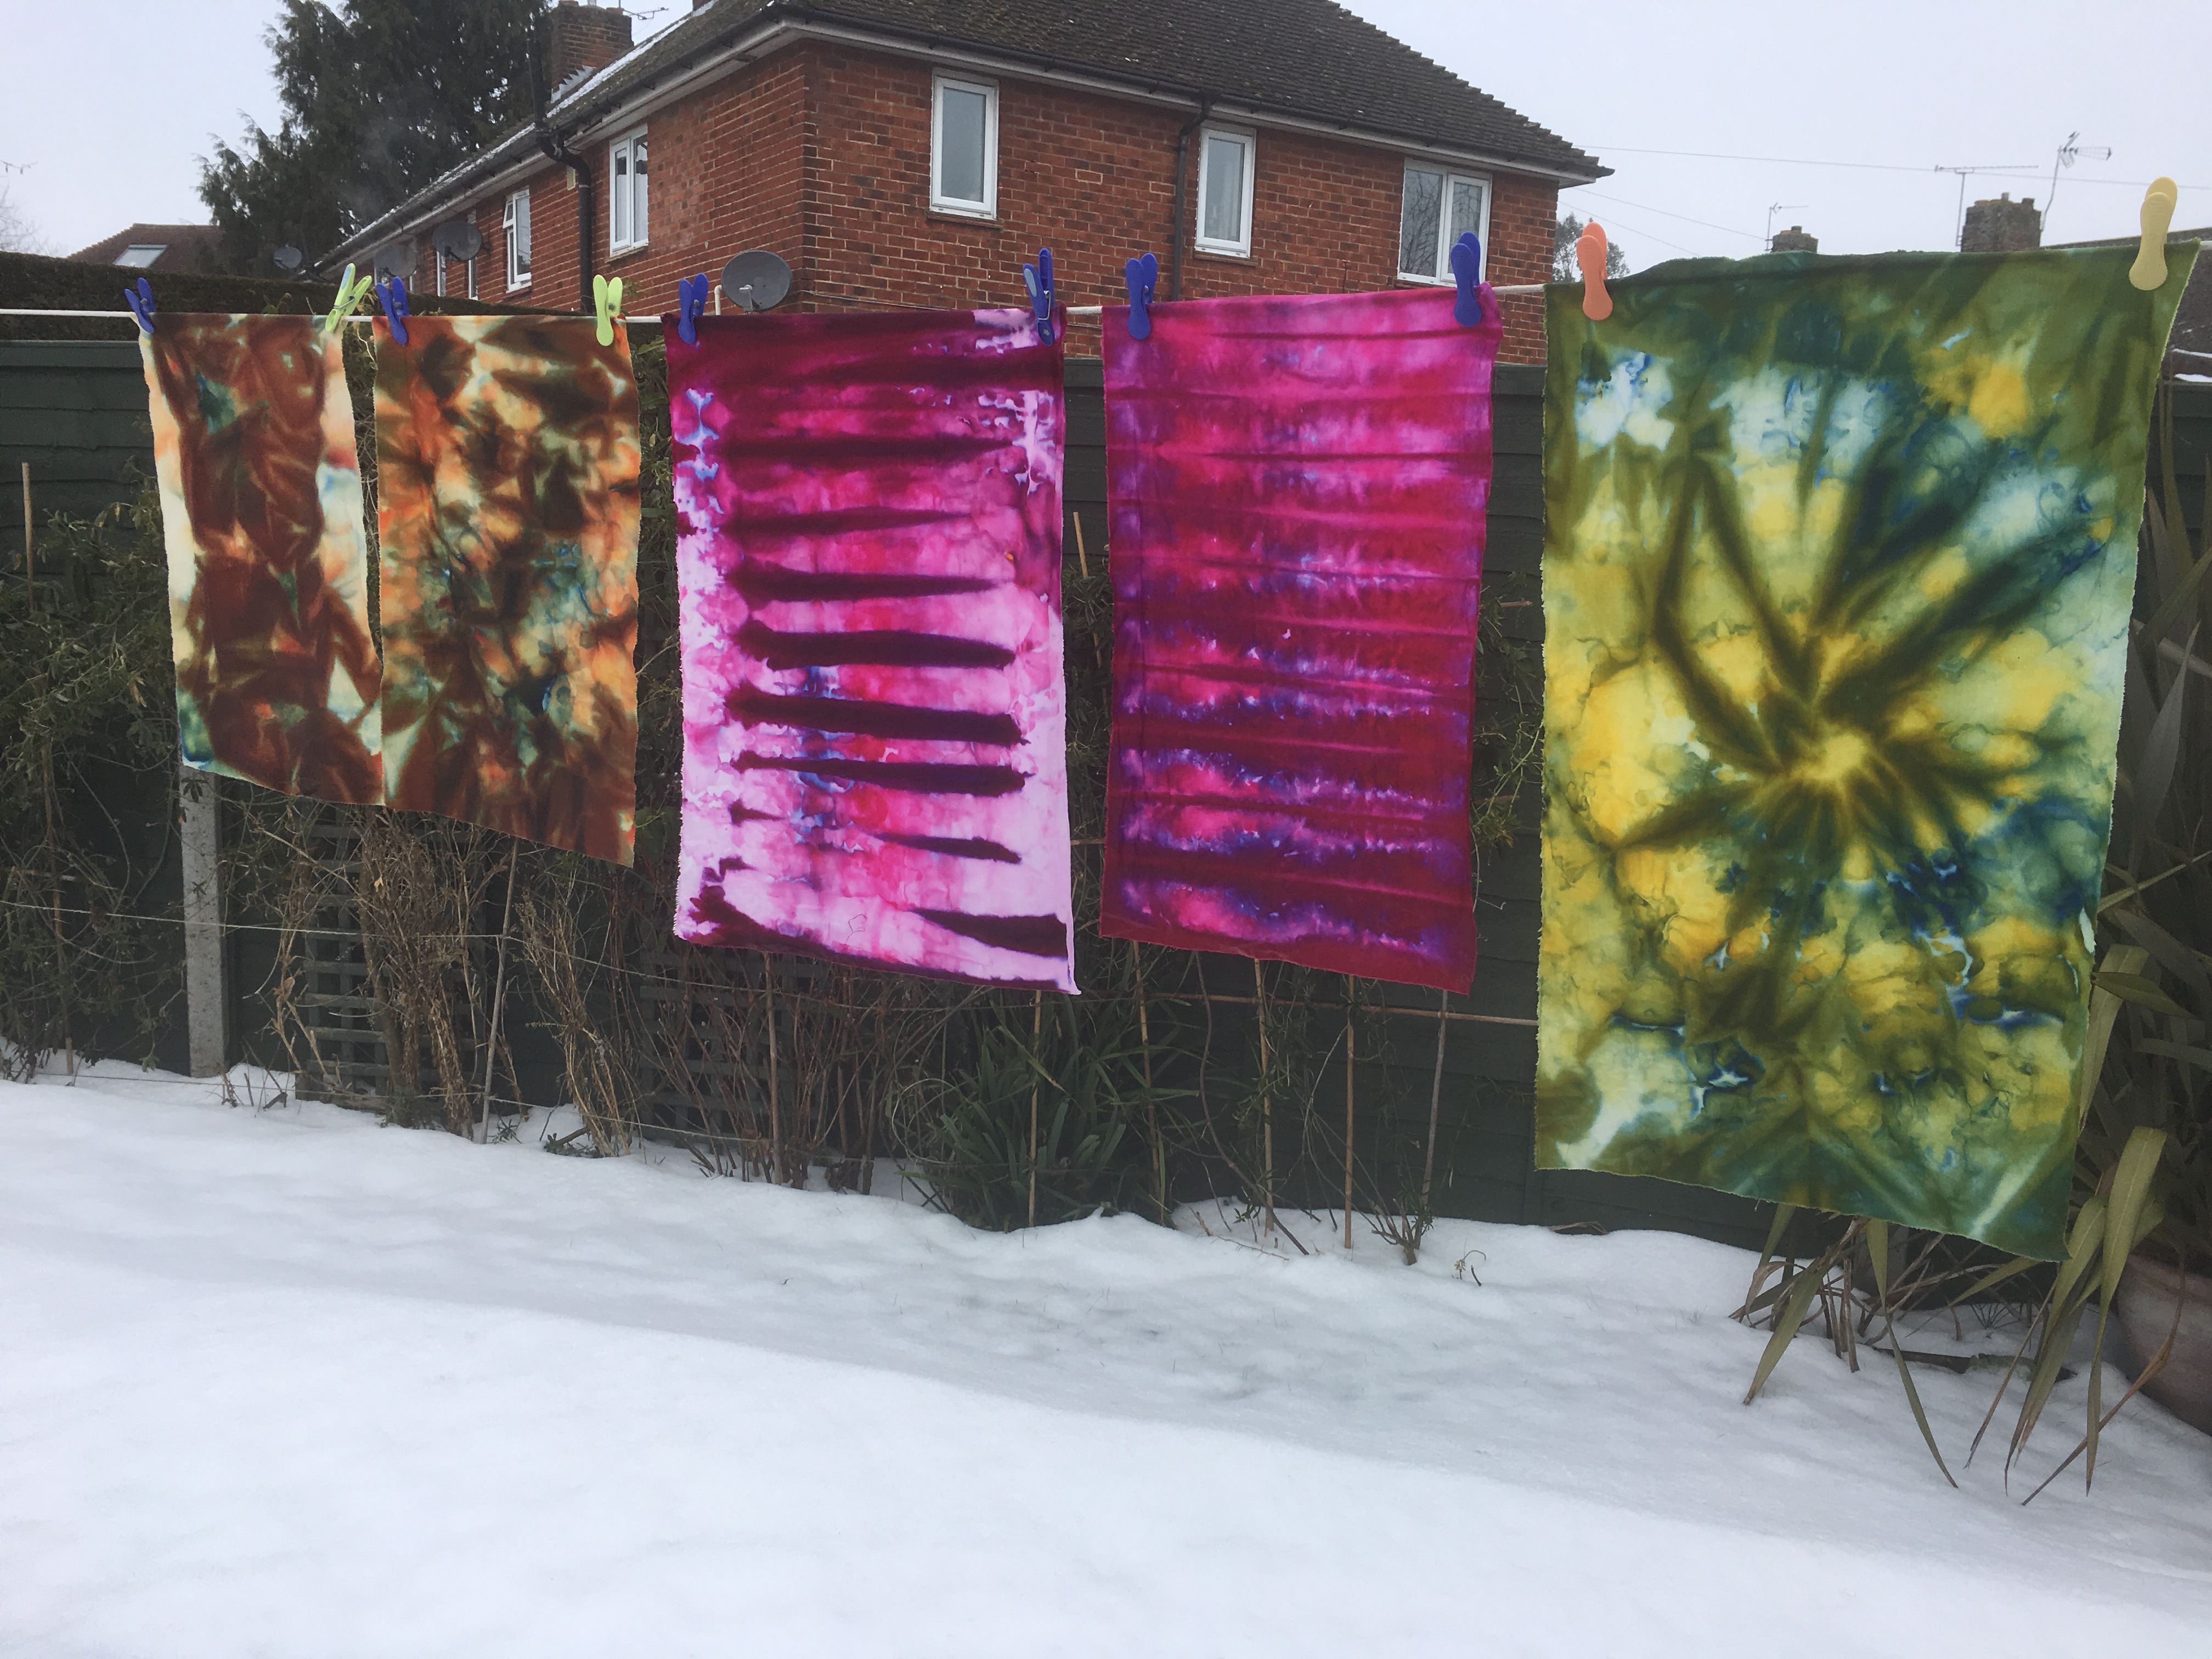
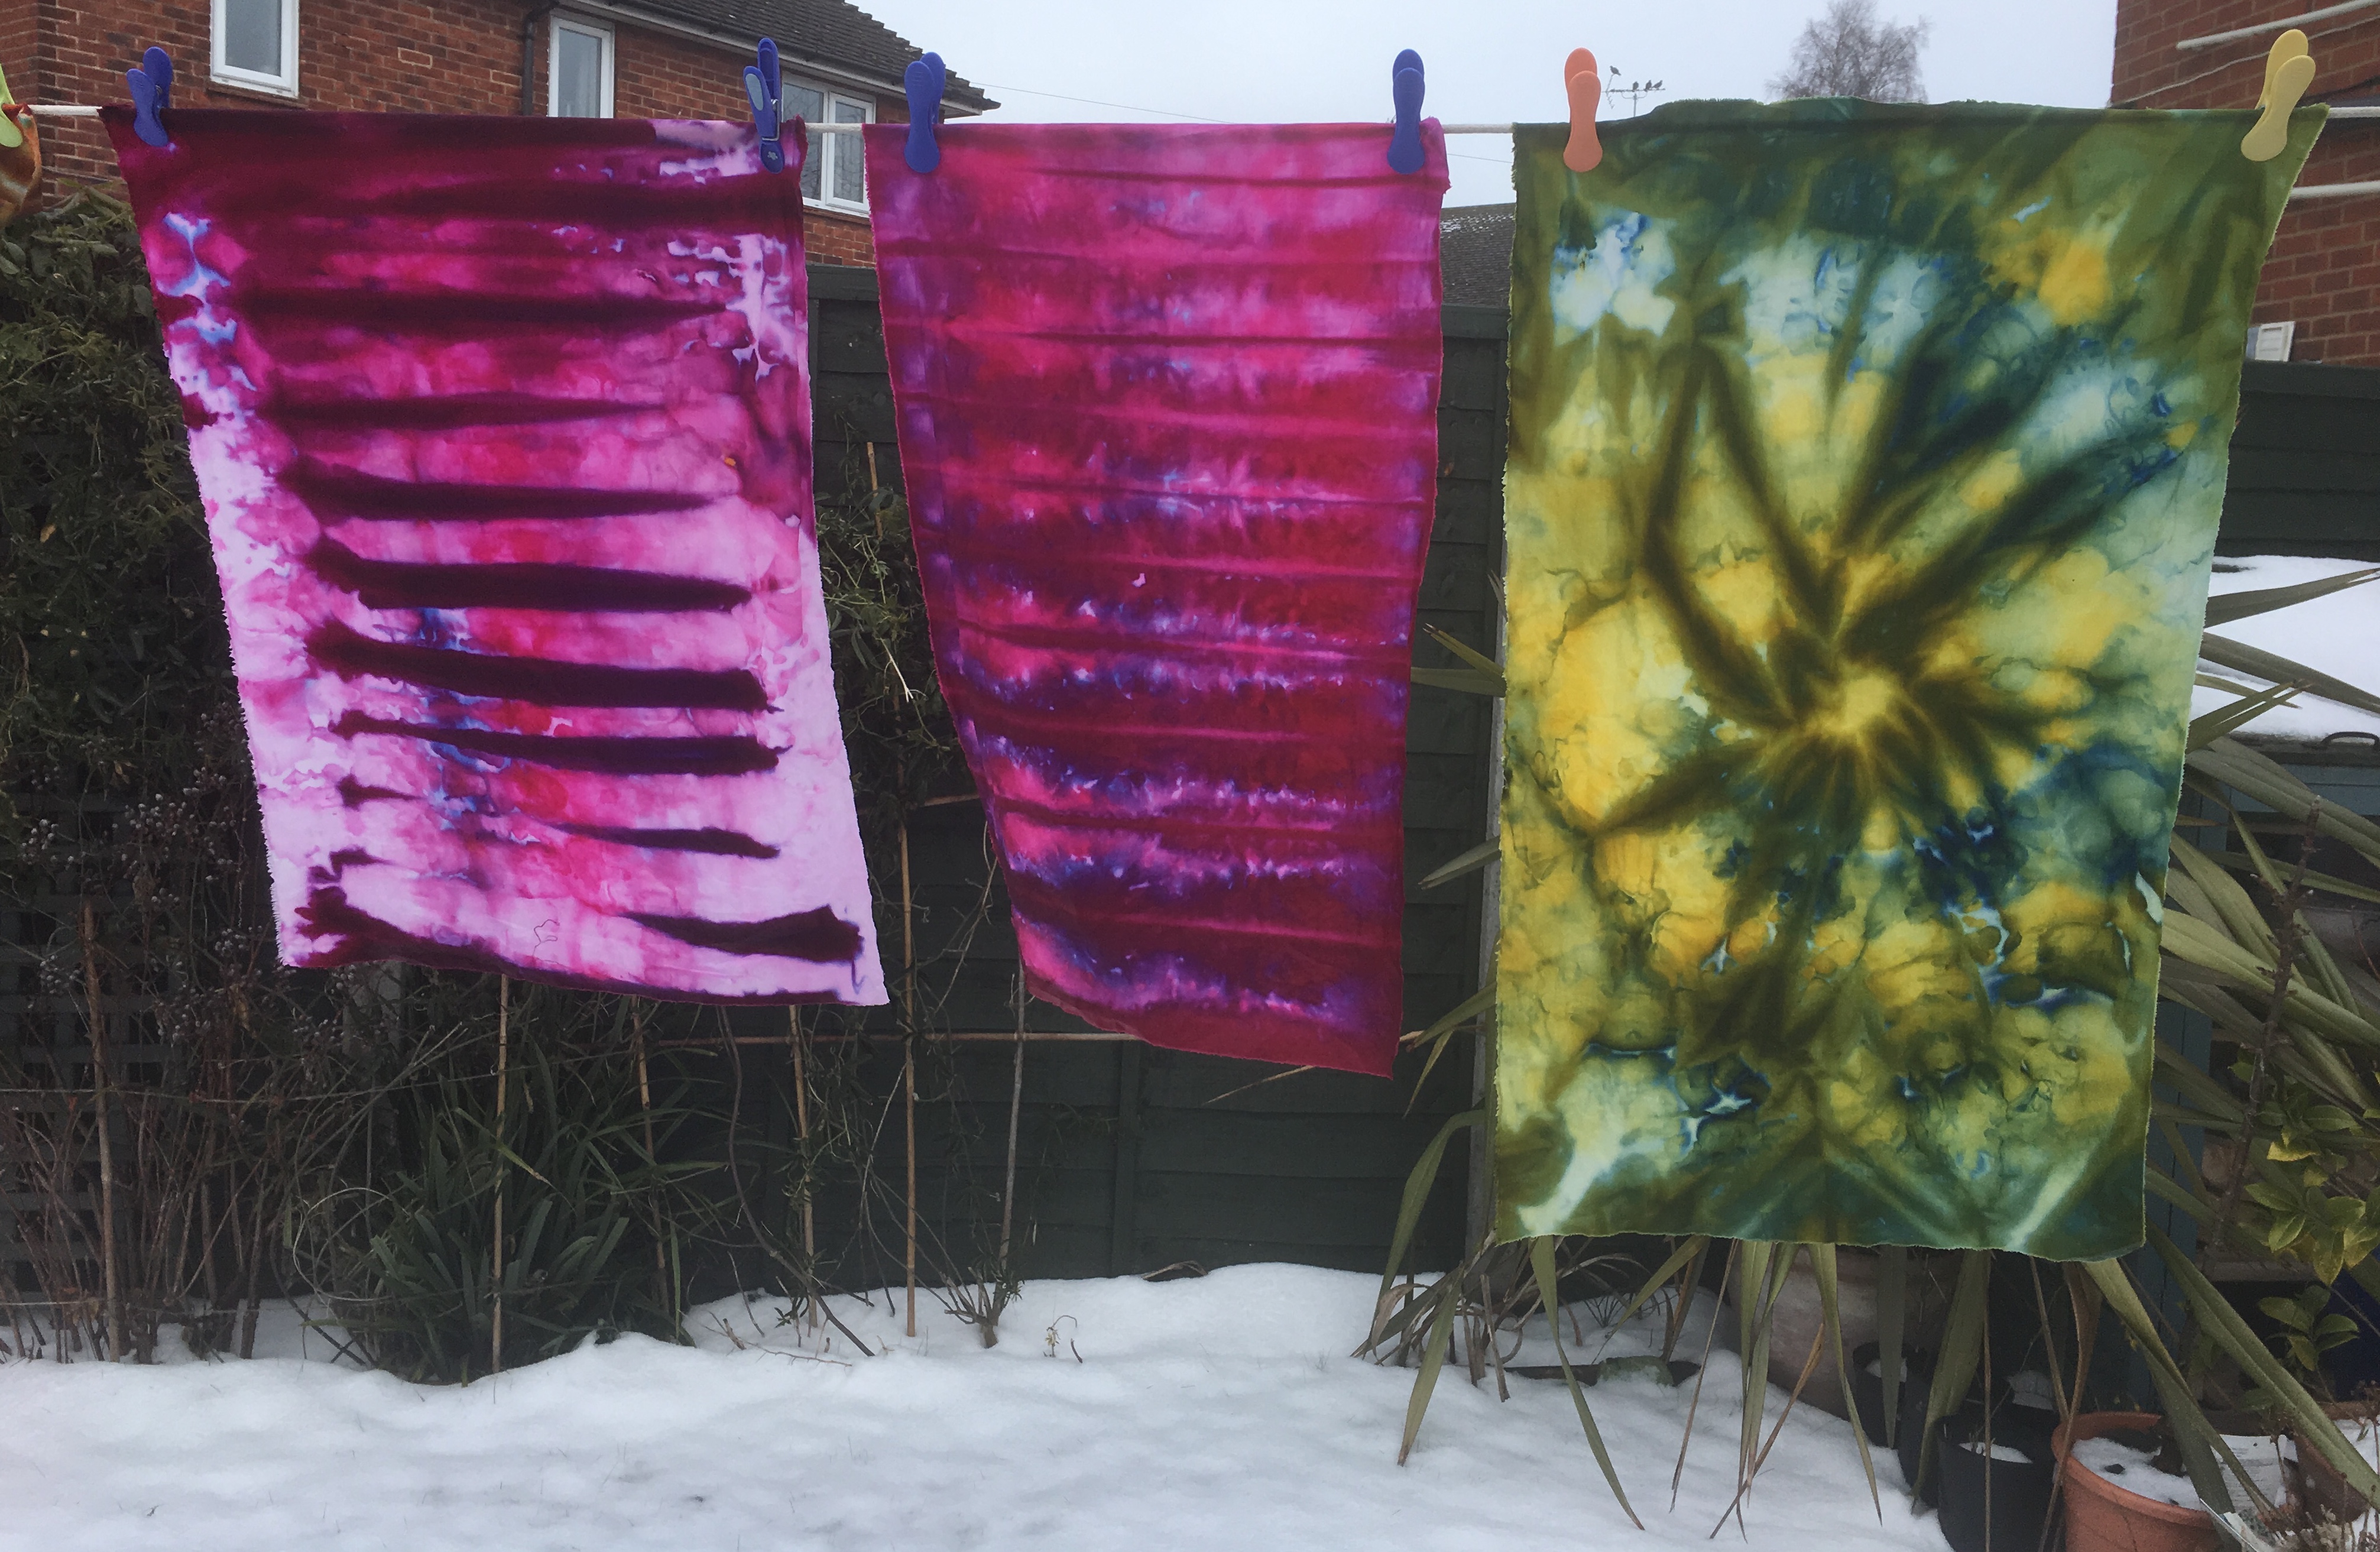
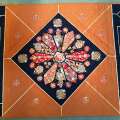
Here are my results, I don’t think the lightly scrumpled piece (Tray 1) worked very well but the others are relatively successful.
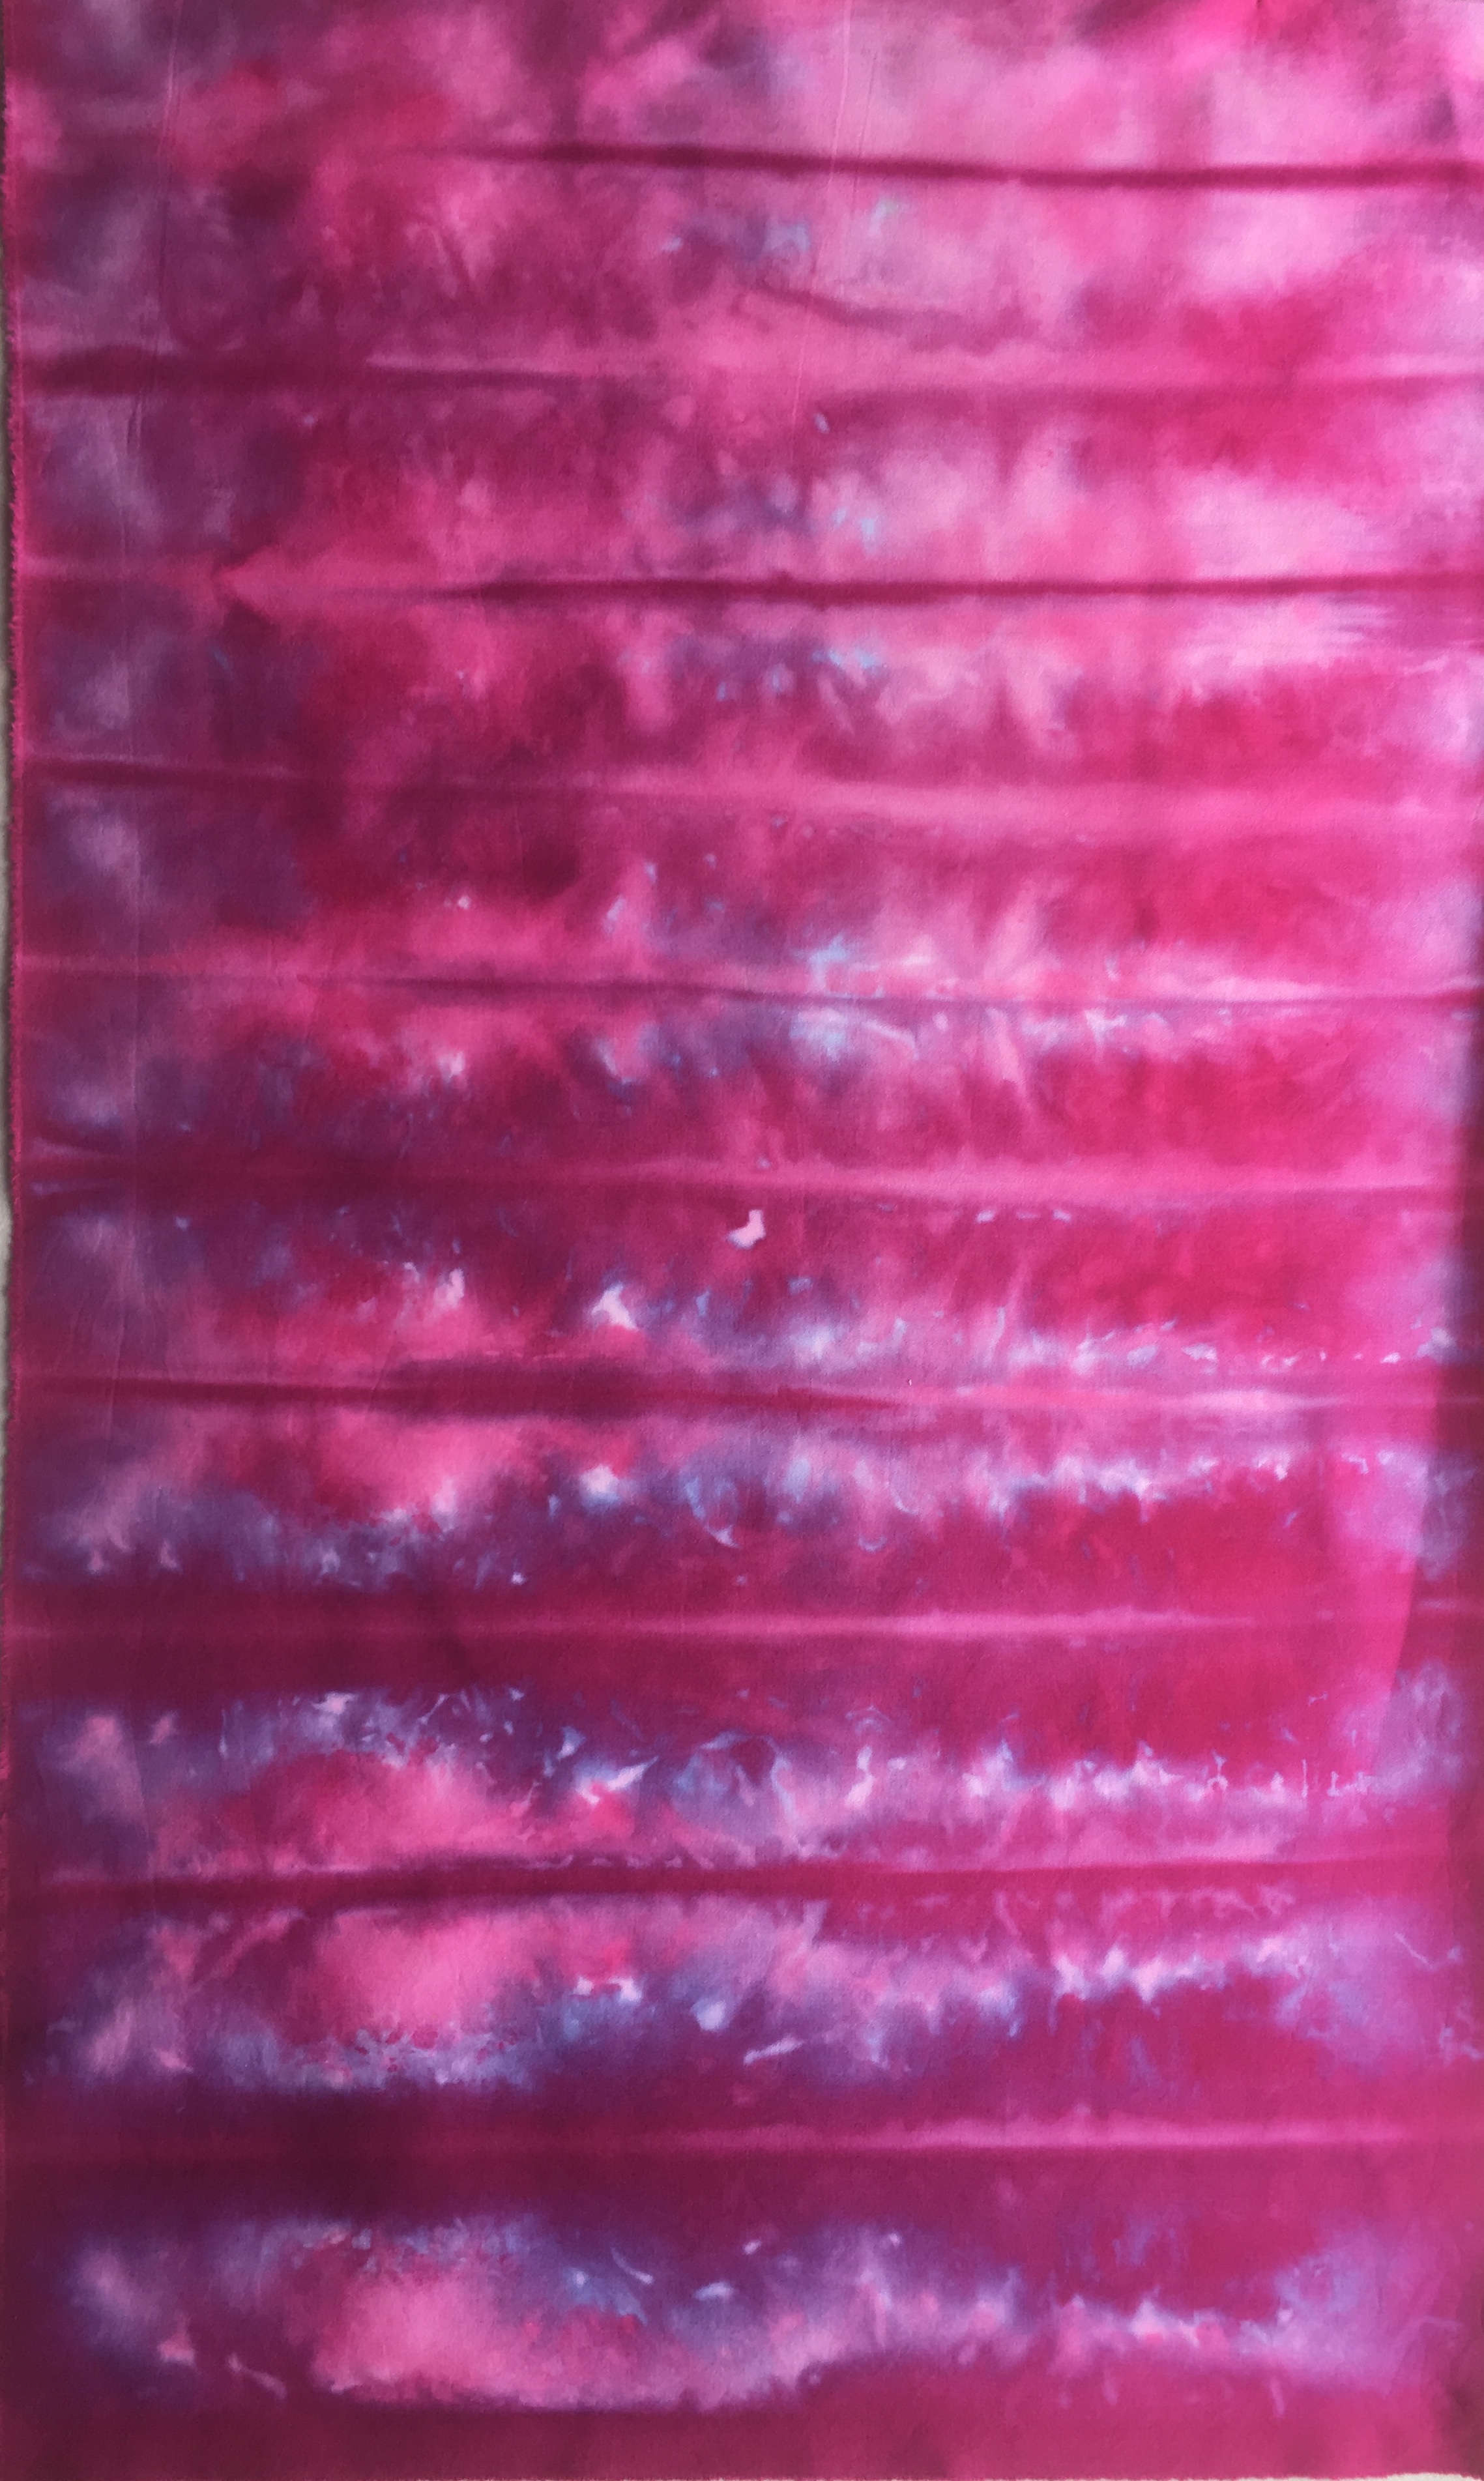
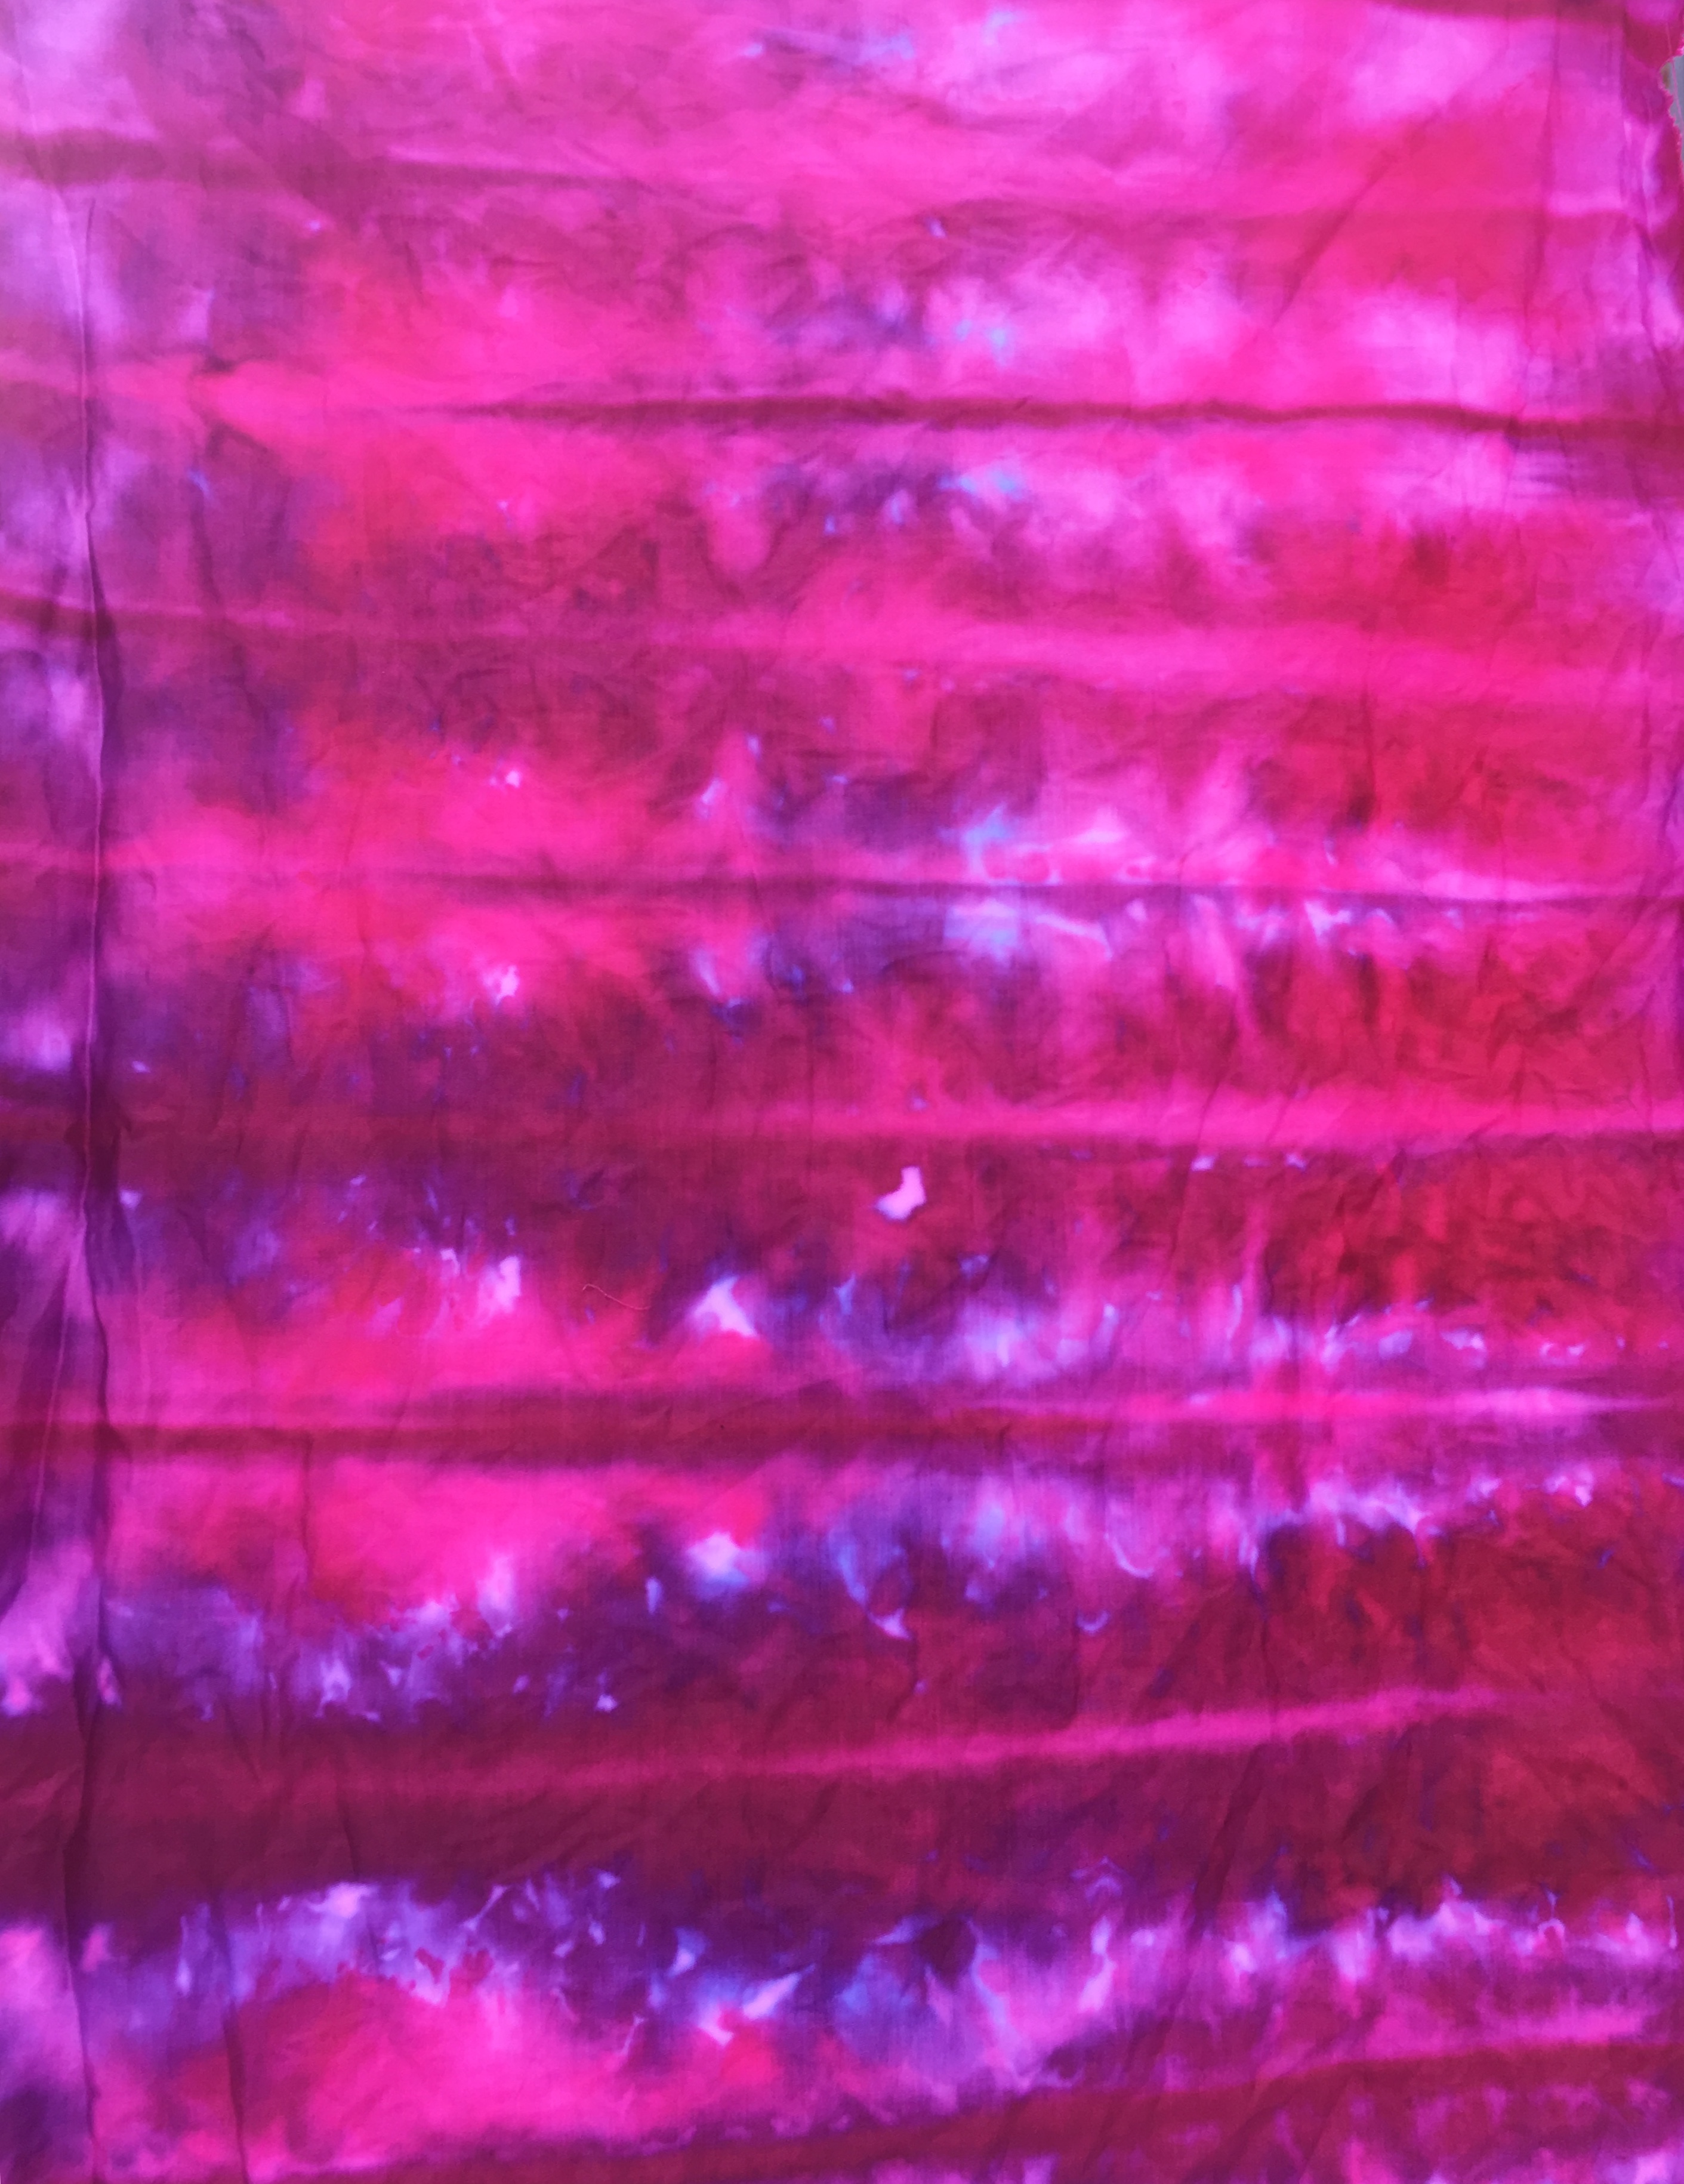
There are lots of ways of to do snow dyeing some people, place their fabrics on cooling rack trays over a cat litter tray to allow the snow to melt through and the fabric to then not sit in the residual dye. Others place their cat litter trays upside down and let the dye and snow run off as it melts. Whatever way you try it get out there and grab your snow before it all melts!
I hope you will give snow dyeing a go, if the snow in your area has already melted similar results can be achieved with ice cubes, use the cubes in the same way instead of the snow. I would love to hear about your results so if you do have a go make sure you let me know how you get on and watch this space to see what I get up with my newly dyed fabrics.
Have fun in the snow and happy dyeing.
Sam

Wow! That looks like a lots of fun, and the results are incredible
Thanks Alison, I really enjoyed it lots of potential. Thanks for reading.
Great article Sam – sadly the snow is melting fast here and will all be gone before I can purchase some dyes! Where do you get soda ash from?
I get mine from Kemtex educational supplies. You can also Purchase it from fibrecrafts in Godalming.
Some fabulous effects achieved Sam.
Thanks Sylvia think there’s a lot more to try out with this technique.
What a great technique, Sam!
Now have you decided what you might make with them?
Thank you Carolyn, I’ve got a couple of ideas – I might even over dye them!