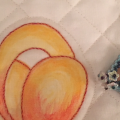
Beads make beautiful edging for all sorts of things in the patchwork and quilting world and they are so easy to do. Something I have been doing for some years is edging gift bags which can make that ‘little something’ even more special. These are cheap and easy to make, particularly if you make the gift bags from scraps of fabric like this one on the left.
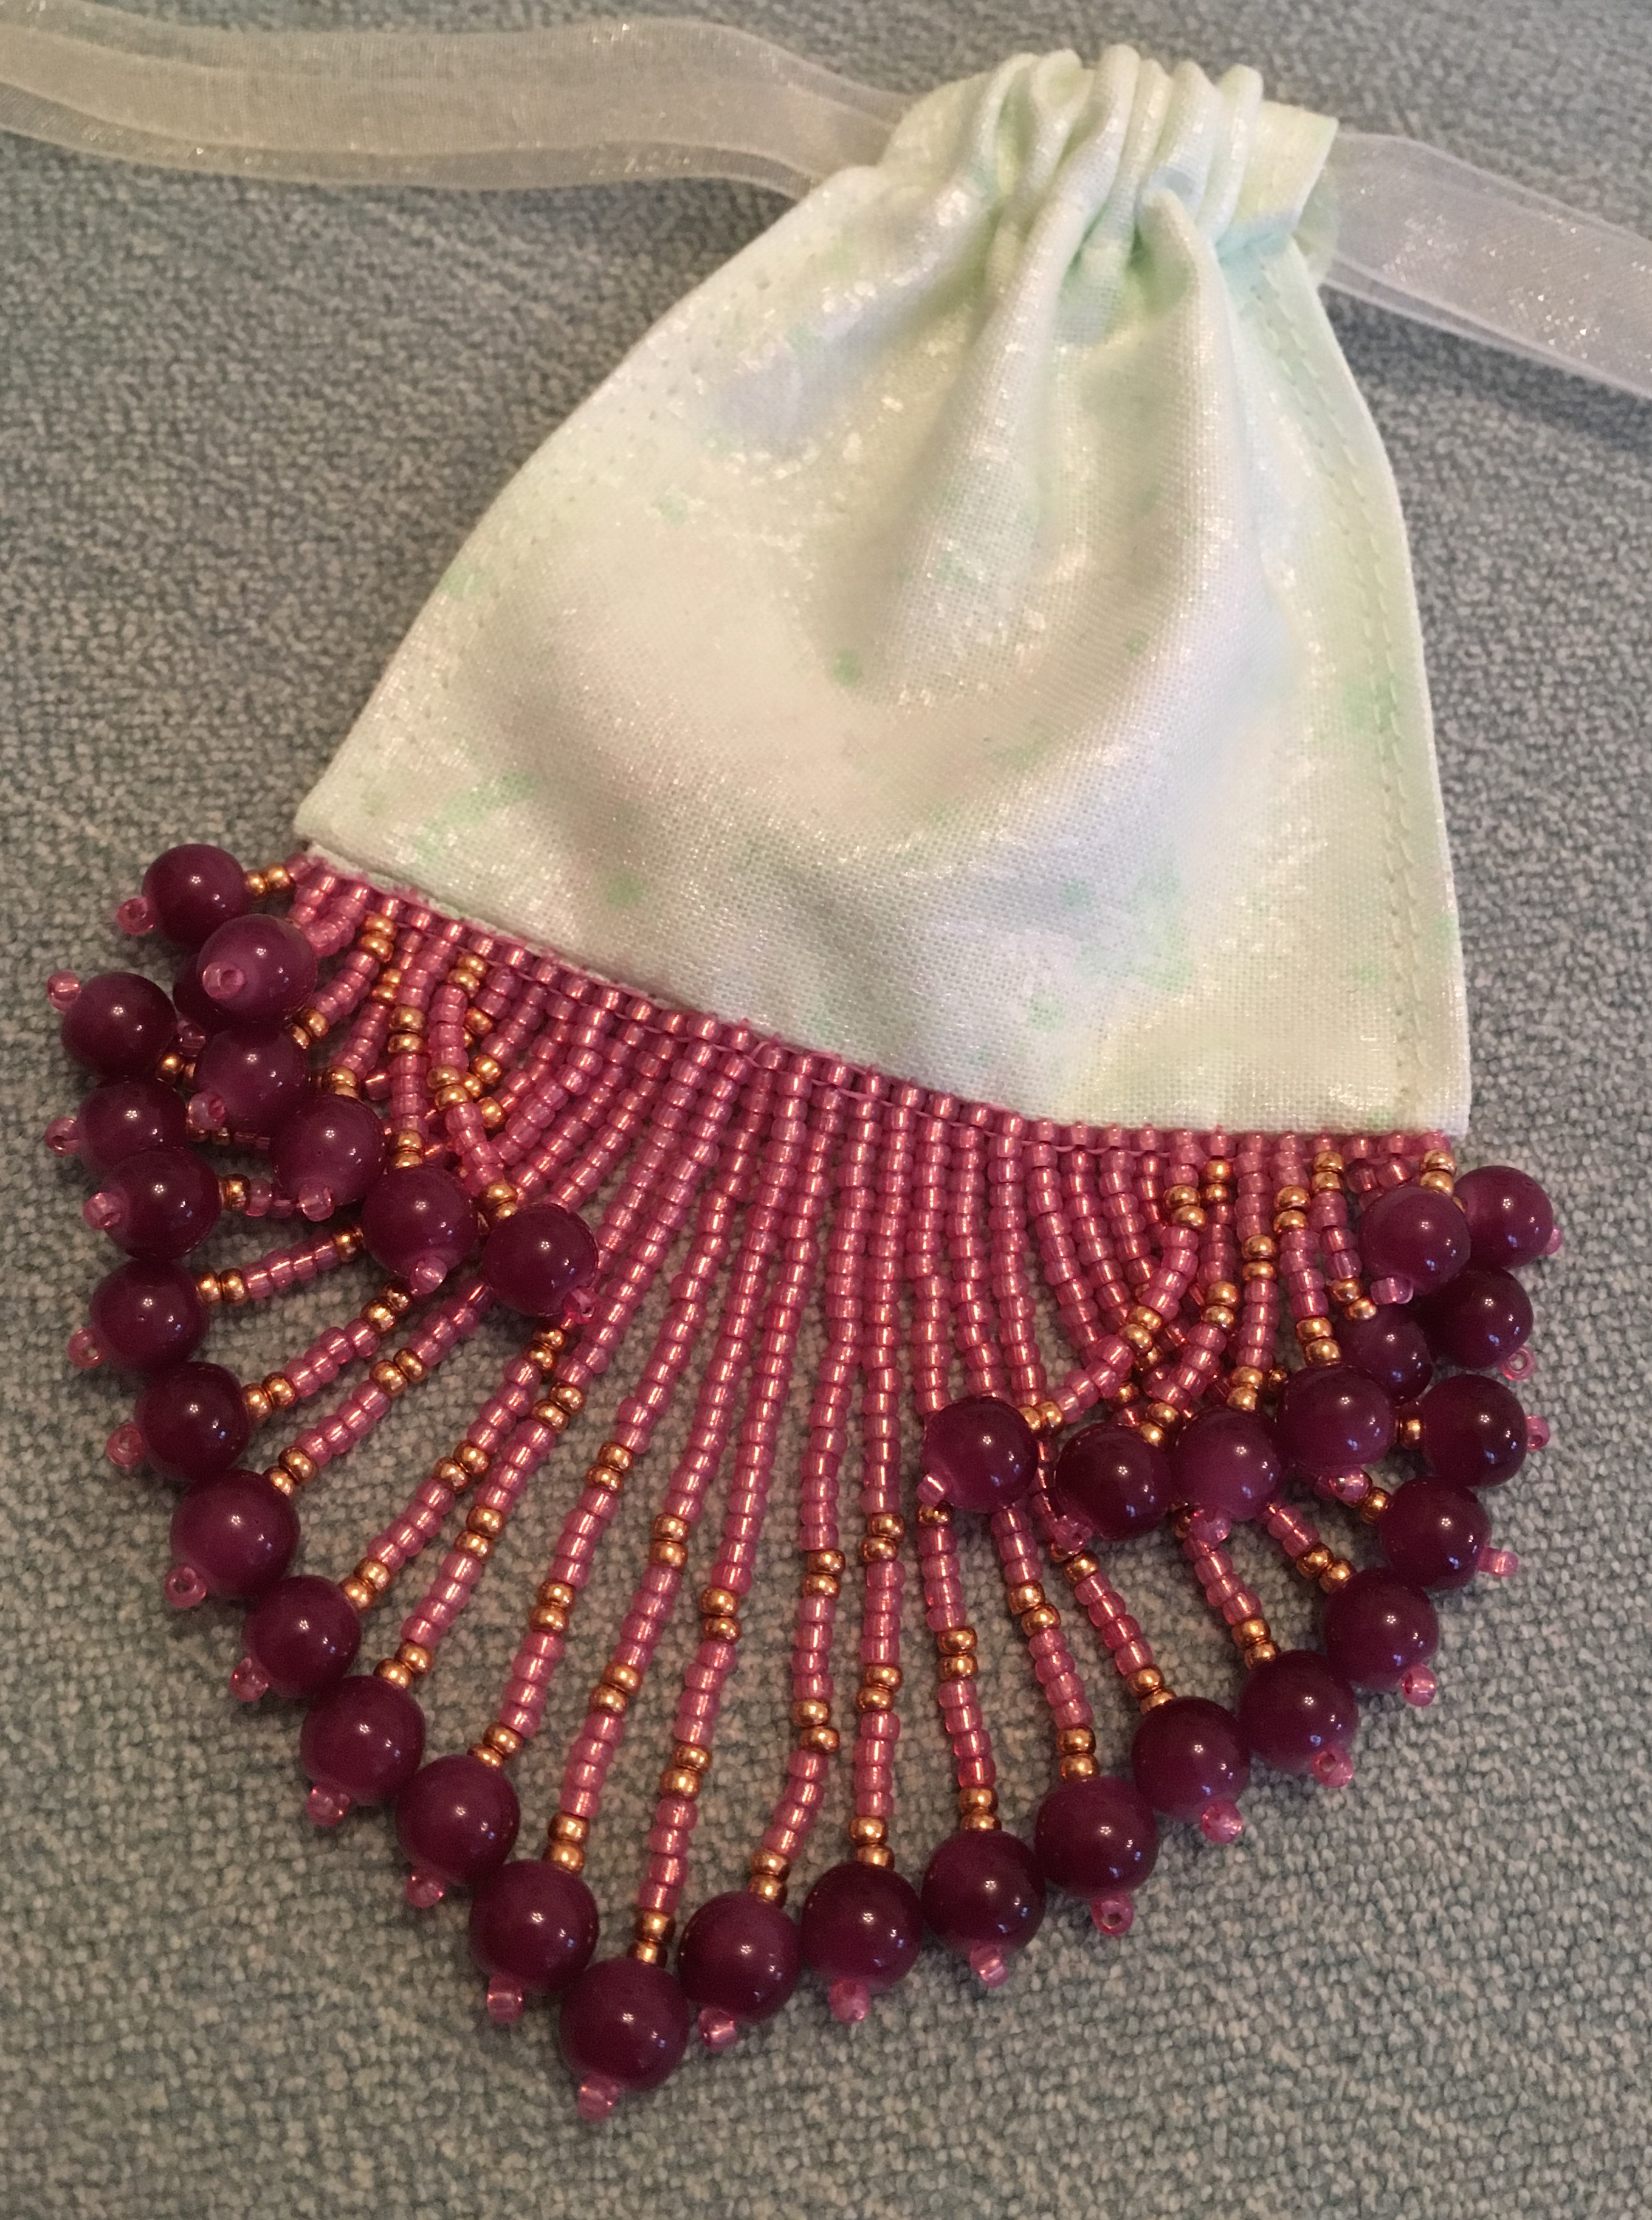
I love fringes, particularly elaborate ones, because they add weight and flow and they are really tactile. Fringes can be long, short, even or tapered etc. On the fringe on the left each of these fronds is two beads different in length to the frond before and the one after. Of course the choice of beads is important; this is a small bag (approx 3″ by 3″) so the beads have to be fairly small. I used size 11 seed beads and a larger glass bead on the end which gives weight to each frond and this assists the drape.
Brick Stitch
For each fringe I start with a row of seed beads which are sewn on using brick stitch. This is done by:
- Thread a beading needle with waxed thread and anchor the thread with a few discreet stitches in one of the lower corners of the bag.
- Add 2 seed beads, take the needle through the bottom edge of the bag (back to front) about 1.5 seed bead width away from the start, and back up the second seed bead added. Pull firmly so that the seed beads sit next to each other.
- Next add a single seed bead, take the needle through the edge of the bag (back to front) about 0.5 seed beads away from the second bead added, and back up the last bead added. Pull firmly so that the seed beads sit next to each other.
- Continue adding a single bead each time until you have completed the row.
Note… If you want to picot the edge make sure you have an even number of seed beads in your edge.

Note… The fringe comes out of this row… calculate one frond out of every bead or every other bead. Count the edge beads so you can estimate if the pattern will work and how to adapt it if not.
The Fringe
To create each individual frond you need to bring the needle/thread out of one of the base seed beads, add the arrangements of seed beads finishing with a turn bead (a small end bead) and then bring the needle / thread back down each seed bead, excluding the one used as a turn bead. Easy!
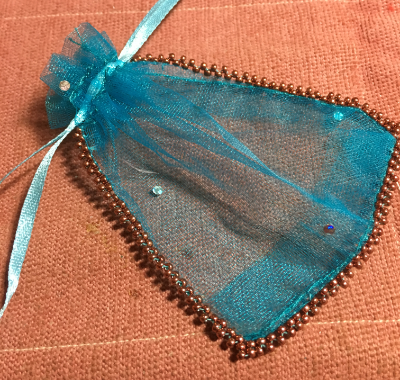
Picot Edging
A picot is also a lovey way to add an interesting edge. A picot is an edging made of a series of 3 beads making a row of peaks. I do mine by starting in the corner and:
- add 3 beads, take the needle/thread from back to front through the lower edge and back up through the 3rd bead added. Next
- add two beads, take the needle/thread through the bottom edge half a bead width away from the 3rd bead and up through the last bead added.
.
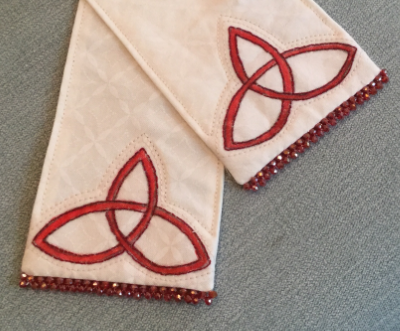
My son got married last August and I made the ribbon that would bind the couple together during the outdoor service. I wanted to add weight to the ribbon so created a picot edge of rondelle crystals. They certainly weighted the edges sufficiently to stop the wind blowing them everywhere and looked lovely against the ivory
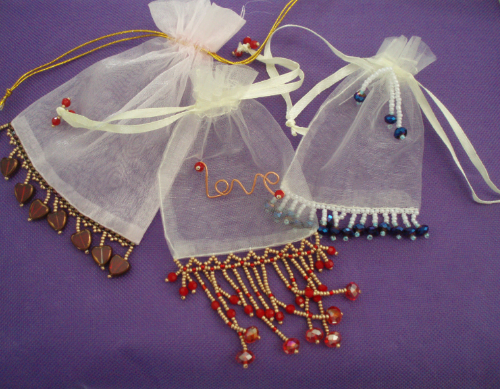
There are lots of other types of edges you can do and the idea is to simply experiment and do what comes naturally. A small selection of beads makes a good starting point and a small tube of seed beads goes a long, long way. Remember…. If you own any unwanted jewelry you can dismantle pieces and up-cycle the beads.


I do love these ideas. I have never had a go at ‘Beading’ but will have a go one some little gift bags. Thank you for the ideas.
Thanks Sue. These are fun things to make and give.