Hey everyone. my blogs are like buses… you wait for ages and then two come at once.
As part of the recent baby week, I created a cute storage caddy that could be used on a changing table to hold nappies and other assorted changing paraphernalia. Unfortunately, time got in the way and I never got around to submitting the blog. However, I did not want it to be wasted effort, so here is the belated baby blog on how to make a storage caddy.
I have made several of these before. I find they are really hand for storing fat quarters, as a car caddy as well as storage for those odds and sods that seem to accumulate where ever I sit (surely I am not the only one?!)
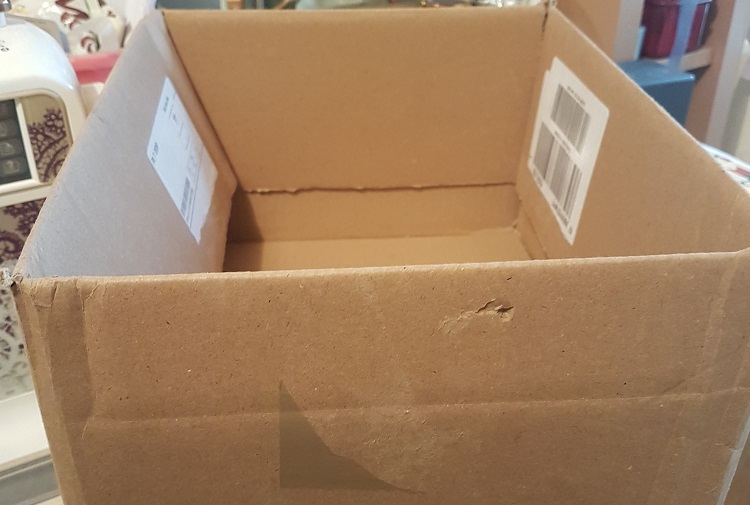
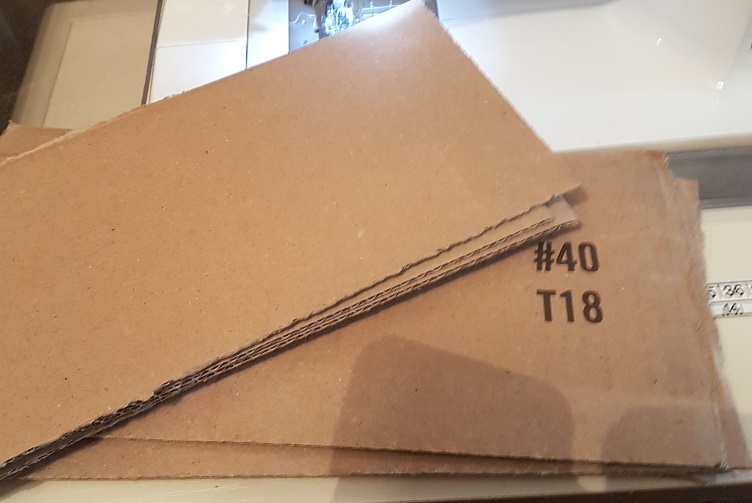
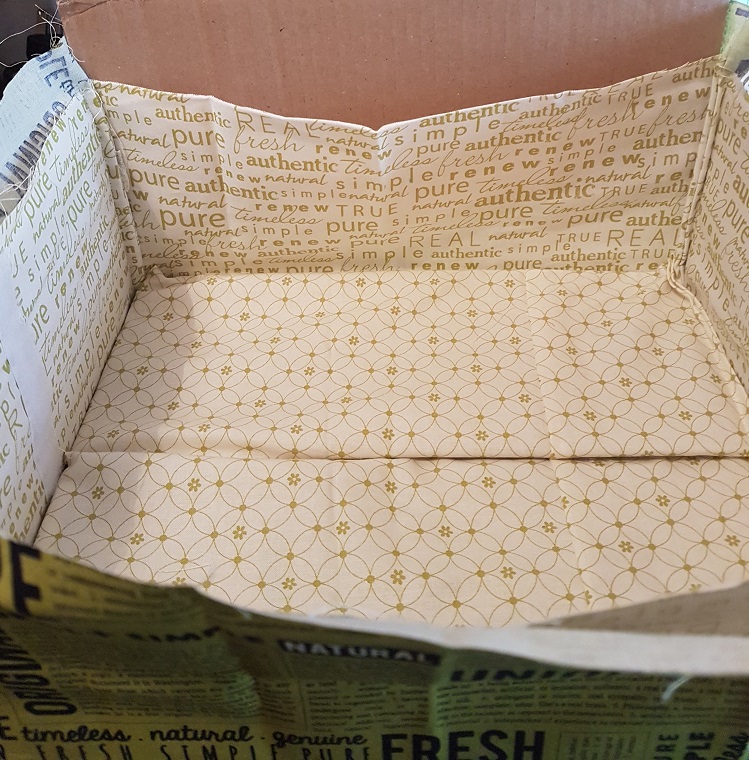
The first step in this process is to find a cardboard box which is equal to (or larger) the end size of the caddy. In this case I just used the flaps, but as long as the box is bigger than the desired size, it can be cut to fit.
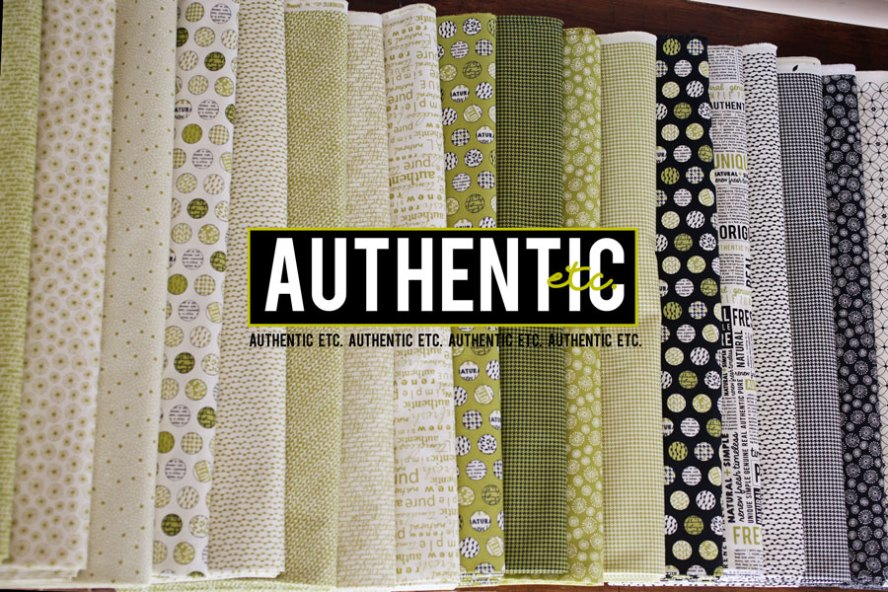
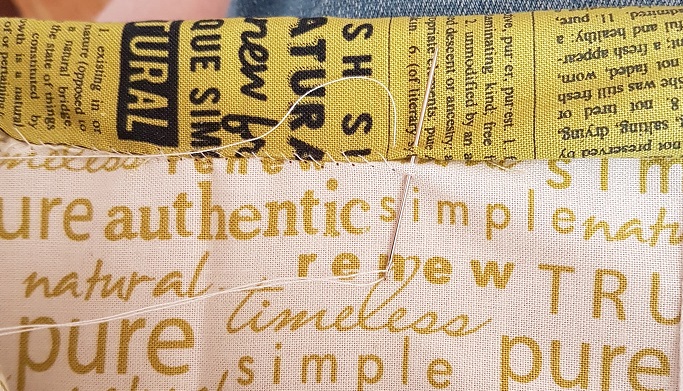
I then measured up fabric to the right size for the caddy. for this project I wanted something a bit funky so went with Authentic by Sweetwater for Moda. If this was for a baby you could use more muted colours, but bear in mind that with lighter fabrics, the cardboard may show in the final result.
So I cut out fabric for the bottom and sides as well as for the base and divider add-ins. (apologies for the lack of photo’s, they seem to have gone from my phone!)
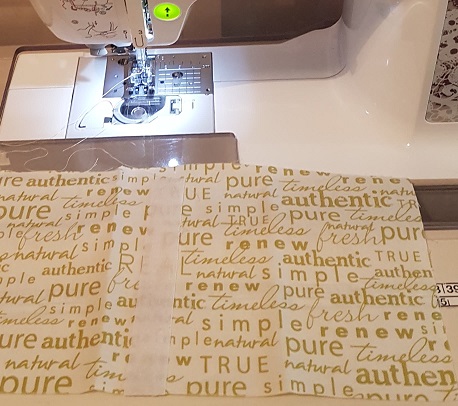
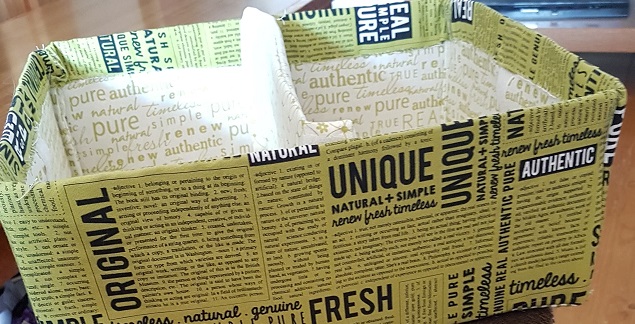
To make the base, I made 2 channels where the cardboard could be inserted, before then sewing up. I did this by machine but you could hand finish. The divider was made in the same way but with tabs at the end for the velcro. Note to self: Next time i make this i need to remember to reduce the height of the divider so it does not stick out above the rest of the caddy.
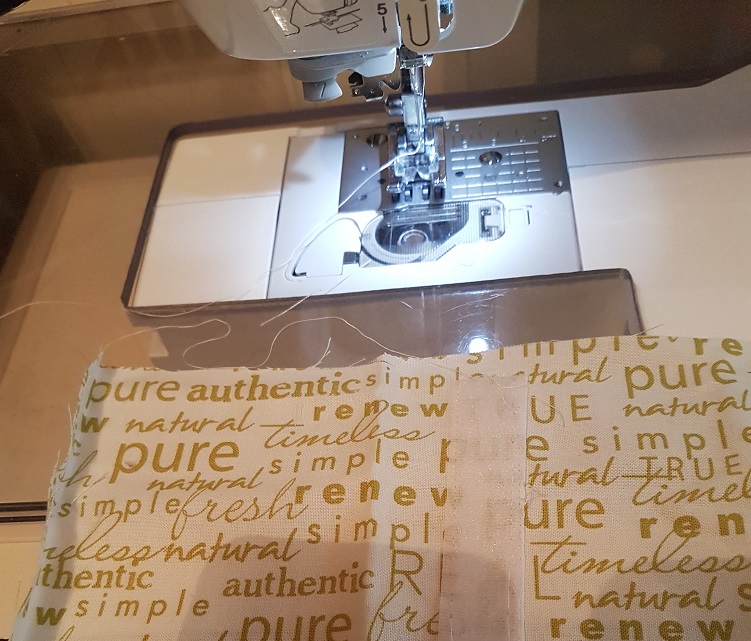
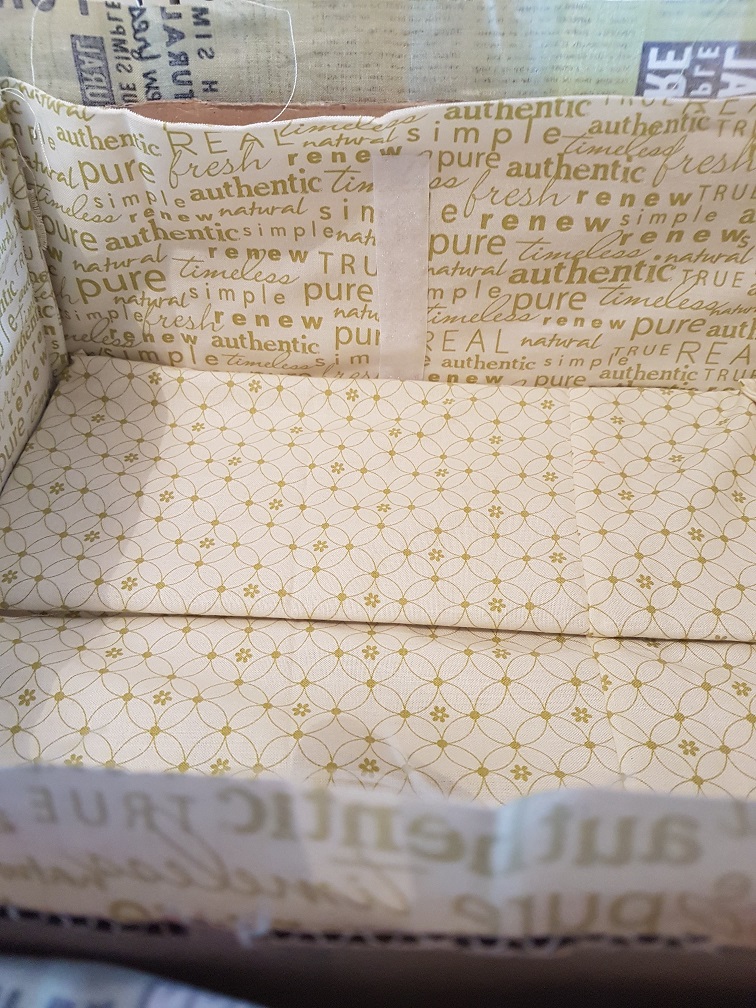
On to the main body of the caddy. First I measured when the divider would go and added the Velcro. Its a lot easier at this stage rather than at the end. (Don’t ask how I know!!) Next I sewed the sides together. I used french seams. its not essential but I think it makes for a neater end result.

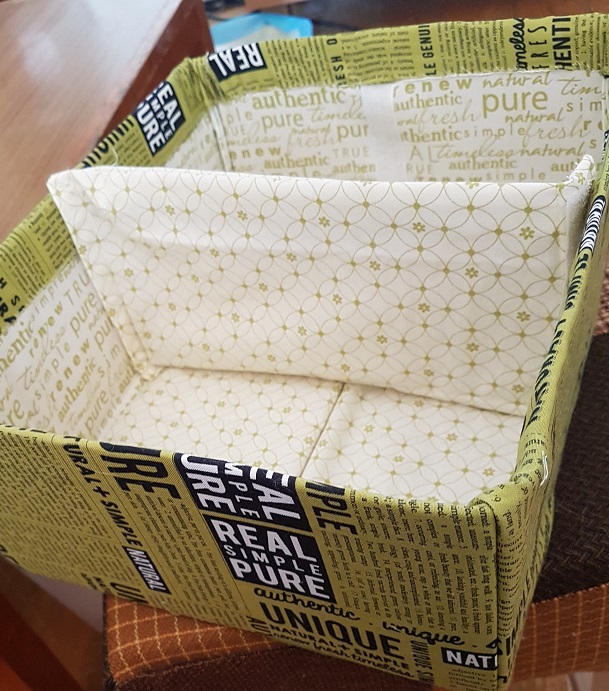
I then sewed the bottom to the sides. I did not worry about french seams here as the base that is added for stability will hide the seam
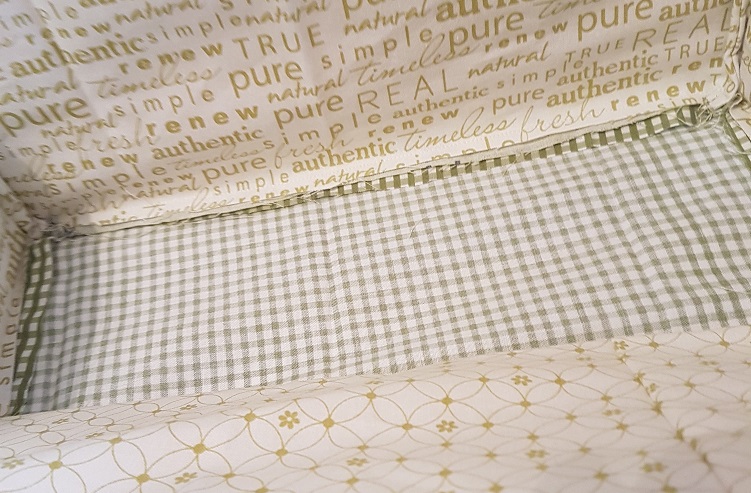
Now to add the sides. For extra stability you could add 2 pieces of cardboard to each side. I only added 1 for this blog and found the end result was a little flimsy.
Finally I hand sewed the top and added the divider.
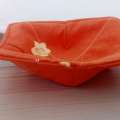
The end result is a rather nifty caddy that can be used for a multitude of different purposes.
The question is what will you use yours for? the possibilities are endless!


Rebecca made me one of these and it is so useful, I keep my ribbons and odds and ends in it, I love it, great tutorial Rebecca x
I forgot about that! glad you still use it