
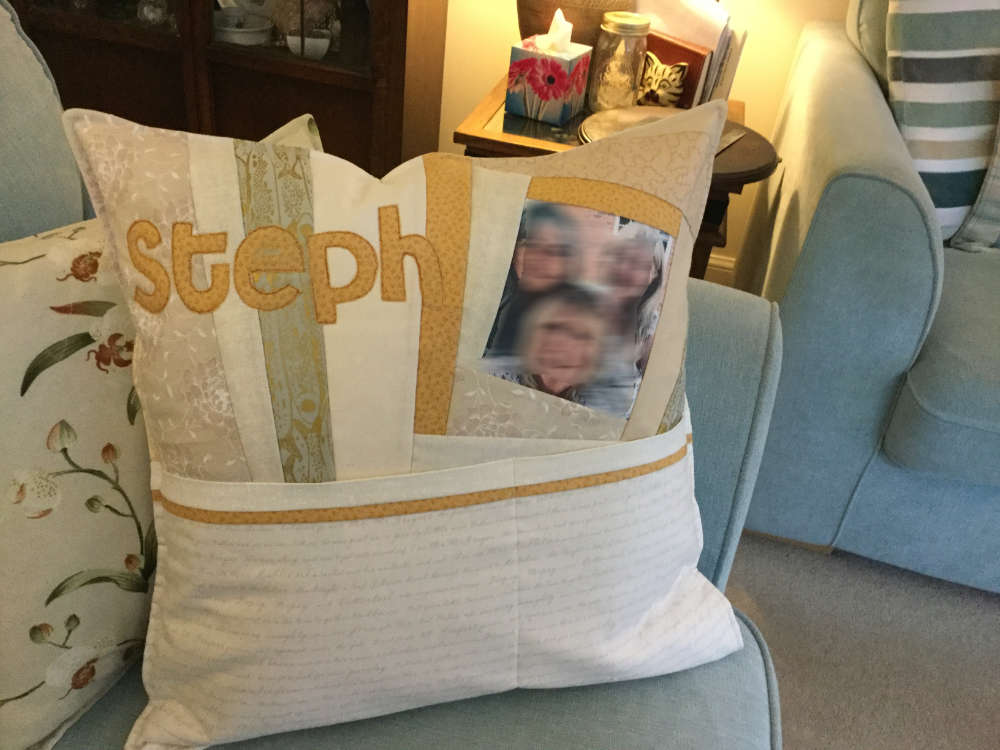
OK! So it is a book pillow but with a bit of a slant!
What do you get a very dear friend for a special birthday when you know she has everything she needs? I thought and thought and came up with a plan…. a good book, chocolate and wine makes for a blissful evening so why not make a personalised Bliss Pillow to store it all in!
Where to start? I decided on an 18″ cushion insert and worked from there. My friend had given me a lovely old black and white photo of her and her lambs for my daughter to enhance the quality of it so I decided to use that. I used PhotoFabric Cotton Poplin Fabric Sheets for Inkjet printers. The alternative / cheaper version is to iron a piece of fabric onto freezer paper and cut to A4 size, but I had this product to hand – I simply printed, left to dry for 24 hours, washed under running water and ironed when damp.
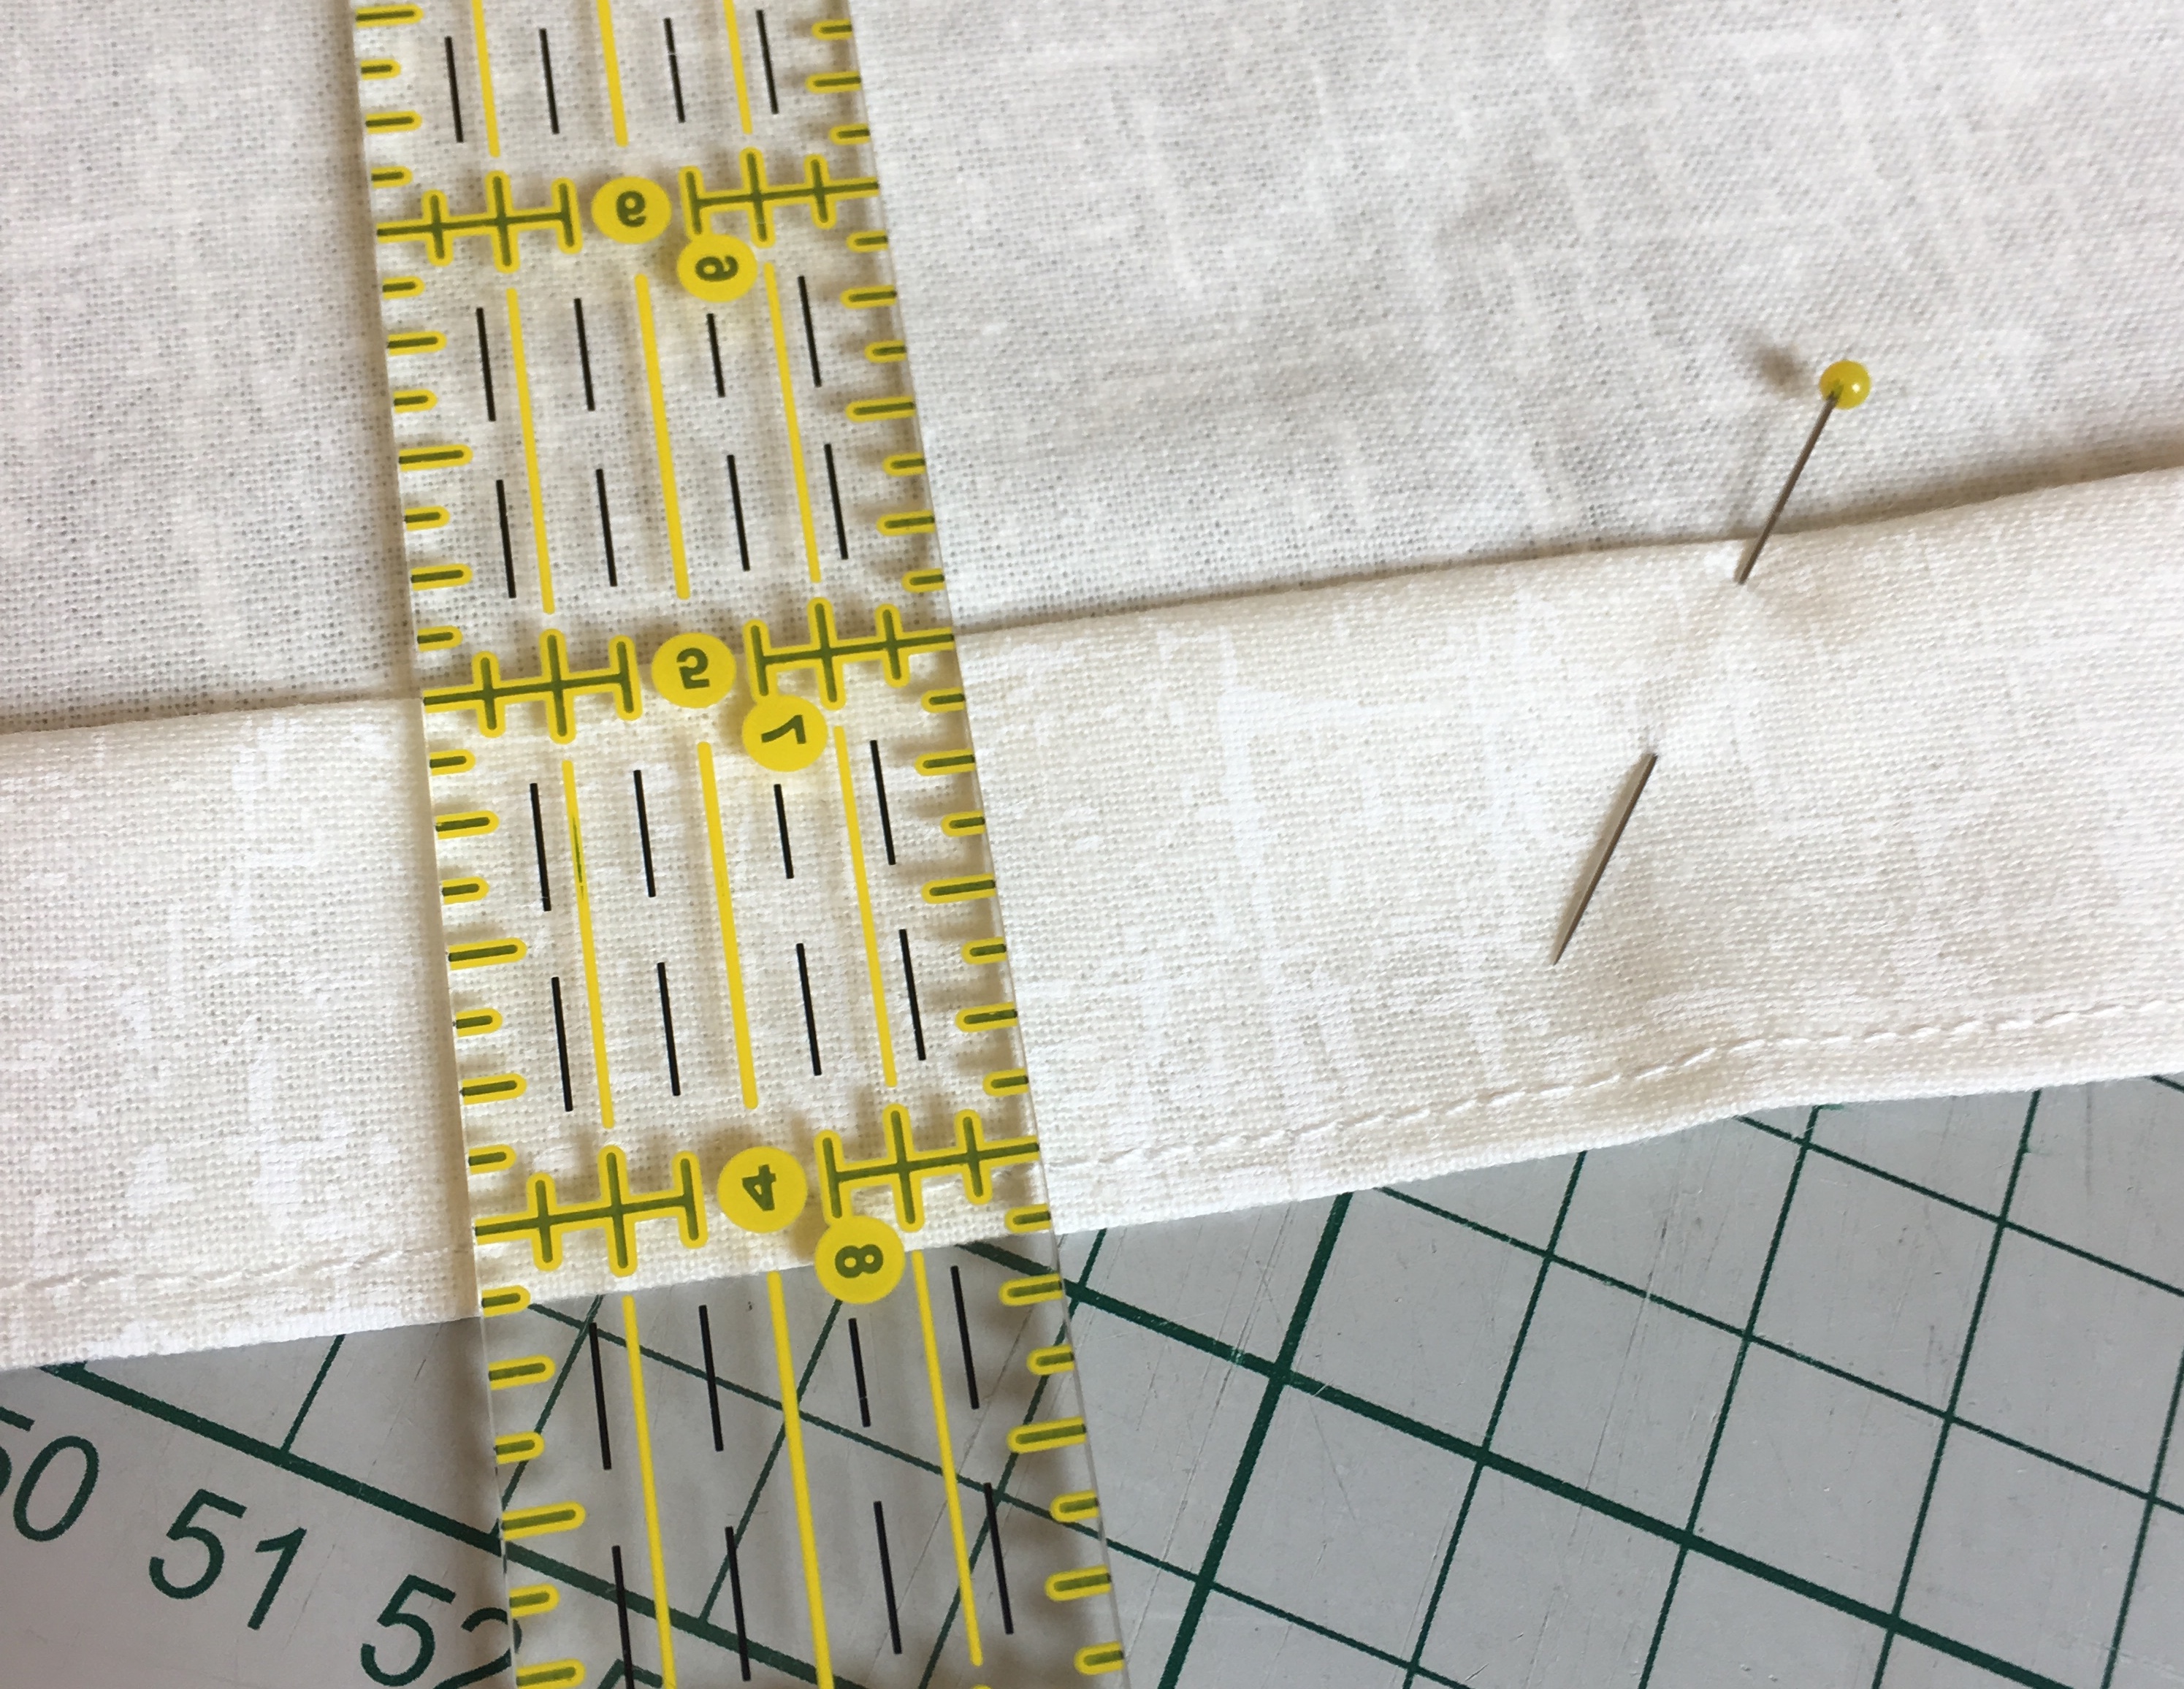
I added a border top and bottom; make the strip 19″ long (approximately 3″ border at the top). I then added a right-hand border of approximately 3″ and then a left hand border to make the total width 19″. The next stage was to raw-edge applique a name to the top left hand corner and then quilt the backing, batting and top layer together and trim. Ideally it should be 18.5″ square but it doesn’t matter if it is little over or under.
The pocket is a double layer of fabric which I edged to keep it firm. Finished size was 9″ deep by the width of the panel. This was stitched to the panel with a single line, off-centre, to make two pockets.
The backing was made up of two pieces with a placket for buttons and button holes. The back and front, wrong sides together, were lined up and zig zag stitched to give a firm edge. Binding was then added. I have subsequently, on other pillows, lined up the back and front pieces, right sides together, sewn a 1/4″ seam, turned inside out and sewn 1/4″ line around the edge to give a nice definition. Both produce nice results.
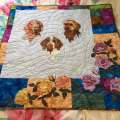
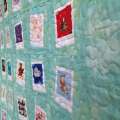
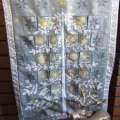
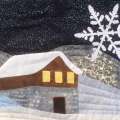
Since I made the first one I have made several more as these make lovely gifts. Each one has been designed differently making them unique. This one on the left was crazy patch-worked and probably one of my favorites.
If the instructions aren’t clear do leave me a message and if you do make one please tell us about it.
Happy sewing.
Brilliant idea Ruth
Thanks Lyn. 🙂
This is a great idea! I had made book pillows for my girls when they were younger but love how you have adapted it to grown ups 🙂
Thanks Abigail. Useful pillows for all ages and I do like anything that encourages kids to read.