PART TWO – ASSEMBLY…..
SEWING CAN BEGIN….
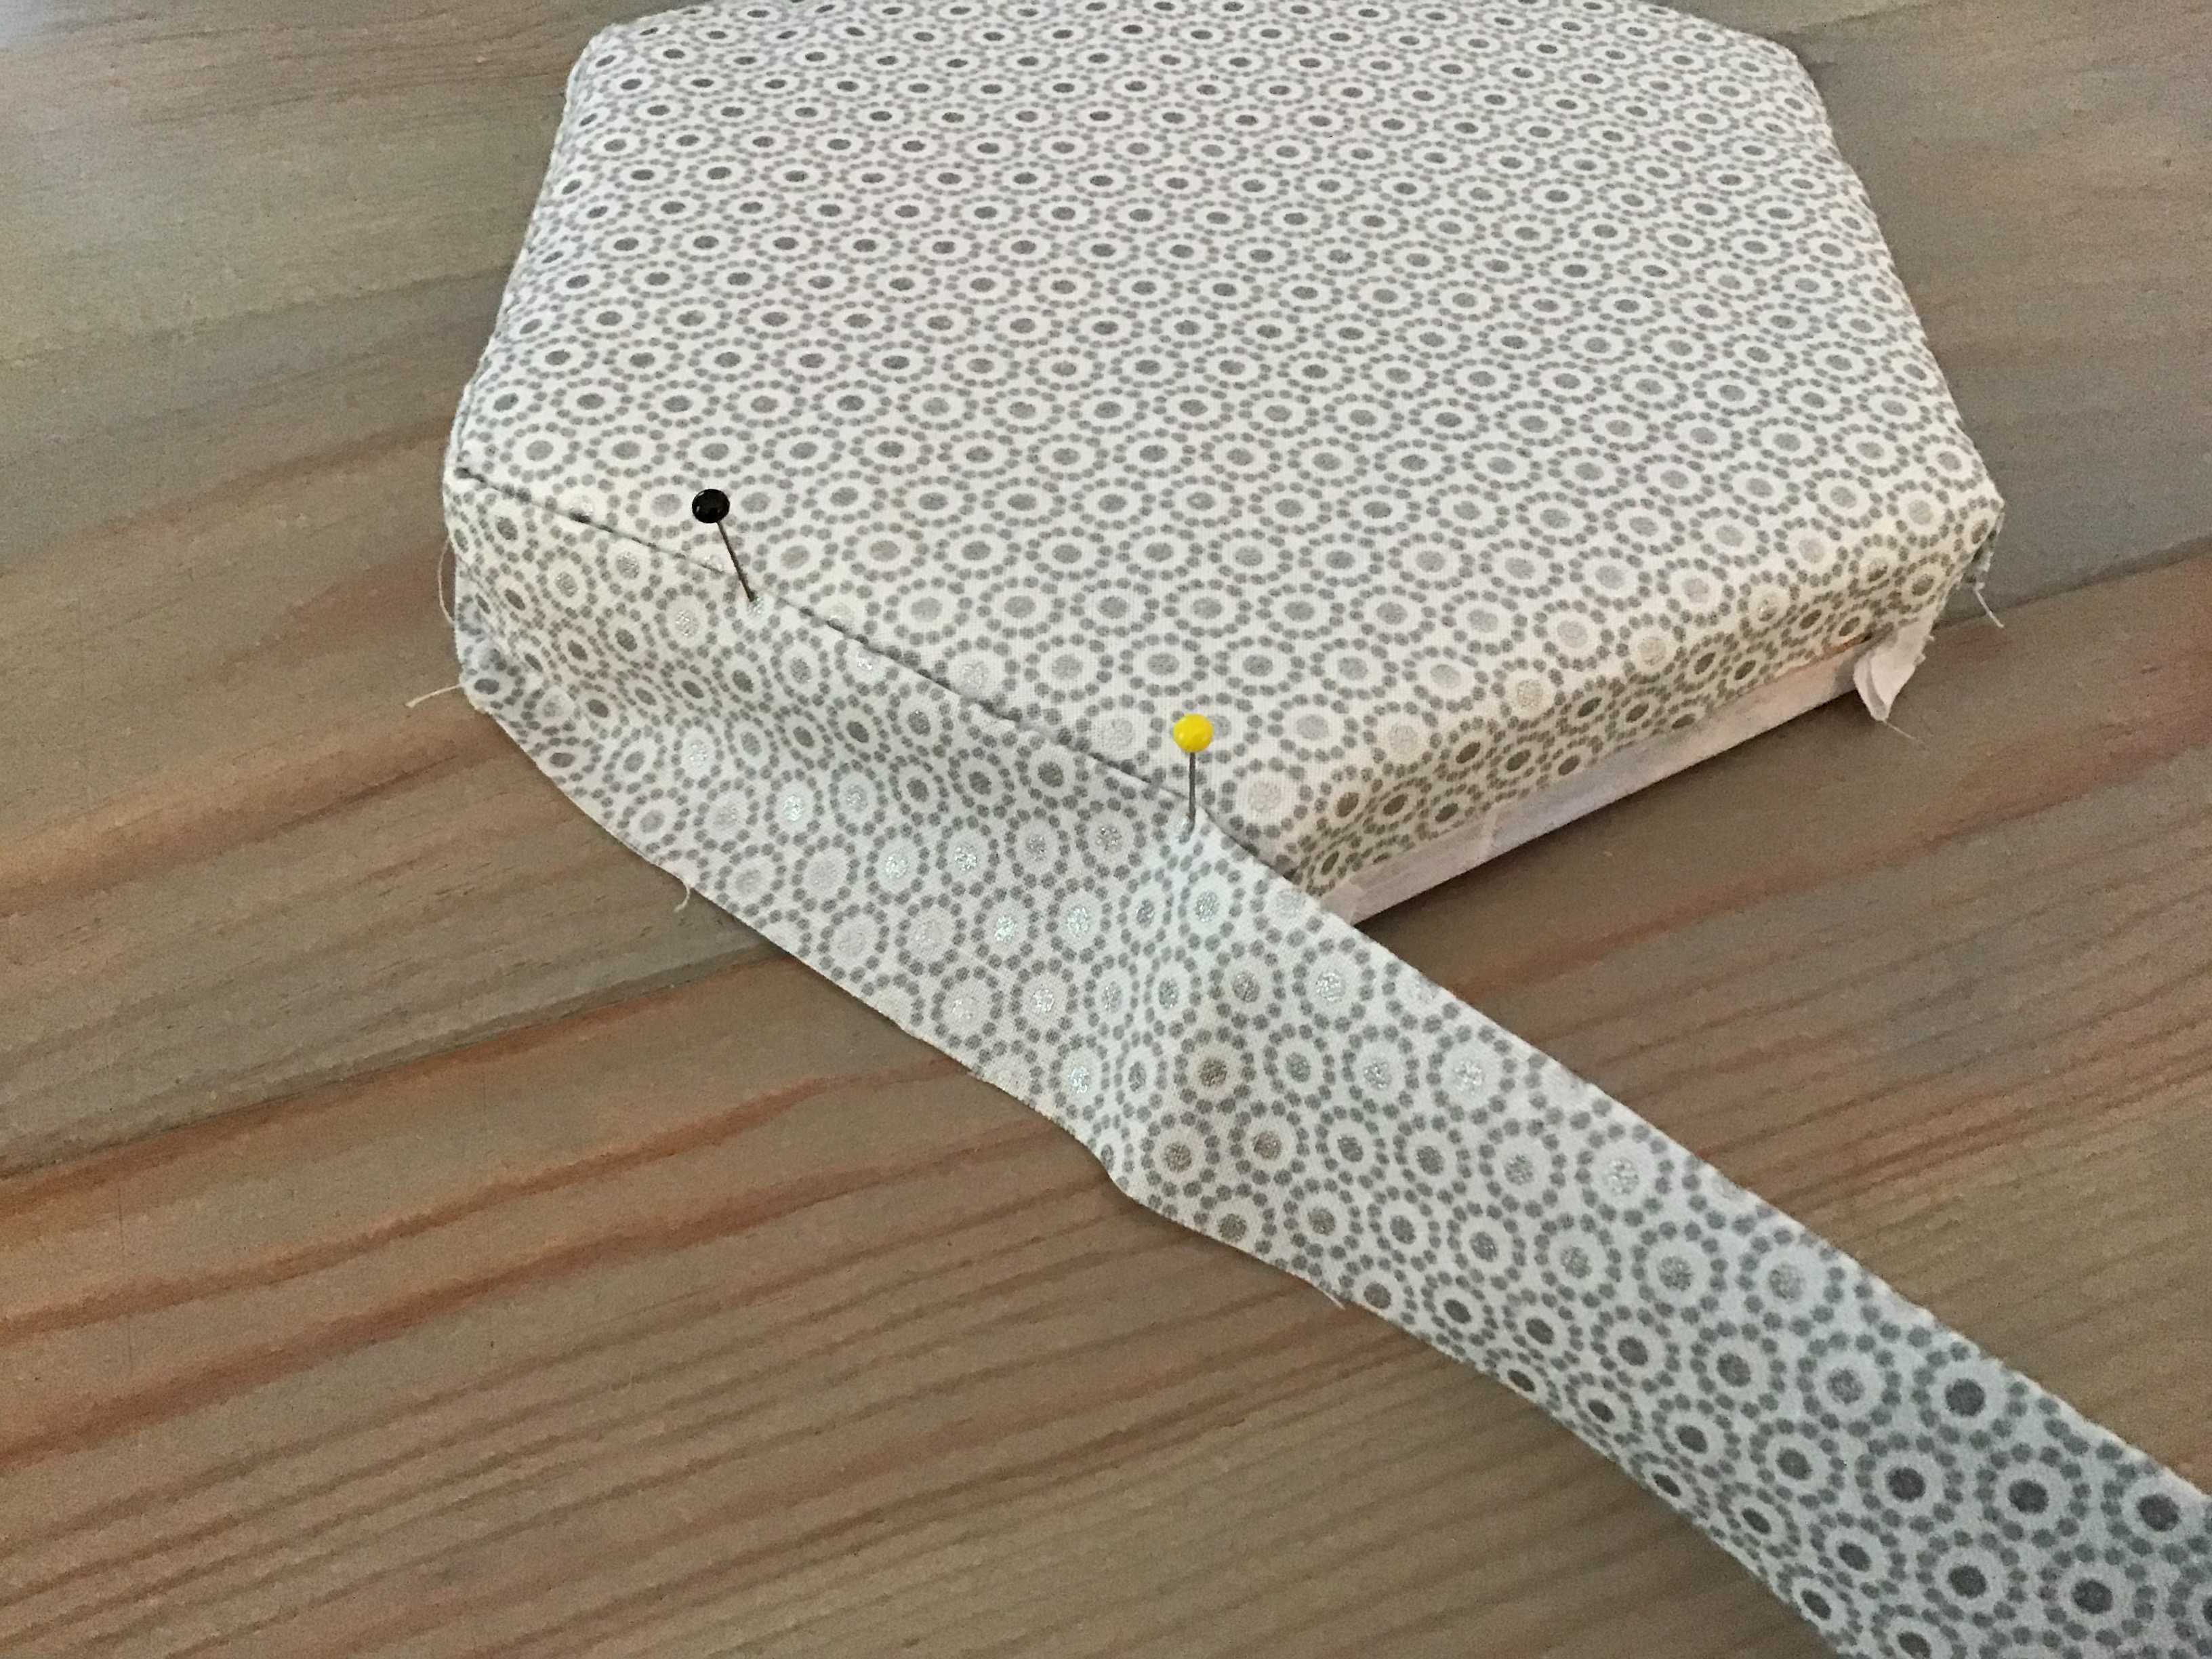
The lid brim is covered on the outside with the 28inch x 2inch strip set aside earlier. Fold in half inch turnings on one long side and press with an iron. Once ironed, stitch the folded side in place along the Hexagon lid, starting with one end overlapping one of the corners. Once completed, turn the other long side and stitch in place along the edge of the brim. The end of the strip should fall on the first corner, where you started – cut off the excess (leaving about half inch to turn under) and overlap, stitching in place.
 The outer base can now be stitched, right sides together with the outer sides. Make sure the batting is nearest the base, with the area free of batting furthest away from the baseIf required, the decorative twine can be stitched over the seam attaching the brim strip to the hexagon top.
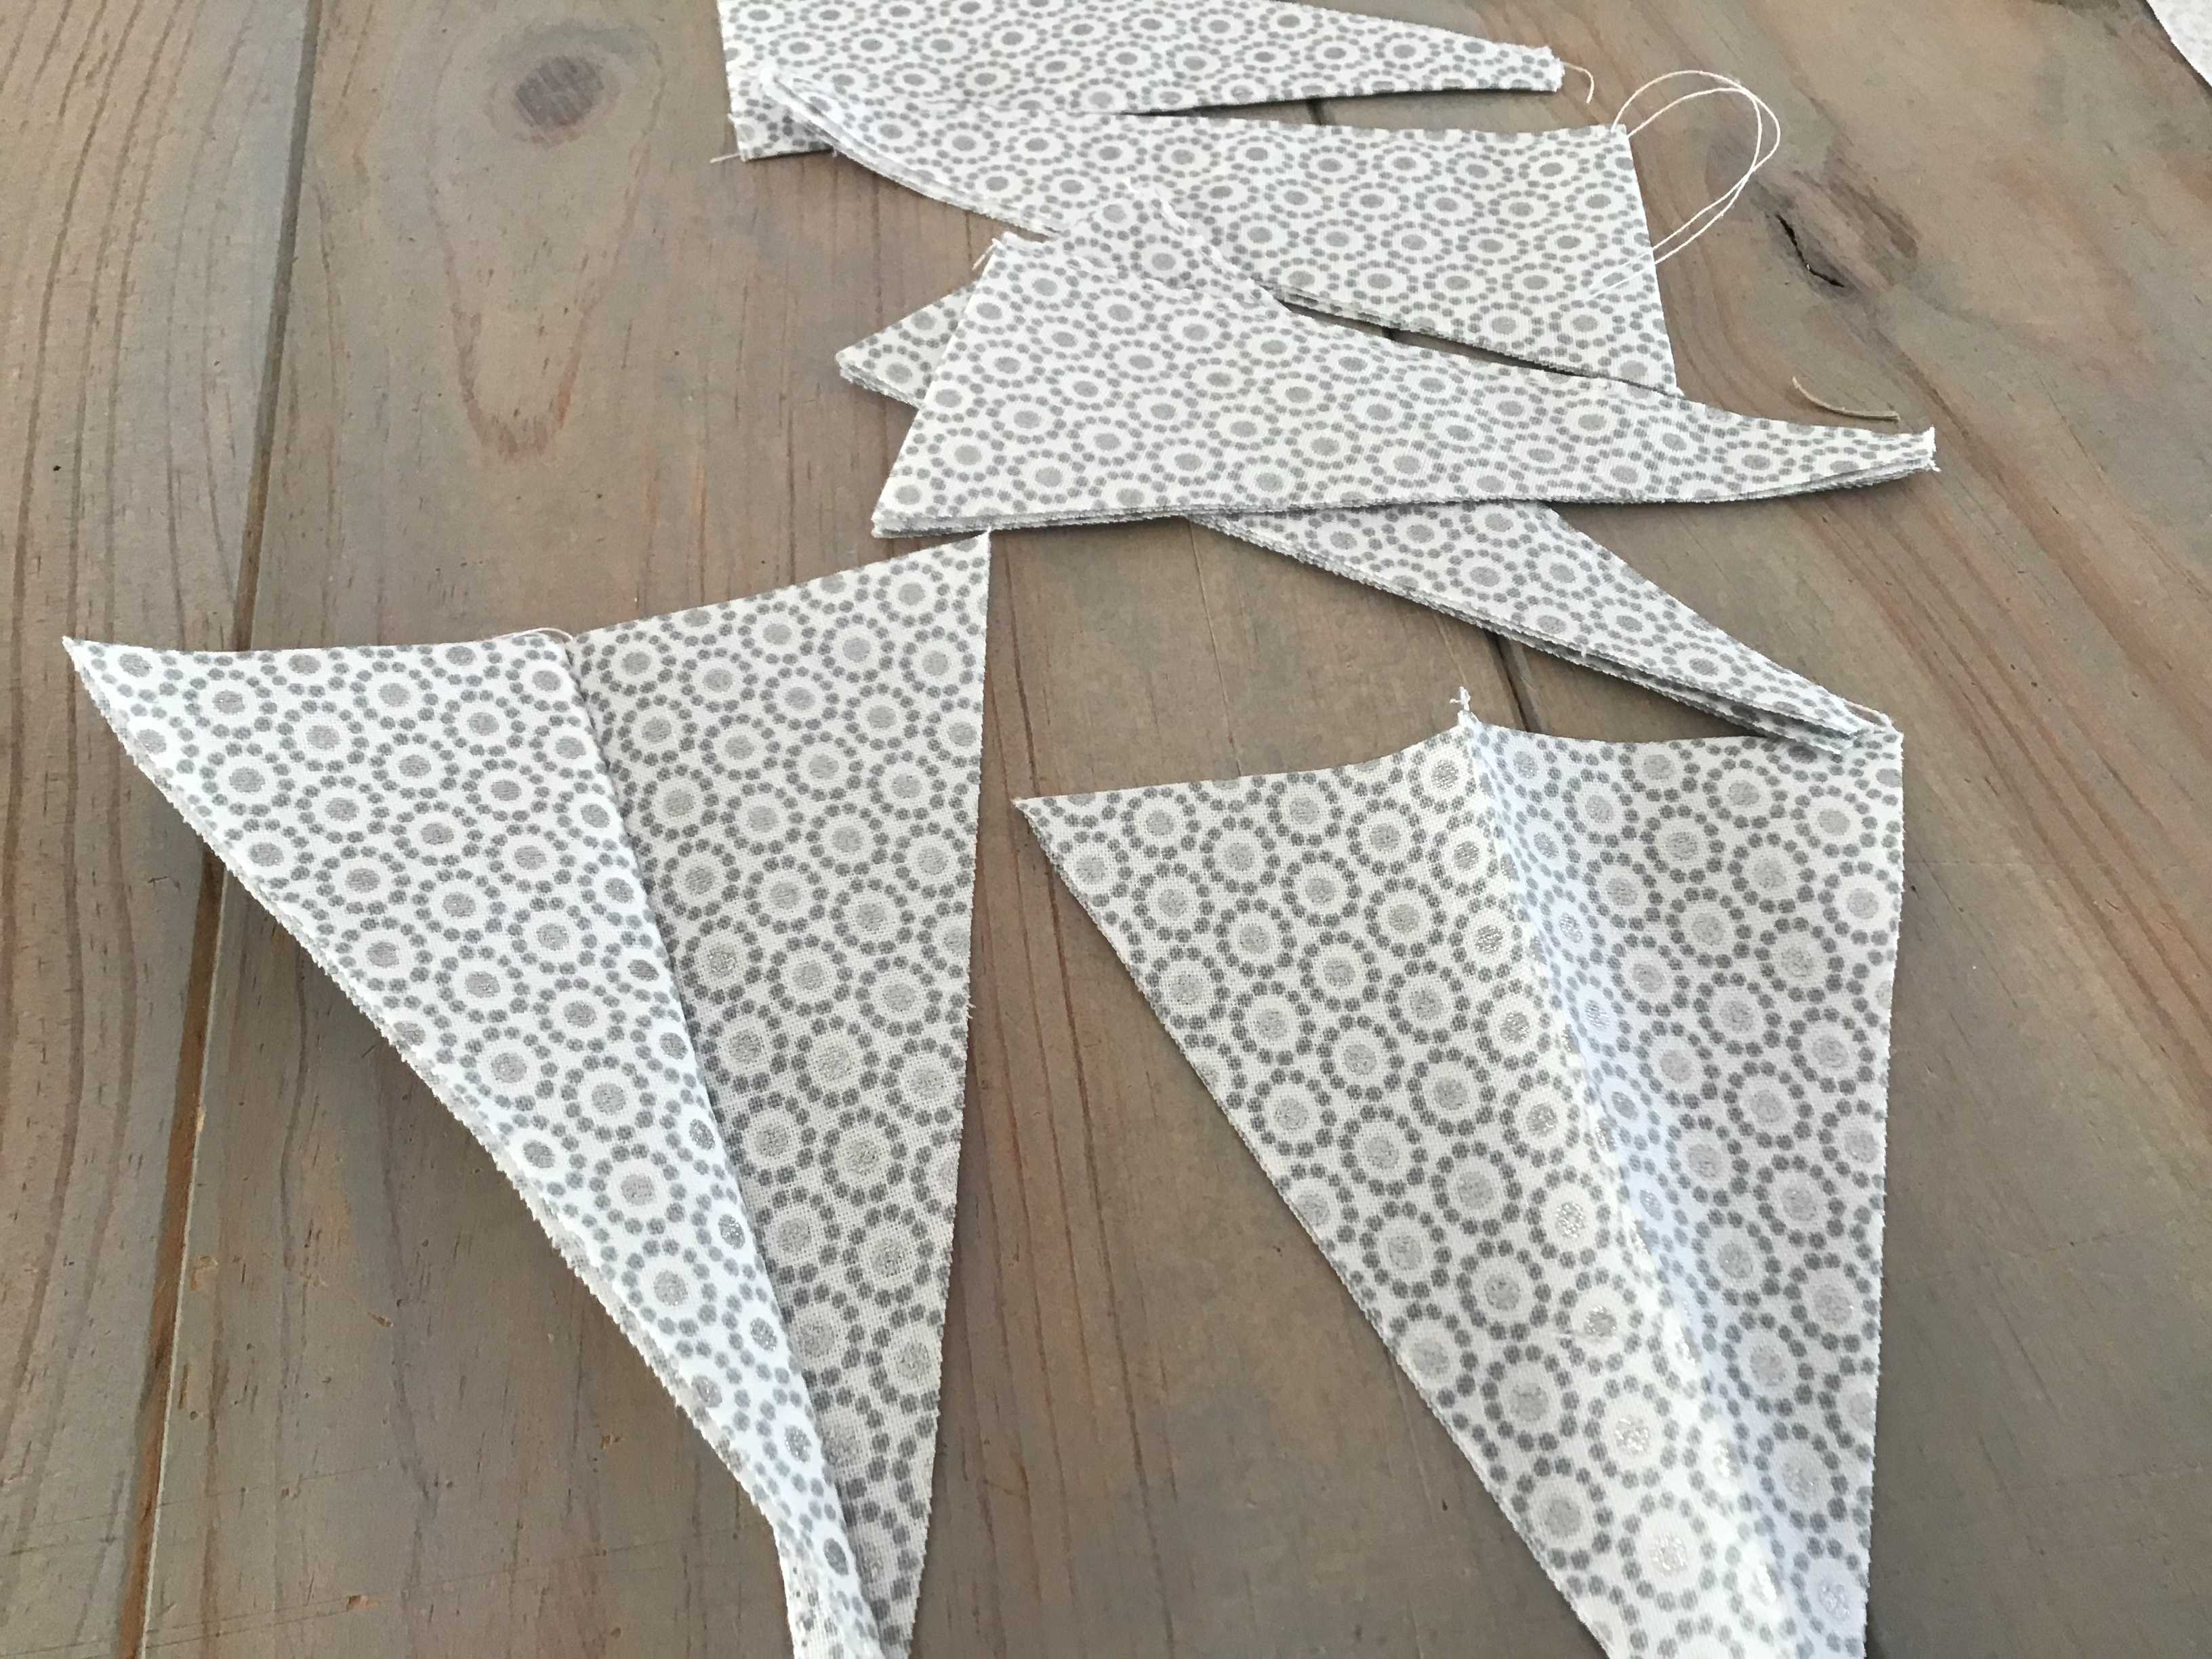
The last card template is for the fabric gussets that enable the box to open up when the lid is removed. Six gussets are needed, cut to exact measurements with the fold at the top. Once cut out, fold the two sides together down the central line. Press. Stitch 1/8th inch away from that vertical fold (through four layers of fabric) from the top to within one inch of the bottom, and fasten off.
This narrow line of stitching means that the gusset will fold nicely when you want to close the box.
 This next picture shows rough placement of the gussets. The seam needs to be facing up, so that they fold nicely when closing the box. Sticking these in place is a little tricky, but not too bad. In order to get the fold of the gussets as near to the top of the box sides, glue down a tiny corner, so that it isn’t sticking out beyond the top of the box side. Glue each gusset to ONE box side, the excess will lay on inside of the box base, and will get covered up once the base lining goes in. Glue the gussets to ALTERNATE box sides, so that they can be held in place with pegs, to dry.
 When they are dry, glue the other sides of the gussets to the other alternate box sides. This is a little tricky because the box is no longer flat. Pin/or peg to keep in place whilst drying.
Apply glue (PVA is recommended) to the backs of the inner side pieces (with the gathered strips and pockets), and place on top of the inside of the outer box sides making sure the top is slightly lower at the top, and to cover the edges of the gussets. Pin or peg in place until dry.
Once all the gussets and inner sides have been glued in place and are dry – glue the inner base piece to the bottom of the inside of the box, covering the little ends of the gussets.
 Now that all the pieces are in place, either glued or sewn, the box is competed. You can now furnish your Sewing box with reels of thread, tape measure, pins/needles etc. Enjoy!

Responses