Sometimes we look at a quilt pattern and wonder if we will ever be ready to try some of the more complex designs. If the answer is yes, then we wonder where to start!
In my last product review of the wonderful Woodland Makower UK fabric my blog featured an easy Stack and Slash pattern. Following on from this I found yet another freely available pattern from a web search and came across this Strip and Flip pattern. This is a great way to use up scraps or, more frighteningly as I discovered, see just how much fabric I had in my stash …. and my stash is small compared to some of you quilters out there!
I chose the Strip and Flip as part of the suite of easy to make quilt tops for the Quilts for Christmas Dinners for Care Leavers Project. I adapted this pattern from one that was made as a baby size quilt as the size I needed was a minimum 44” x 66” to a maximum 54” x 72”. I opted for the minimum size for this quilt, using strips at 2½” wide and the width of the fabric yardage (approx. 44” wide) or strips from fat quarters or ‘scraps’ where applicable.
What you need
Cut 34 strips 2½” x 44” fabric (a mix of plain and patterned fabric).
Allow for seam allowance if joining strips from fat quarters.
Cut 2 strips 1½” x 68” of white or contrasting colour (again allowing for seam allowance if joining strips together).
Optional – border sashing
Wadding – approx. 46” x 70” (trim to size after attaching wadding and backing fabric to quilt top).
Backing fabric – approx. 46” x 70”
Binding of choice.
If you have done the maths you will see that your 34 strips gives you a total of 85” – but at least ½” will be taken up with your ¼” seam allowance from each strip. This will make the length of your quilt to 68”. You can, of course, adapt this pattern to the size of quilt you want.
If you are using fat quarters or scraps of fabric to make your strips you can either make a straight joining seam or a mitred seam.

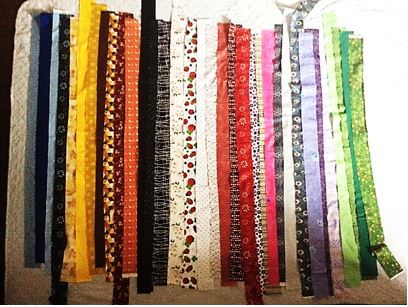
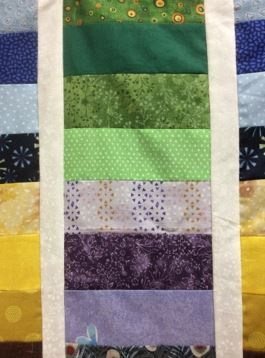
Lay out your strips in your chosen combination. I chose to do mine in colour combinations e.g. blues, yellows, greens, etc with a mix of plain and patterned fabric. Take a photo of them so you can look at it again – very useful when sewing it together if doing over more than one day.
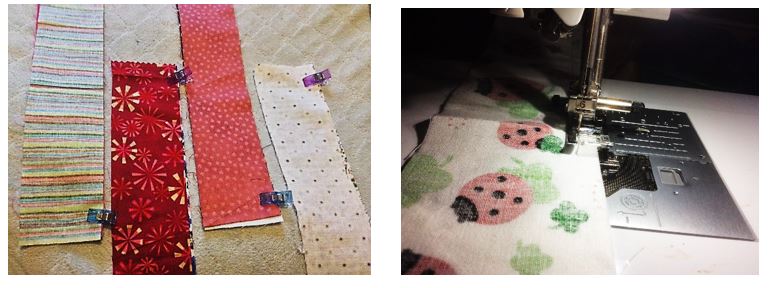
Place a ‘clip’ on the top edge of each ‘pair’ until I had 17 pairs of strips – I found this was a great way of making sure my ‘strip design’ was sewn in the ‘strip order’ I had planned.
Sew together in pairs using a ¼ inch seam.
Press.
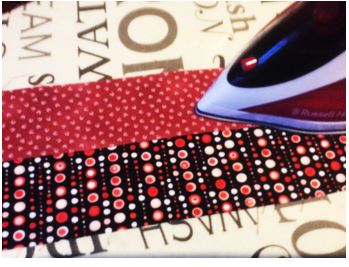
Pressing makes is so much easier when sewing the next batch together. The fabric lies flatter and it shows up where you might have gone wonky in your seams. It’s easier to rectify it straight away rather than when it is a full quilt top. Yes, it happened to me and I was able to unpick and redo part of a seam.
Next; take the first two of the ‘paired strips’ and sew them together using a ¼ inch seam Repeat until all of the strips are sewn together like below.
Press.

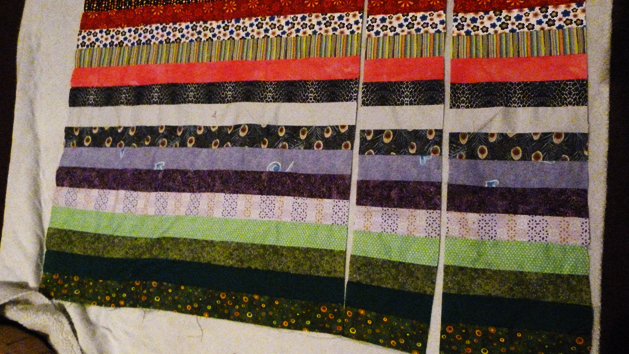
Lay your assembled ‘strips’ quilt top on a large flat surface. Now you have to check the edges and straighten the edges to 42 inch wide. (if your edges are very straight you could leave them as so.
You need to cut a 15 inch strip down the length of the whole quilt. This will leave you with a 27” wide strip.
It doesn’t matter if you cut it from the left or right side of the quilt – the choice is yours.
Tip: mark the outer edge of your 15 inch strip first with a clip or pin as you need to cut this again.
Now take the 15” strip and make another cut 6 inches from the inner edge. This will give you with a 9 inch ‘outer’ strip and a 6 inch ‘flip’ strip.
Take the 6 inch strip and sew the white or contrasting fabric strips down either side using a ¼ inch seam. I pinned mine first to make it easy (and quicker) to sew the seams.
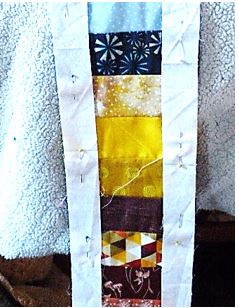
Now FLIP this 6 inch strip so that the top is at the bottom and vice versa.
Pin into place – check as you pin so that you can see if the ‘strips’s match as near as possible (I had to adjust some seams slightly -definitely easier before I’d sewn the whole strip in place!)
Sew the FLIPPED strip in place using a ¼ inch seam.
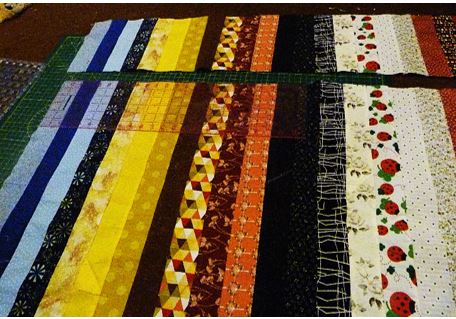
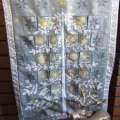
Your finished quilt top will look something like this:
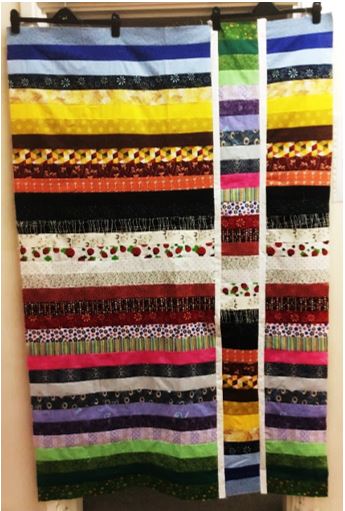
All that’s left to do is add the wadding and backing fabric. Quilt and bind as desired.
I had great fun making this and it is now winging its way to the long-armers for the final flourishes before being donated to the Quilts for Christmas Dinner for Care Leavers.

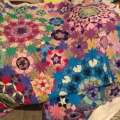
I’m now on my third ‘quilt top’ for the project – inspired by Helen Howes, Improv Tiger design I’m improvising even further by mixing it up with a traditional design. Not sure how it will loo,k when finished but I’ll be sure to post some pics of it and perhaps a blog!
Happy sewing everyone.
Carol Lightburn
Twitter @quiltsewgo
PS The Stack and Slash Quilt Top (Woodland Fabric) instructions can be found at: https://ukqu.co.uk/stack-slash-quilt-top-woodland-fabric-by-makower-uk/
And Tiger Improv instructions can be found at:
https://ukqu.co.uk/improv-for-beginners-and-improvers-part-the-first-and-an-introduction/


Responses