A what? A mug rug is another name for a coaster – although I keep getting muddled and calling them rug mugs. Whatever . . . this one is really easy to make, involves minimal sewing and can be turned into a tree decoration if you don’t fancy the idea of a mug rug. Or a coaster. It will make an ideal October Half-Term project!
We originally made these with the Staffordshire Young Quilters back in 199- and last week I found the instructions were in a forgotten folder on my computer. So I made a new one (I found the original under my old and trusty Singer – propping up the corner that has lost its foot; it was a bit dusty!) and took step-by-step photos. I’ve made mine in Christmas fabric but you can make yours in any colourway you choose.
The instructions and photos are below – measurements are in cm (for the youngsters) and inches for us oldies; don’t mix the two!
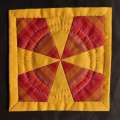
(This photo is the old (and dusty) original 20+ years old)
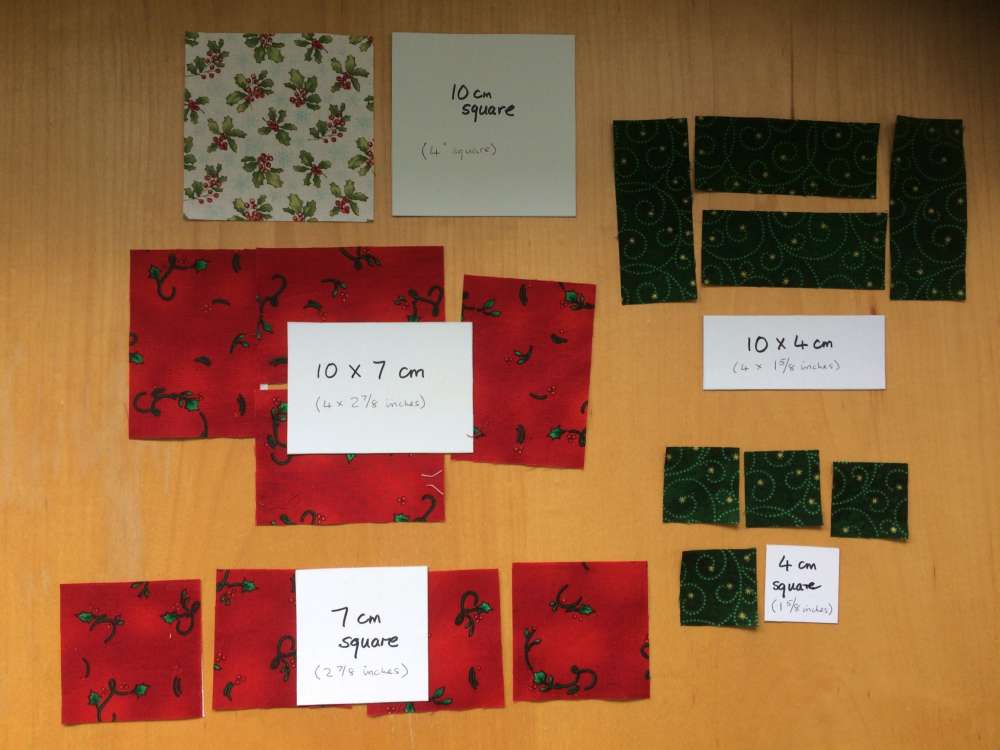
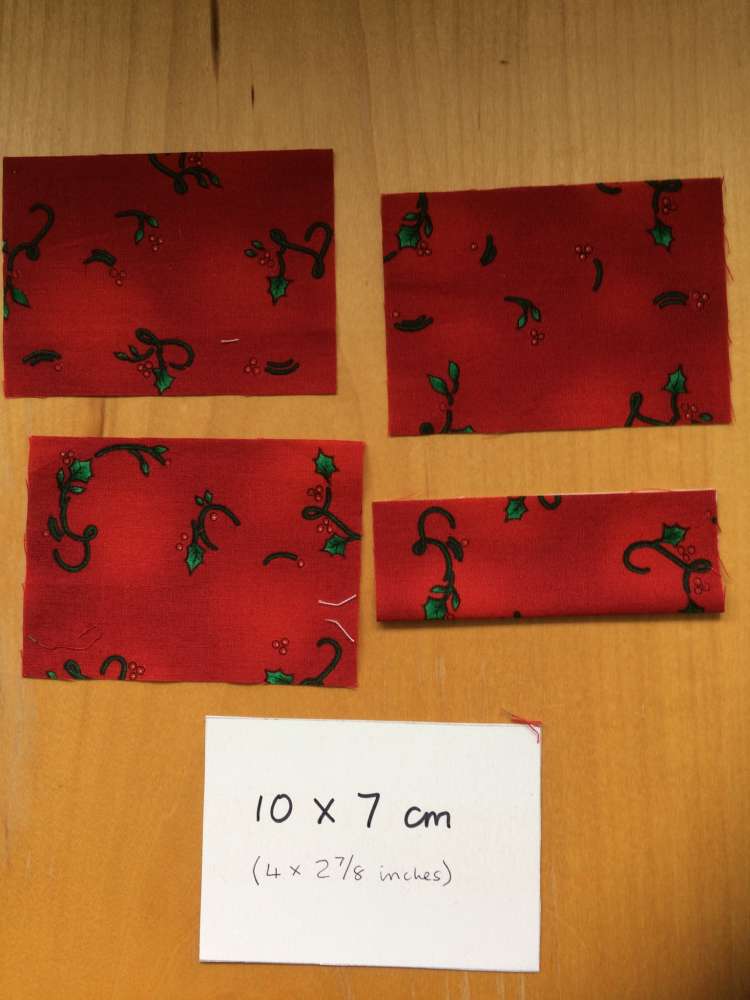
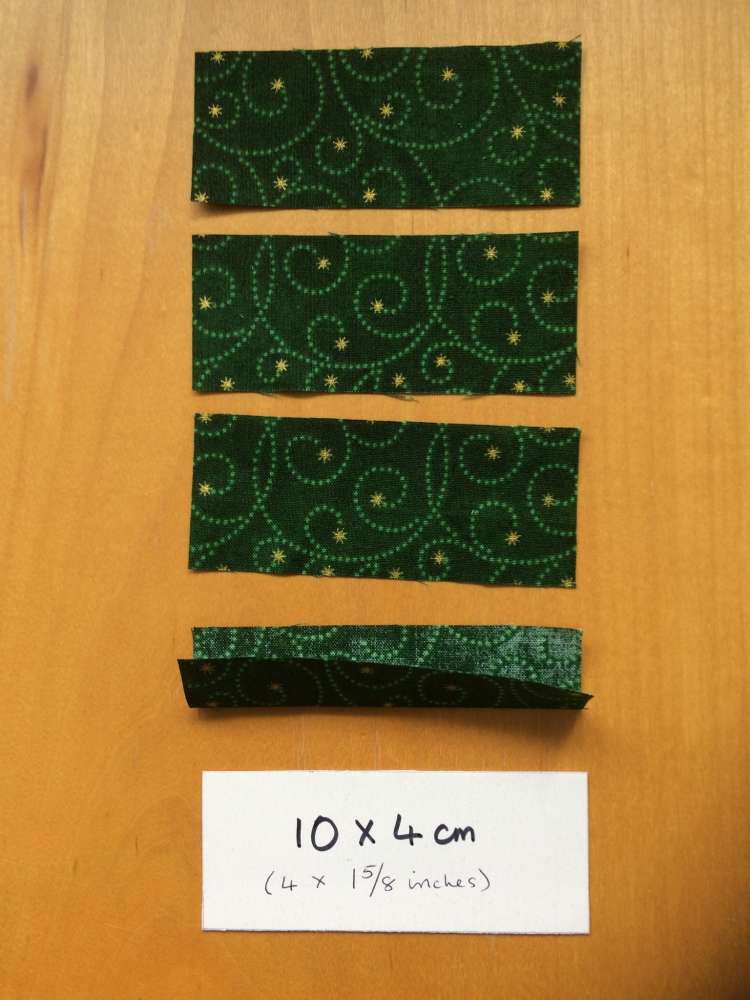
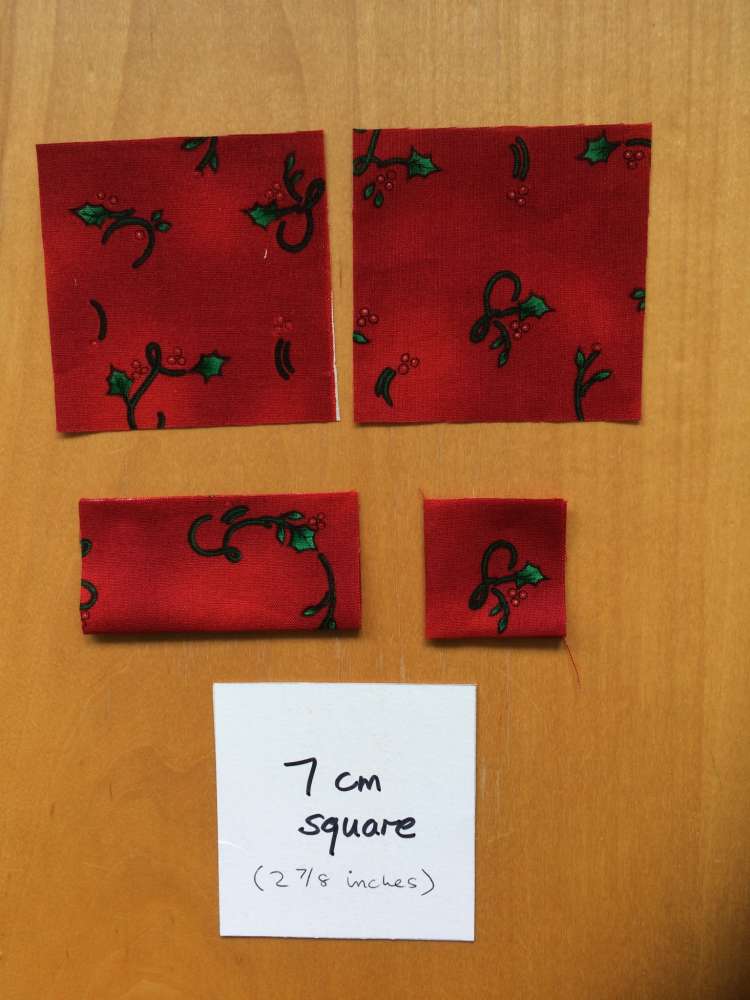
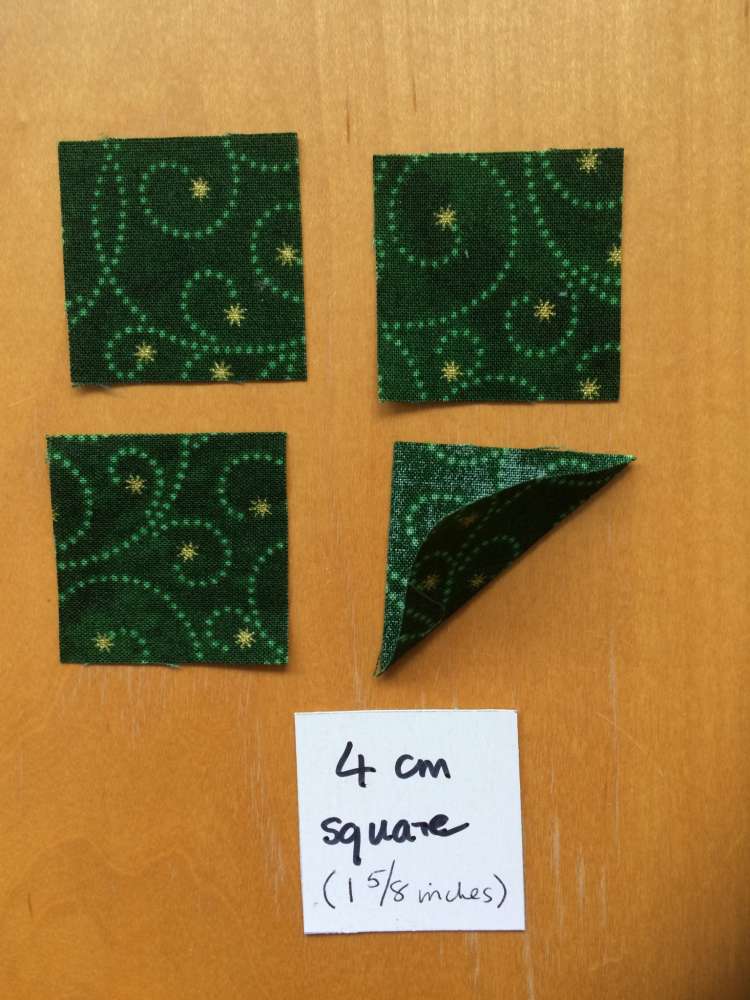
So – first choose your fabrics and cut a 10cm (4 inch) square of one fabric for the centre. If it has little motifs then try to get one in the centre of your square. From a second fabric cut four 10 x 7cm (4 x 1 3/8 inches) rectangles and four 7cm (1 3/8 inches) squares. From a third fabric cut four 10 x 4cm (4 x 5/8 inch) rectangles and four 4cm (5/8 inches) squares.
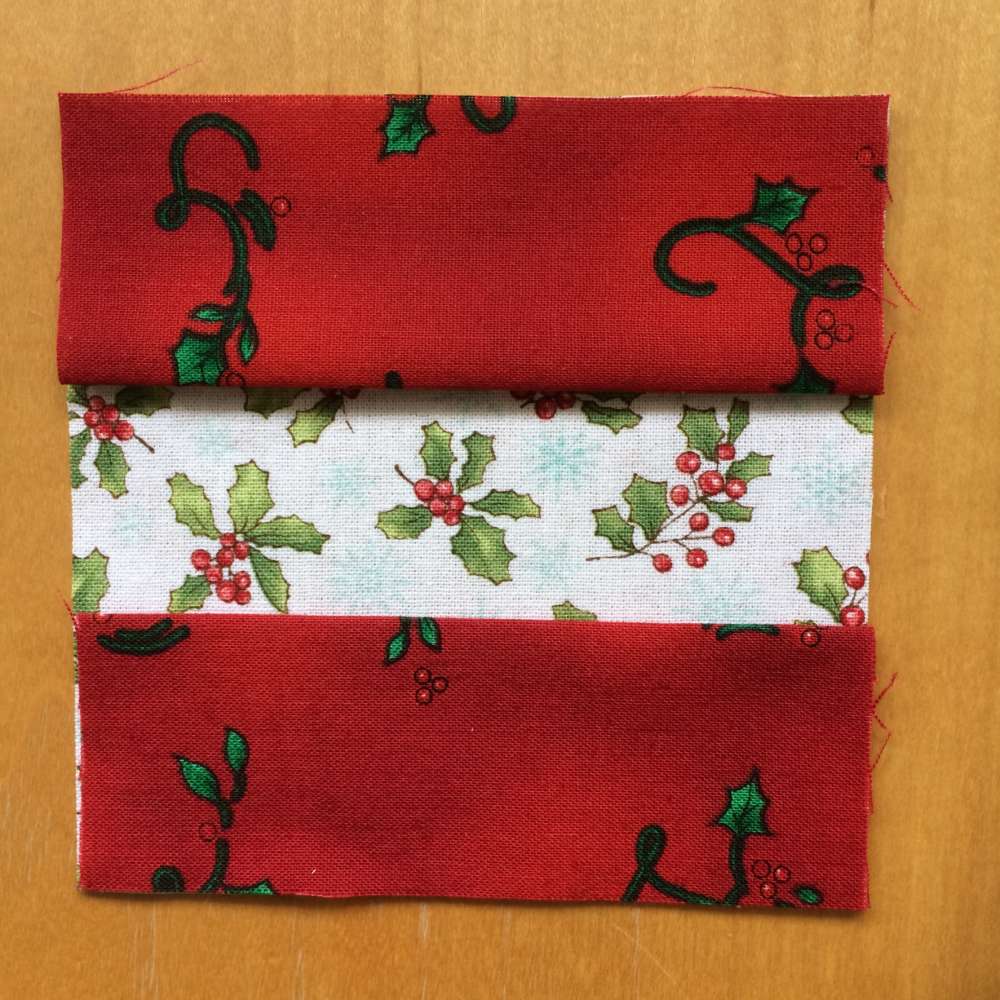
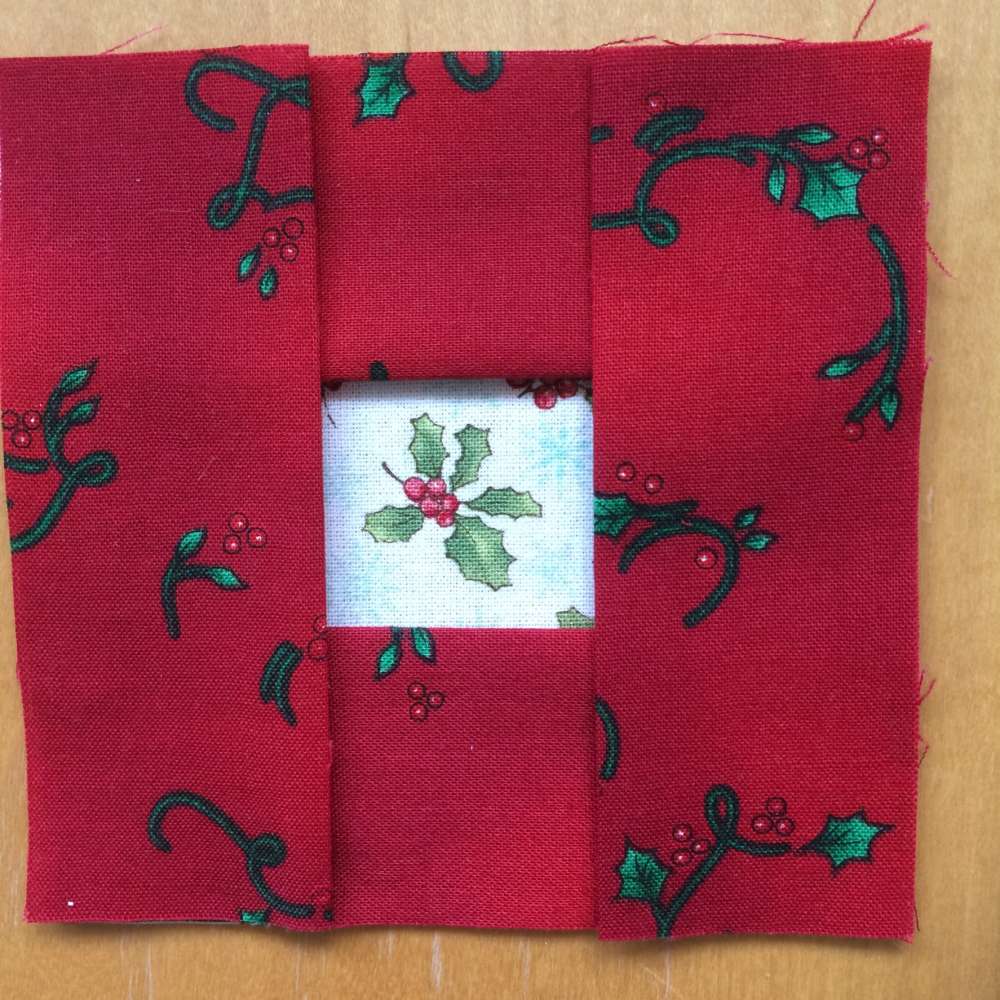
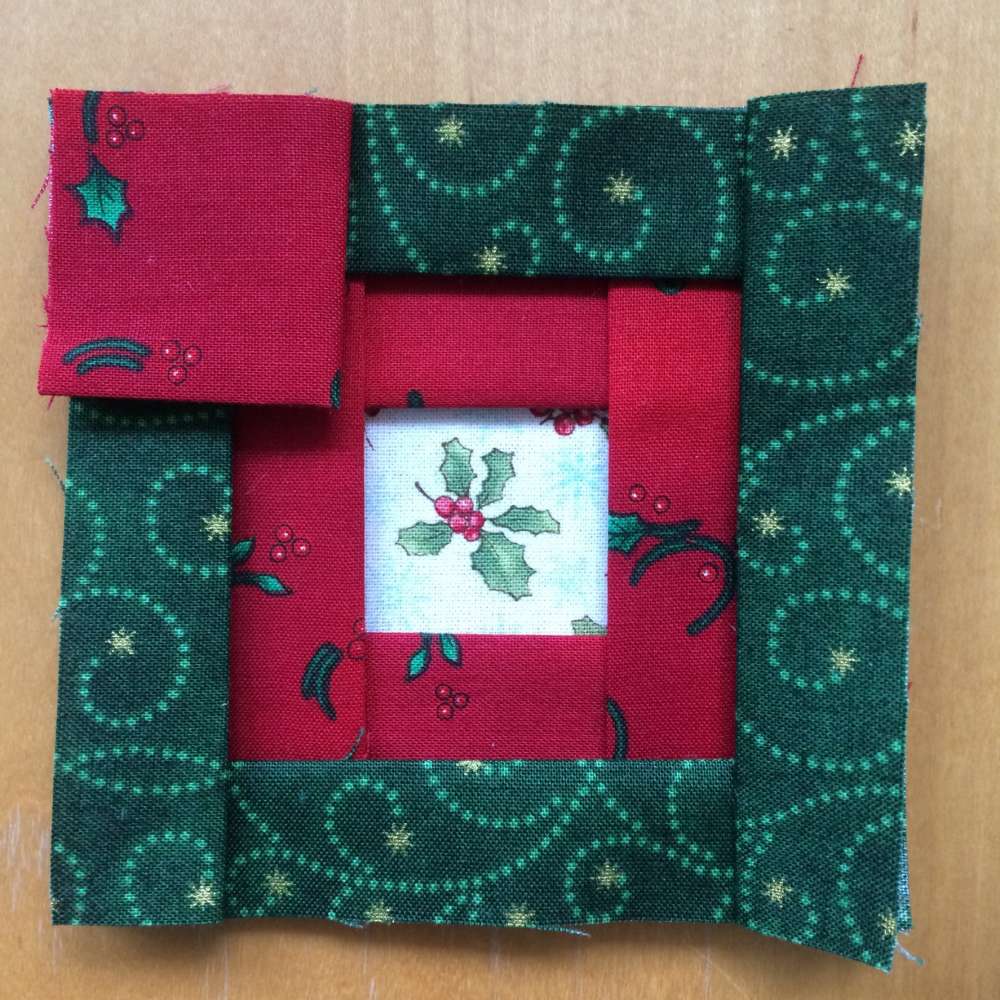
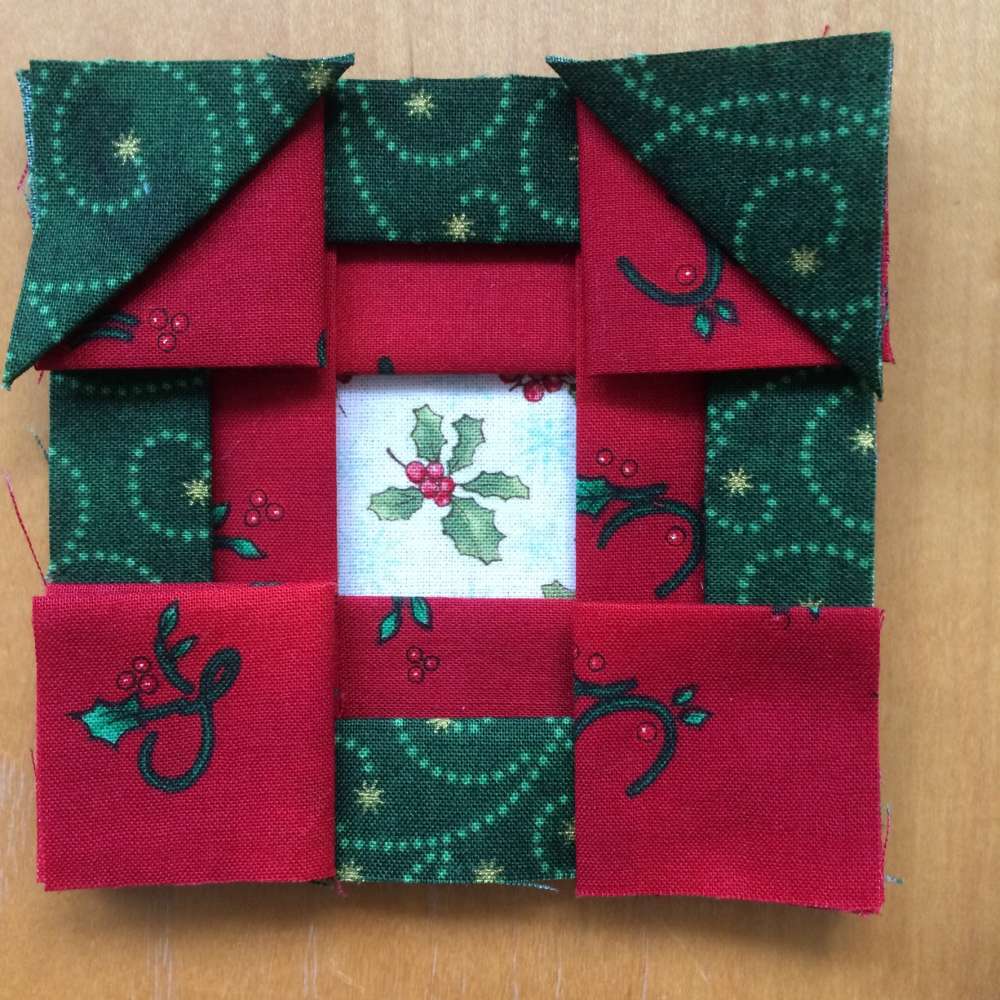
Now fold the 10 x 7cm rectangles in half lengthways and stitch or glue them around the centre square, matching the raw edges.
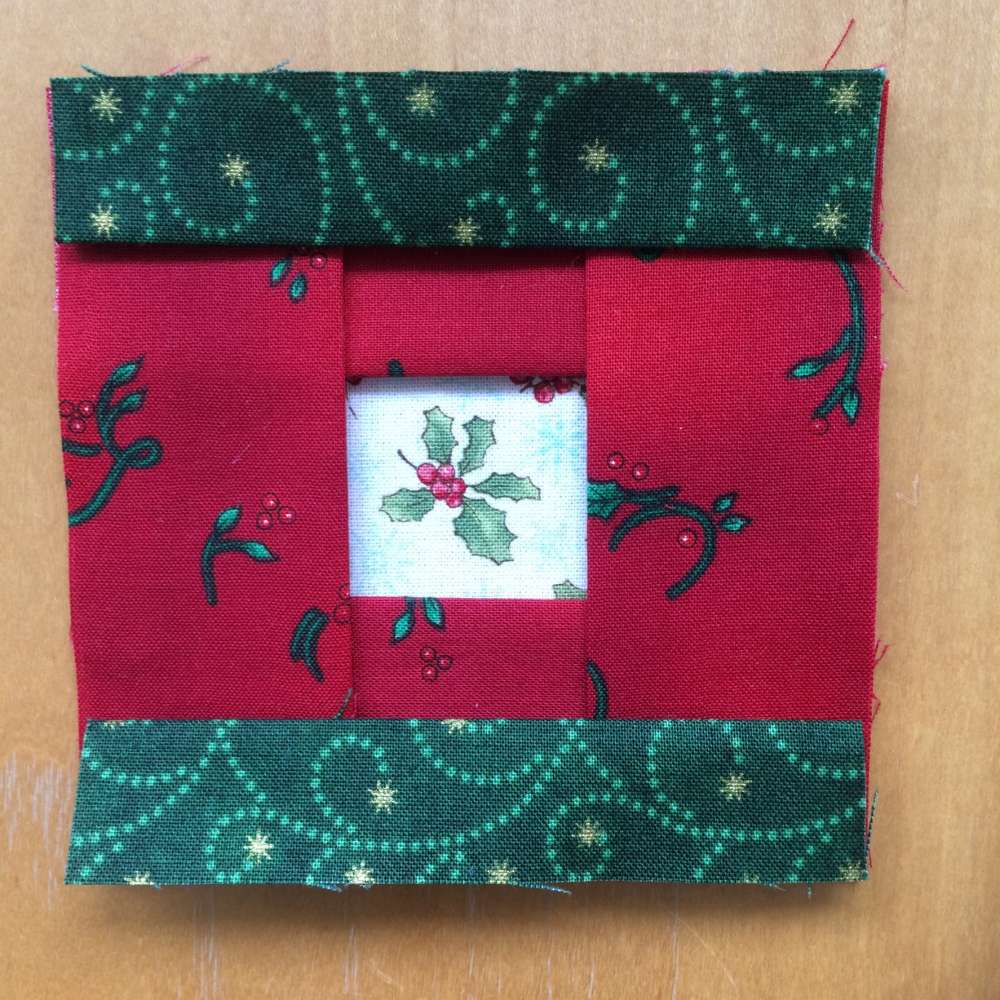
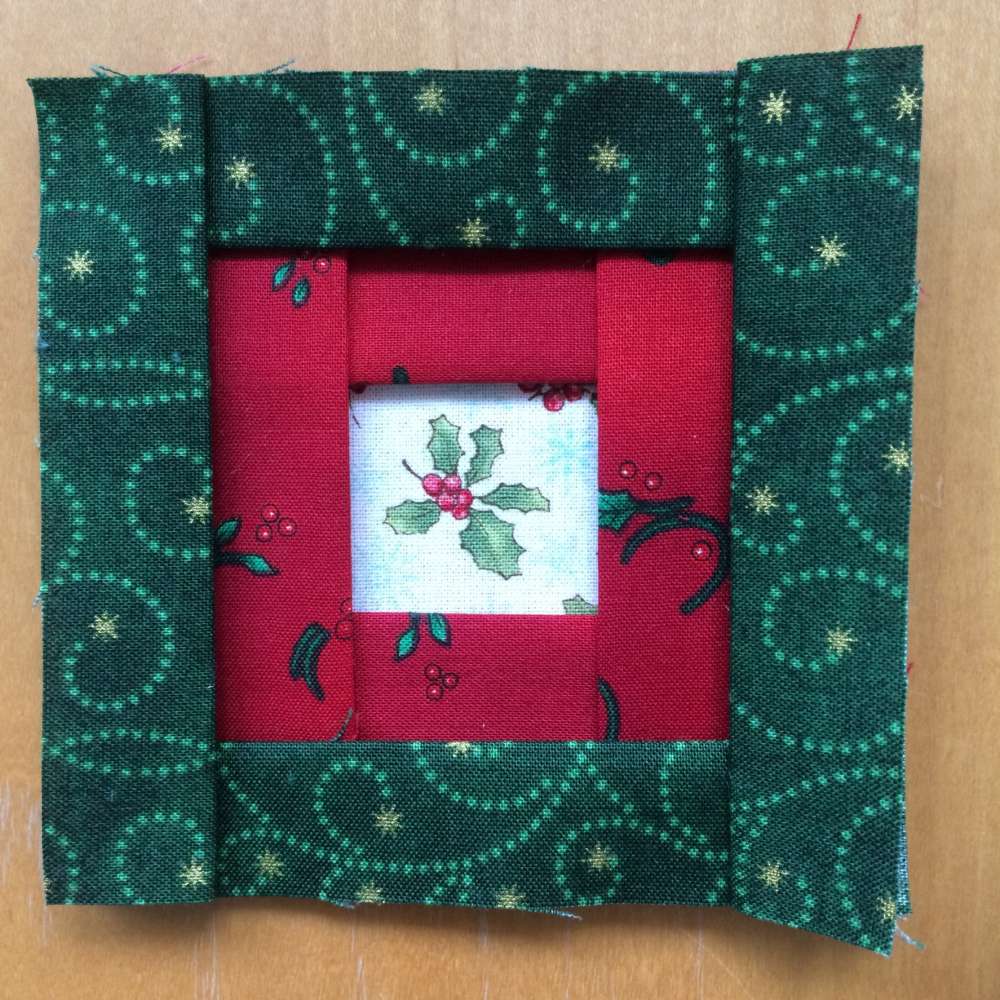
Next do the same with the 10 x 4cm rectangles
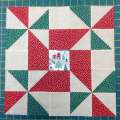
Now fold the 7cm squares in half and half again to make smaller squares. Place them in the corners of the ‘block’, raw edges matching and glue or stitch or tack in place.
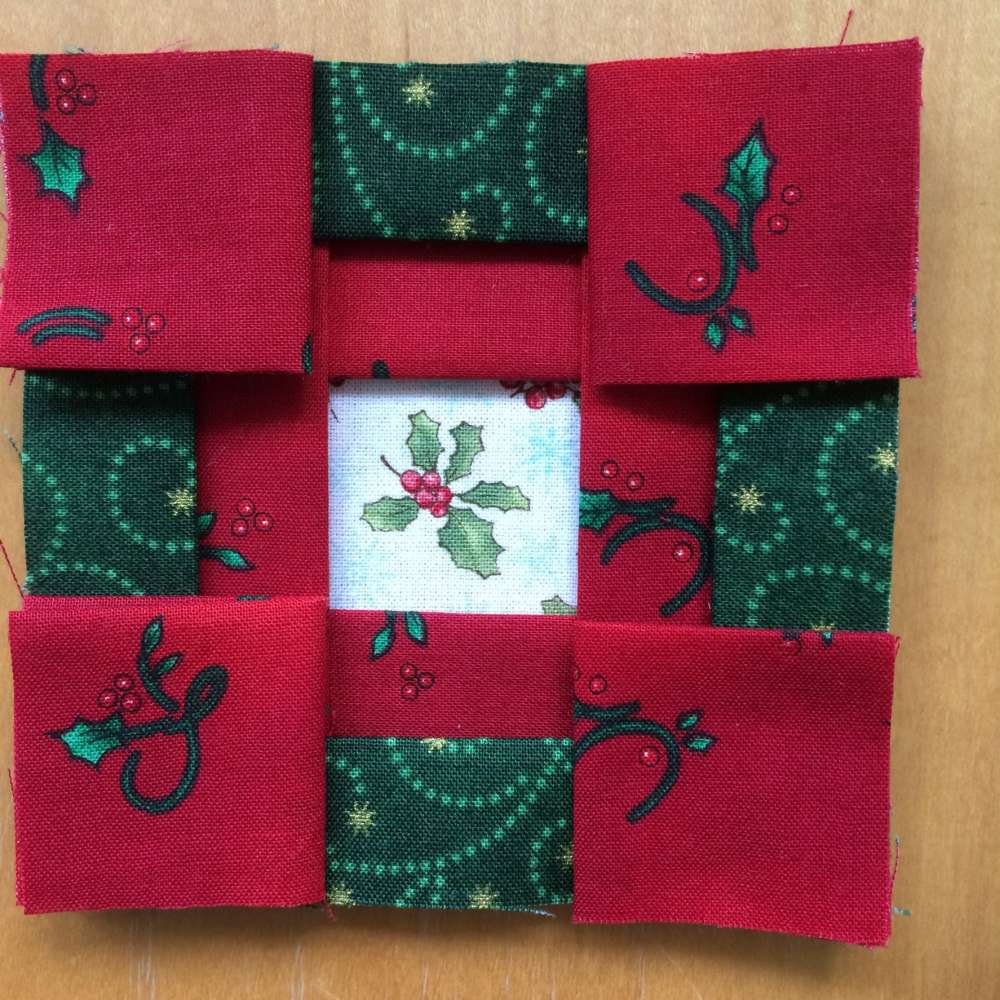
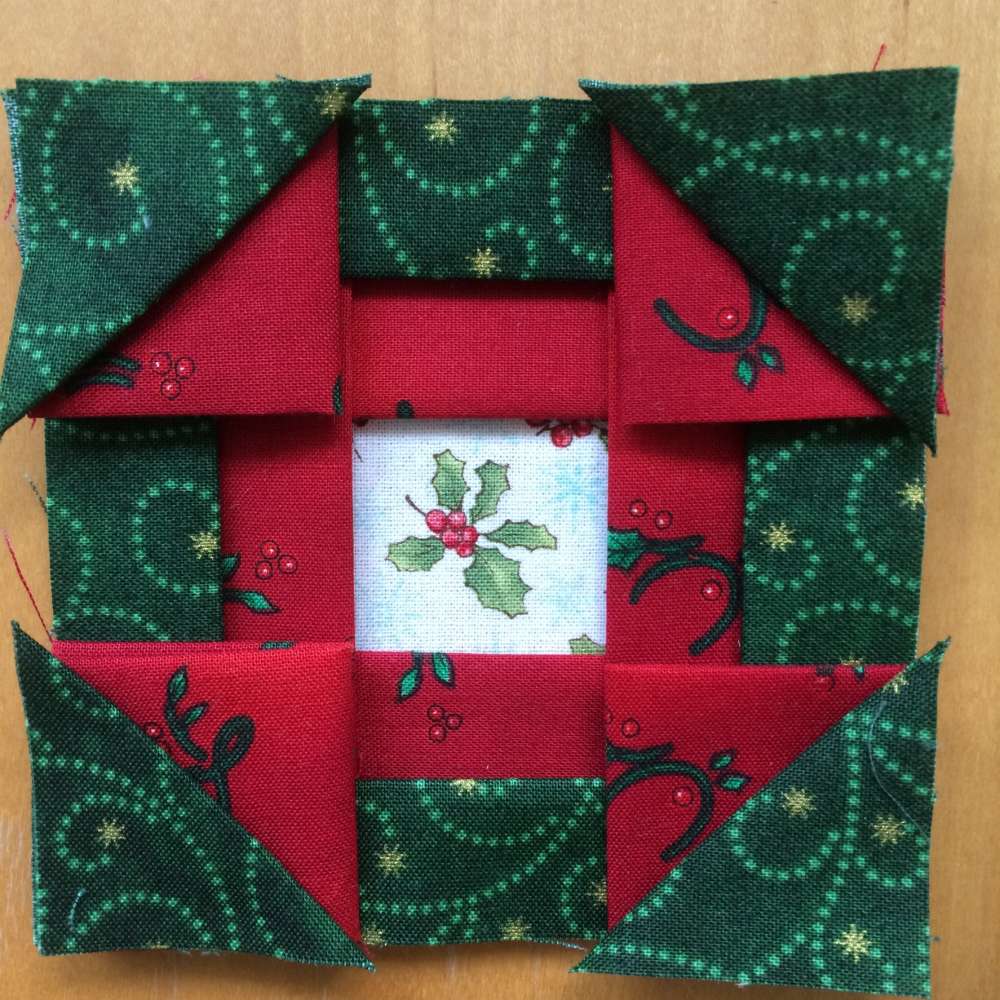
Take the 4cm squares and fold them in half to make triangles. Place them in the corners of the ‘block’, raw edges matching and glue, stitch or tack in place.
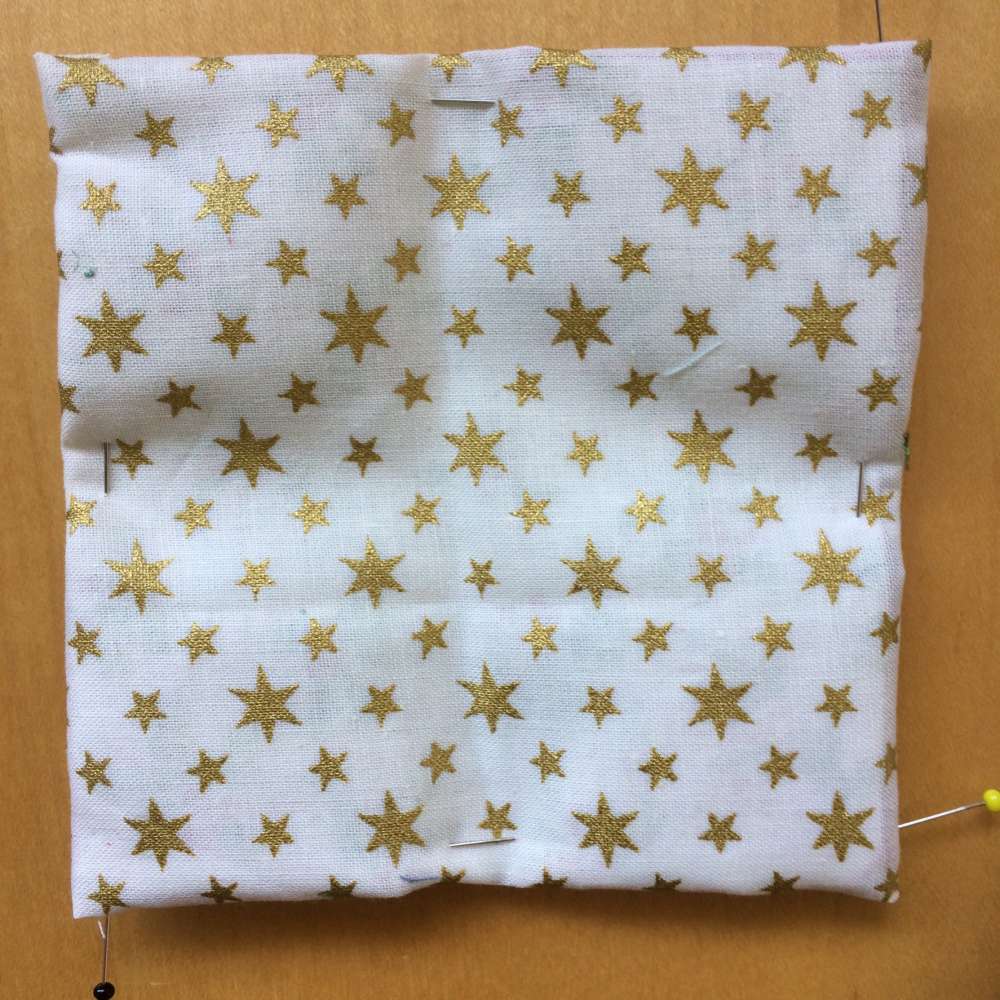
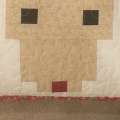
Finally cut another square for the back – big enough to allow you to turn a narrow double hem over to the front. Stitch this hem down by hand or machine – or use a good strong glue!
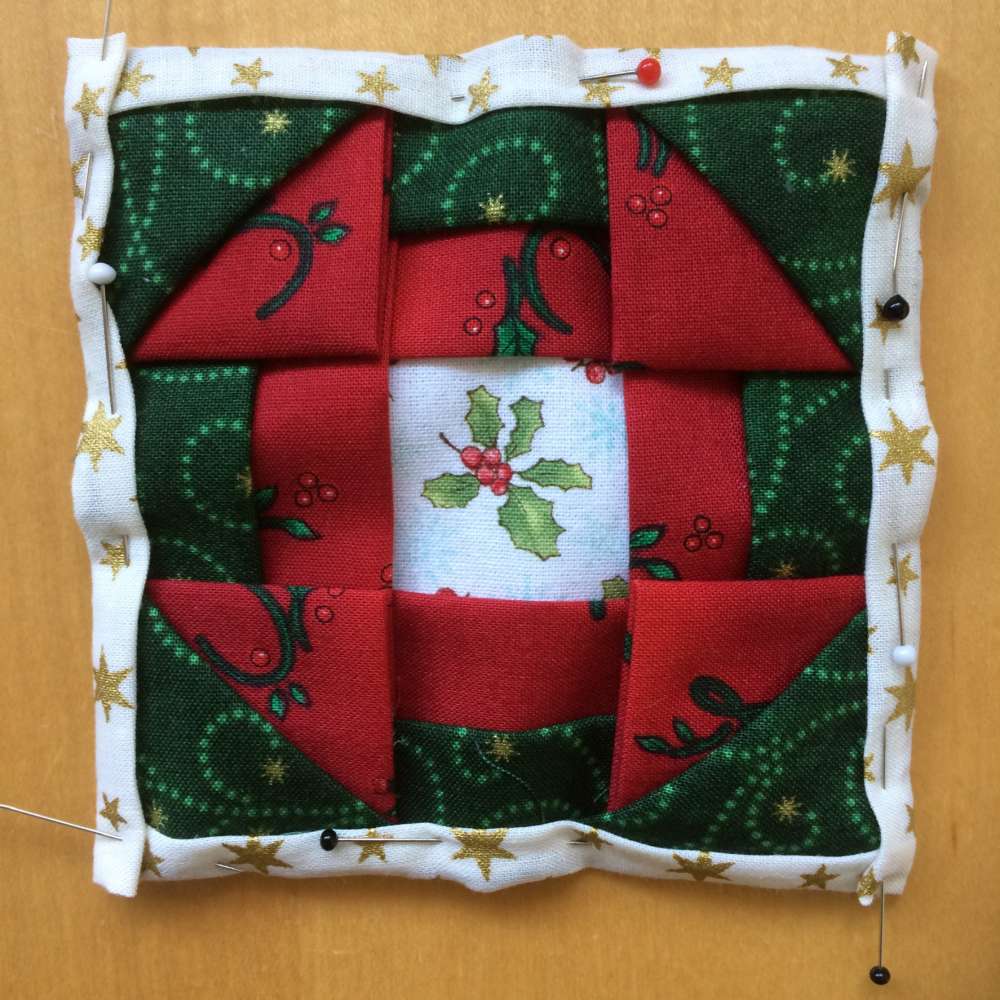
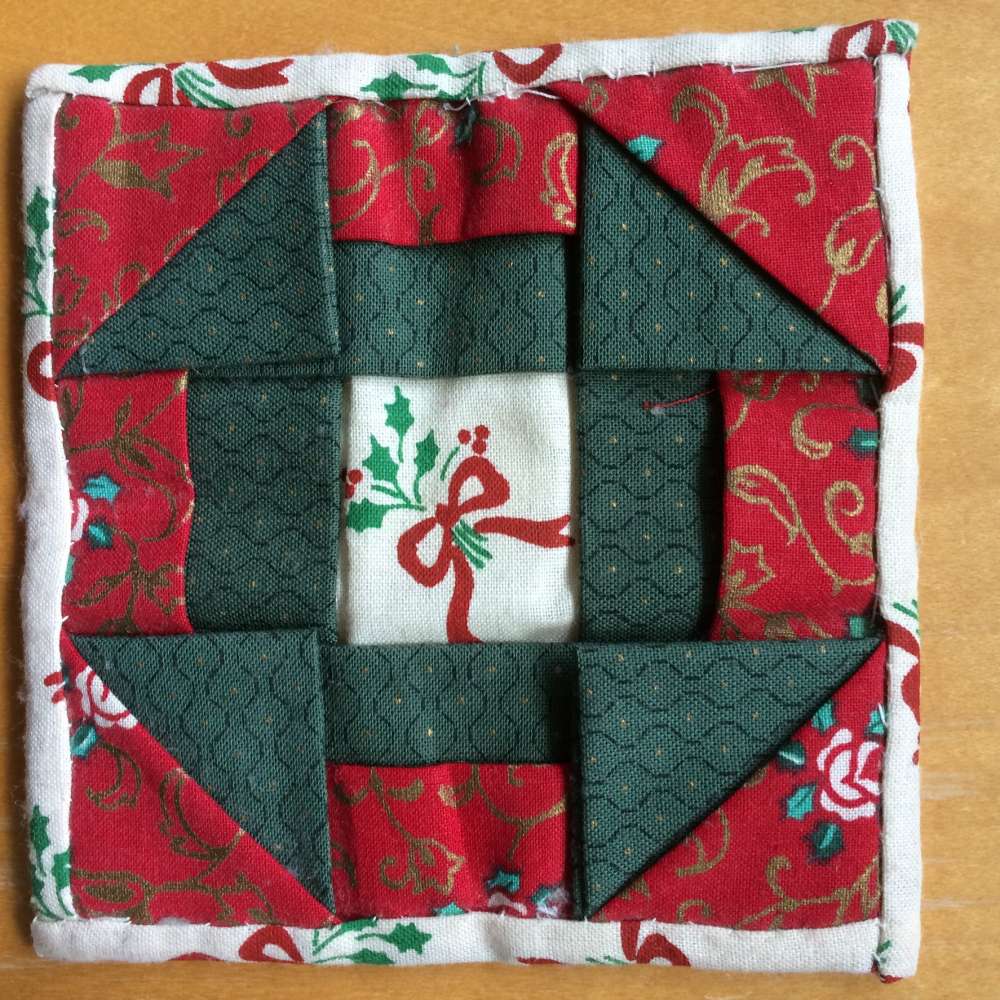
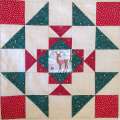
Your mug rug is finished. Add a ribbon loop to turn it into a decoration of some sort.
You can download the free pattern from here.
If you are struggling with centimetres but want/need to use your inch ruler you can measure and mark the cm cutting line on your ruler – use a Post-It or a bit of coloured sticky tape to do so – then place this against the raw edges of the fabric to cut the strips.
Responses