Sampler quilts are a great way to learn a lot of different techniques and still end up with something useful rather than a random collection of blocks stuffed in a drawer (or a folder with notes if you are truly organised). Over the years a great many books have been published about making sampler quilts but I think my go-to one still has to be Lynne Edwards’ The Essential Sampler Book which has every technique under the sun and some excellent advice and ideas.
I teach a sampler quilt class most years at my local quilt shop although usually under the guise of a Block of the Month quilt. I try to start with a relatively simple block and work up to one that is a little more challenging, although it does depend a little on the abilities of the various students. If I get a lot of ‘returners’ booking onto a class I have to be careful not to repeat blocks from previous years and to introduce a few new techniques. One of the perennial problems is how to set the blocks in an interesting way, a challenging way, or a simple way – depending on student ability – and how to make the most of perhaps only eight blocks.
Here are a few of the ways I have tackled the settings of sampler blocks over the years. First is the second sampler quilt I made (the first was made with polyester sheeting offcuts and has long since worn to shreds). This red, white and blue quilt was made partly as a class sample and partly to go on my daughter’s ‘big-girls bed’ – the colour choices were hers and also the request for “teddies on my bed and Bungle, George and Zippy”. It was also a quillow so it could go with her to sleepovers at Granny’s house. The setting, other than the teddies, is a straightforward one with sashing separating the blocks.

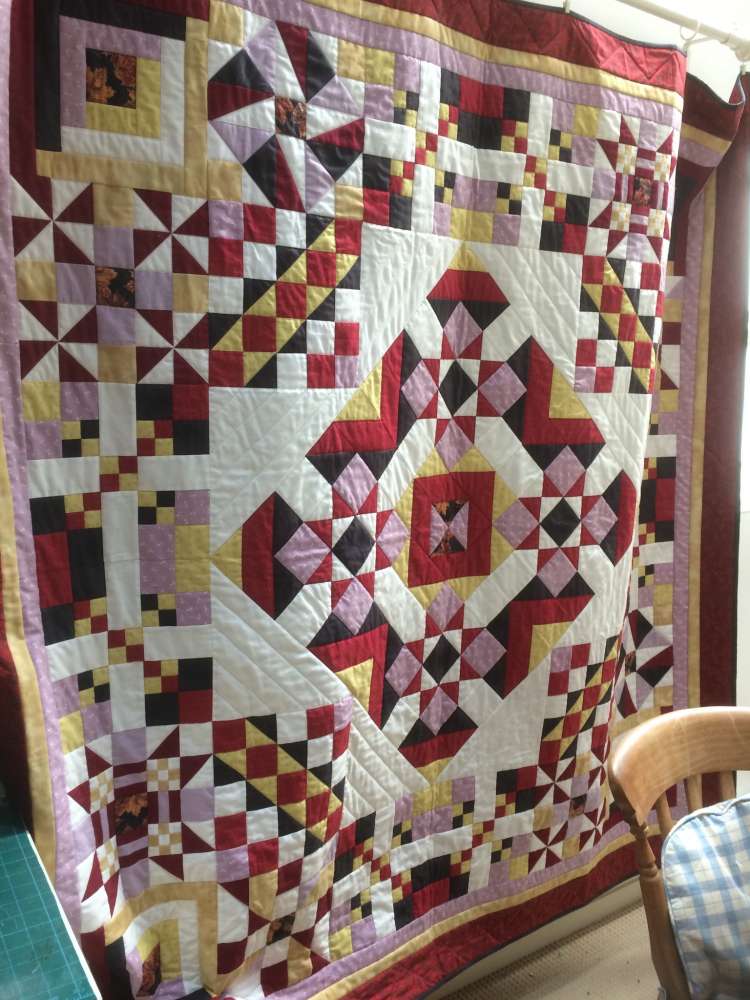
These next two are not just sampler quilts, they are also Puzzle Quilts. Each block was made twice but by altering the colour placements the appearance of the blocks is altered – the ‘puzzle’ being to find the pairs. Two quilts were made this year – one for beginners (fewer blocks and fairly simple) and one for those with a little more experience (more blocks and slightly more complex pieces). Again they are straight set with sashing.

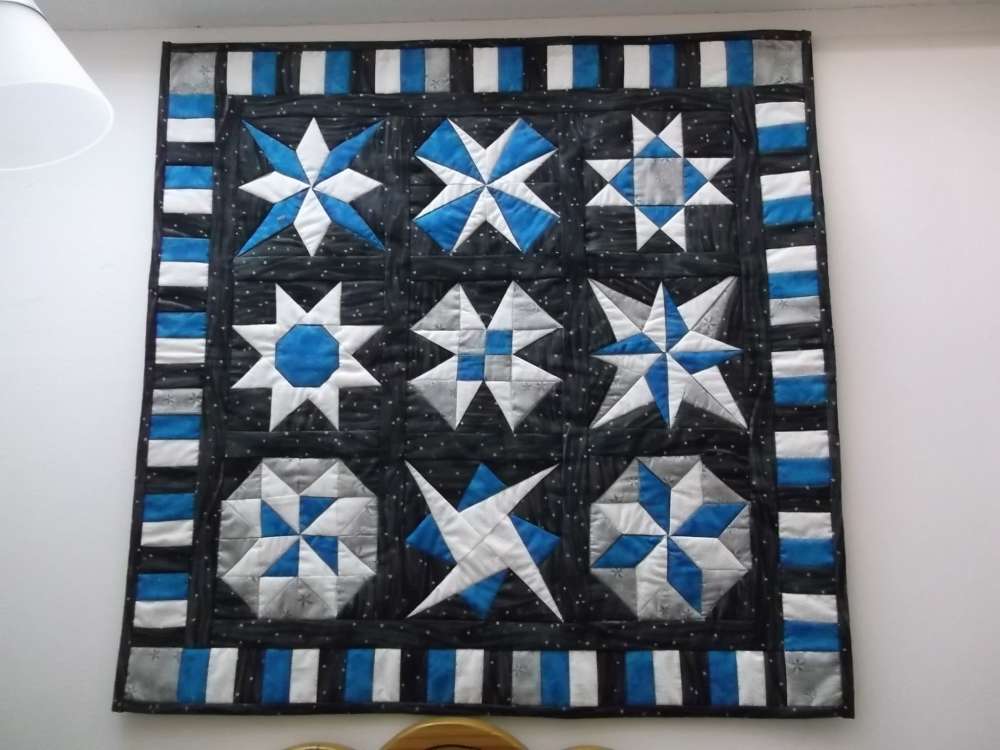
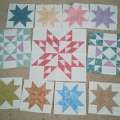
This little quilt just has nine star blocks, but they are only 6 inches square. Again it is straight set with sashing but the sashing is the same colour as the block background so it ‘disappears’. The border uses up the scraps from the blocks and the design is called ‘piano keys’.
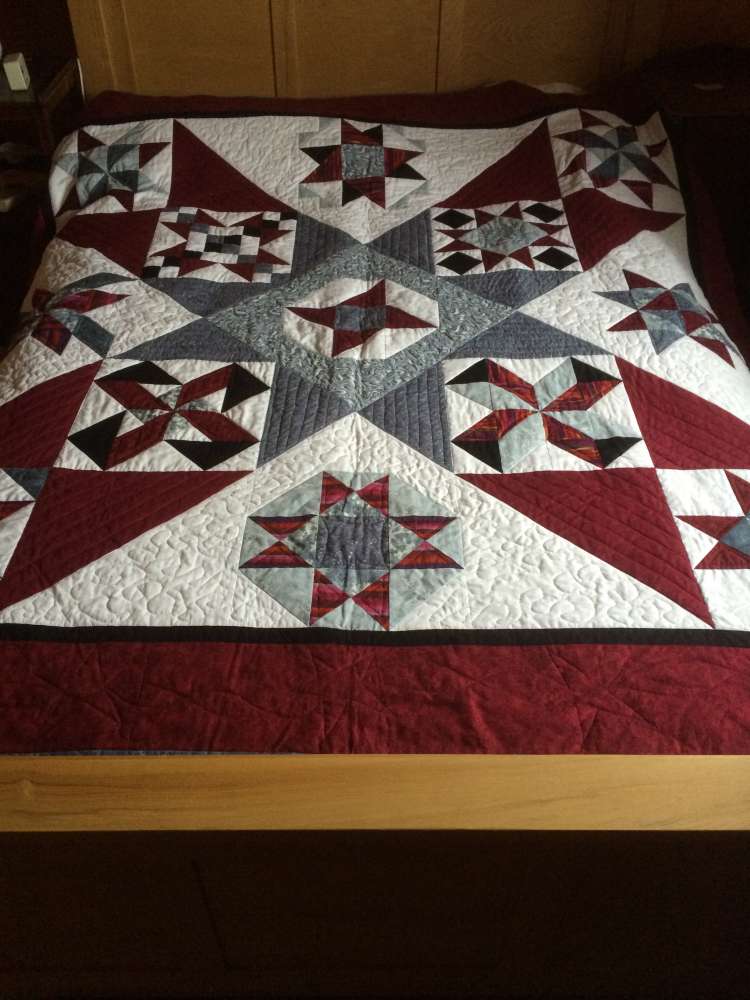
Another way to set blocks is ‘on point’ – with or without sashing, although I think sashing helps in sampler quilts as it separates all those very different looking blocks. Sashing the same colour as the block background can help the blocks stand out and appear to float above the quilt. On-point settings also make a quilt larger. This quilt only has eight blocks but it makes a double bed quilt.
You can also make a quilt slightly larger by setting the blocks at an angle – usually called ‘twist and turn’, I first came across this setting in a book of this name by Sharyn Squier Craig.
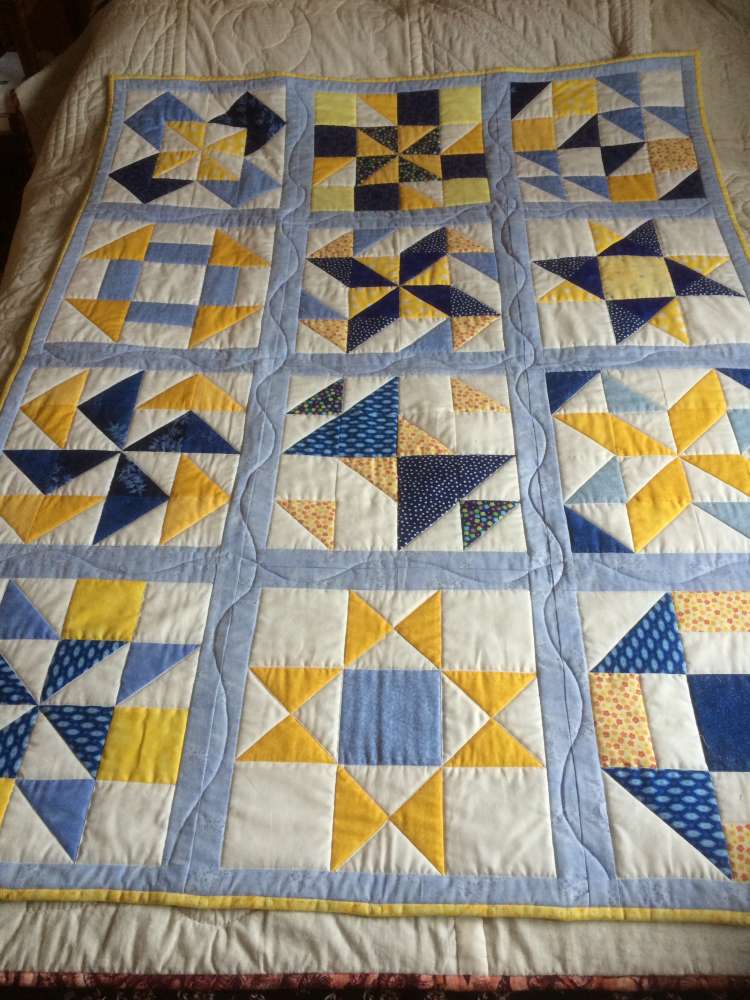
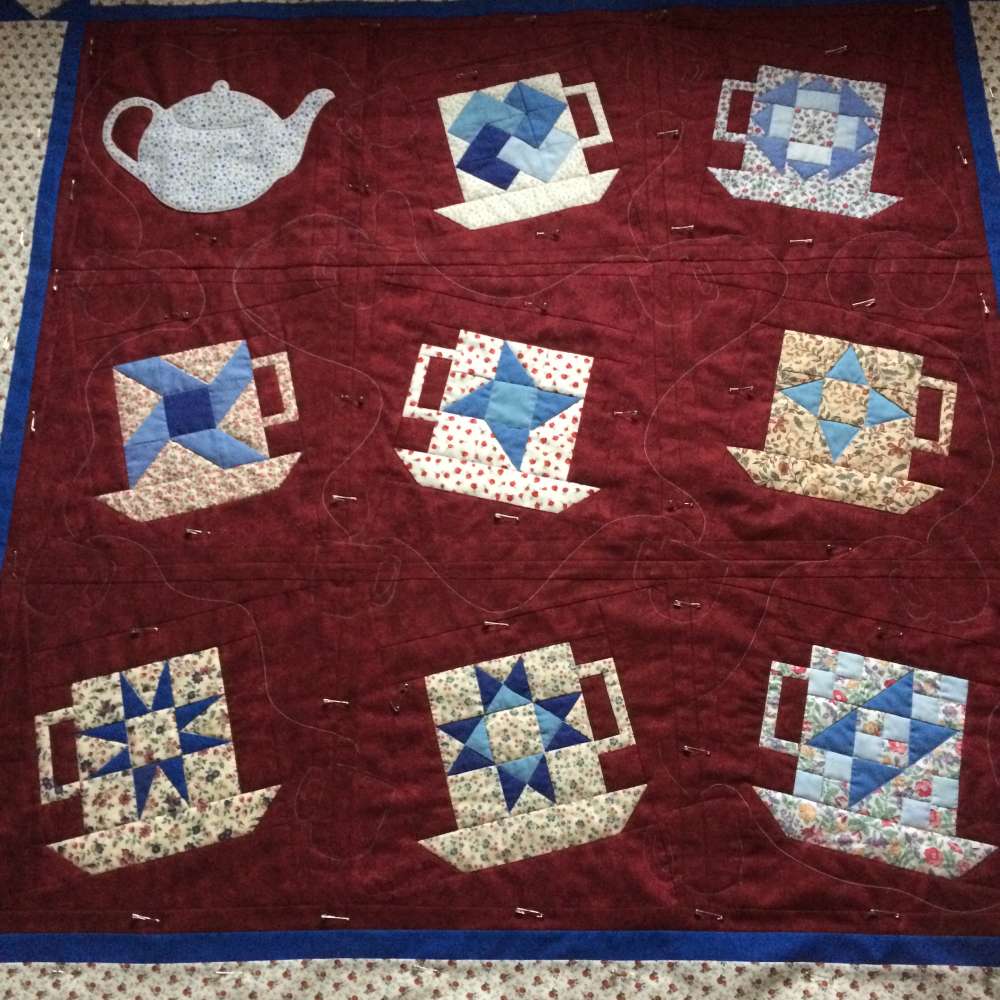
Small blocks can also be fitted into other blocks to make larger ones. So one year students had a choice – make nine blocks at nine inches (the quilt above) or nine six inch blocks set into teacup blocks, with an added teapot (or hearts for larger blocks) to teach machine applique.
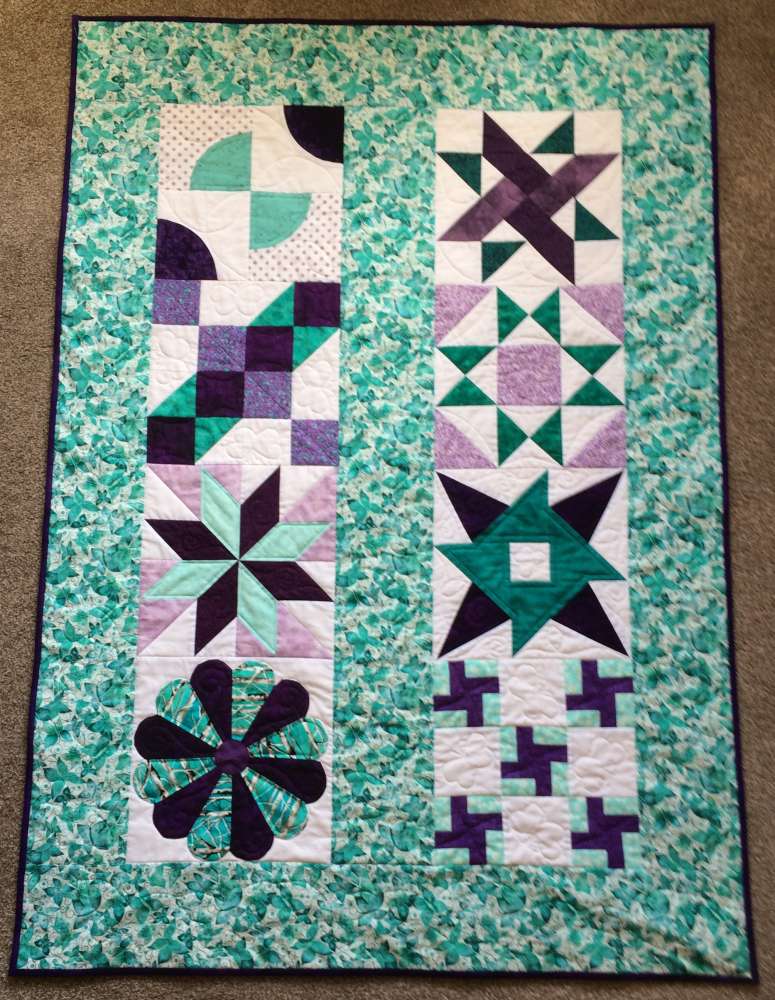
Blocks can be set into strips to make a strippy quilt – another way to make a larger quilt from only eight blocks –
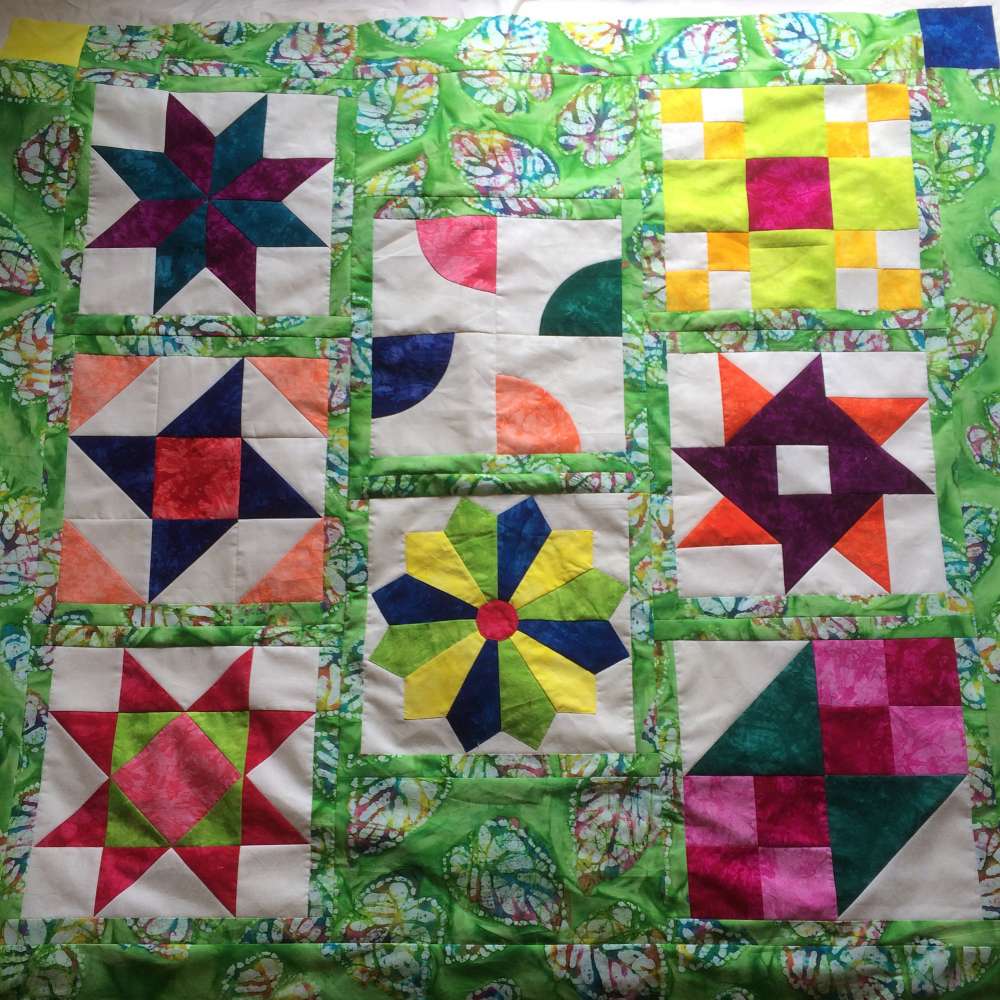
or they can be set with sashing and half blocks in the same fabric as the sashing so they are offset by half a block in each row, again a good way to make the most of an odd number of blocks.
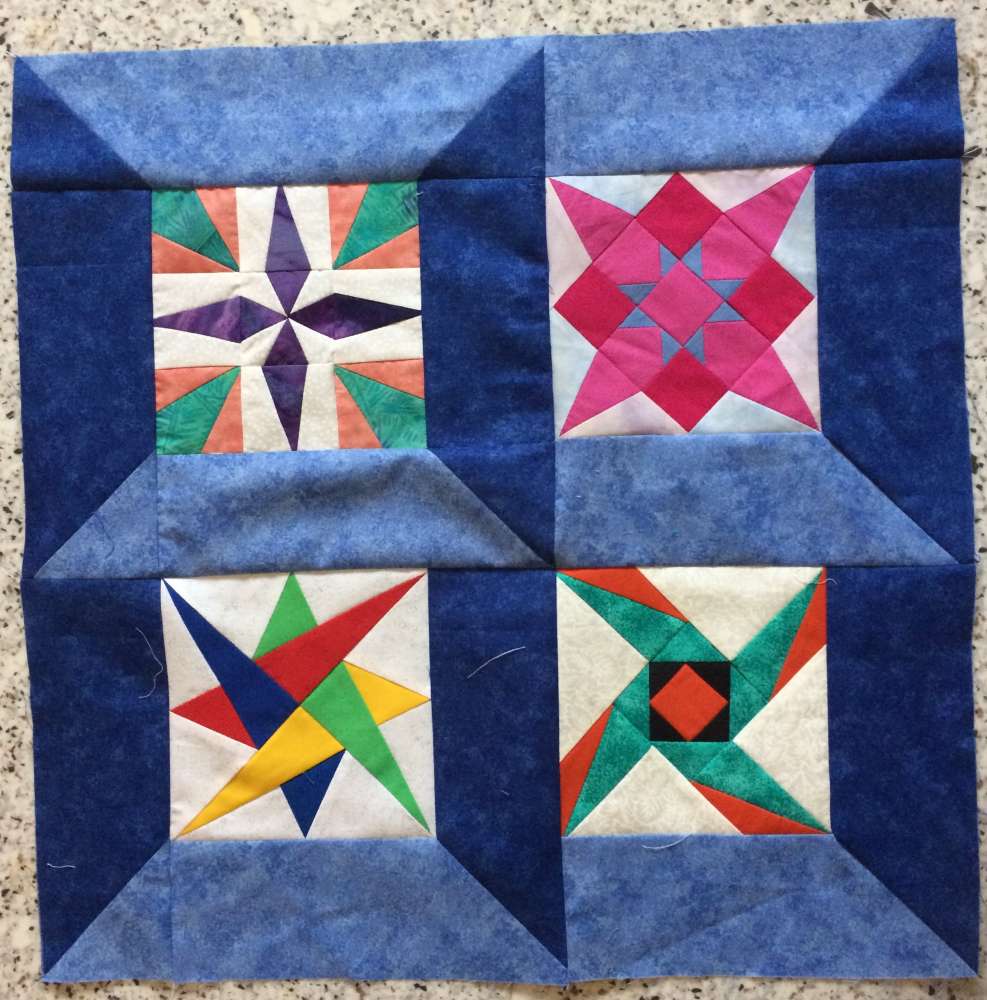
A slightly more challenging way of setting just eight blocks is to make two large blocks by putting a small square in the centre of each set of four – this uses the ‘partial seam’ technique.
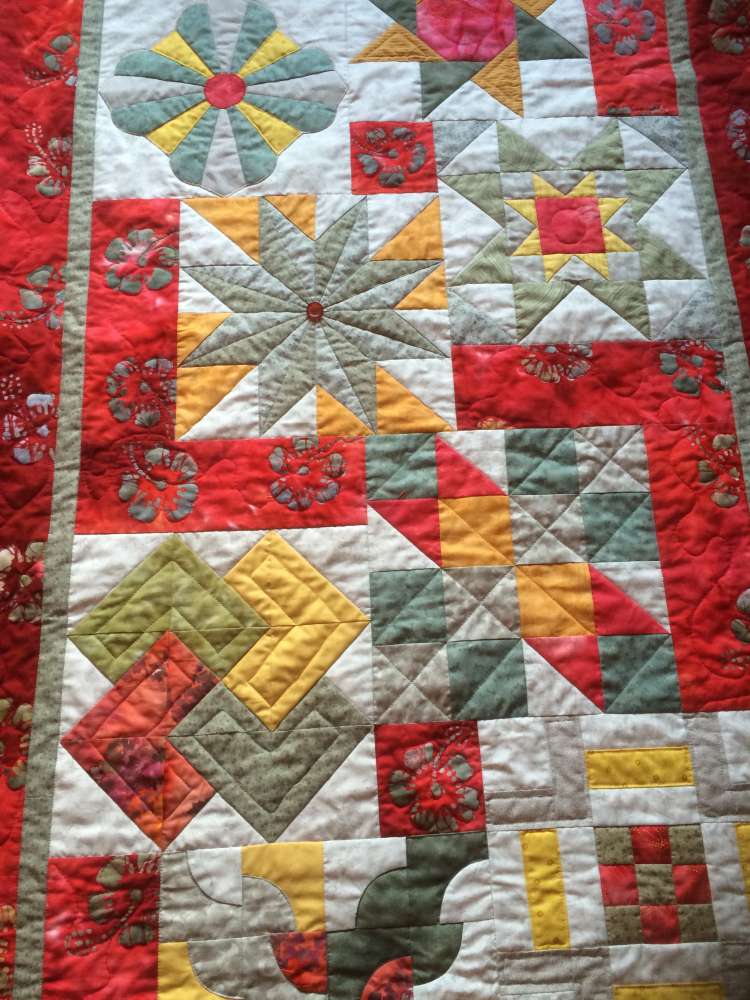
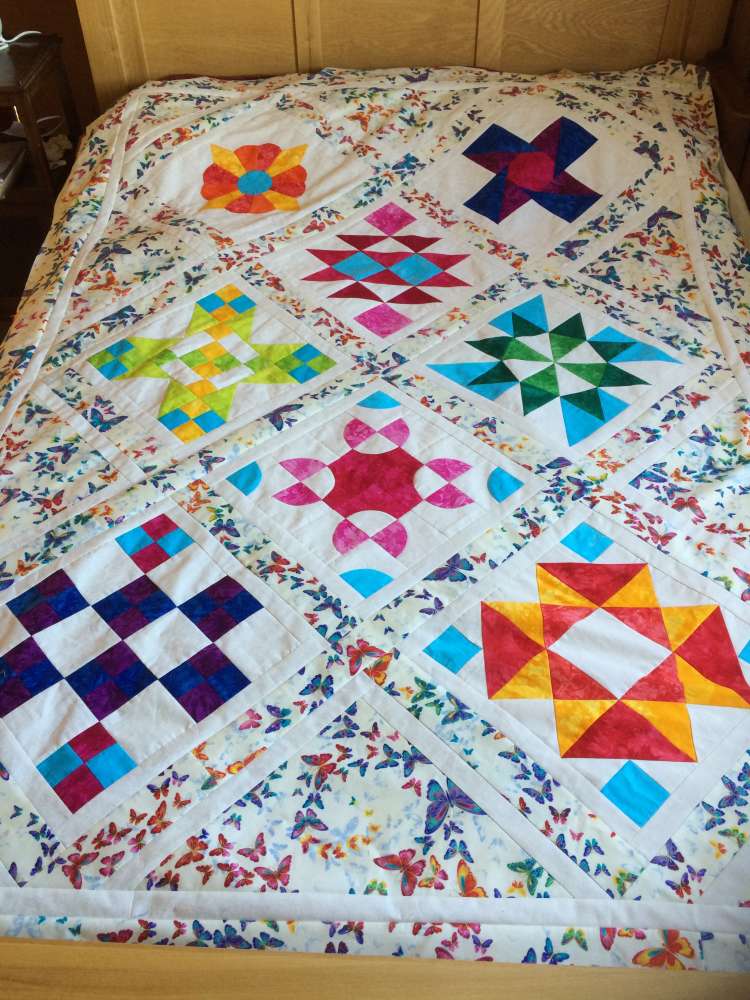
Following on from using blocks as settings you can make a quilt into a giant block by putting your sampler squares into the plain squares of an Ohio Star block or a Sawtooth Star block, or even both at once.
Attic Windows is a block and also a means of sashing blocks to make them larger and to make something other than ‘just another sampler’.
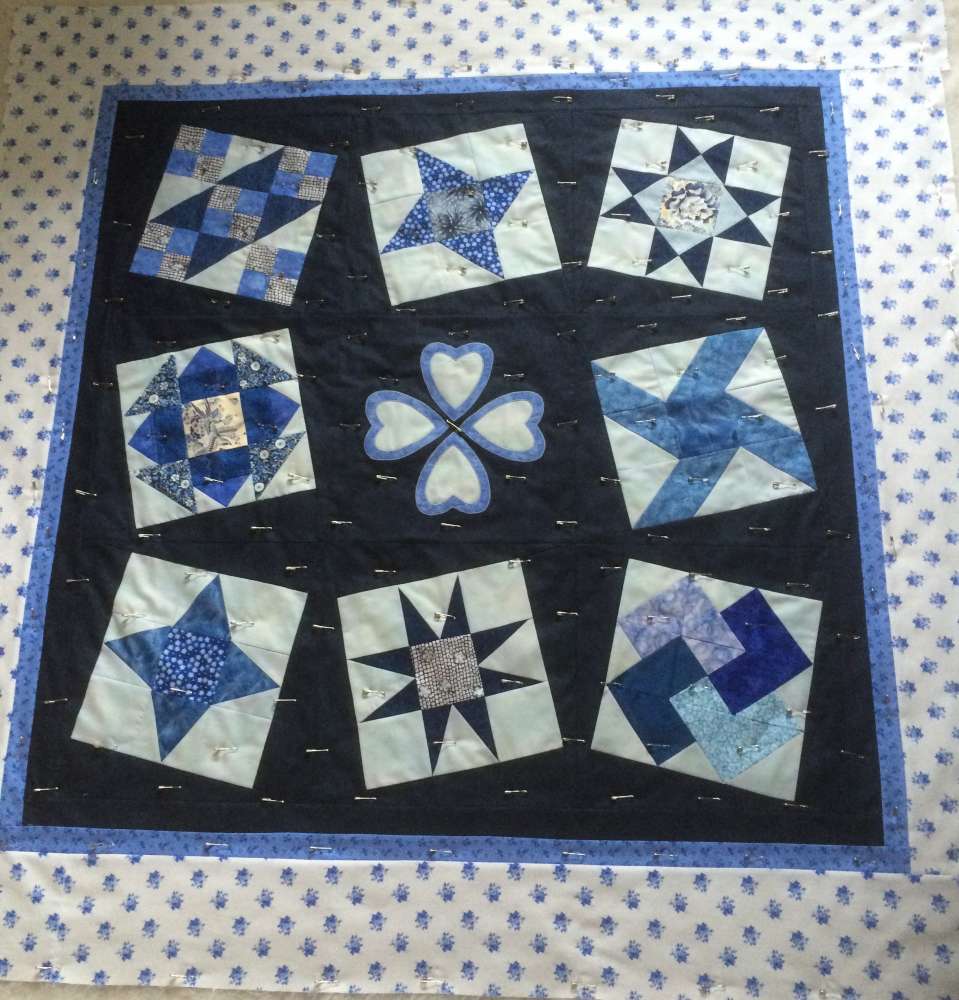
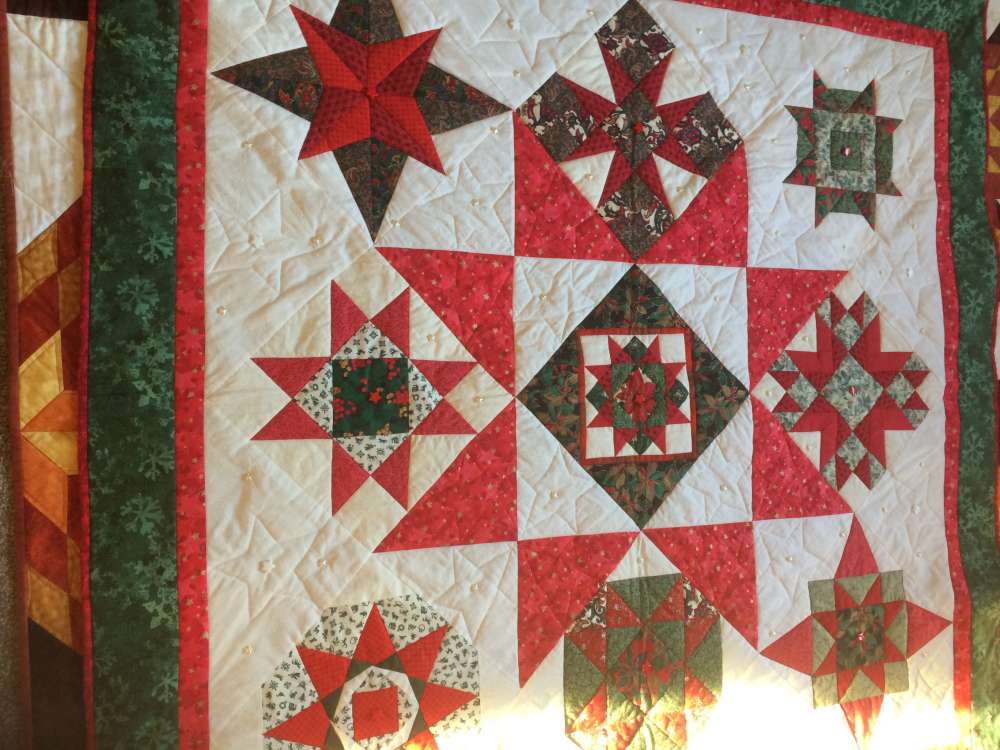
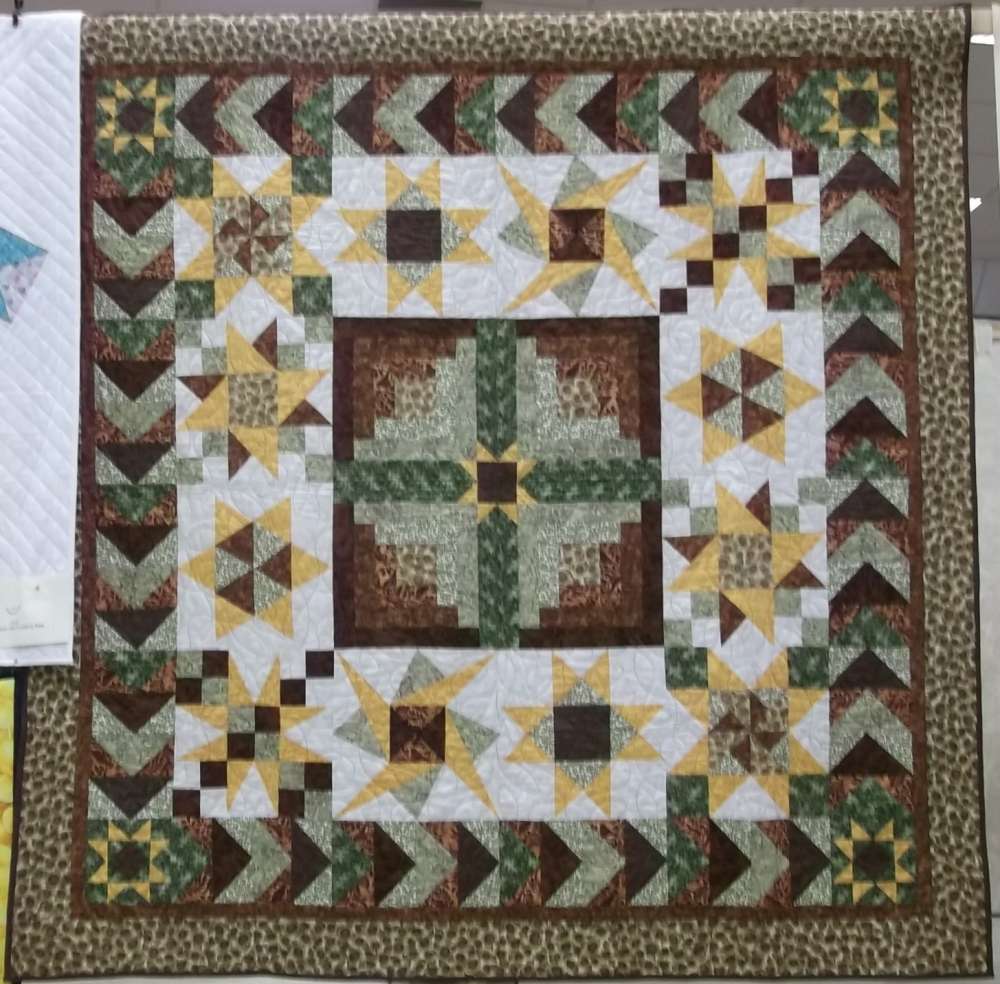
And finally you can turn your sampler into a medallion quilt. Making several of each block (the simpler ones!) can make a centre which is then surrounded by the sampler blocks and a few simple borders. The centre can be straight set or on point.
I hope I have given you a few ideas for setting your sampler quilt blocks and to make the most of them.


Yours quilts are fabulous, I have never made a sampler style quilt and you have inspired me to have a go when I have time
Hi Ami – thank you! I hope you find time to make your sampler quilt, although I think if we need to ‘find time’ we never will – just start by cutting out a few pieces to make one block and then stitch them together while you wait for the potatoes to boil . . or whatever. Call it a ‘stolen time’ project and you’ll be surprised how much you can make.
Some amazing ideas, particularly useful because I am in a group making charity quilts from sometimes donated orphan blocks.
Thank you, Teresa. Orphan blocks can be a challenge (and I have quite a few myself) but the settings can often bring quite different blocks (and colours) together.
Wow those are gorgeous!
Thanks, Juliet! I’ve had fun dreaming up different ways to put blocks together so students feel they are getting something new if they return each year.