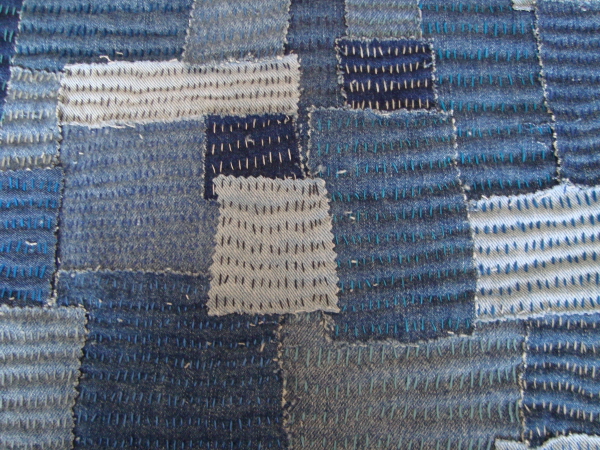
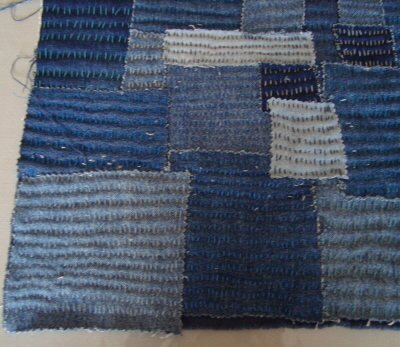
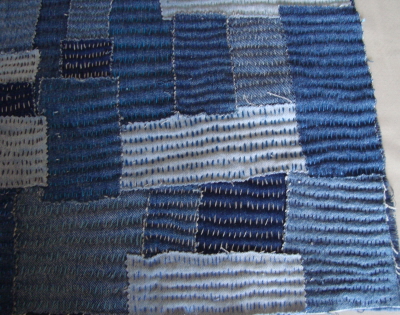
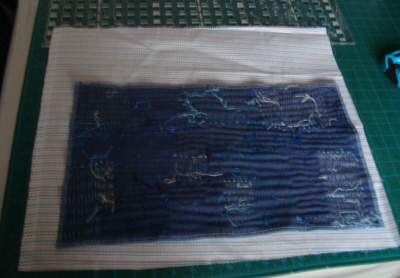
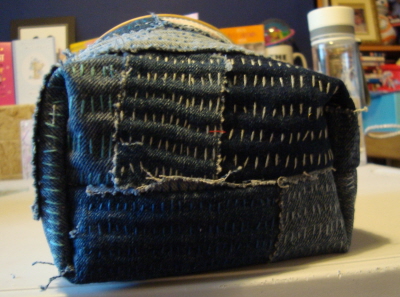
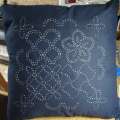
My blue on blue Boro inspired project is finally finished, it took longer than I anticipated with life and procrastination getting in the way. With enforced rest time, I was able me to complete it.
From the very beginning I had a clear idea of what I had intended to do with this although I had not informed you, my readers.
The reason, you have now two choices. You can have this as a sewing mat, for under your machine or as a thread bin. I will talk you through both options.
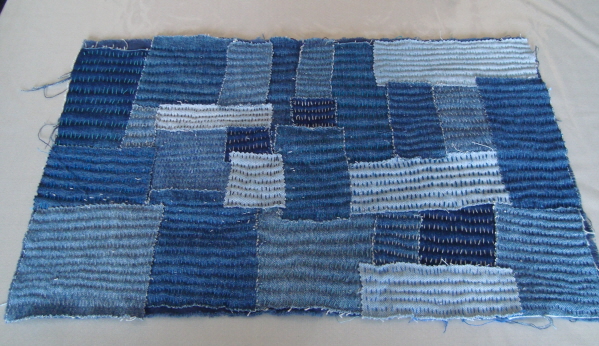
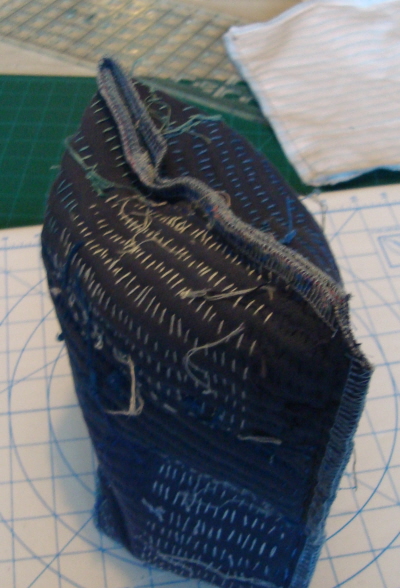
I loved the way it had turned out once the piece was complete.
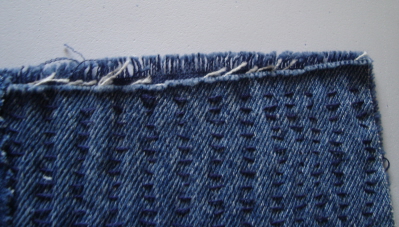
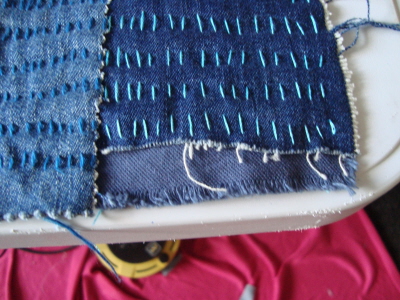
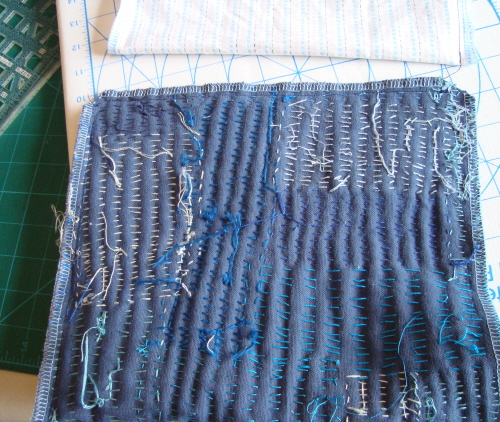
There were a few issues; the edges had frayed with the amount of handling it had received over the last few months. In one area I had been a bit lazy and not placed a patch to the edge of the fabric – not sure of my reasoning for this at the time – I think because I was planning to trim the edges down.
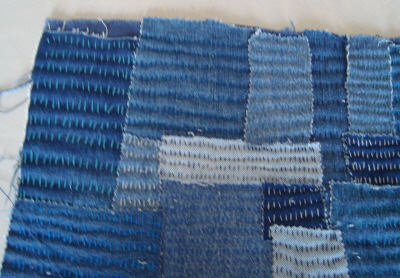
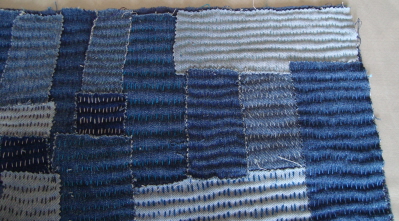
If you would like to keep this as a sewing mat, trim the edges as neat and as square as you can. You can either hand sew with blanket stitch, machine sew with zigzag or overlook. If you do not want the back to be raw, then you can add another piece of fabric and line it.
I chose to overlock mine, however, I went a bit wonky with the overlocker and while trimming up with the ruler, the ruler slipped and I took more off than I had required. I ended up with 19 x 11 inches to play with. This was fine because I wanted to do my second option, a thread bin.
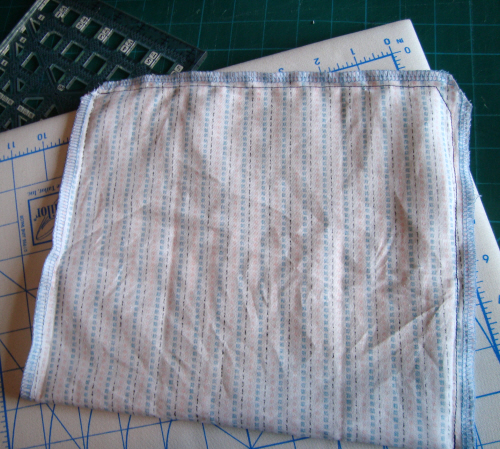
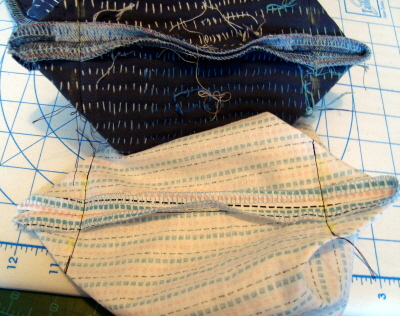
I cut my lining fabric to the same size as my outer. Then with right sides together, I folded the lining in half, length ways and sewn around two of the edges, leaving an edge unsewn at the top.
I then pressed both the inner and outer pieces with an iron; this was to get a solid crisp line along the fold.
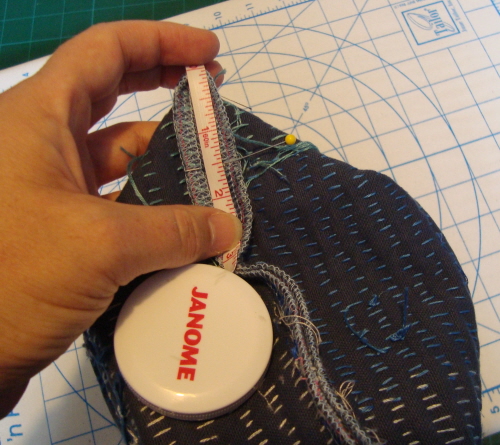
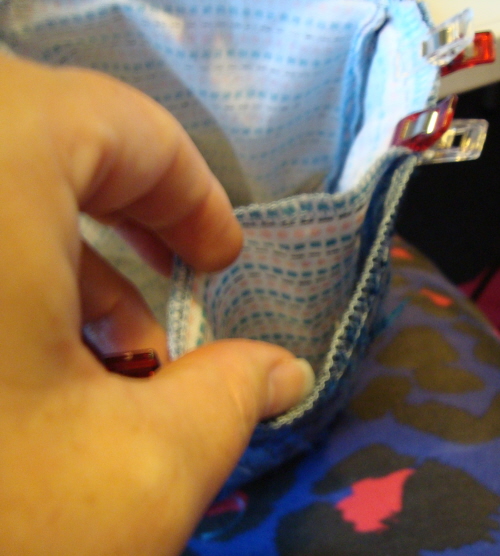
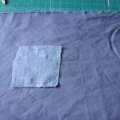
Then on the bottom seam, open it up so that it forms a triangle, the bottom and side seams should align with each other. Then measure 1.5 inches from the point down, pin and mark with tailors chalk. See picture. Do this for both sides of the outer and the inner.
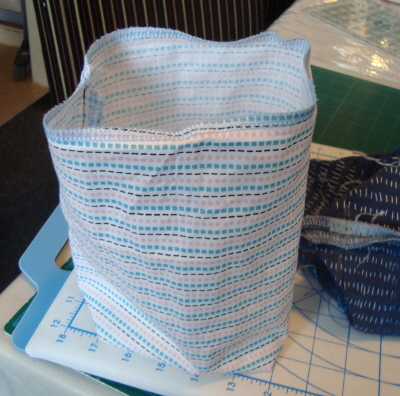
Once you are happy with those, sew along those lines. Turn right sides out and stand up. If you are happy that it stands on its own then trim the ends of those triangles off.
With right sides together, place the inner inside the outer and either pin or clip the top edges together.
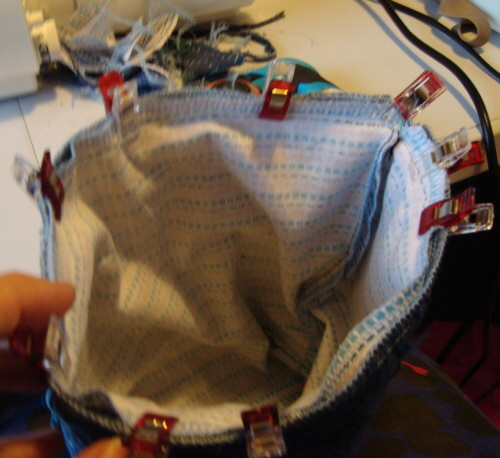
Remember to leave an opening – wide enough – so that you can turn it out with ease.
Once sewn, turnout and press down. Then topstitch round the edge, this will also close the gap.
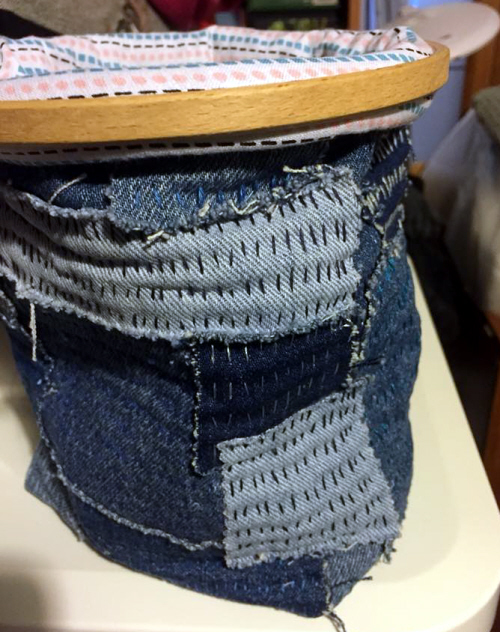
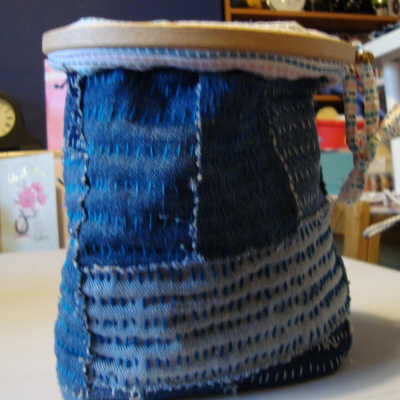
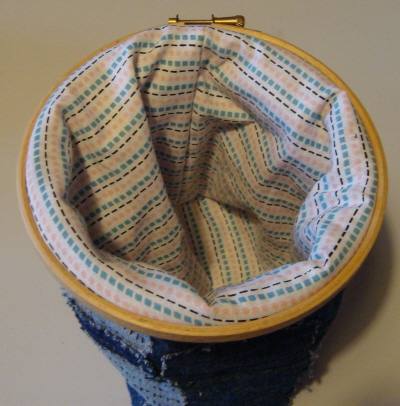
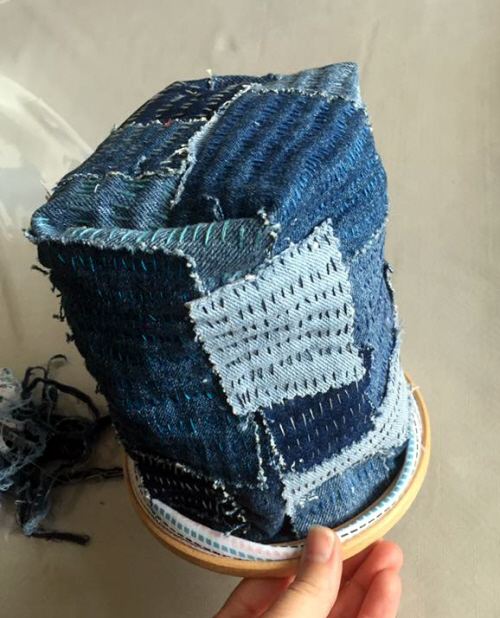
Using an embroidery hoop – yes I love these – in this case to fit this project it requires a 6.5 inch diameter hoop.

Place the inner over the outside of the bin and fold the top of the bin over the hoop. It takes some working and it is a bit fiddly. Then once you are happy place the outer hoop over the top and secure in place.
You now have a freestanding thread bin or you can add a tie or ribbon to it, and have it hanging near your sewing area.
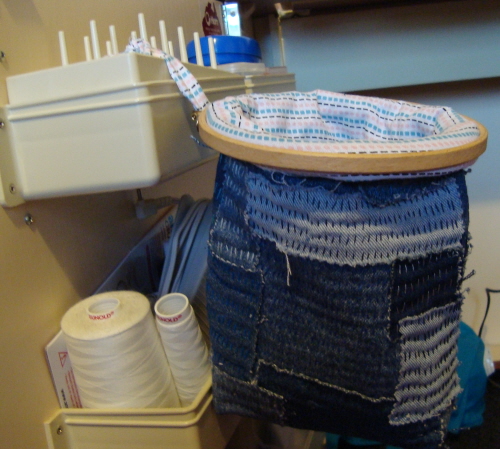
One more project for your sewing room and a nice addition to your sewing kit. Not to mention a neat way to save those scraps.


Related posts:
 The Cheap Procrastinator – All the small things you can do; Boro
 The Cheap Procrastinator – All the small things you can do; Boro Part Two
 The Cheap Procrastinator: Hints and Tips from a Hospital Bed – A4 Presentation Portfolio Folder.
 Sashiko Starter Kit – Sew Easy: Product Review by Denise Inkson Aka The Cheap Procrastinator
Lovely finished Boro piece Denise. What I particularly love about Boro is the ripples you get (front and back) which adds fantastic surface design. Your photos show this beautifully.
Thank you. There was a point I was going to bin the lot as it seemed to take for ever, but I am glad I carried it through.
Sometimes things seem to take forever. But it’s always worth persevering and good job you did with this one!
Thank you