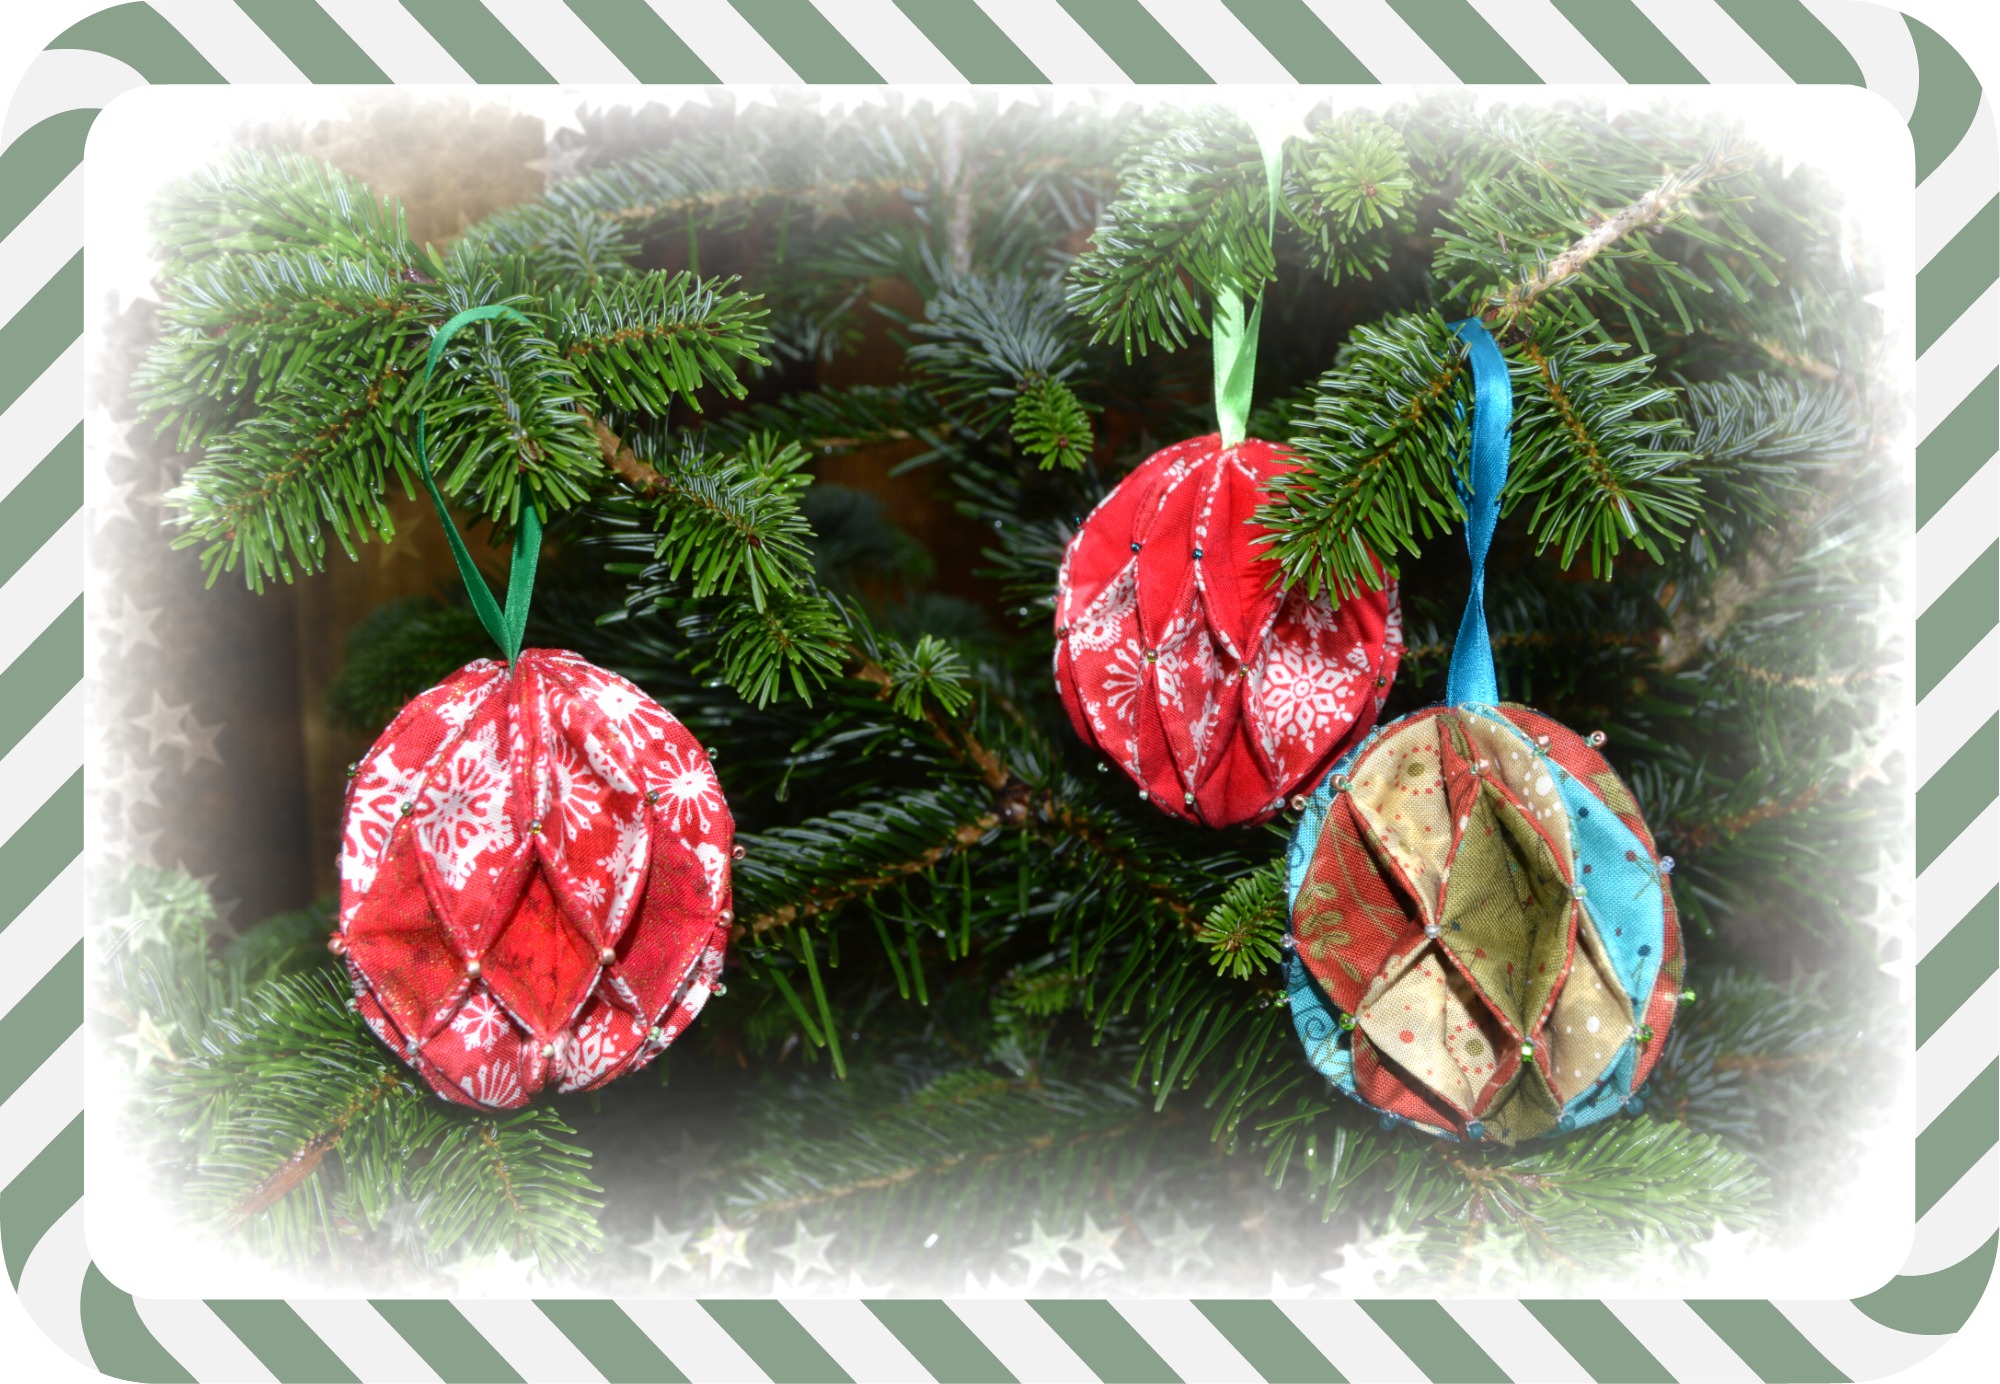
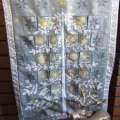
Late to the party as ever but I thought I would show you how I make these pretty decorations.
Requirements list
Two fat quarters (you can make two out of this)
A three inch cardboard or template plastic circle
Beads (optional)
Thread to match fabric
Seven inches of ribbon
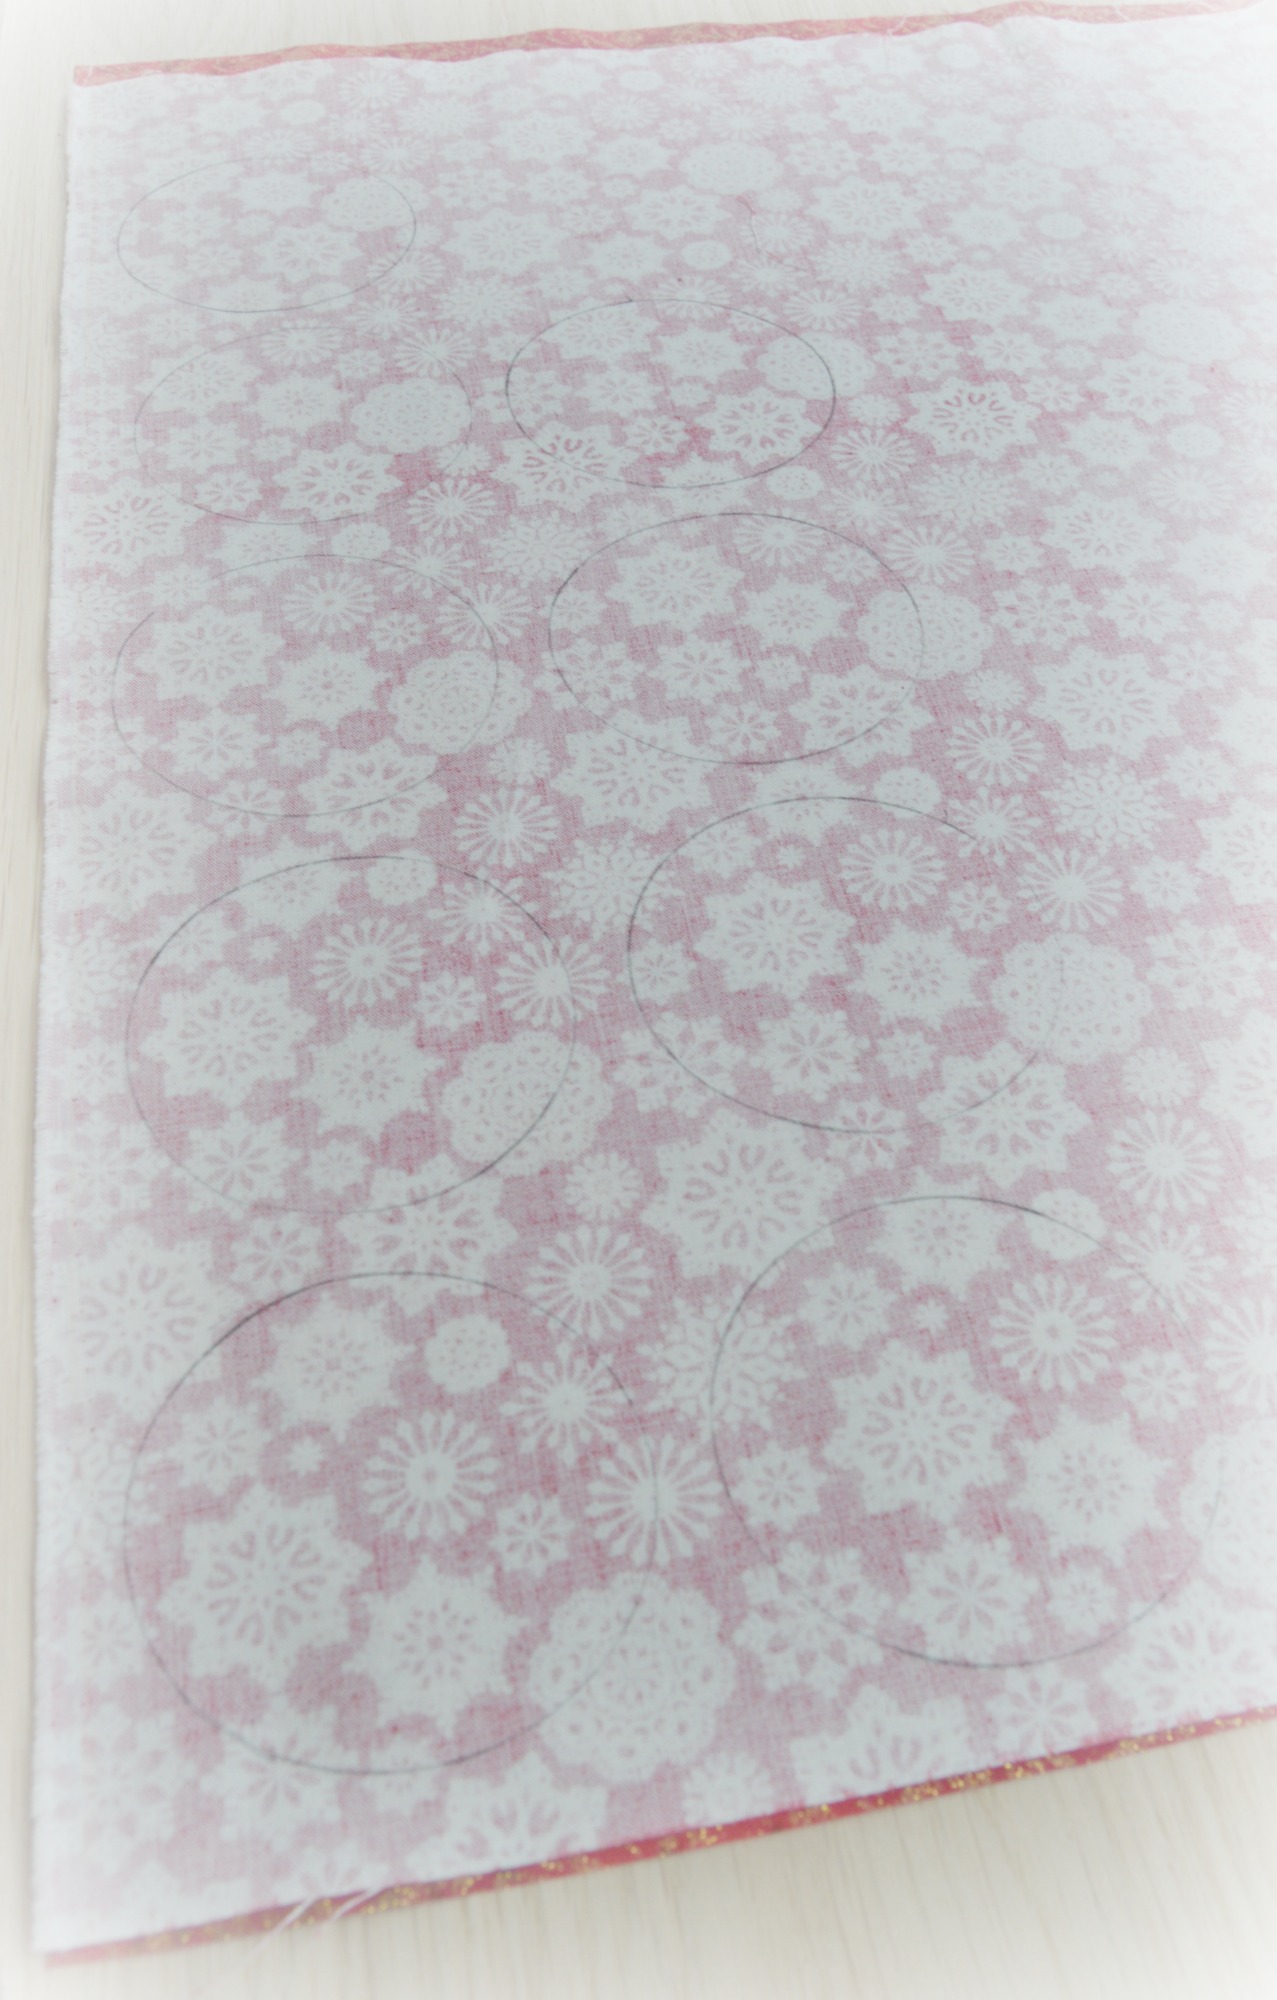
Put the fat quarters right sides together and draw on one side nine circles leaving a small seam allowance between each circle.
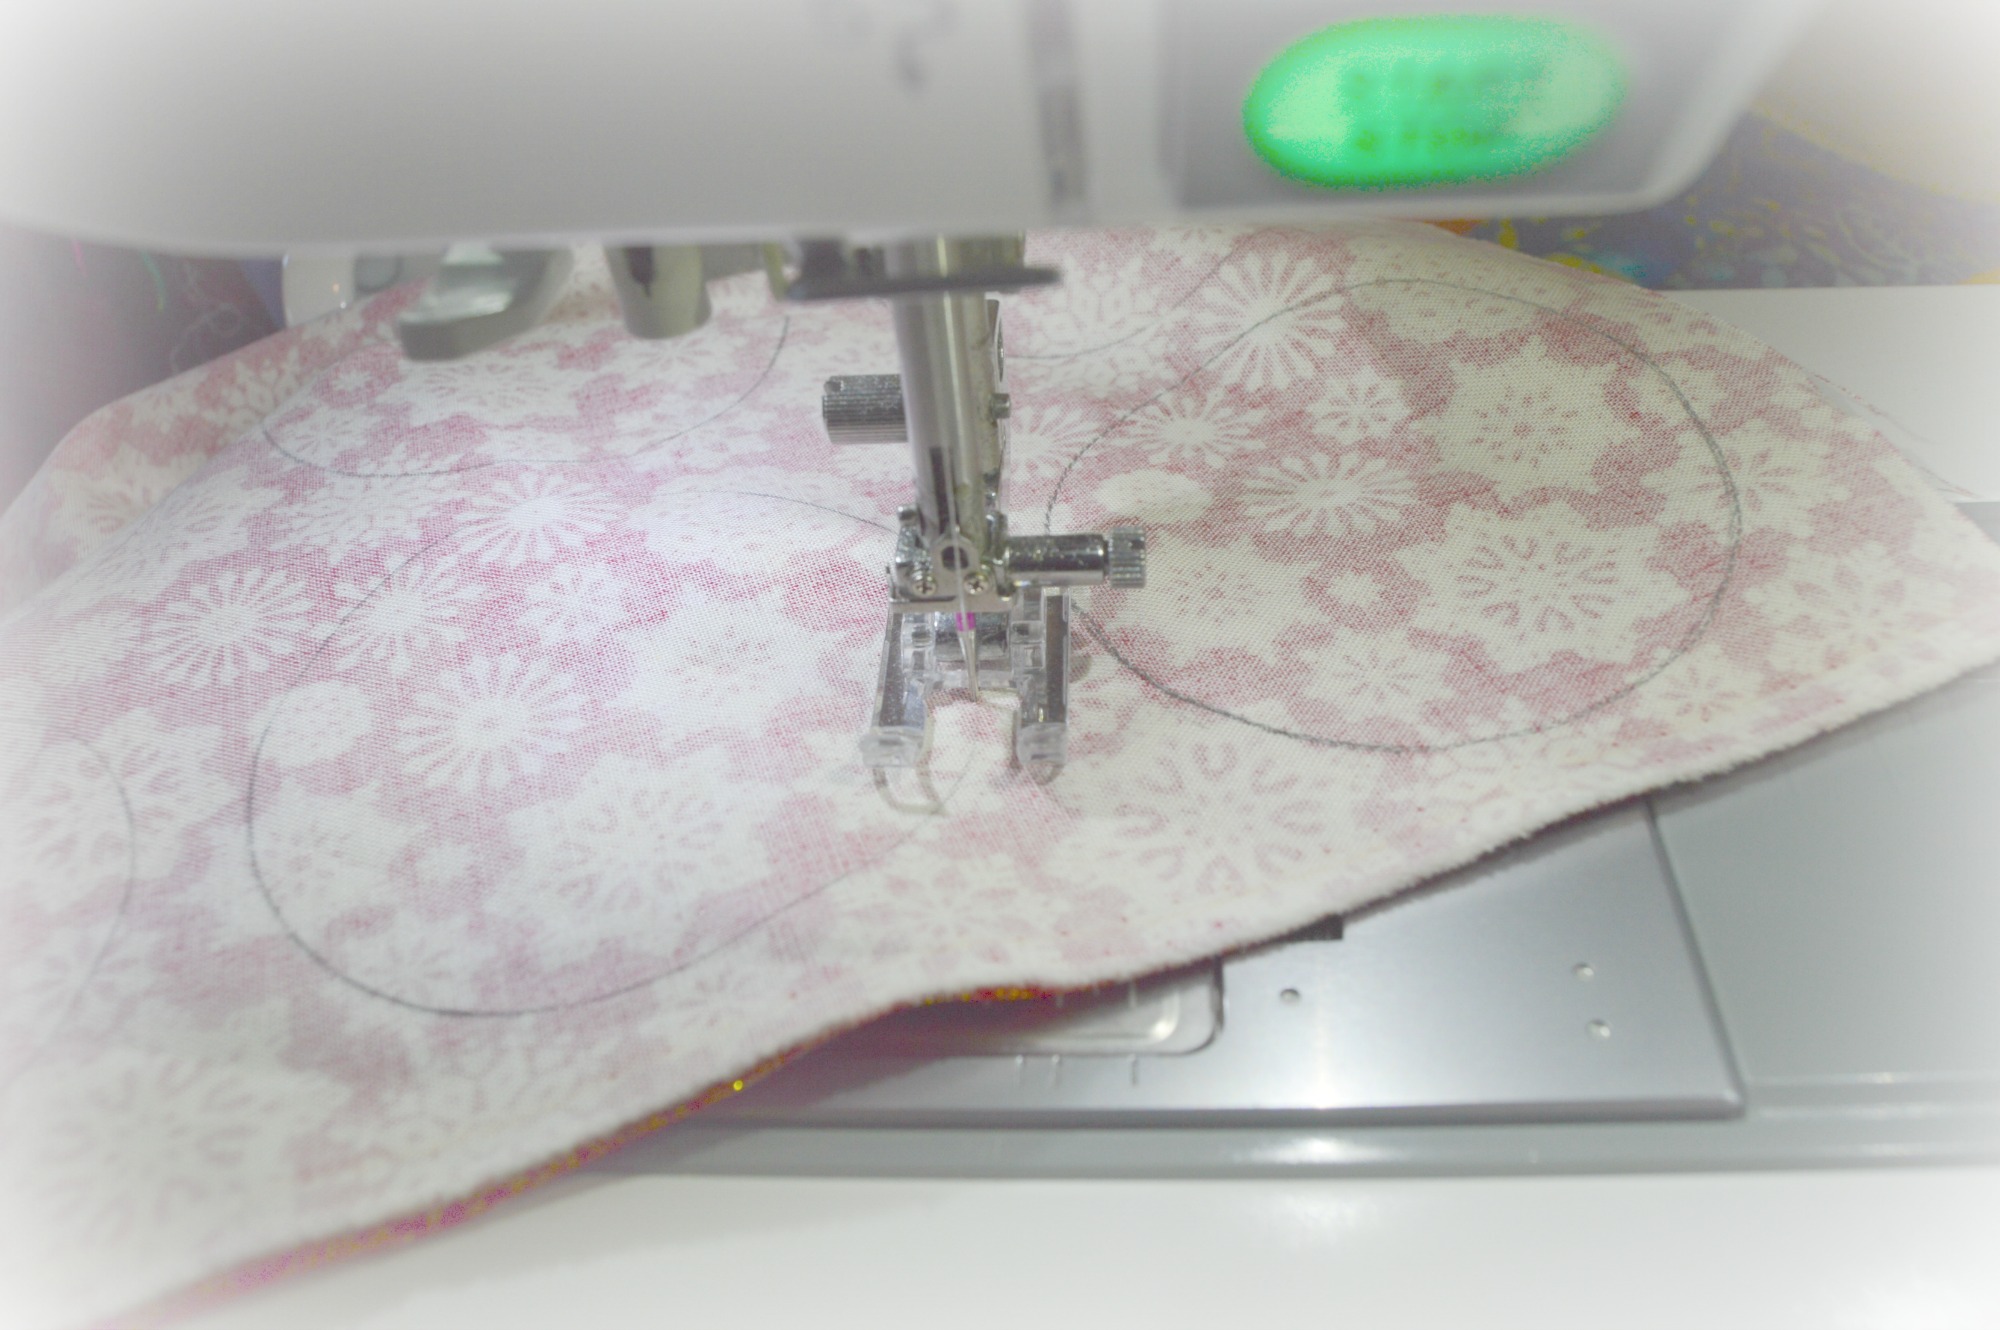
Stitch completely around all of the circles.
Cut out with a mean quarter of an inch seam allowance. Press and fold in half and press again!
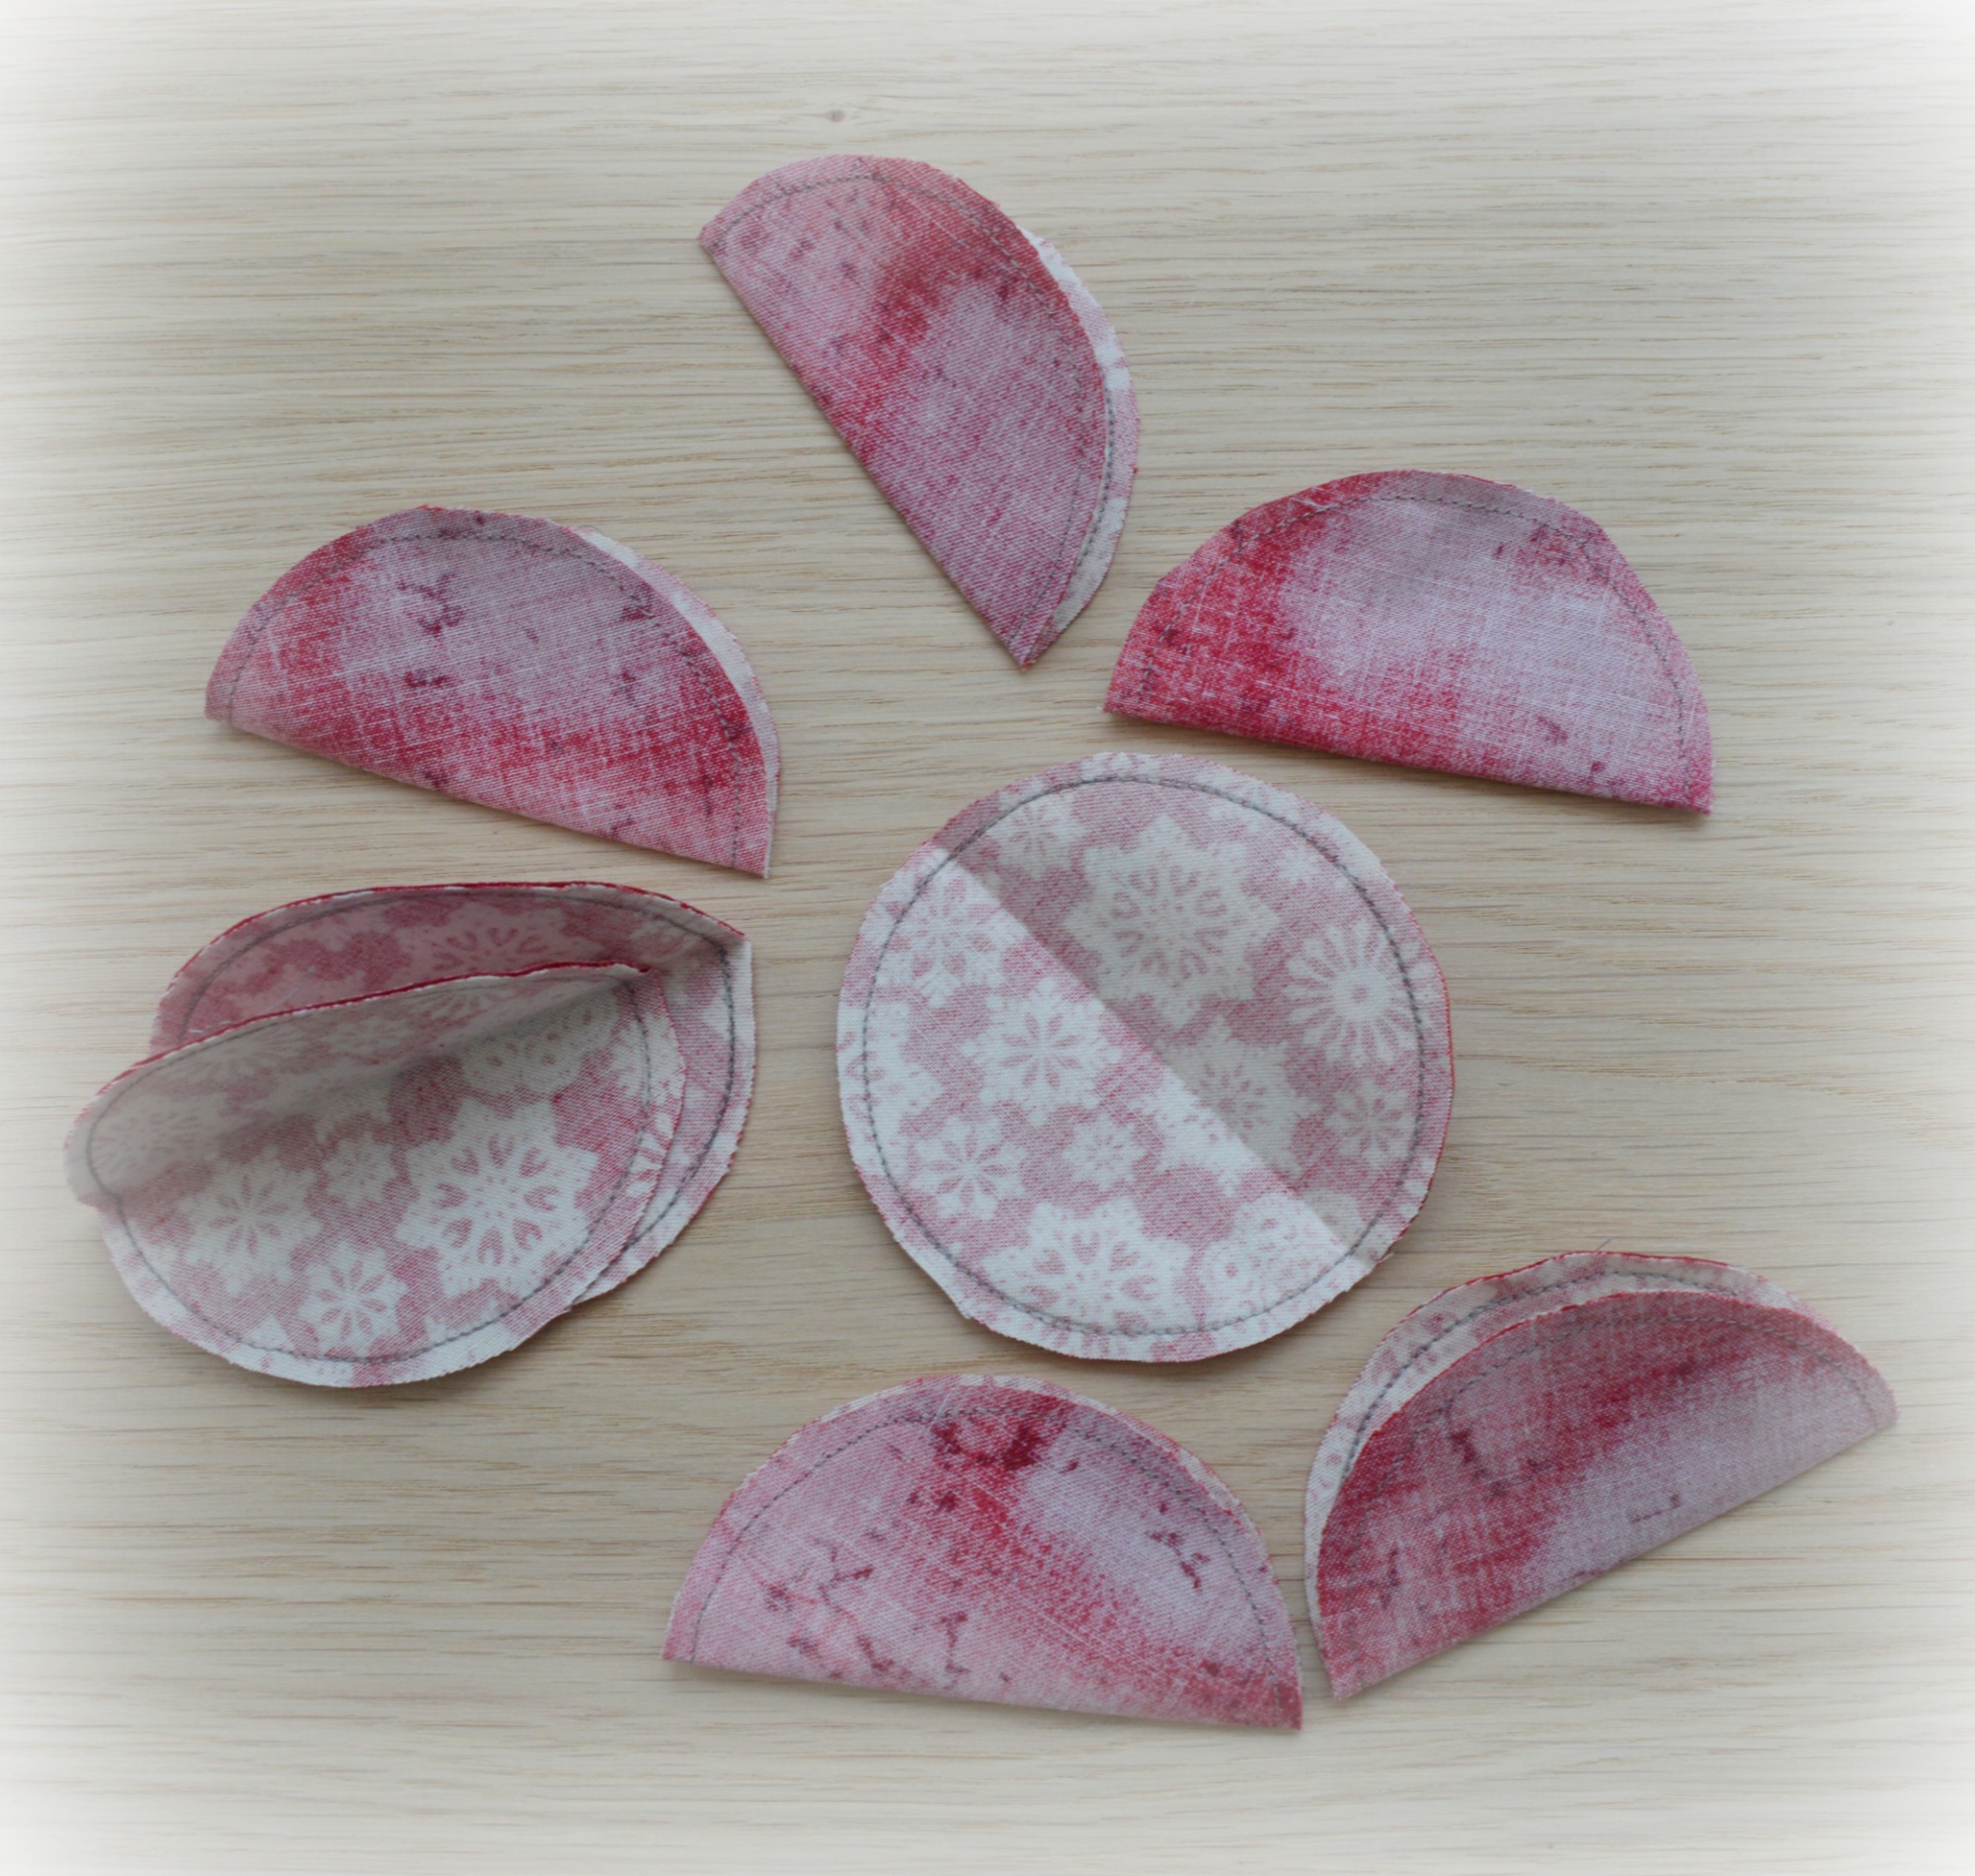
Cut about an inch and a half slit along the fold line on one side (it does not matter which side you choose but make sure you only cut one side.
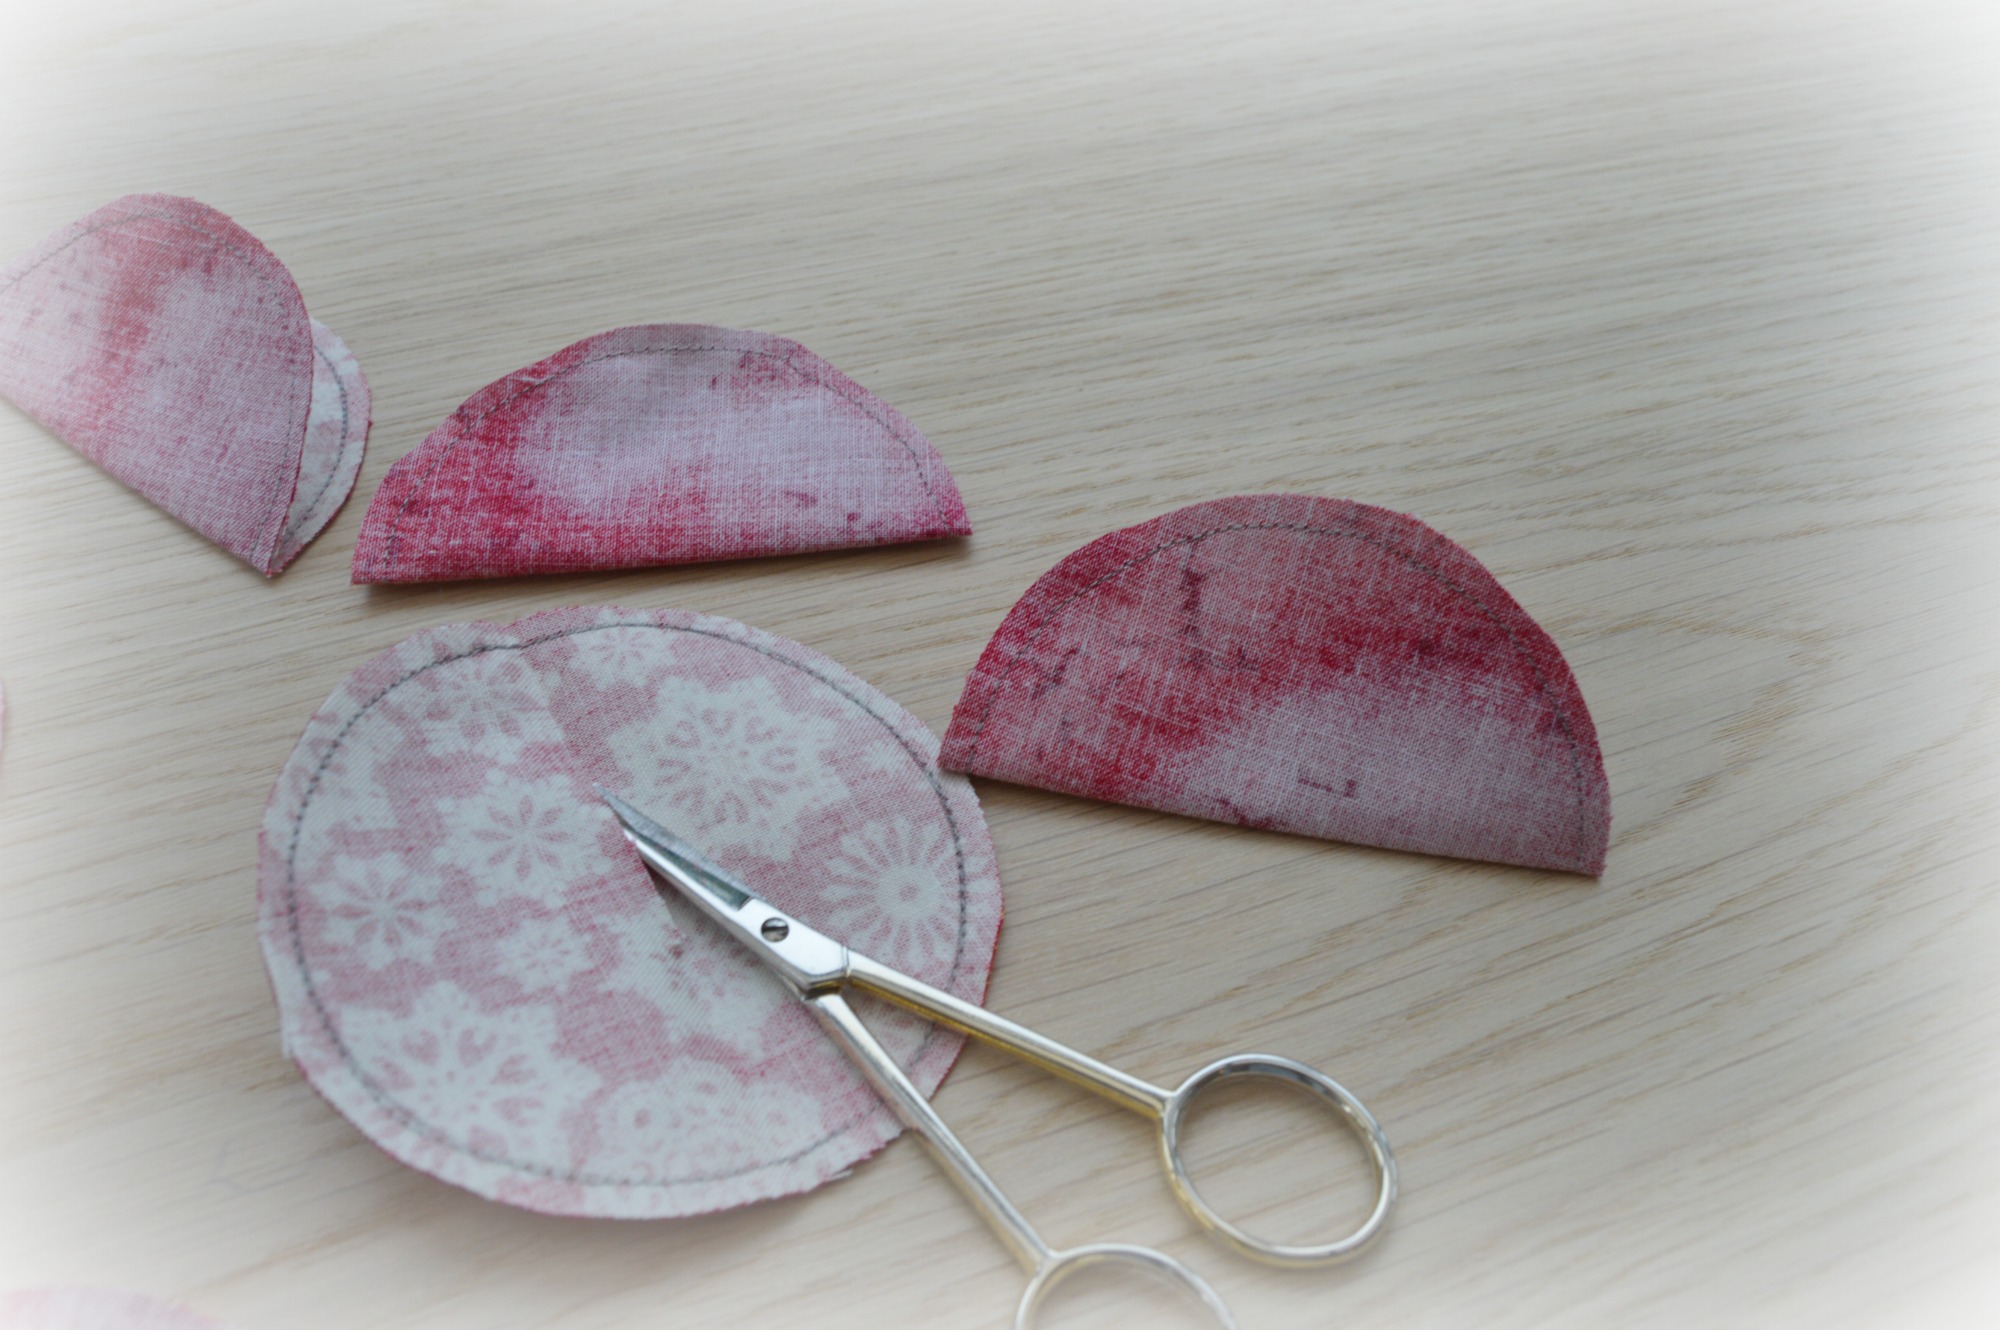
Turn the circles the right side out and press again. I found running my nail around the inside was sufficient to get the circle even.
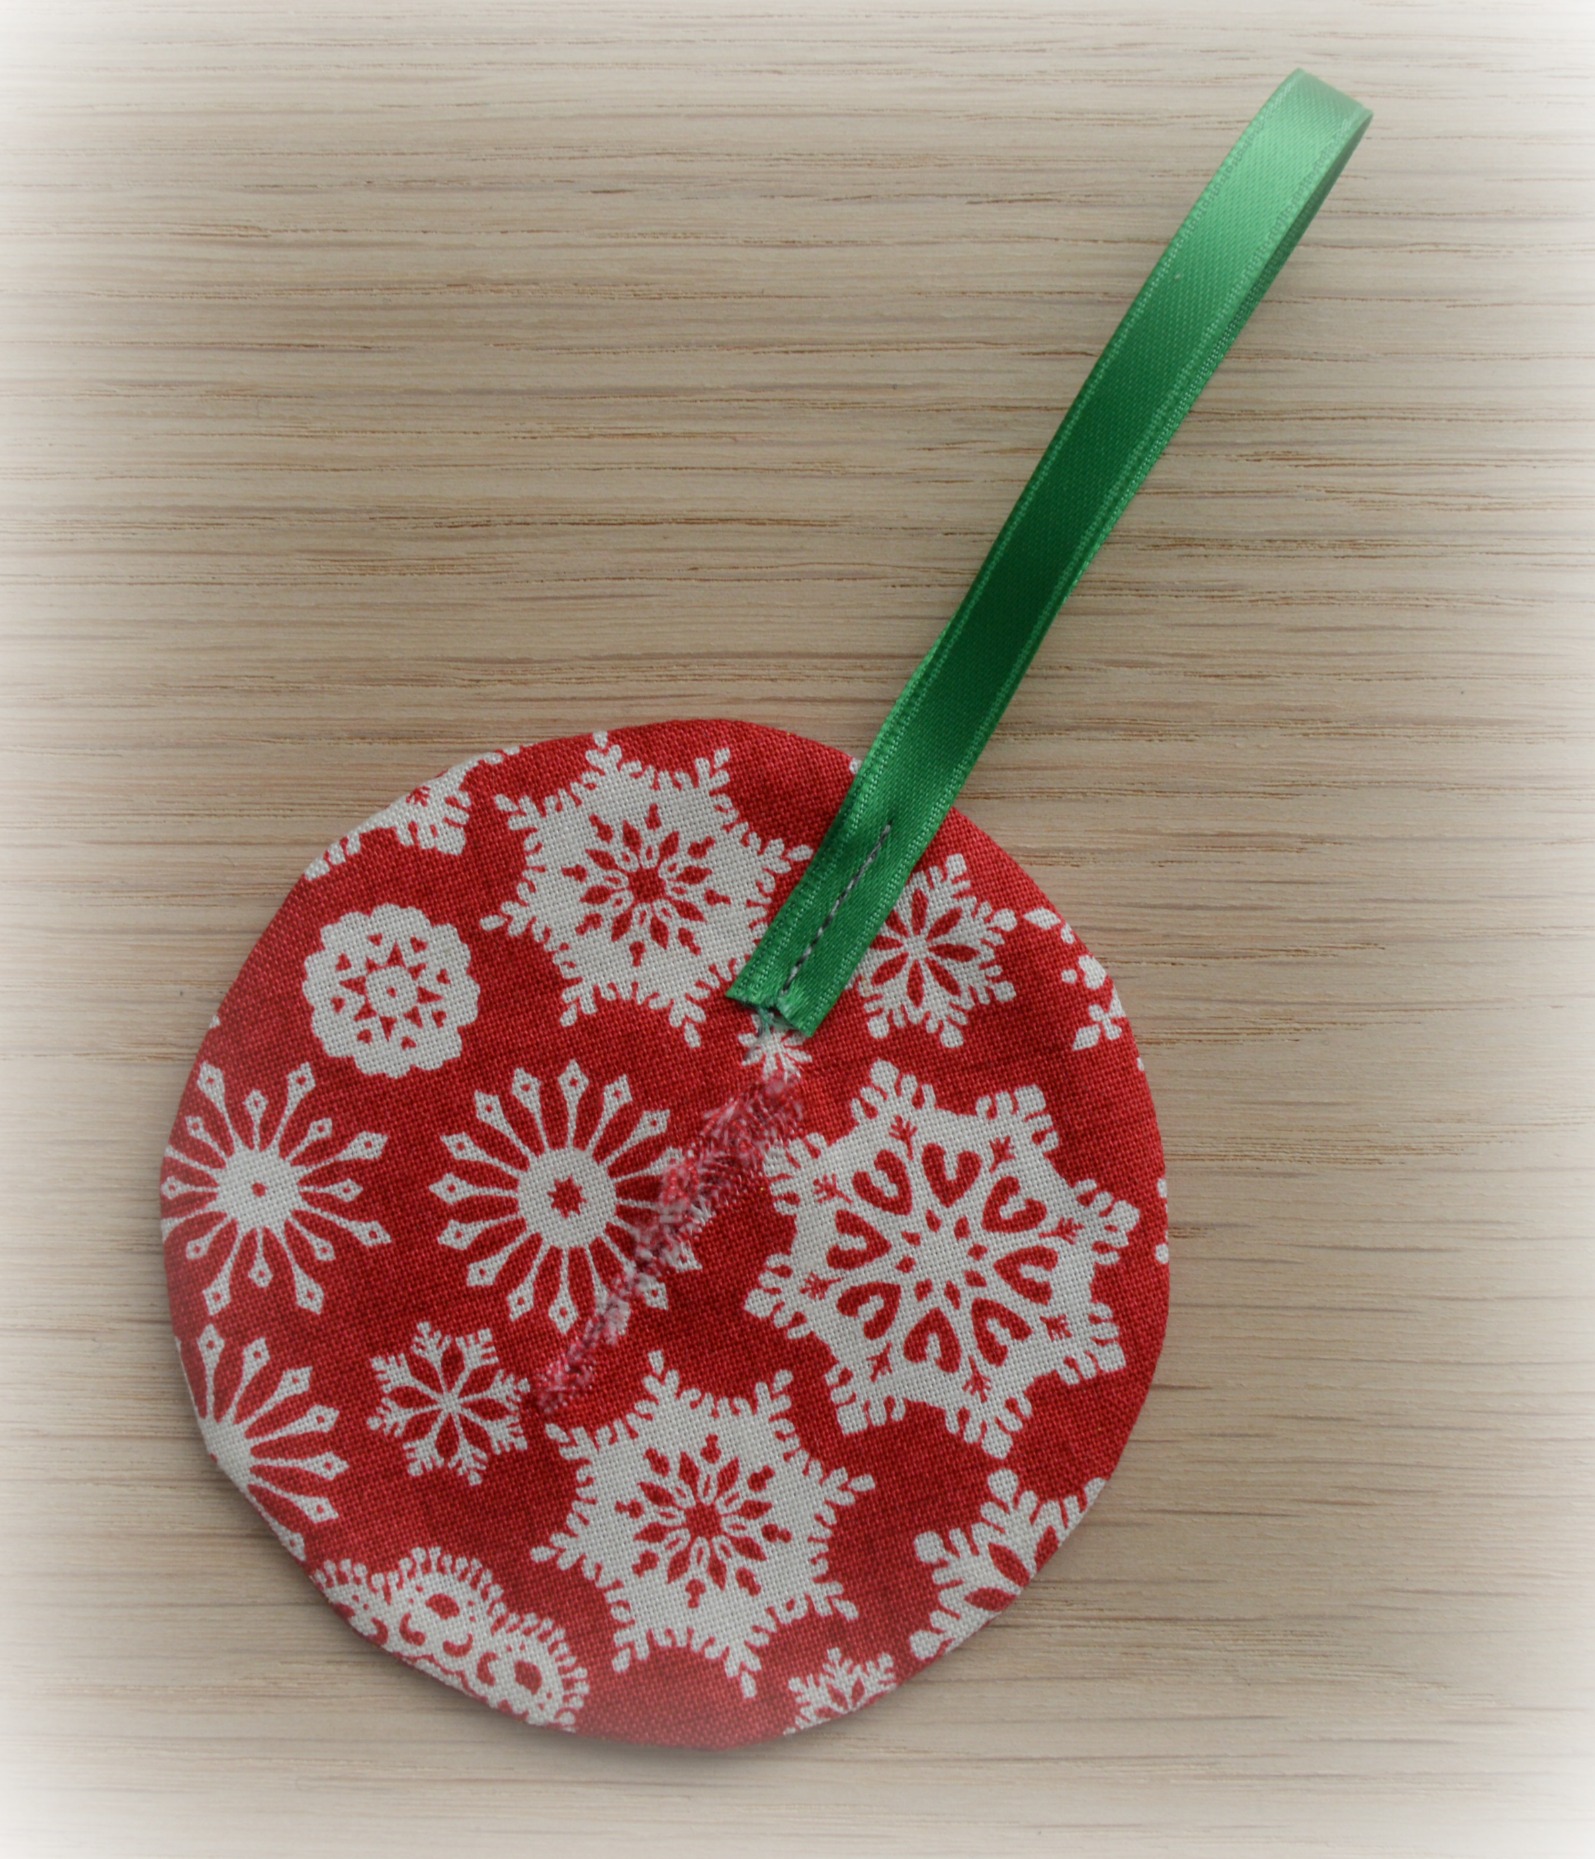
Fold the ribbon in half and stitch onto one of the circles, it does not have to be particularly neat as you will not see it but make sure it follows the line of your slit.
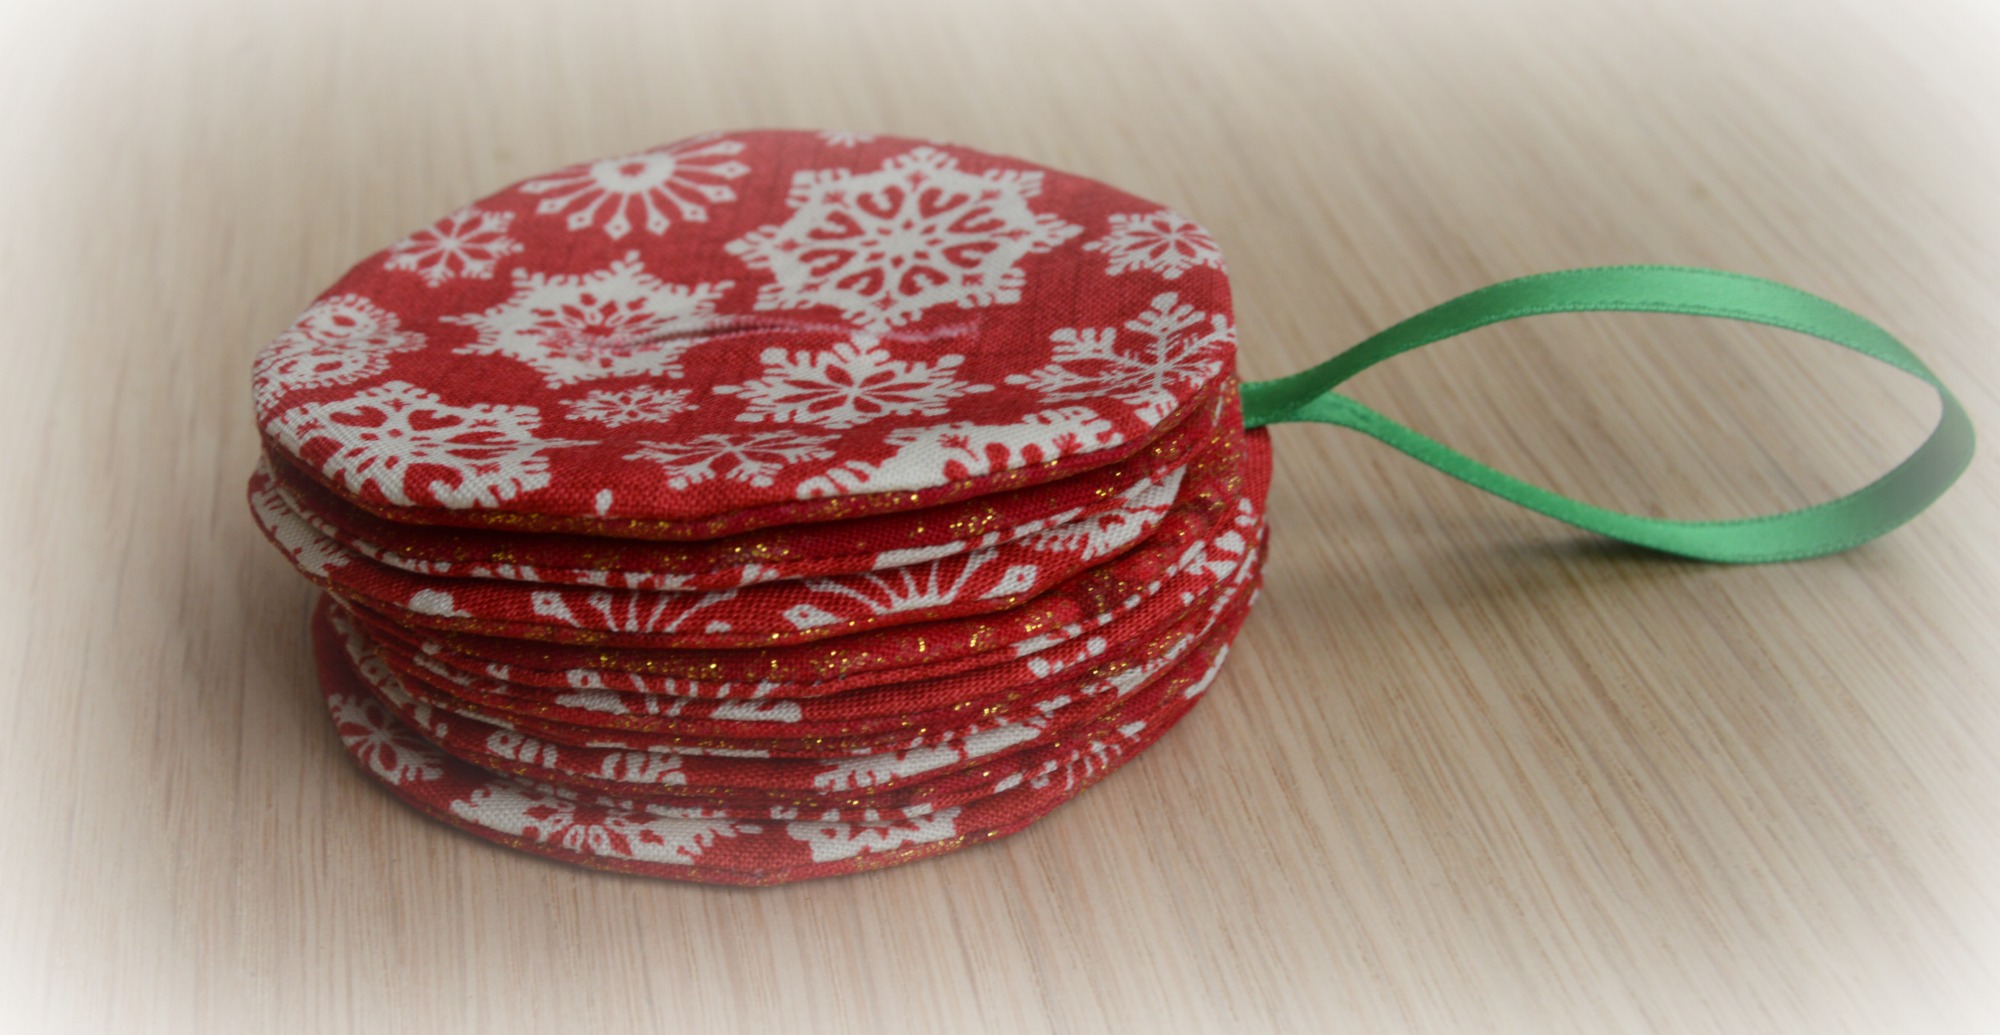
Stack the rest of the circles alternating the fabric have the one with the ribbon in the centre of the stack.
From the ribbon just catch the top of each circle with needle and thread.
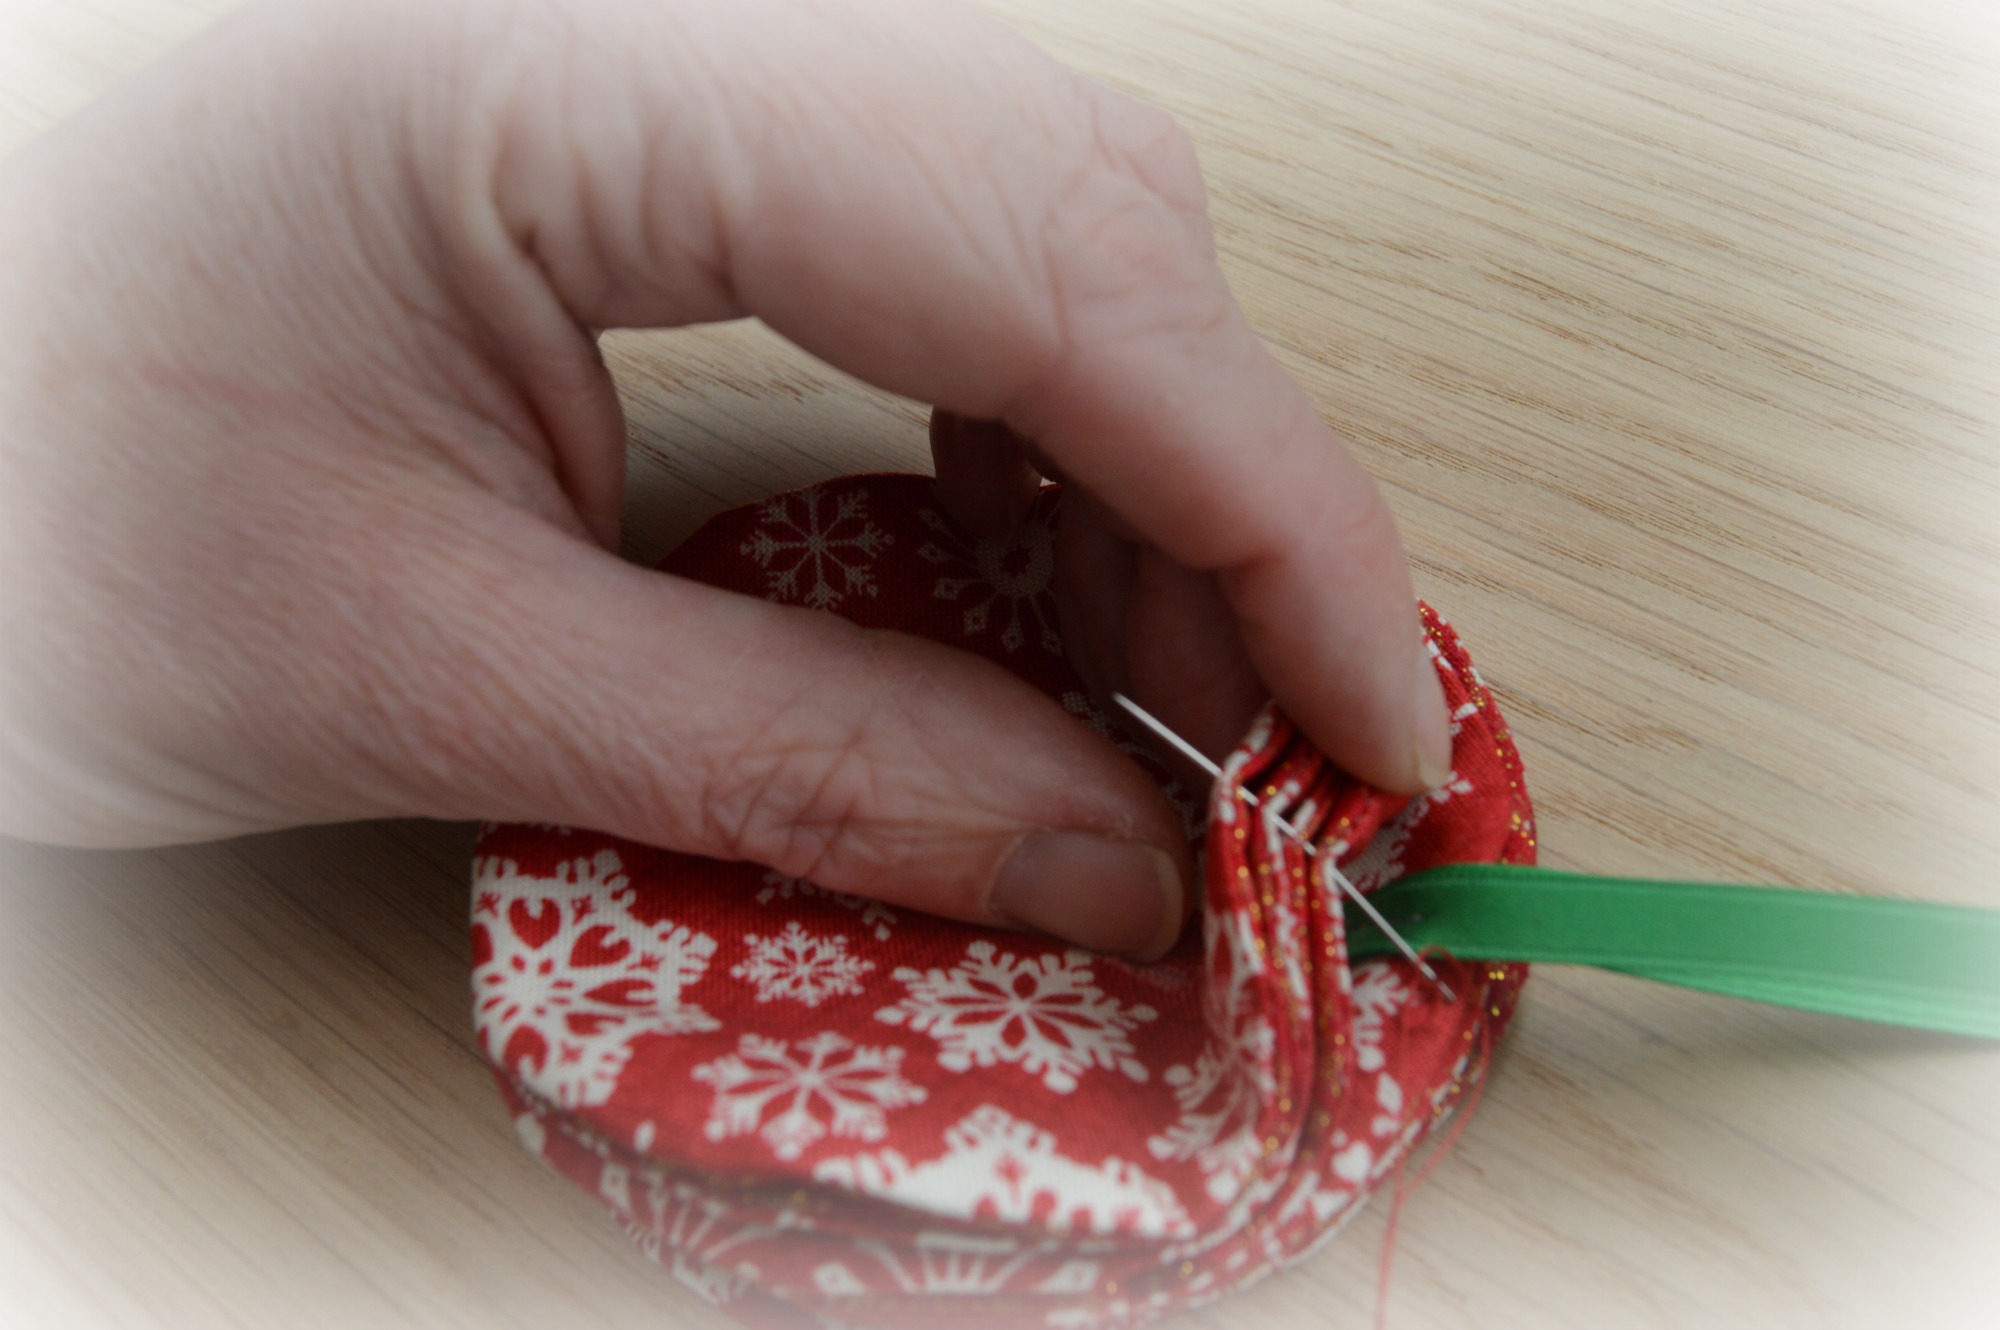
Bring the thread back over and push through the ribbon and catch the circles on the other side. Bring the thread back to the ribbon and repeat.
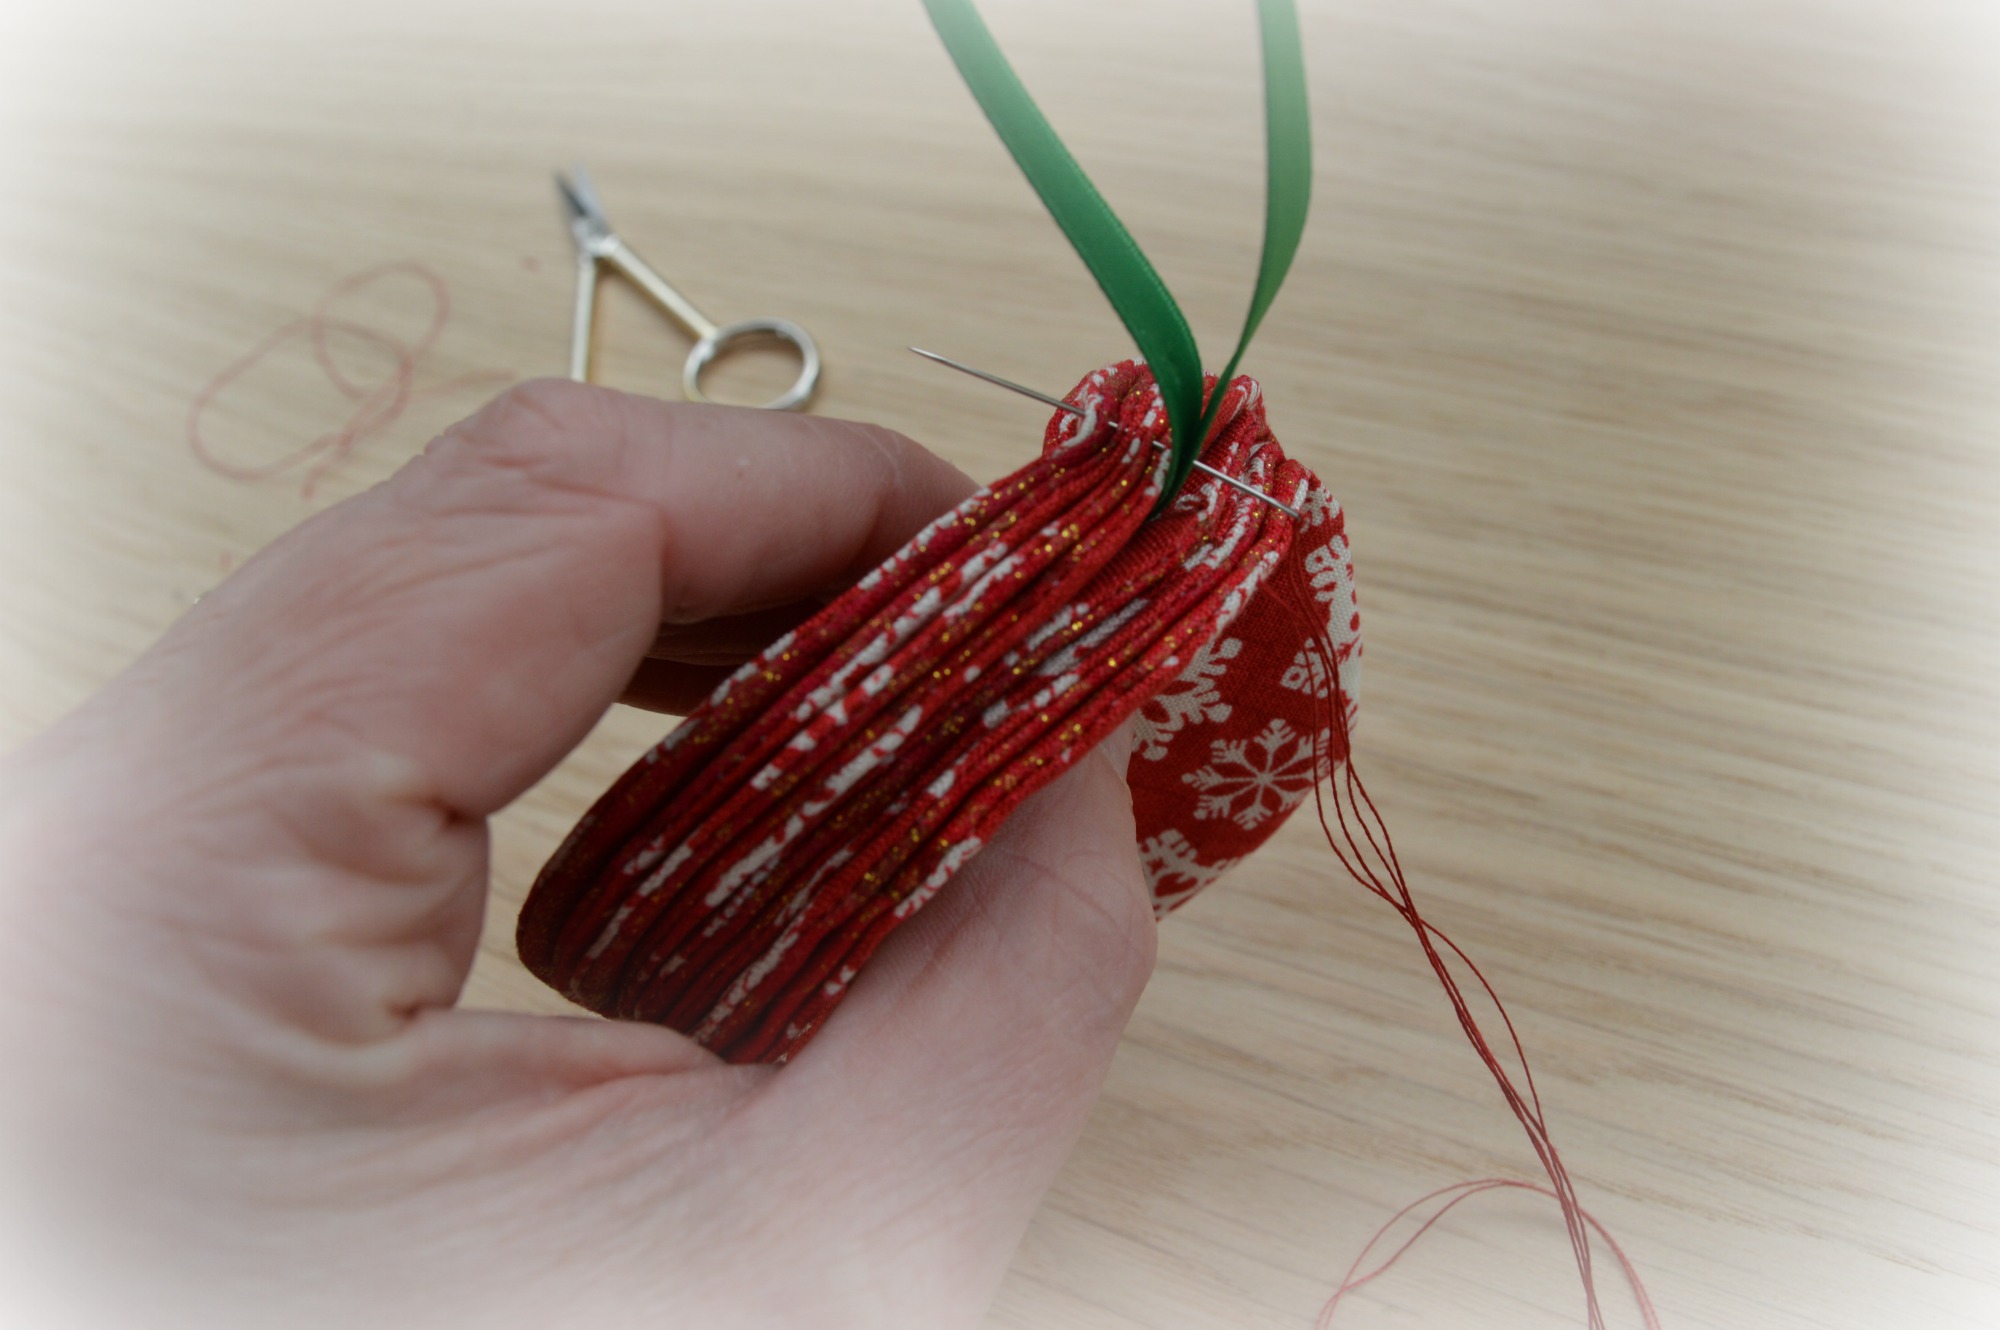
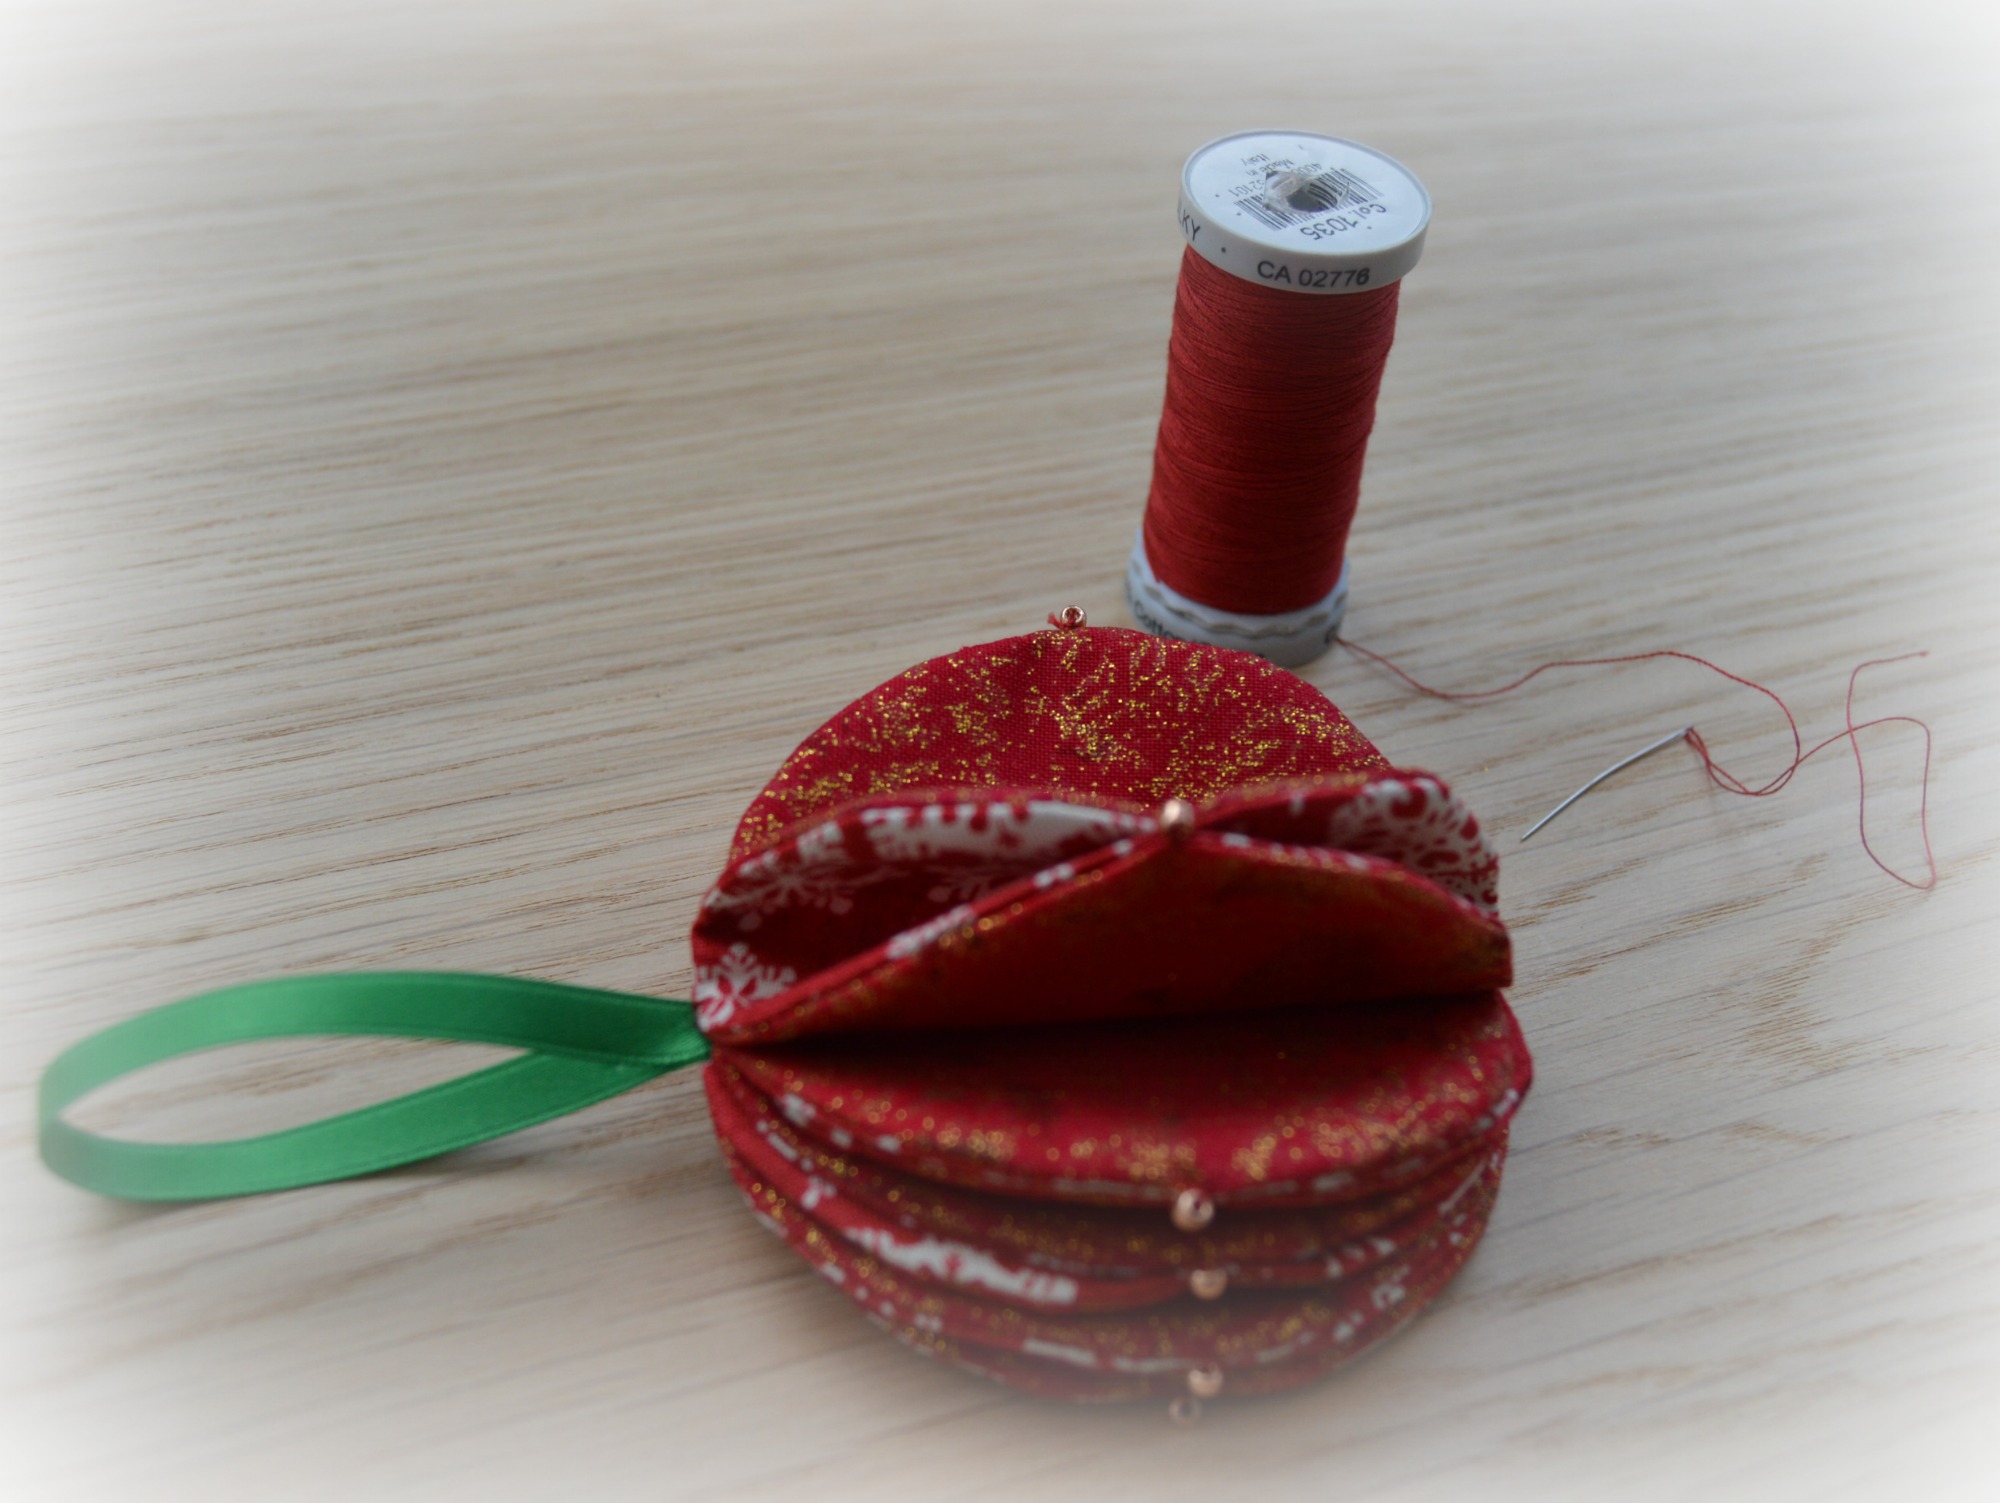
Repeat on the bottom. Put a stitch through the whole lot in the middle of the circle through the split too.
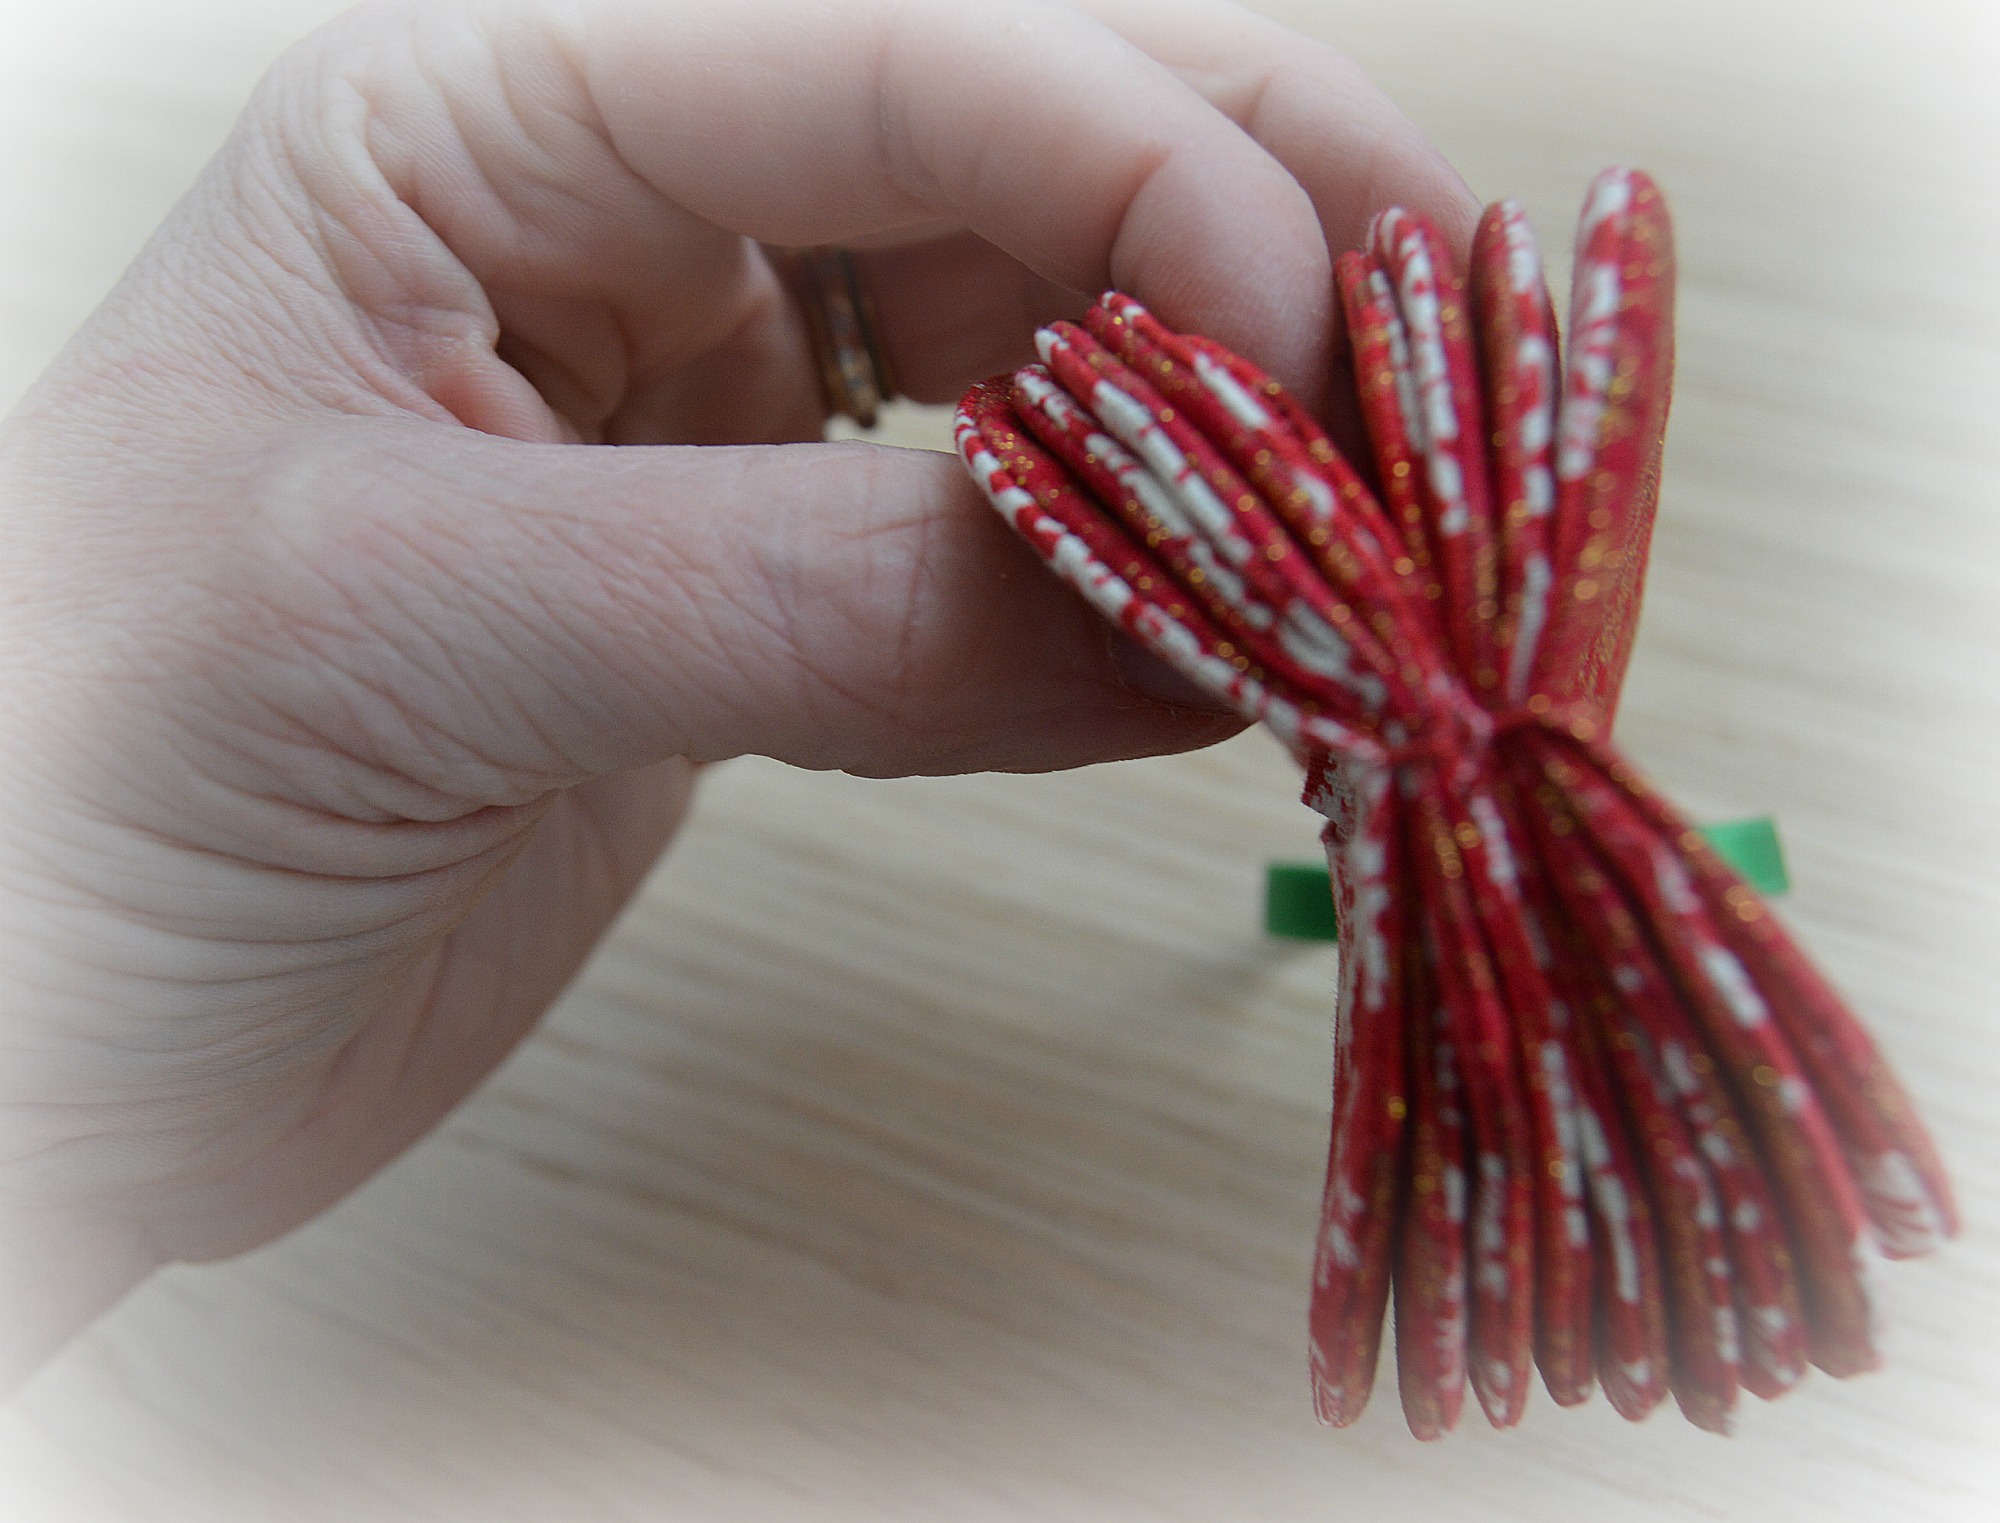
In the middle pinch together two sides of the same fabric and put in a stitch with a bead if you like.
Repeat with the next two, and so on.
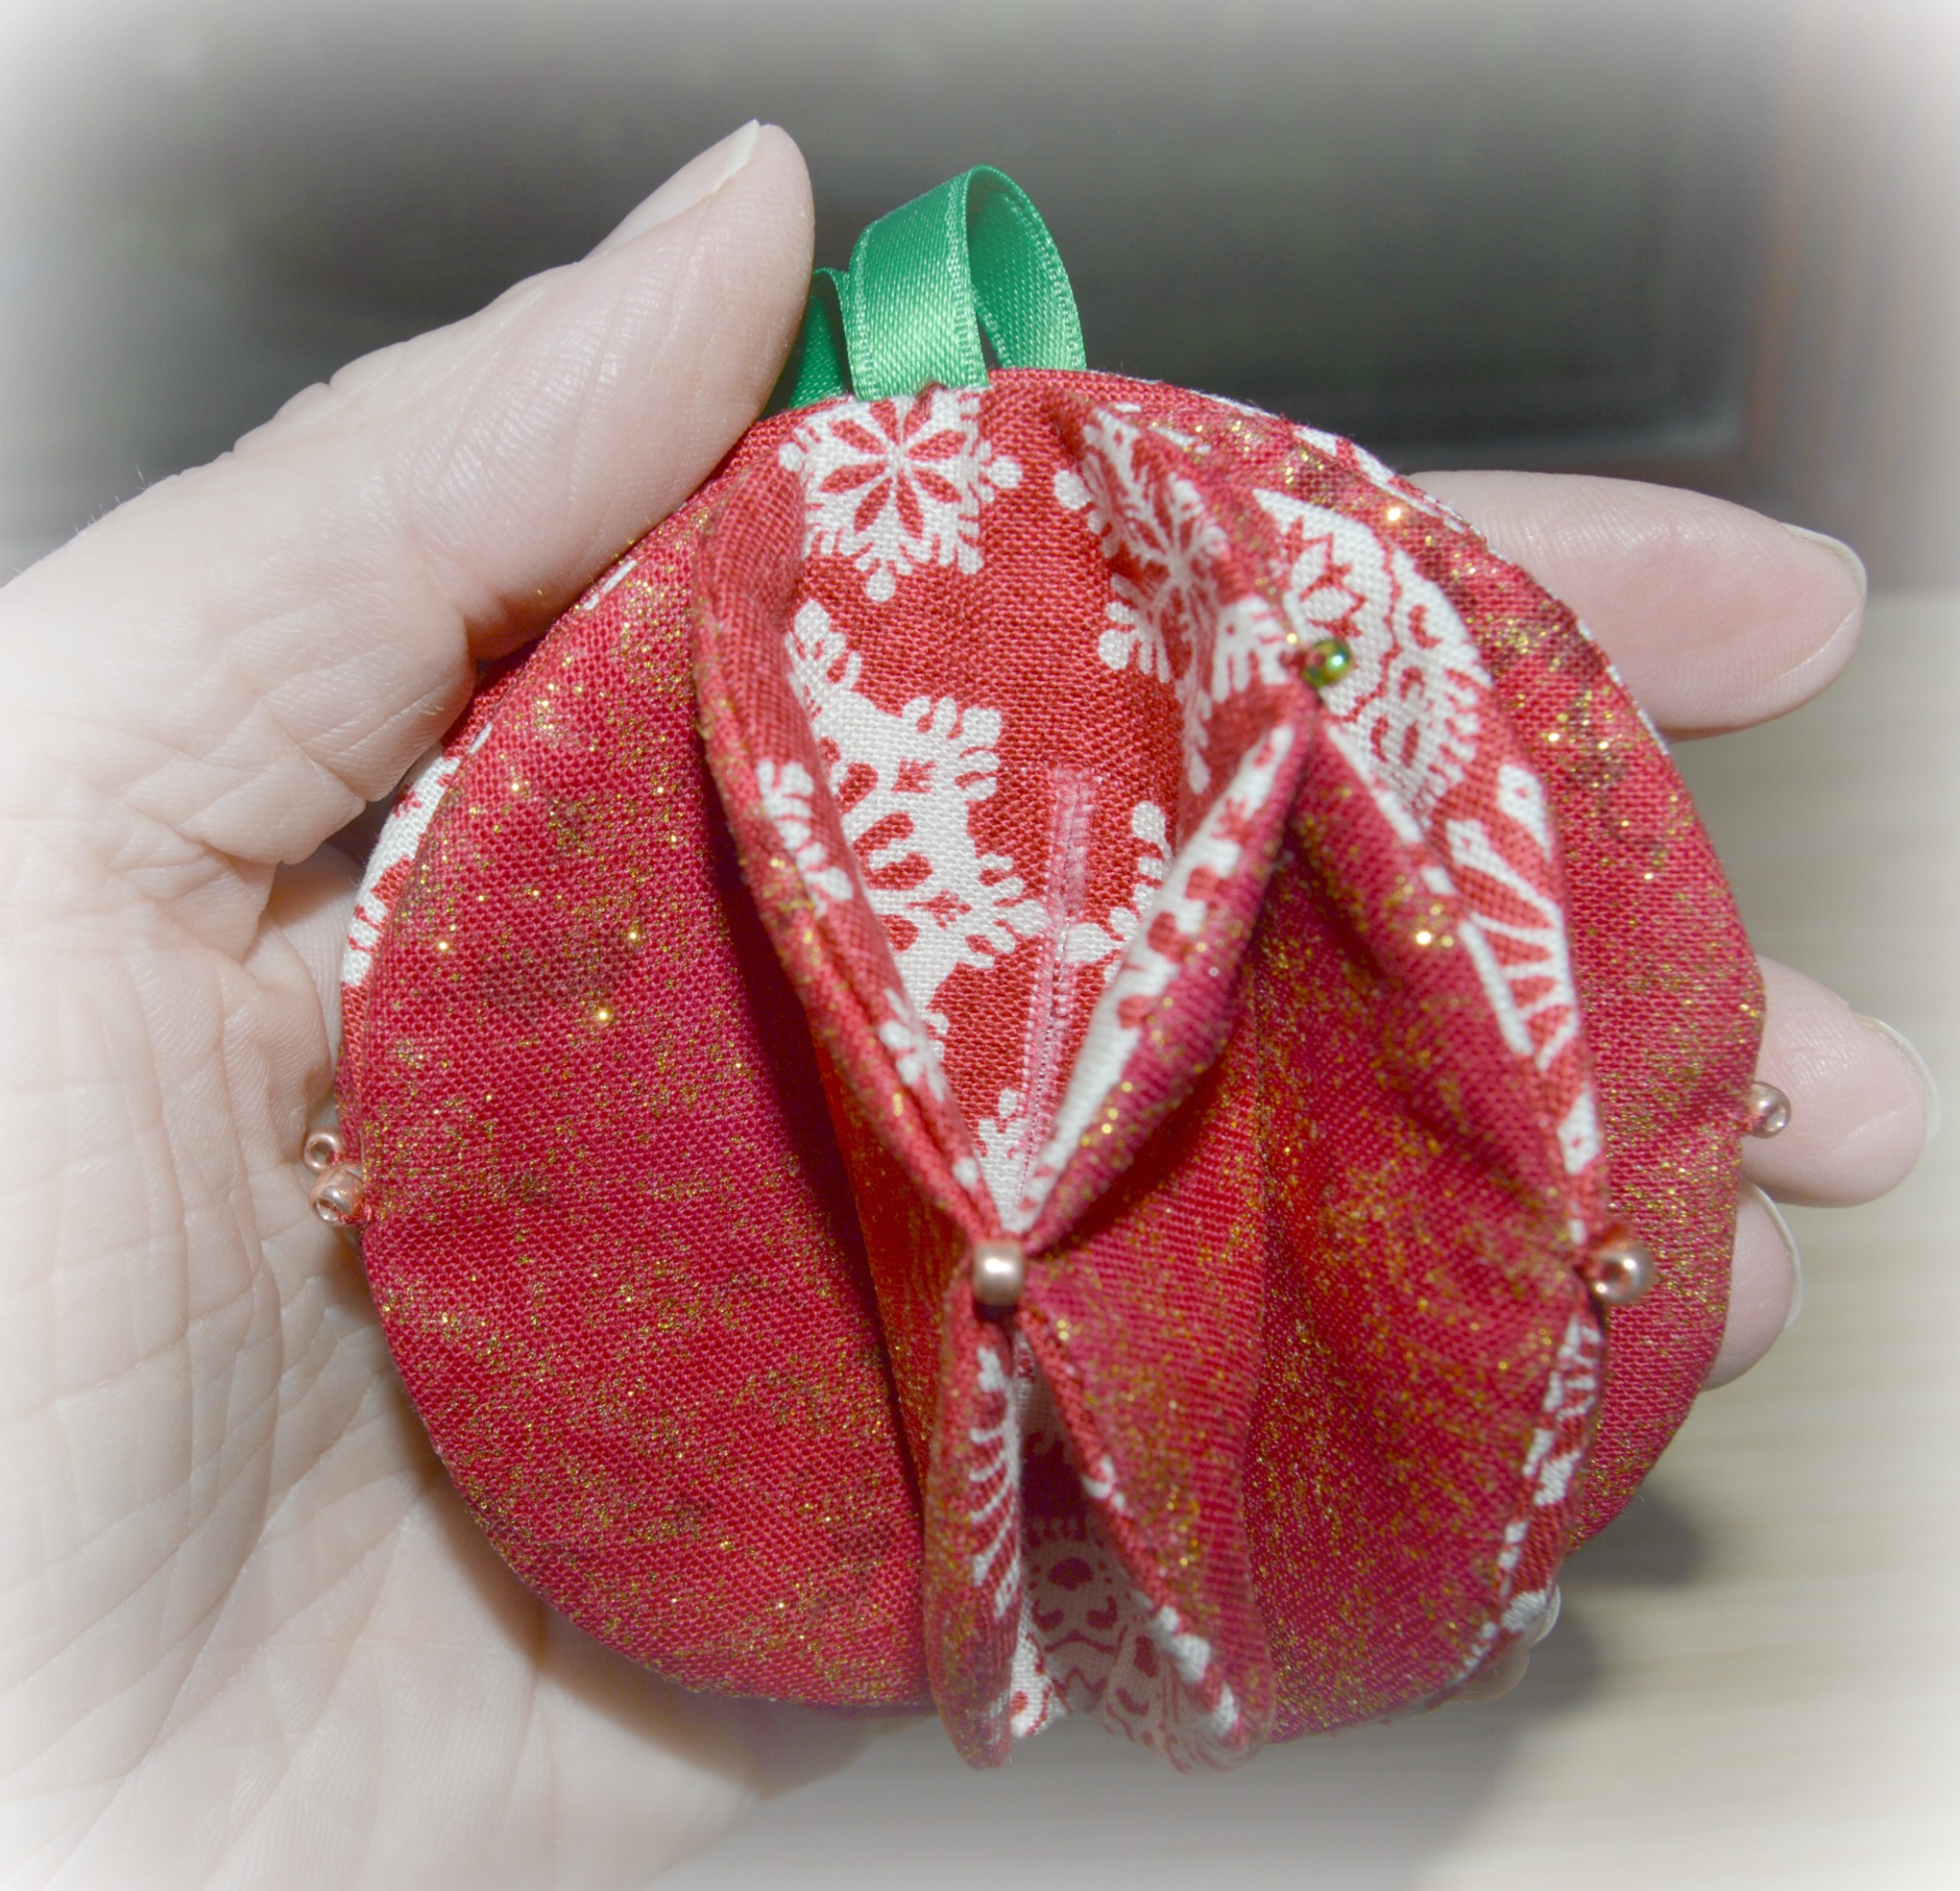
Until it looks like this, it does look a bit odd at this stage but the magic is about to happen!
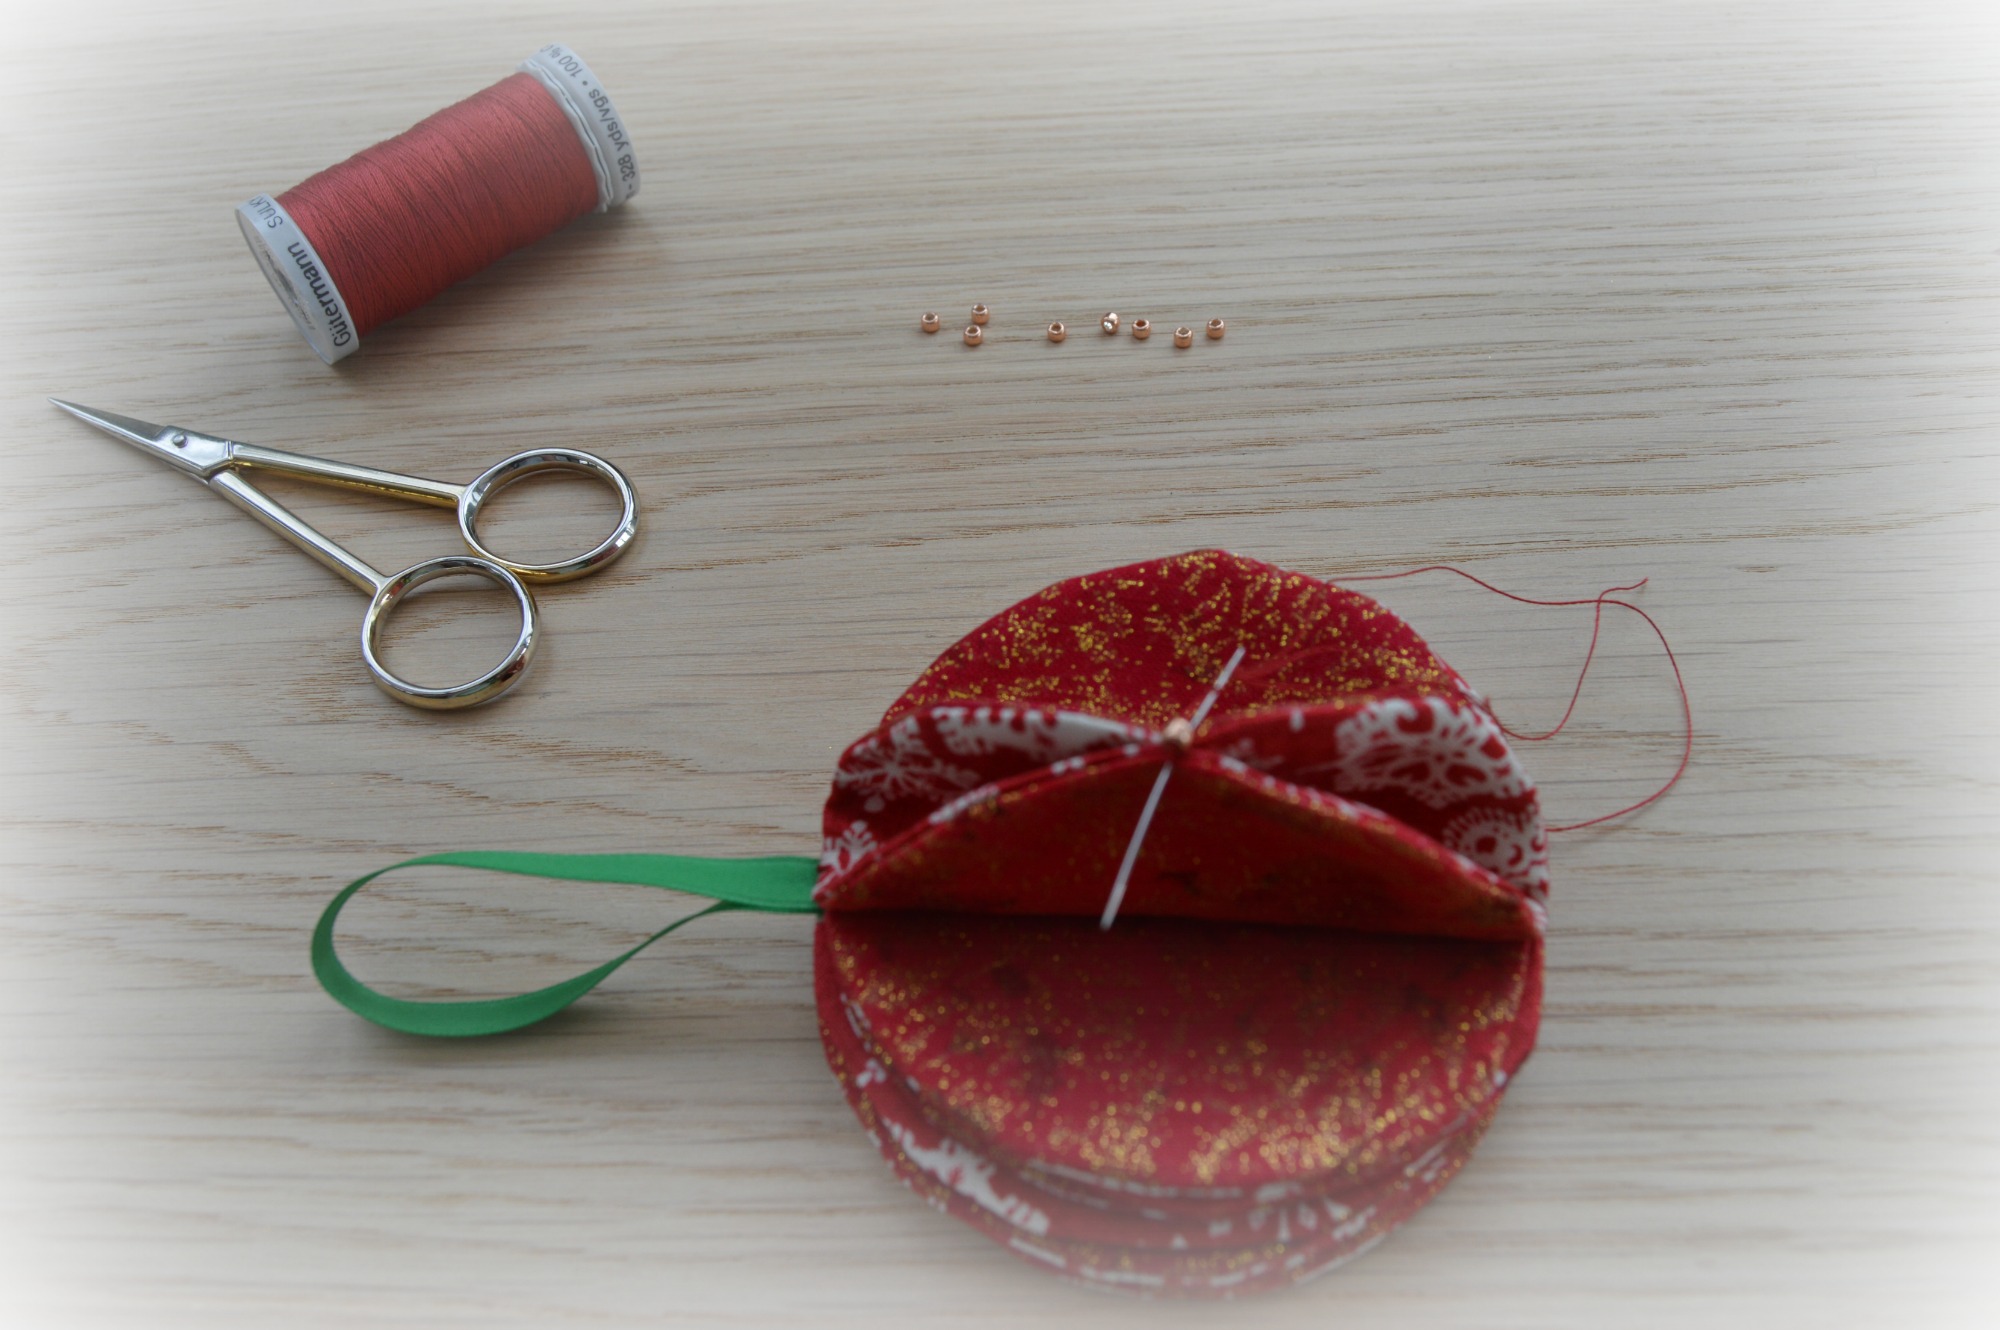
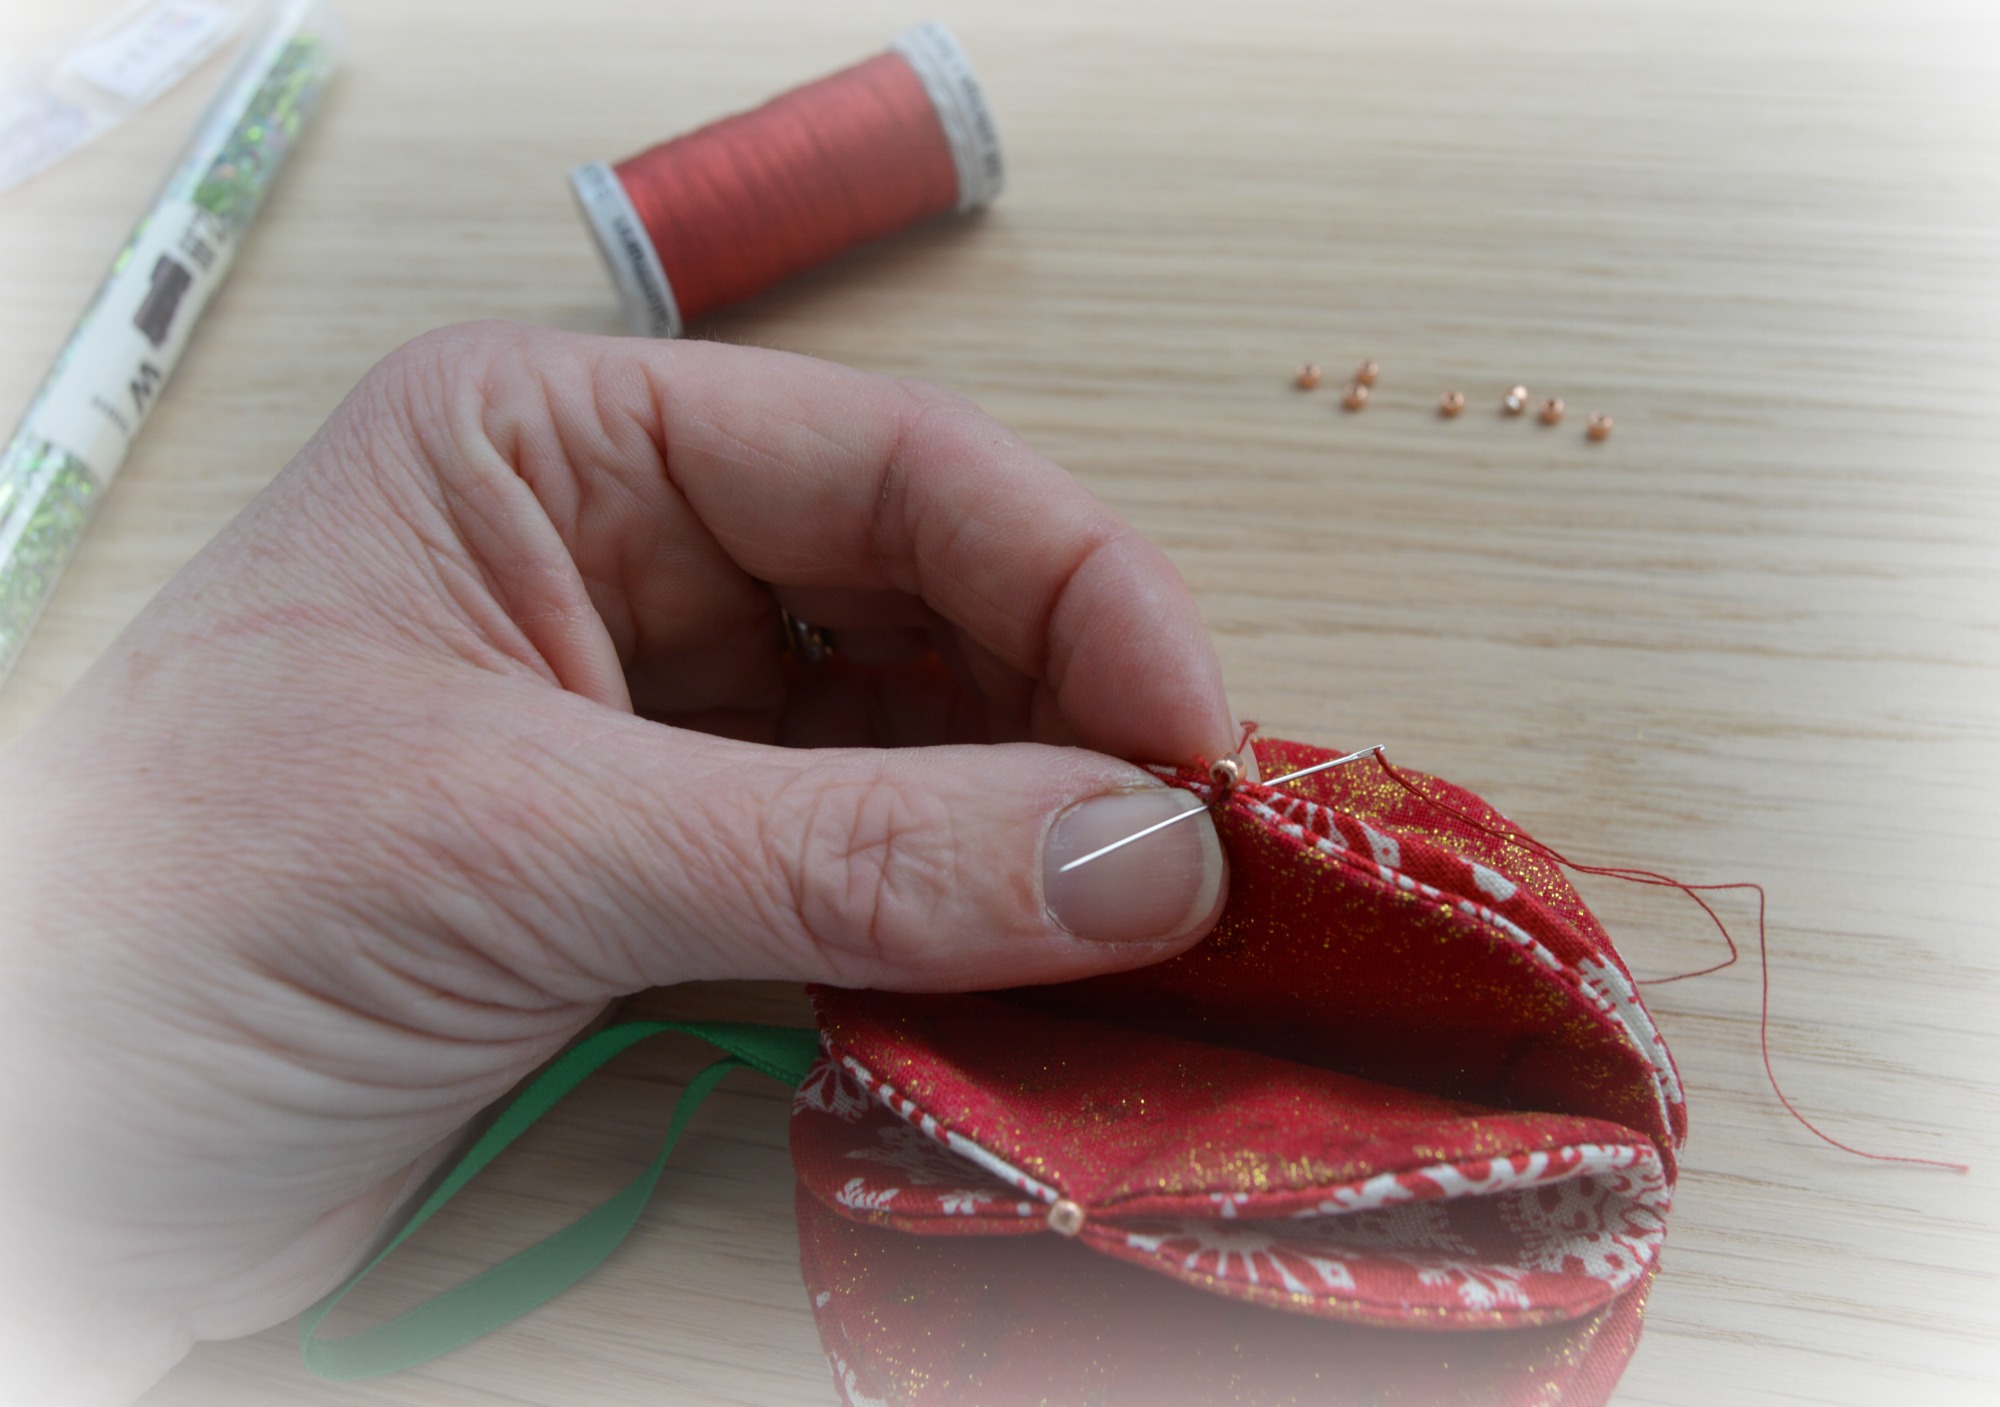
At the top pinch together the fabrics not already together and stitch (see green bead in picture below) continue all the way around the top.
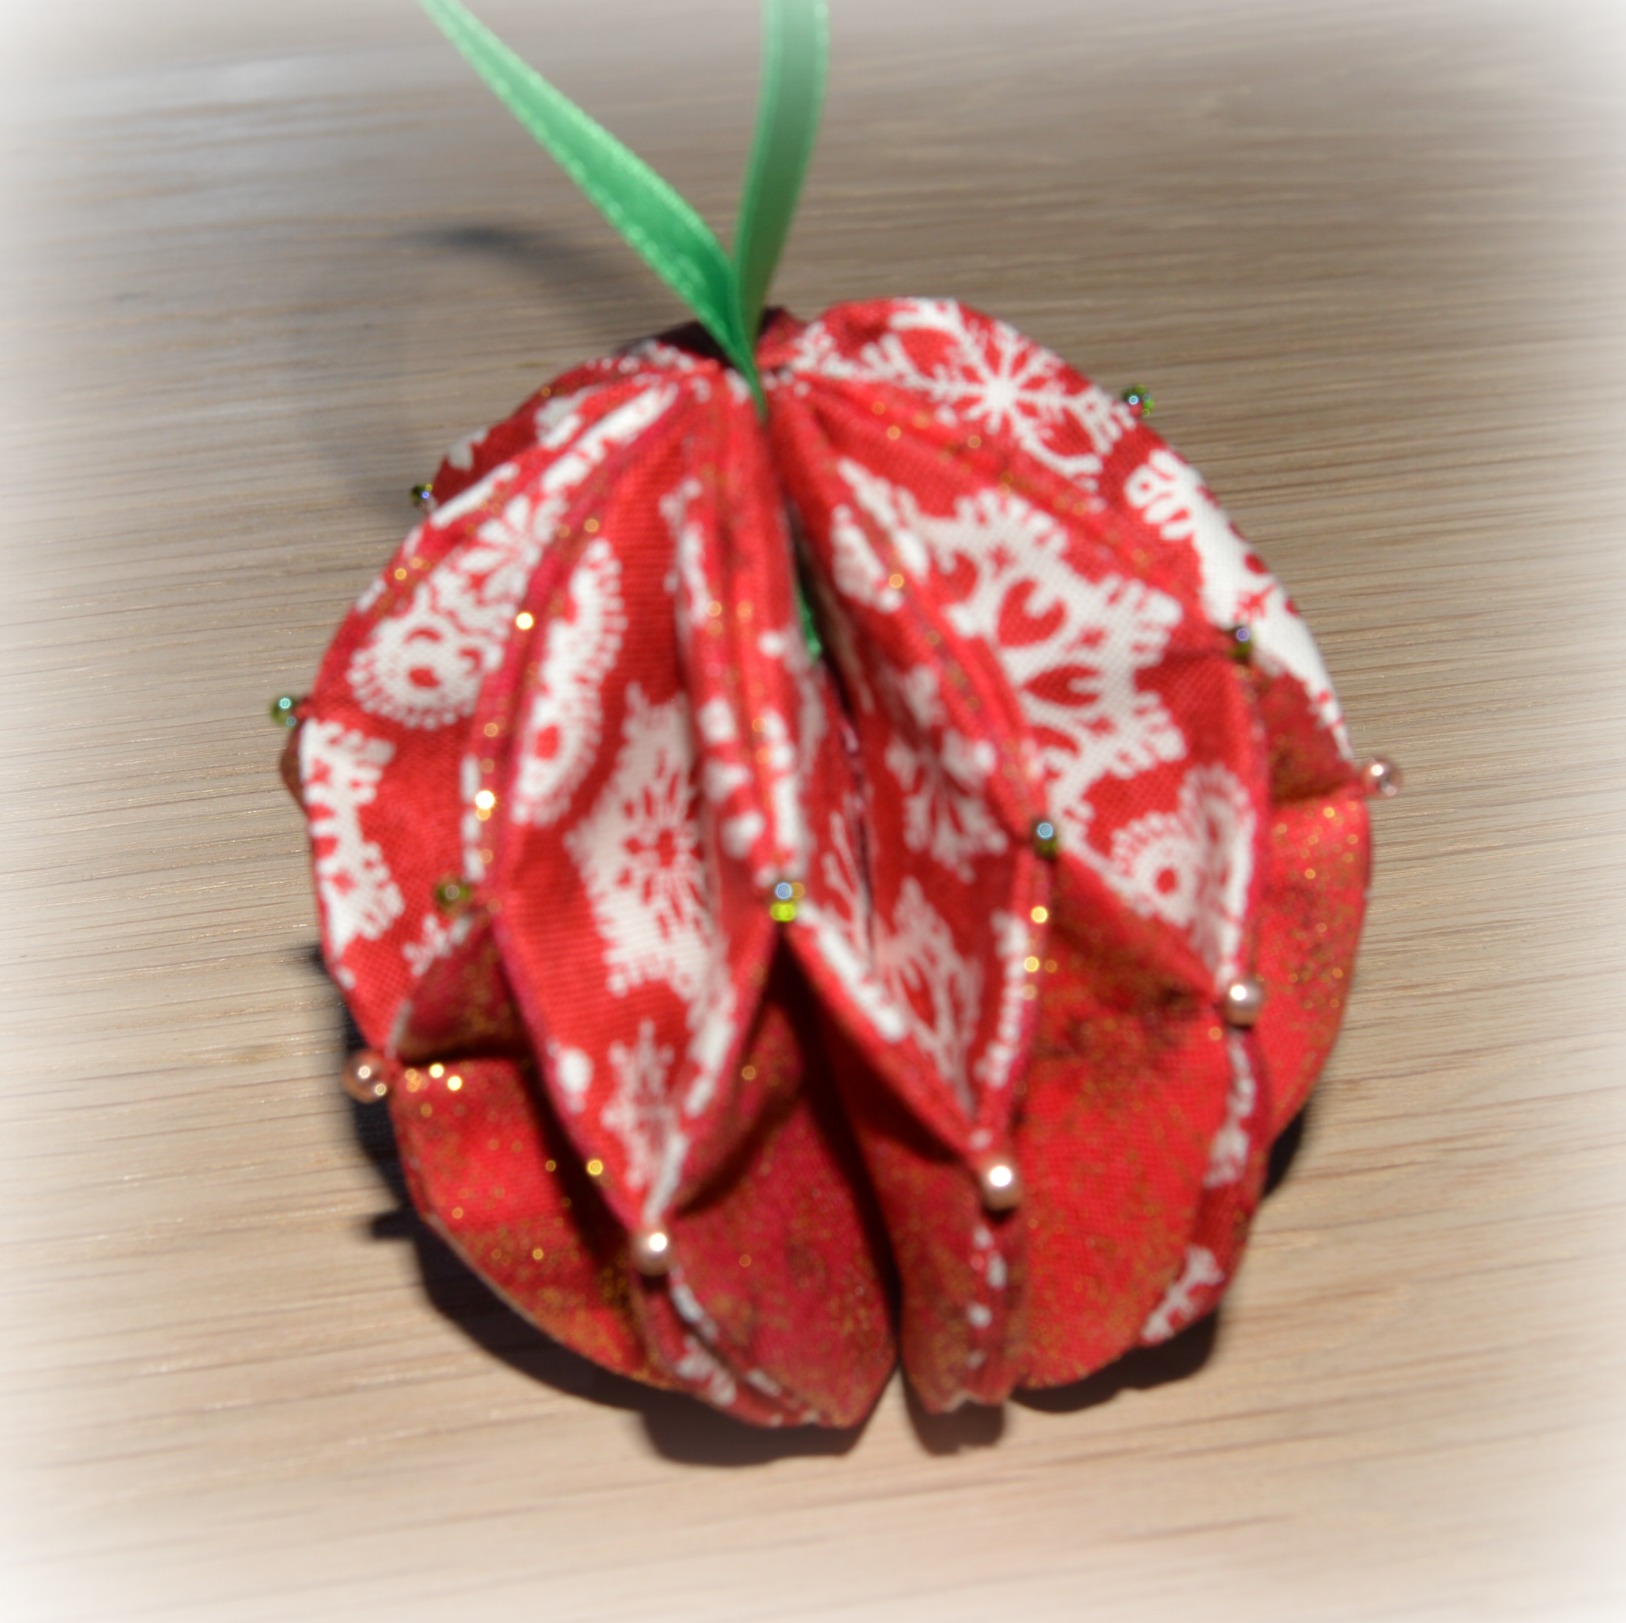
Until it looks like this. It is starting to come together now.
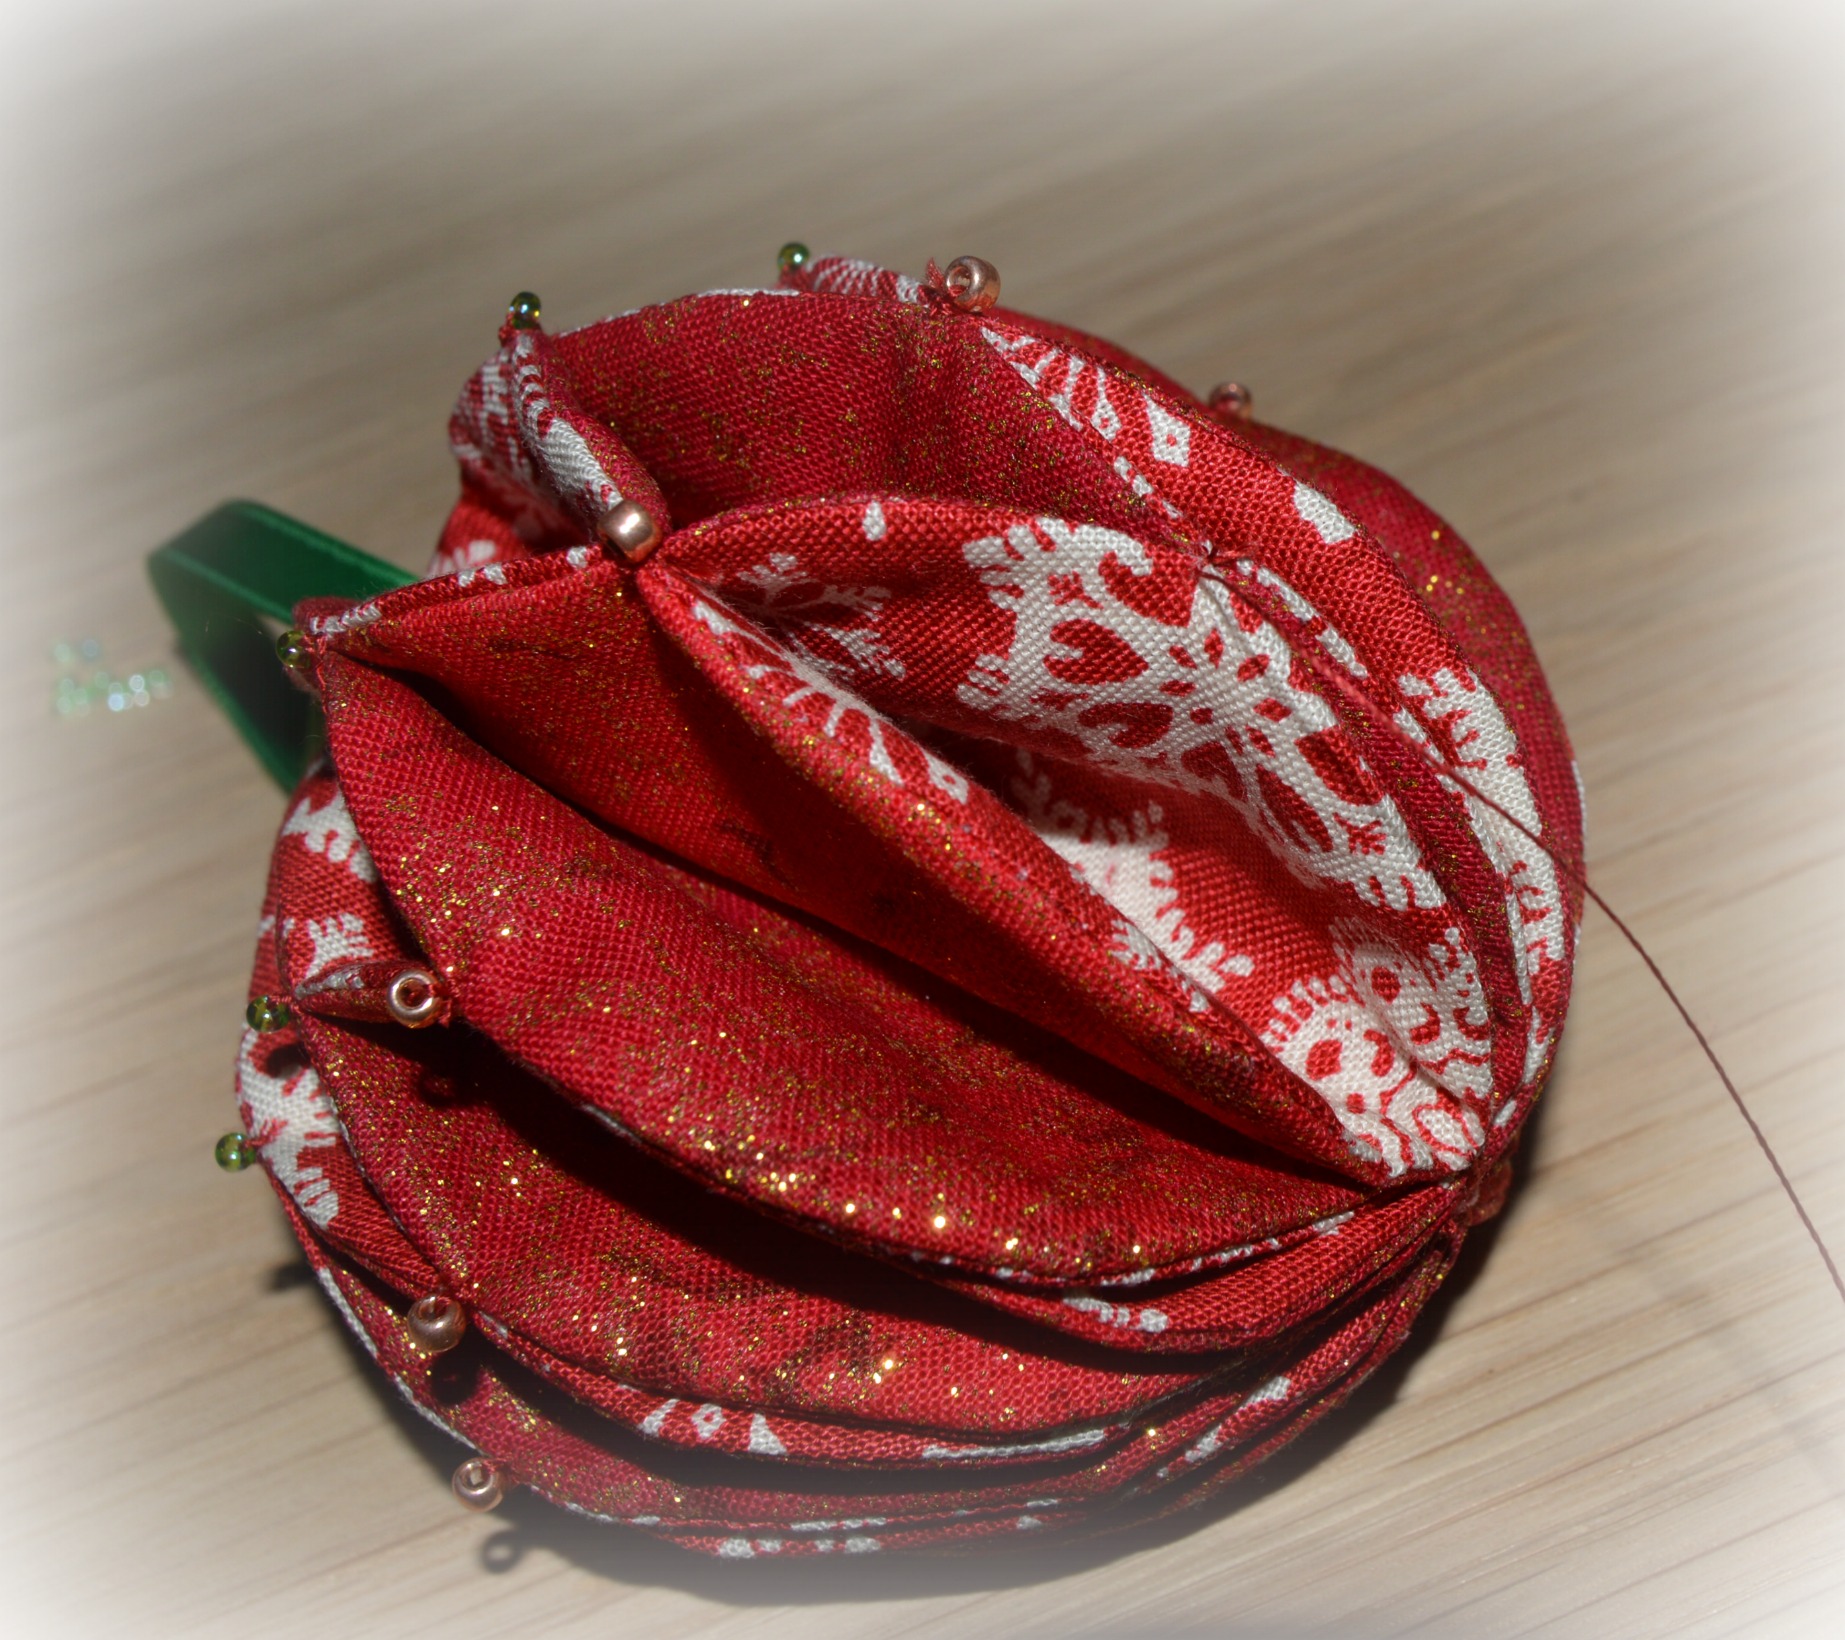
Do the same at the bottom all the way around and that is your bauble complete.
A note on bead placement you could measure the middle but I tend to eyeball it. If you are going to do four rows of beads I would start at the top and work your way down.
I hope you have fun, they really are quite addictive to make. Any problems let me know and I will try to help. I would love to see pictures up of any that you make.
Happy Patchwork Dreams
Mary
Just made a couple of these and managed to get one decoration out of two pieces from a layer cake. The inside of a roll of sellotape was just the correct size for drawing the circles
Brilliant! Could you put them up on UKQU and tag me in please I would love to see them. Hope you enjoyed making them and my instructions were clear.