I’m not a traditional quilter so my take on a bag, is to make the ornamentation first. So here’s how to make a panel that can be attached to any bag including the simple shopper in my next instalment.
Create your design. My finished panel is approx 10 inches square. If you can draw your own, do, if not trace an image you like or copy mine. I decided to make myself a bag for the beach as I live by the coast. Your design can be anything you choose.
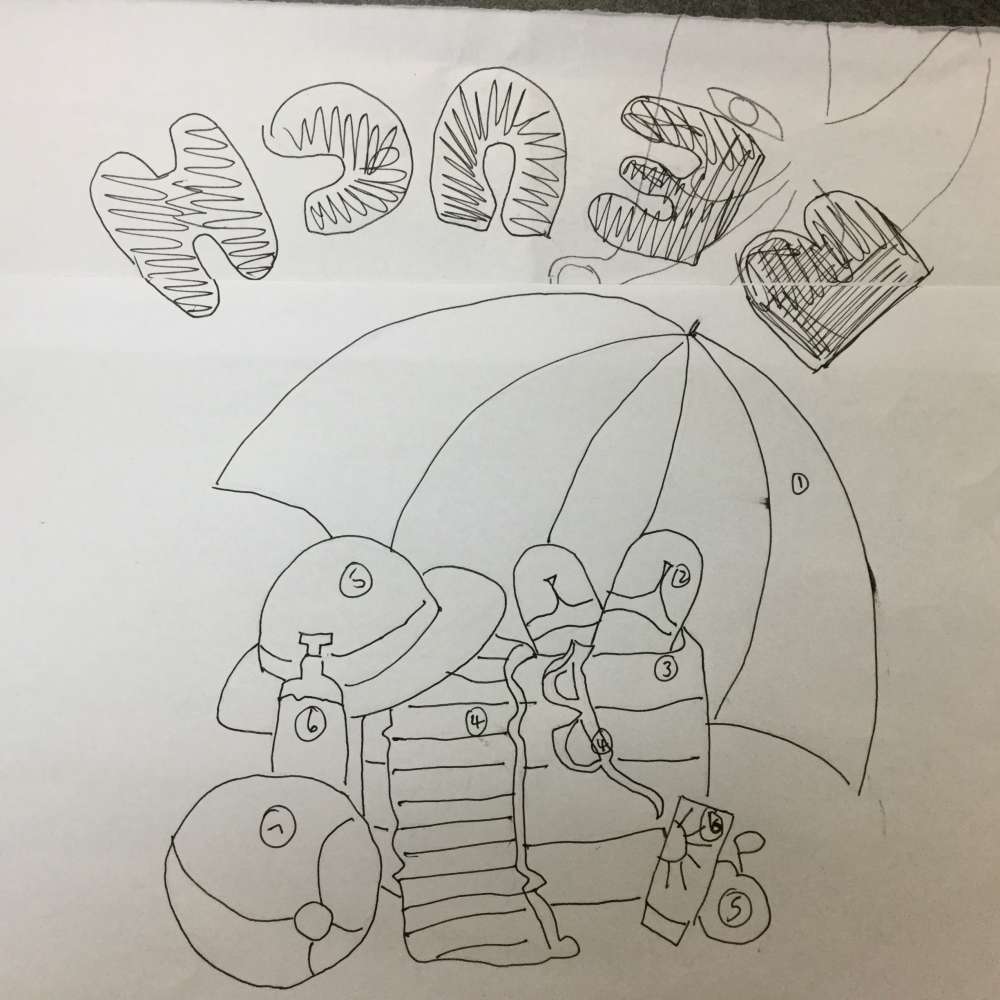
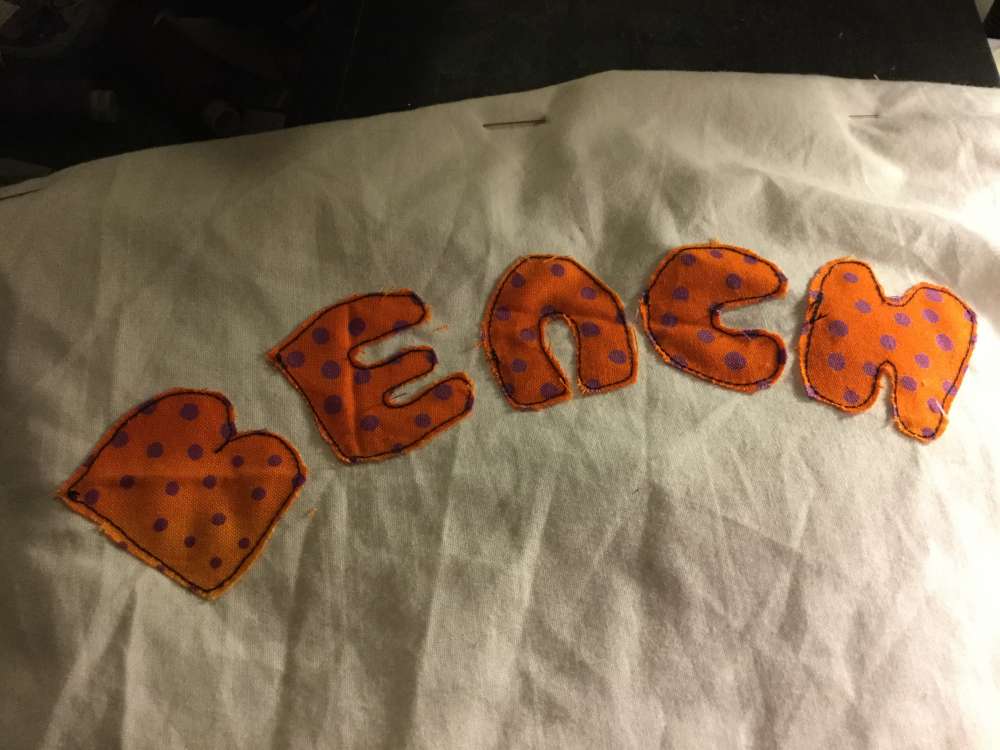
As you can see on my design I have numbered the order in which to add the appliqué. Working from the back to the front , as a painter would. Remember to reverse any text if working from the back of the panel as I do.
Layer up your background fabric and wadding and a thin layer of fabric over your wadding. If working as I do from the back of the panel pin on your design. If working from the front, trace the individual elements of your design. Cut from fabric and appliqué in the order shown, I would used a small satin stitch on my machine to stitch each peice down. You could hand sew them down if you wish.
Remembering to work from the back of your design to the front gives the illusion of depth.
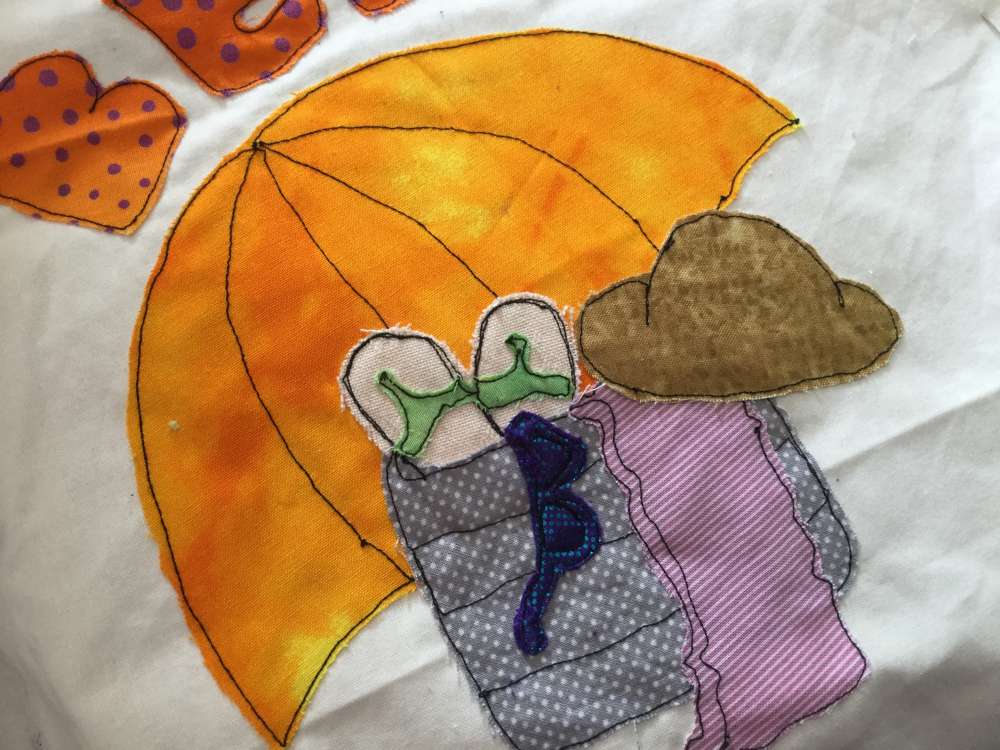
If you are working from the back of your panel, start at number 1 apply your fabric to the front of the panel and stitch from the back, trim up to the stitched line. Continue in this way until your design is completed.
If you wish to quilt the background of your design, or to add further embellishment now is the time to do it.
Now you have a choice. You can now bind the panel or finish in any way you wish.
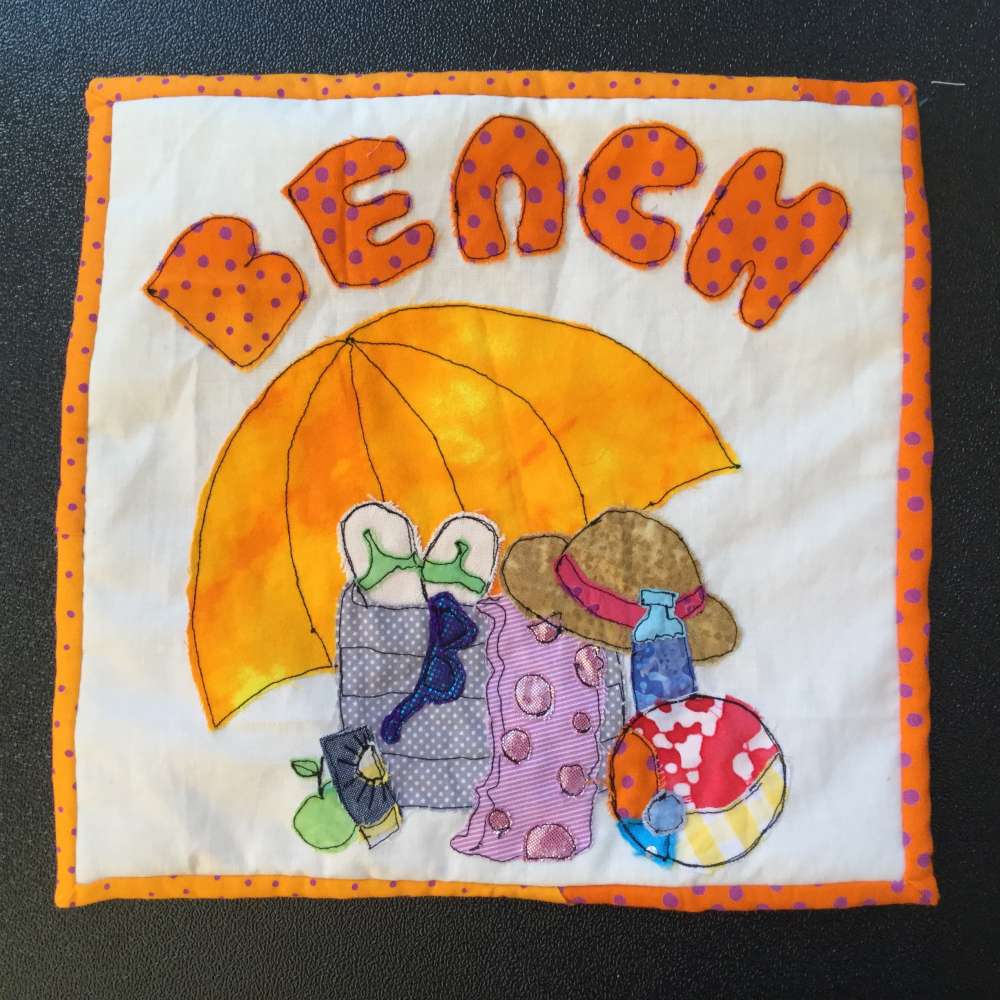
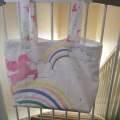
The completed panel.
Next time I will show you how to make a simple shopper on which to apply it as well as other ideas for your shopper.


Responses