With your panel finished, it’s now time to choose the fabric for your bag. I have chosen a simple canvas, to show off my panel, you can choose a plain or patterned fabric. I cut my fabric to 38×19 inches. Yours could be smaller or larger depending on what you wish to use it for. I also cut 2 pieces 20×4 1/2 inches for the handles. This makes short handles, if you wish yours to be longer do make them longer.
Fold over the bag fabric and press.
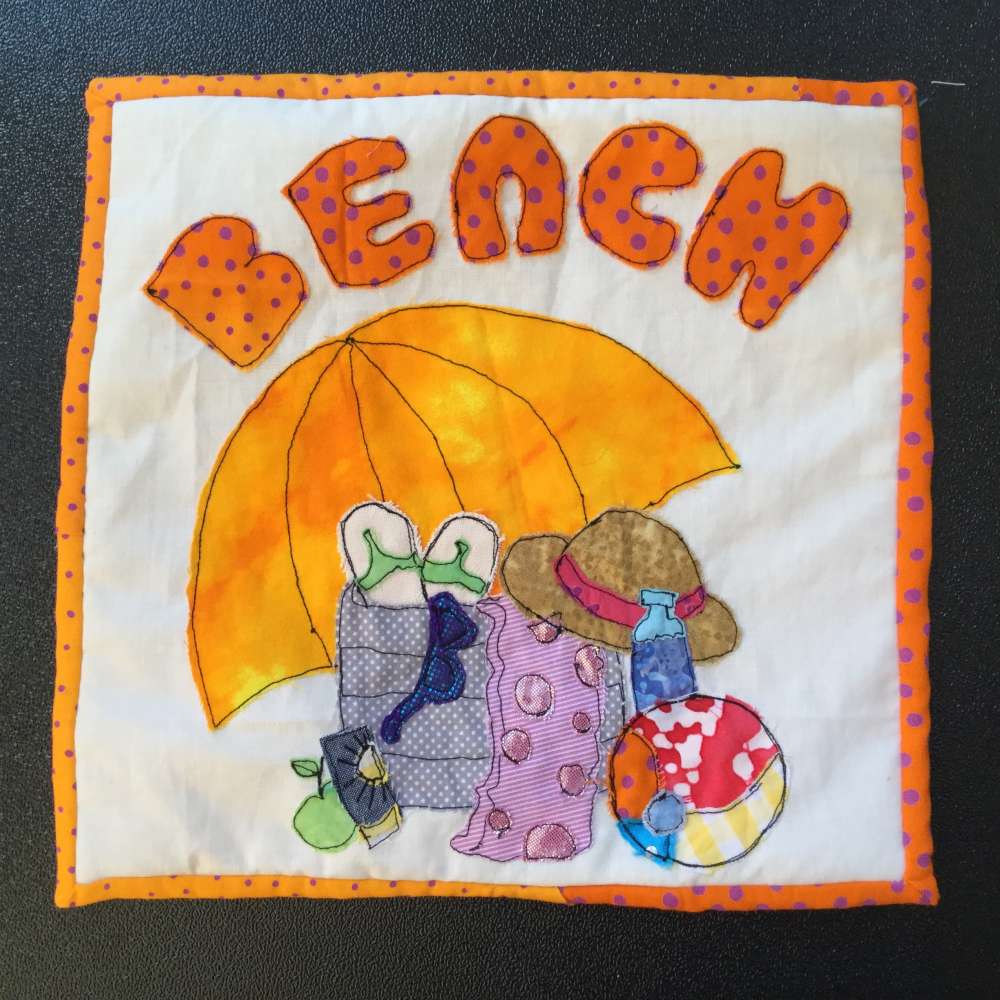
The first thing to do is to hem the top edge by folding it under twice and stitching along the hem. Then you need to decide where the panel is going to go. It’s at this point if you wish to have an internal pocket you can attach it to the wrong side. I pinned around the panel on the right side , removed the panel and turned the fabric over and attached a pocket, within the line of the pins. A simple patch pocket made from a single piece of fabric.

I then turned the fabric back over and attached my panel, covering the stitching made by the pocket on the inside

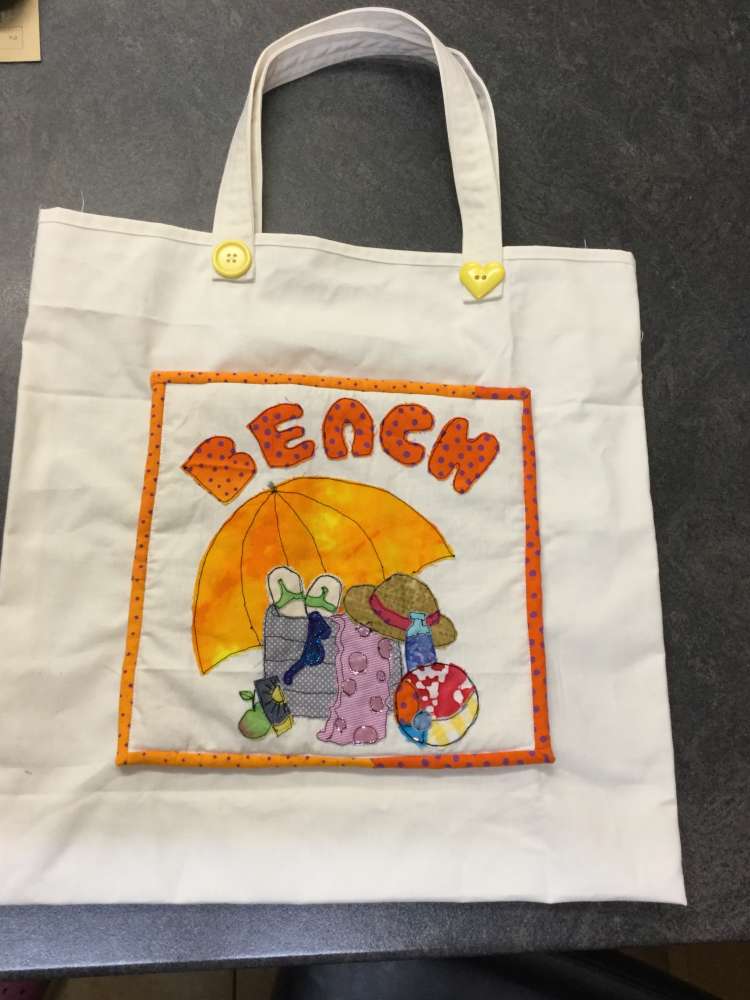
In hindsight, I wish I had created my panel on fabric and a stiffener, not on batting. It’s a little chunky. I also, when attaching the panel stitched only a little way along the top, creating another pocket on the outside.
Next the handles. I chose to make fairly short handles. If you wish your handles to be longer go ahead and make them longer. Fold in half lengthways and iron a crease down the middle. Open out, and fold the two sides into the crease. Fold in half again and stitch. I stitched 4 parallel lines form top to bottom.

Position on the top edge of your bag and pin. Then stitch.
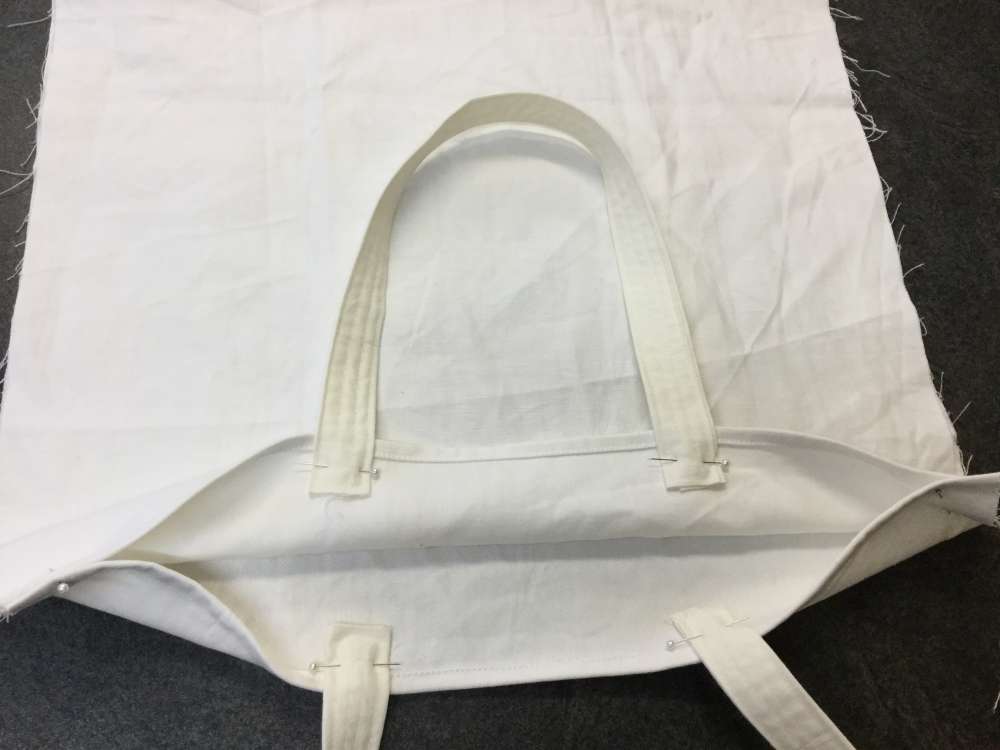
Turn the fabric right-sides together and stitch up both sides. Your bag is done.
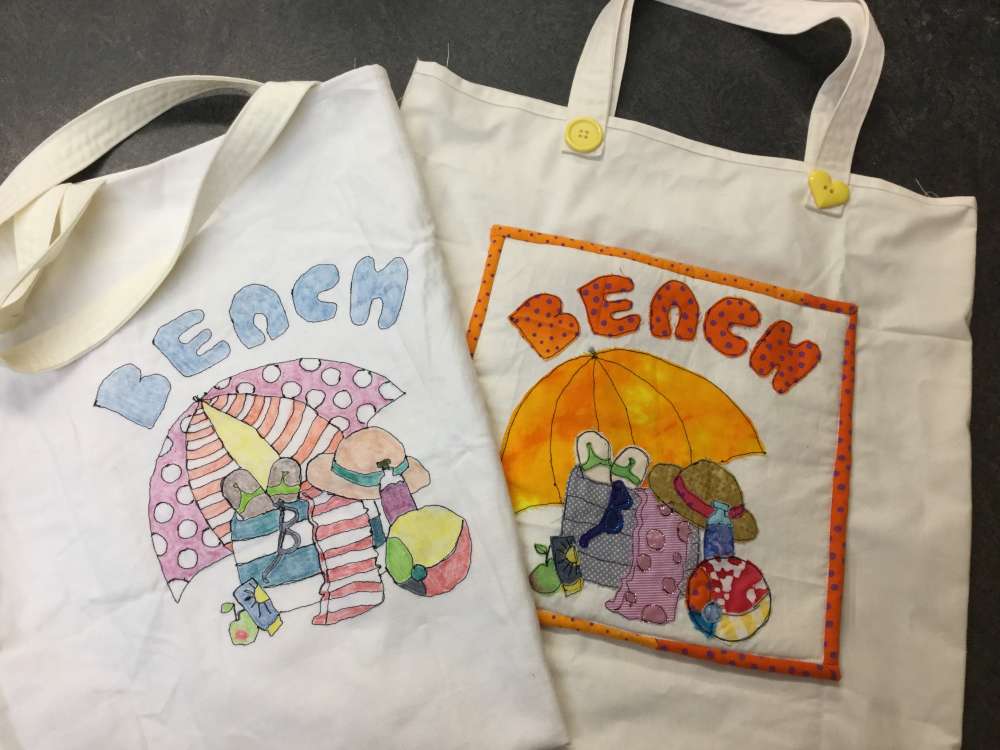
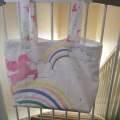
I also made a second bag, this time I stitched the design straight onto the fabric, it could be left just like that and the bag completed, I decided to colour in my design with Inktense Pencils. Paint would be just as effective, esp if added to a textile medium.
Further ideas.
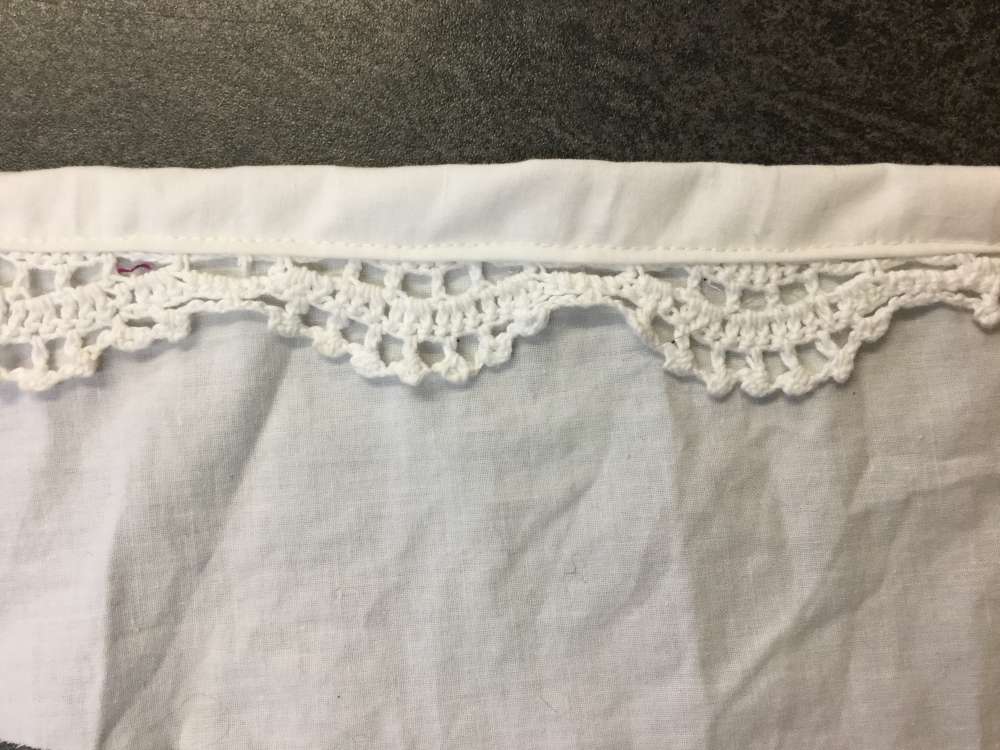
When stitching the top of the bag, you could use a contrasting thread. The hem line could be stitched to the right side of the bag and used as a feature, even trapping lace, braid or another fabric in it.
The handles can also be stitched to the right side and be made a feature, or add button to the place they are attached.
The handles could be stitched with a contrasting thread or made from a contrasting fabric. Once you start thinking about it, any number of variations can be made, which will make your bag your own.
I hope my panel and simple bag has encouraged you to have a go. I look forward to seeing your results.


Responses