Hello all you lovely UKQU members and fellow bloggers out there. Where has January gone? I can’t believe its been a month since I last blogged!
This time I thought it would be interesting to talk about the quilt as you go method, which is referred to as QAYG.
Many people who don’t share our hobby think patchwork and quilting are the same thing, but we all know that they are two completely different skills. Some people like just the patchwork, others just the quilting, while some of us like both.
I like both aspects, the patchwork and the quilting, and although my Janome machine has a wide throat and an extension table for easier quilting, I would struggle to quilt a full-sized quilt while it is in one large piece. In fact, if I am honest, I just wouldn’t attempt it…. yeah, yeah go ahead and call me chicken!
So how does the QAYG method work you ask and is it easy to do? Before I tried the method, I watched a video on YouTube about it, (which I would highly recommend, just type in quilt as you go in the search bar). I needed to watch it several times and make notes to understand the process. Initially it looks harder than it is, but once you get your head around the process you will love it! Basically, the QAYG method is ideal if you are building up a collection of individual blocks to make into a large quilt, the blocks are all the same size, and you want or don’t mind having sashing dividing each of the blocks.
I will try my best to break down the process for you, and include pictures as I go along.
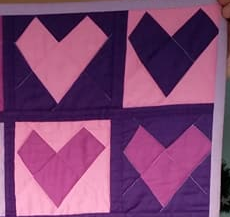
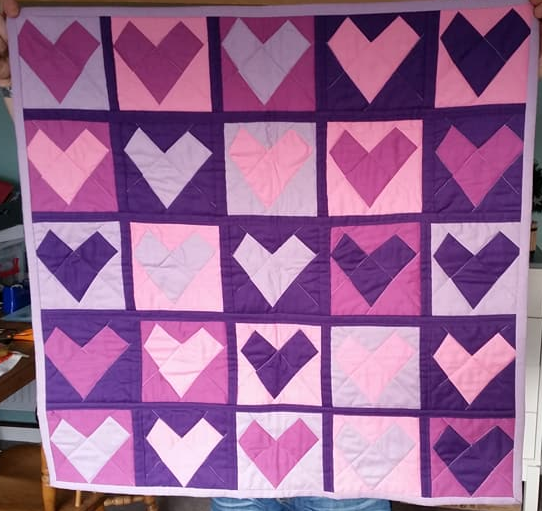
1) Quilt all the blocks that you wish to have in your quilt before you begin joining them together. This picture shows four of the blocks from a lap quilt that I made using the QAYG method to join the blocks. I used the stitch in the ditch method to quilt the blocks first.
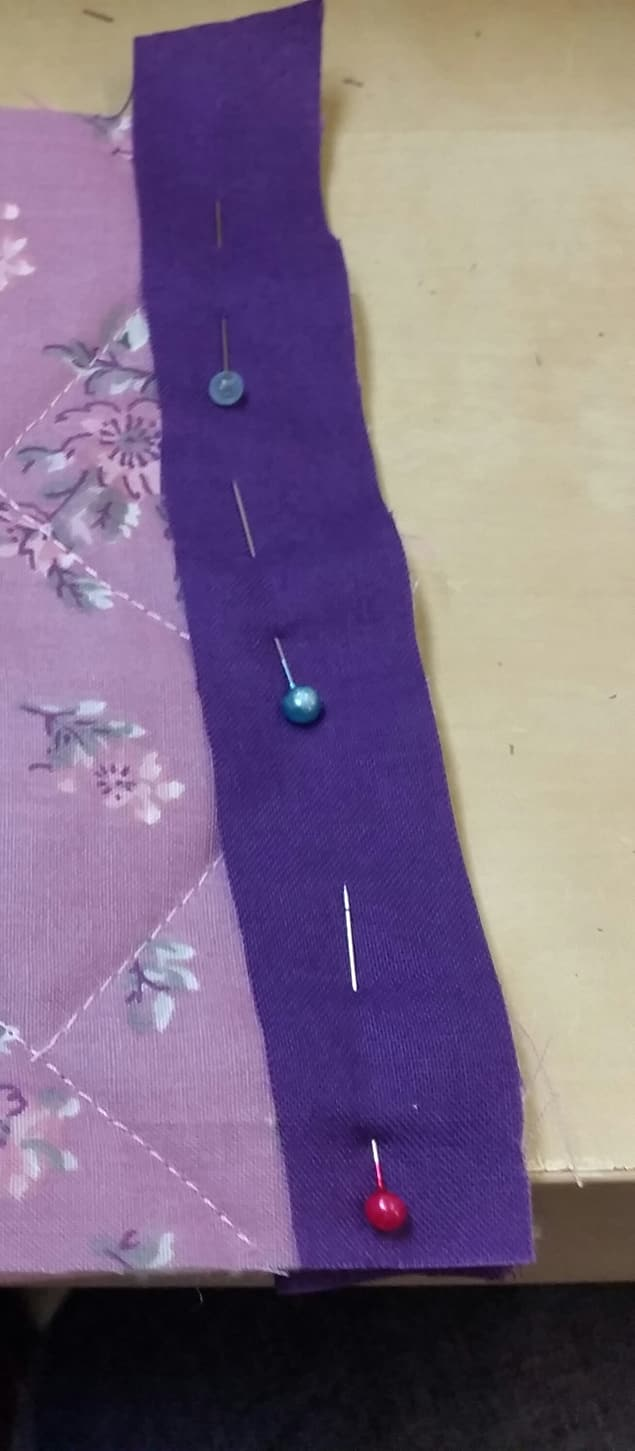
2) Cut two strips of fabric the length of the block, one 1” wide and the other 2” wide. Iron the 2” strip in half.
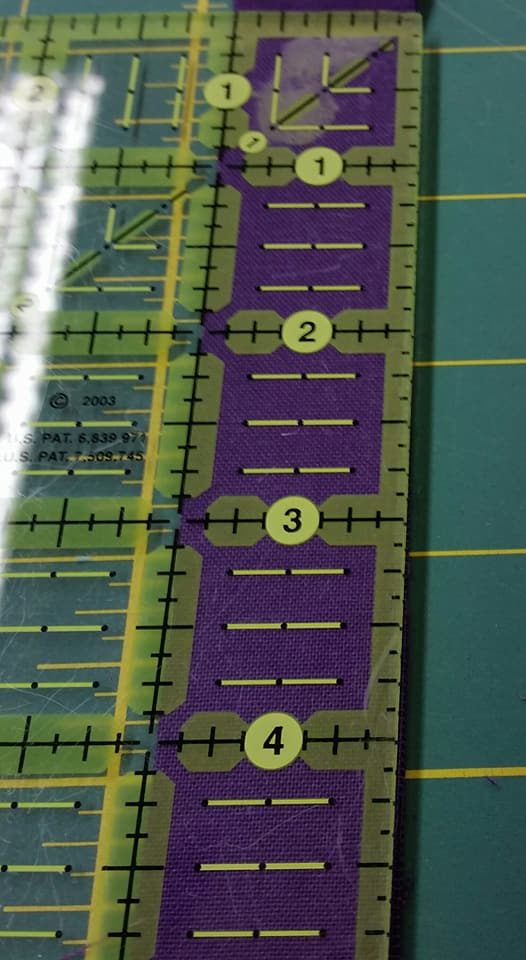
3) Pin the 2” strip to the front right-hand side of the block ensuring that the raw edge of the strip is aligned with the edge of the block. Pin the 1” strip to the reverse of the block, aligned with the strip on the front. Sew down the right-hand side of the fabric to secure the strips using a ¼” seam allowance, removing the pins as you go.
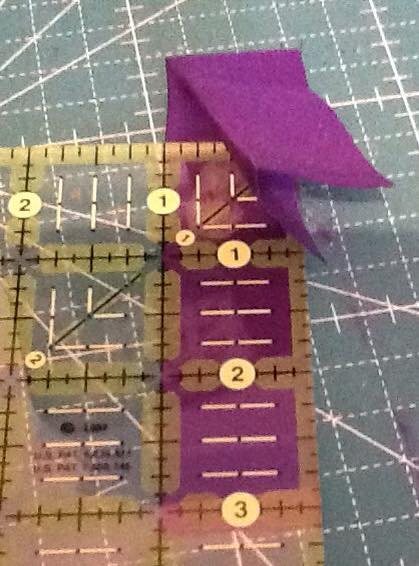
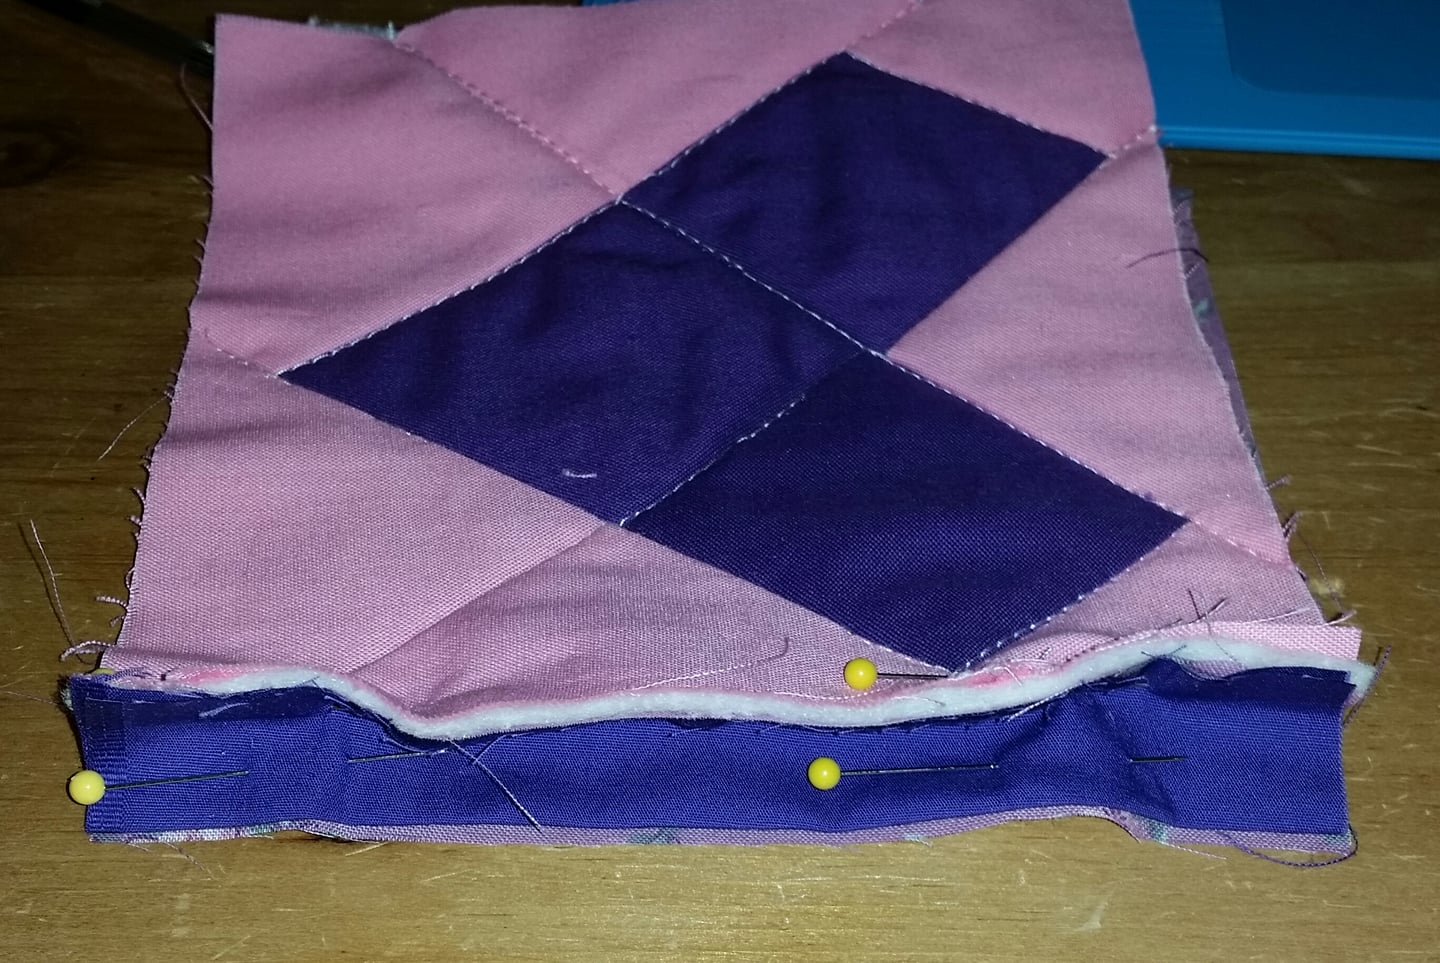
4) Remove the pins and attach the rear of the next block by pinning the end of the sewn strip to the rear of the next block (see picture) and sew ¼” down the side, removing the pins as you go.
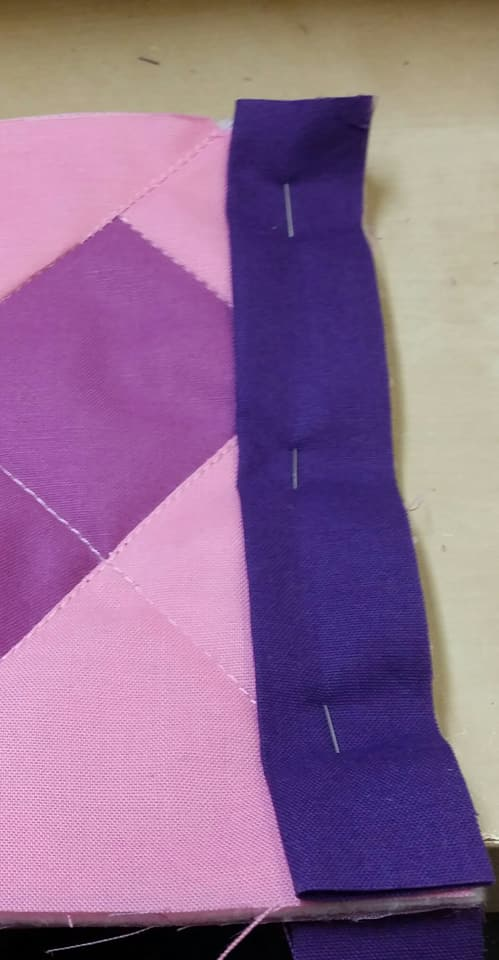
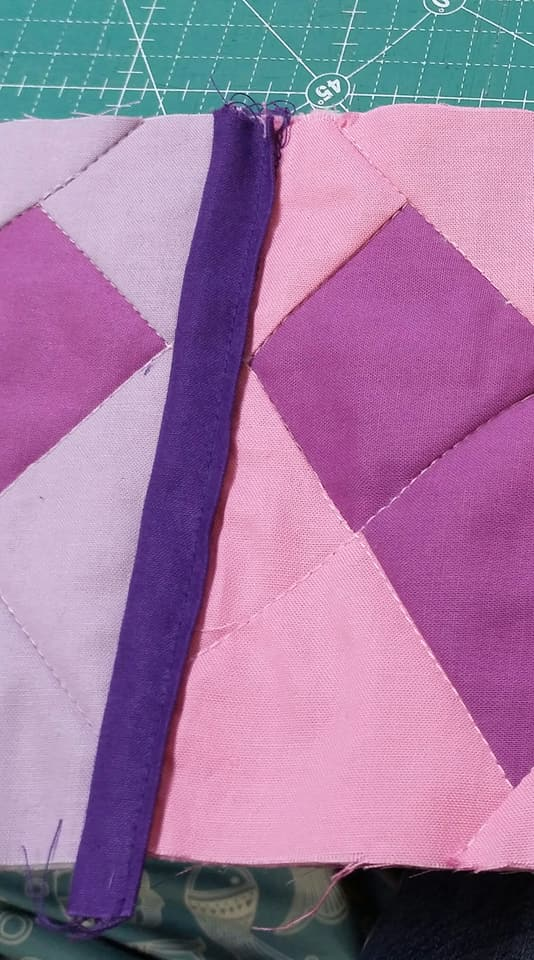
5) Open the two partly joined blocks. The blocks will then jot up together. They should look like these two blocks in the picture below.
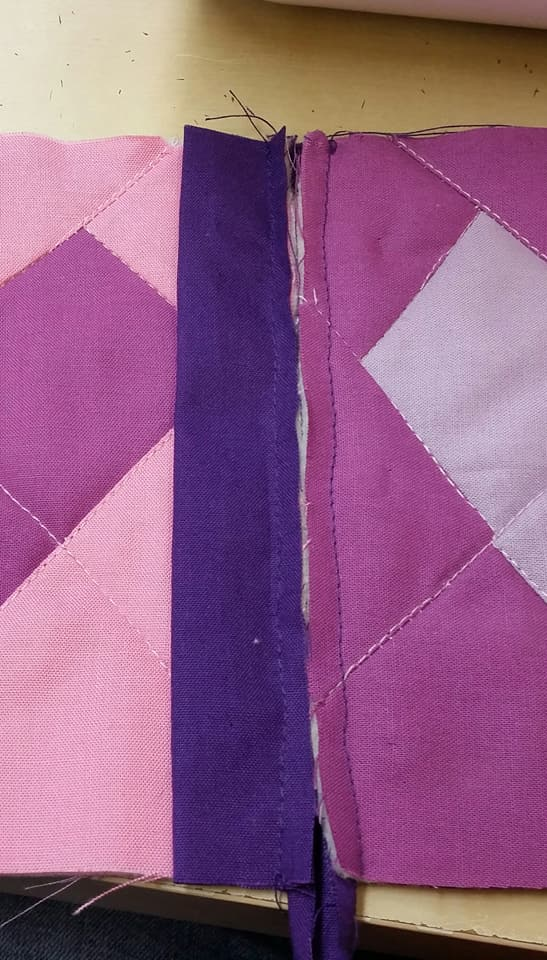
6) Pin the remaining unsewn strip on the left-hand block onto the right-hand block and sew ¼” in from the right-hand side.

7) Continue the QAYG method to create all the rows for your quilt. Once you have done that, join the rows together using the same method. Eventually you will have a finished quilt, that you have managed to completely quilt on your domestic machine!
If this explanation isn’t very clear (and I have probably just confused you all!!), watch the QAYG videos on YouTube. There are some great ones on there.
Alternatively, feel free to leave me a message and I answer any questions.
Happy quilting folks!

This makes great sense to me, clear instructions and the pics help too. Thank you.
Thanks for the kind comments Carol. So glad the it made sense to you and that the pictures helped. It’s surprising how difficult it was to break it down into step by step instructions!