Following on from my 12 Days of Christmas –overview blog.
On the twelve’s days of Christmas the sewer gave to me: 12 layers of Christmas tree.

This is the first step-by-step guide to the 12 layers of Christmas tree.
For the most part I am presuming you know how to hand sew and or use a sewing machine. So this will not be a how to make each stitch.
You will need:
• 1 Button
• Fabric or felt for the tree
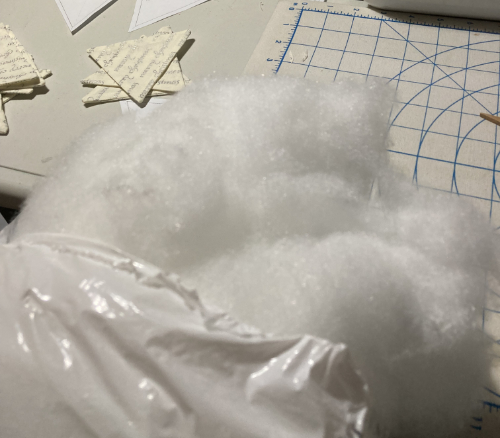
• Stuffing ( I used toy)
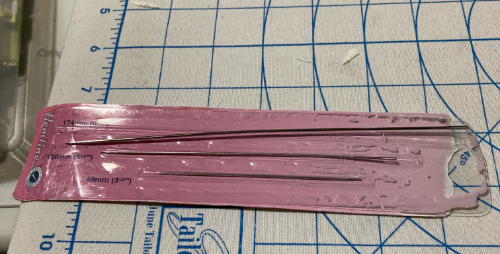
• Needle and thread for hand sewing
• Scissors
• Machine and thread if choosing to machine sew as well
• https://ukqu.co.uk/shop/free-patterns-and-tutorials/triangle-charismas-tree-pattern/
• Printer
• Dolls needles (optional)
I made this tree on the go therefore; it was a work in progress as I went along. I drafted the patterns so that they would fit on an A4 size paper and that you could print it at home. I also took into consideration of the time factor, and that I did not have long to play. The whole thing was made over the weekend including the ornaments.
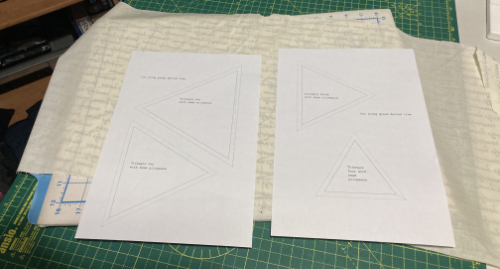
Once you have your supplies ready and pattern printed out, it is time to begin.
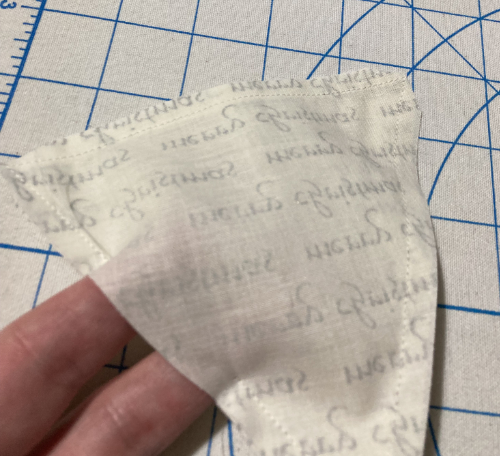
For the tree itself I chose fabric and machine sewn the layers together. You will need six pieces for each size triangle except the top which you will only need two. I did consider using felt for the tree and edging with blanket stitch. However, due to time constraints I opted for the sewing machine. If using a machine, make sure your fabric are right sides together –the side you want on the finished outside – before sewing up.
Cut out your pattern and fabric then sort the layers into pairs and sew together. Remembering to leave and area un-sewn for turning out – if using fabric – or open if using felt. I chose to do the base of my tree circle in felt, this layer will remain unseen and felt does not fray.
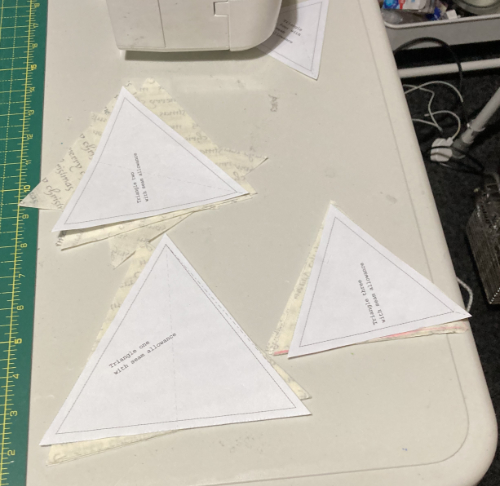
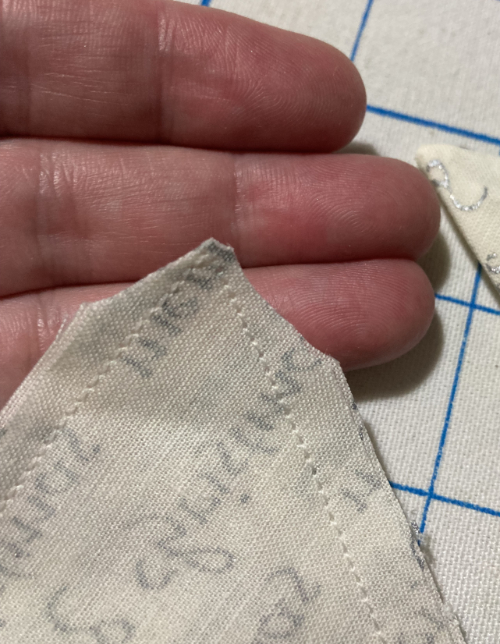
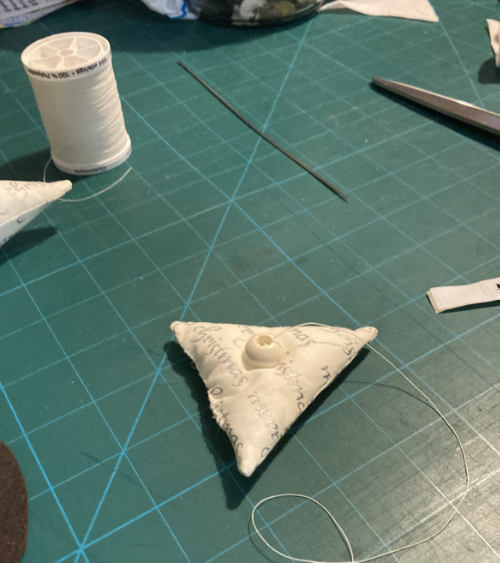
If using a sewing machine you will need to cut your points of your triangle before turning out. See image below. It shows how I have cut the fabric away from near the point of the sewing but not into the sewing itself.
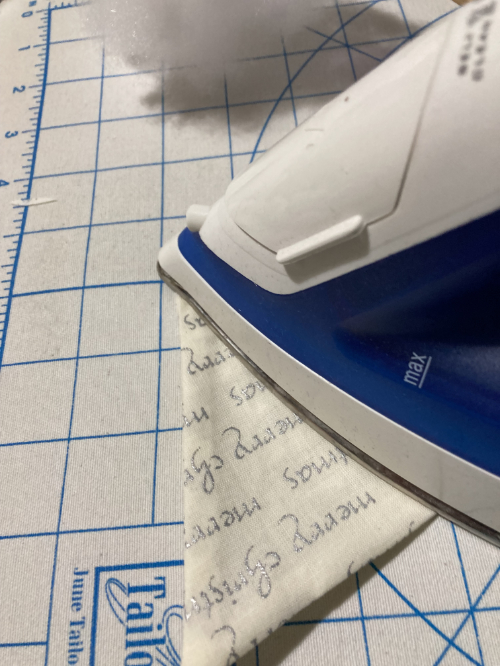
If using fabric turn the right way out and iron, if the fabric you choose will allow heat. I find this gives a nice crisp edge and helps with those points.
Stuff each triangle to the required thickness you like, I gave mine a medium stuff. Then close up the edge with a ladder stitch. My ladder stitches are not as neat and I reinforced with a whip stitch. You of course can choose whatever stitch works for you.
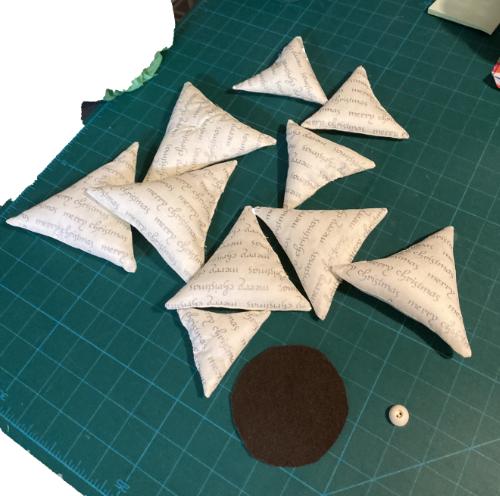
Sew the button onto the centre of the smallest triangle. Regardless of what size needle you choose to sew the rest of the layers with.
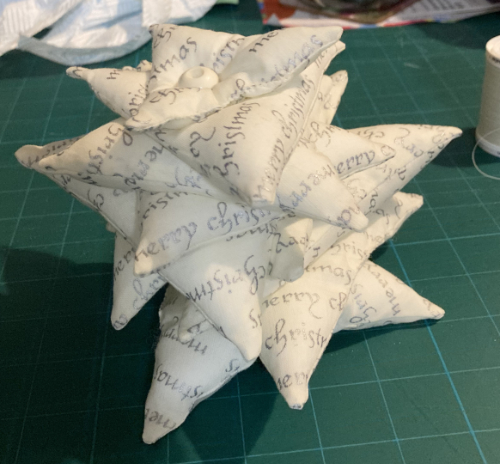
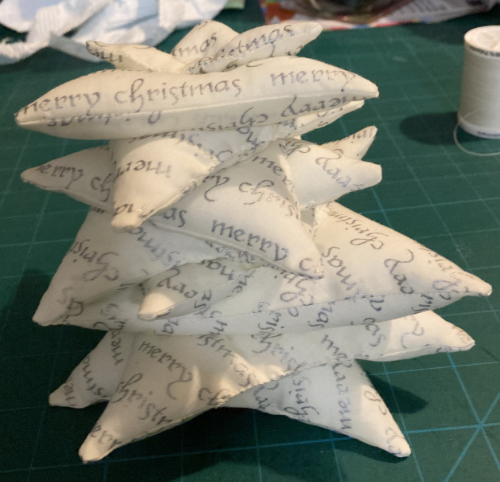
If using a dolls needle, like I did, you then place every triangle through the needle, a bit like a fabric skewer. My tree went wonky and I will try and sew it again at a later date.
If not using a dolls needle, match all layers of the same size together and stitch through joining all layers. Do this for each set of three. Then join all three sets to each other.
Once sewn turn each triangle so it forms the branches out. See picture for reference.
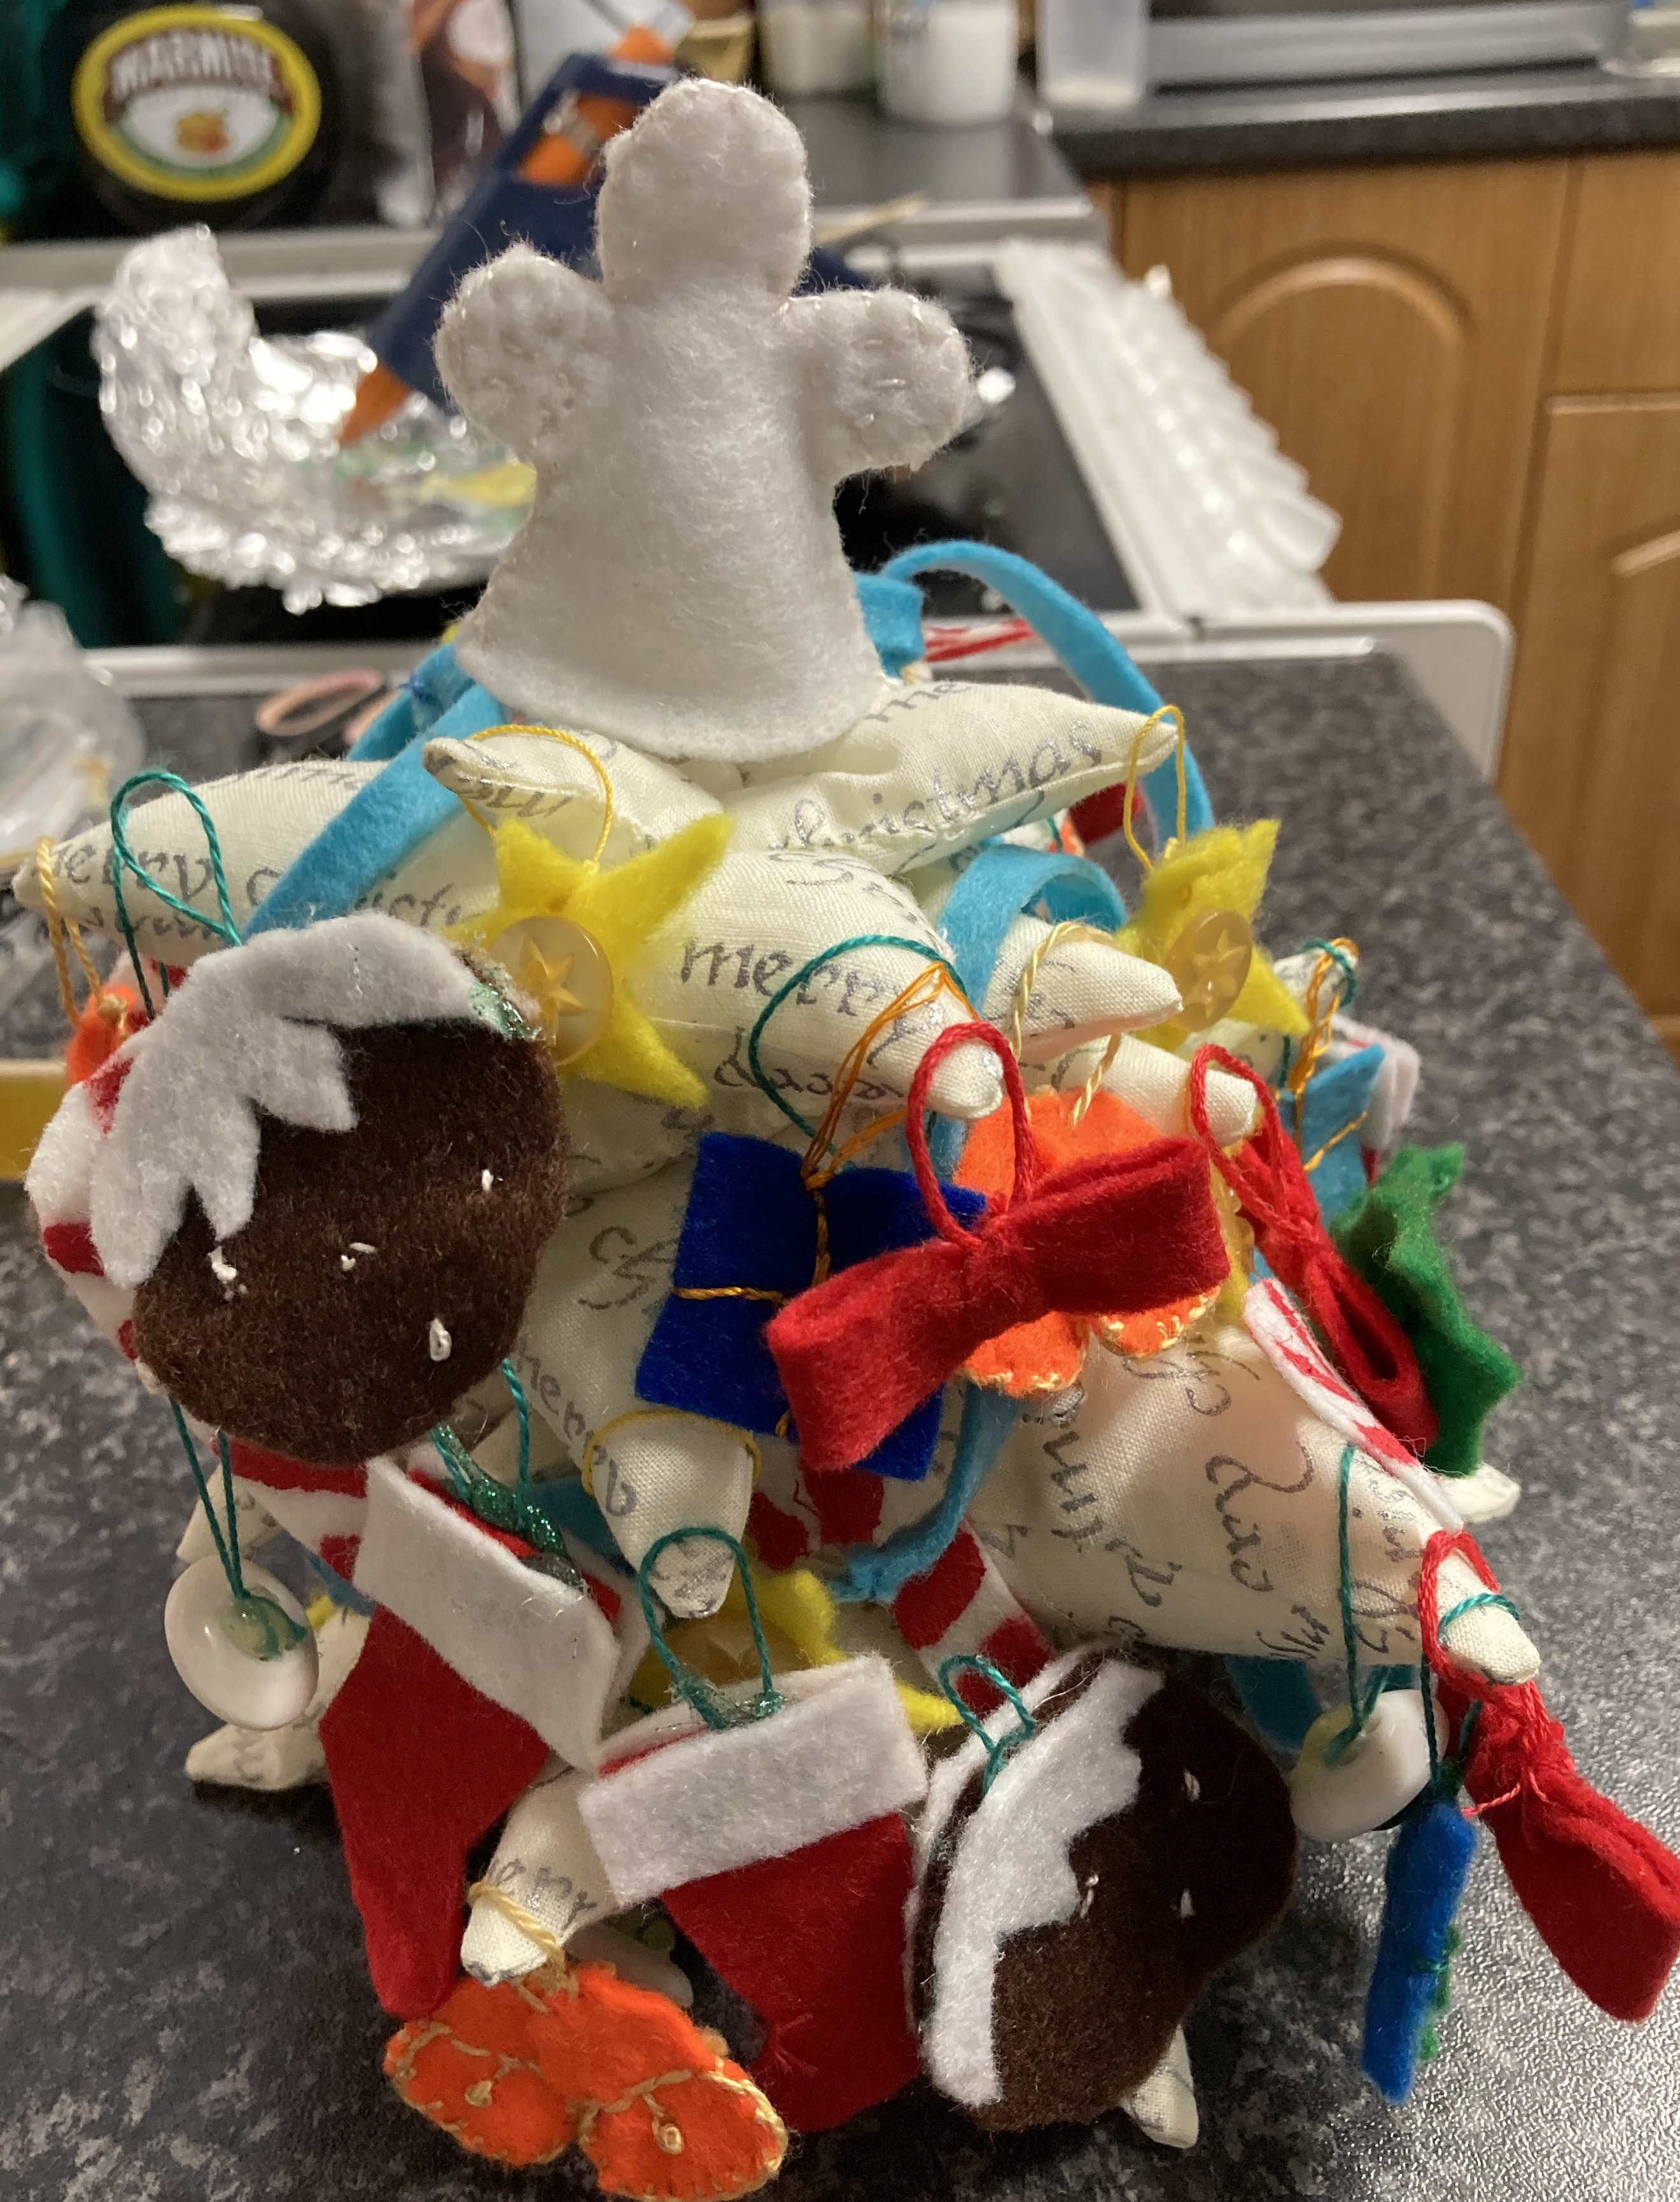
Good luck with your tree and enjoy. I hope you will continue to follow my blogs for the tree ornaments.
My next blog: The Cheap Procrastinator: 11 Felt Chains…
… On the twelve’s days of Christmas the sewer gave to me: 11 Felt Chains

Responses