I’ve practiced FMQ using scraps and offcuts in the past, but have decided that rather than add to the pile of practice pieces, I needed to put on my big girl pants and actually make something. A very scary thought indeed!
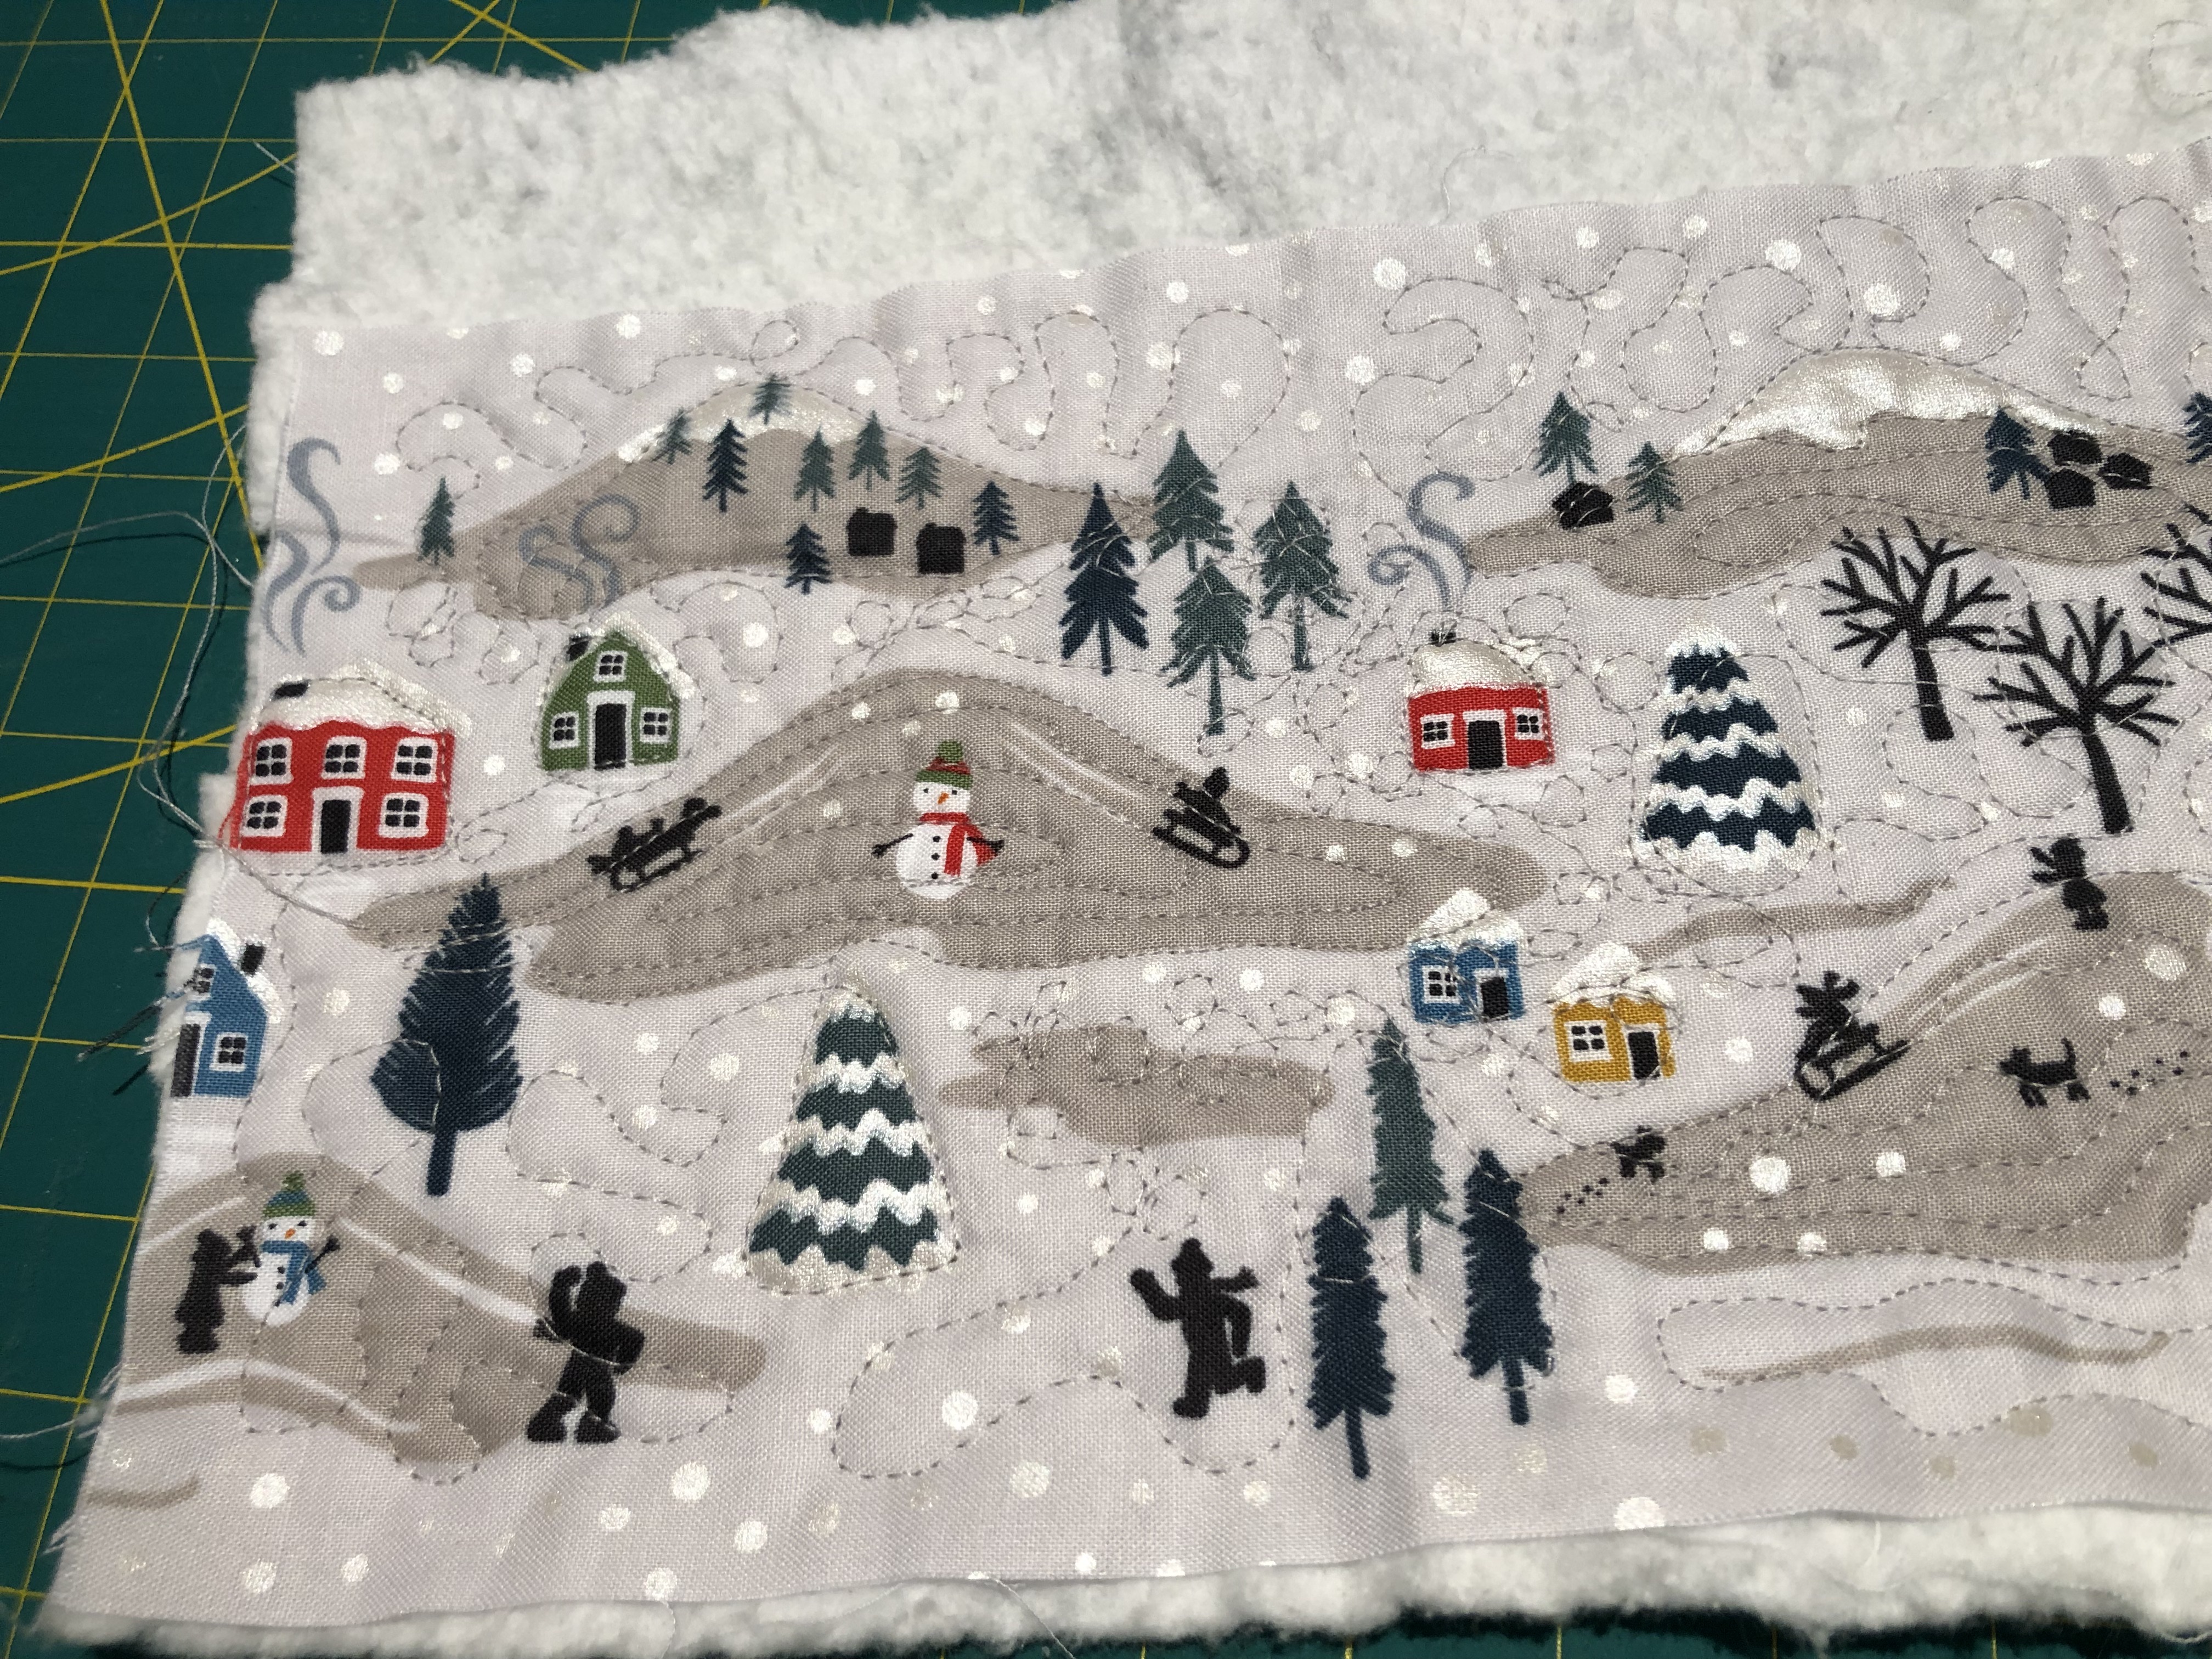
I’d acquired a nice piece of border fabric that had been donated at the bloggerati retreat that I thought would make some nice mug rugs/coasters. It had some little houses and trees that were just the right scale for what I had in mind. I could use the remainder of the fabric for the backing so that was that sorted. I fished about in my bag of batting offcuts and found some bits that I could piece together and used the triple zig zag stitch to make a big enough piece.
I wrestled with the FMQ foot and had to check with my machine manual to make sure that I had put it on correctly. I managed not to lose the screw that held it in place, but it was a close run thing as it rolled across the table making a bid for freedom. I rummaged about at the back of the machine to find the switch to lower my feed dogs. An inspection of the drawers holding my useful sewing related items revealed my quilting gloves hiding in a corner. The moment of truth was fast approaching and I couldn’t come up with any more excuses to put it off any longer.
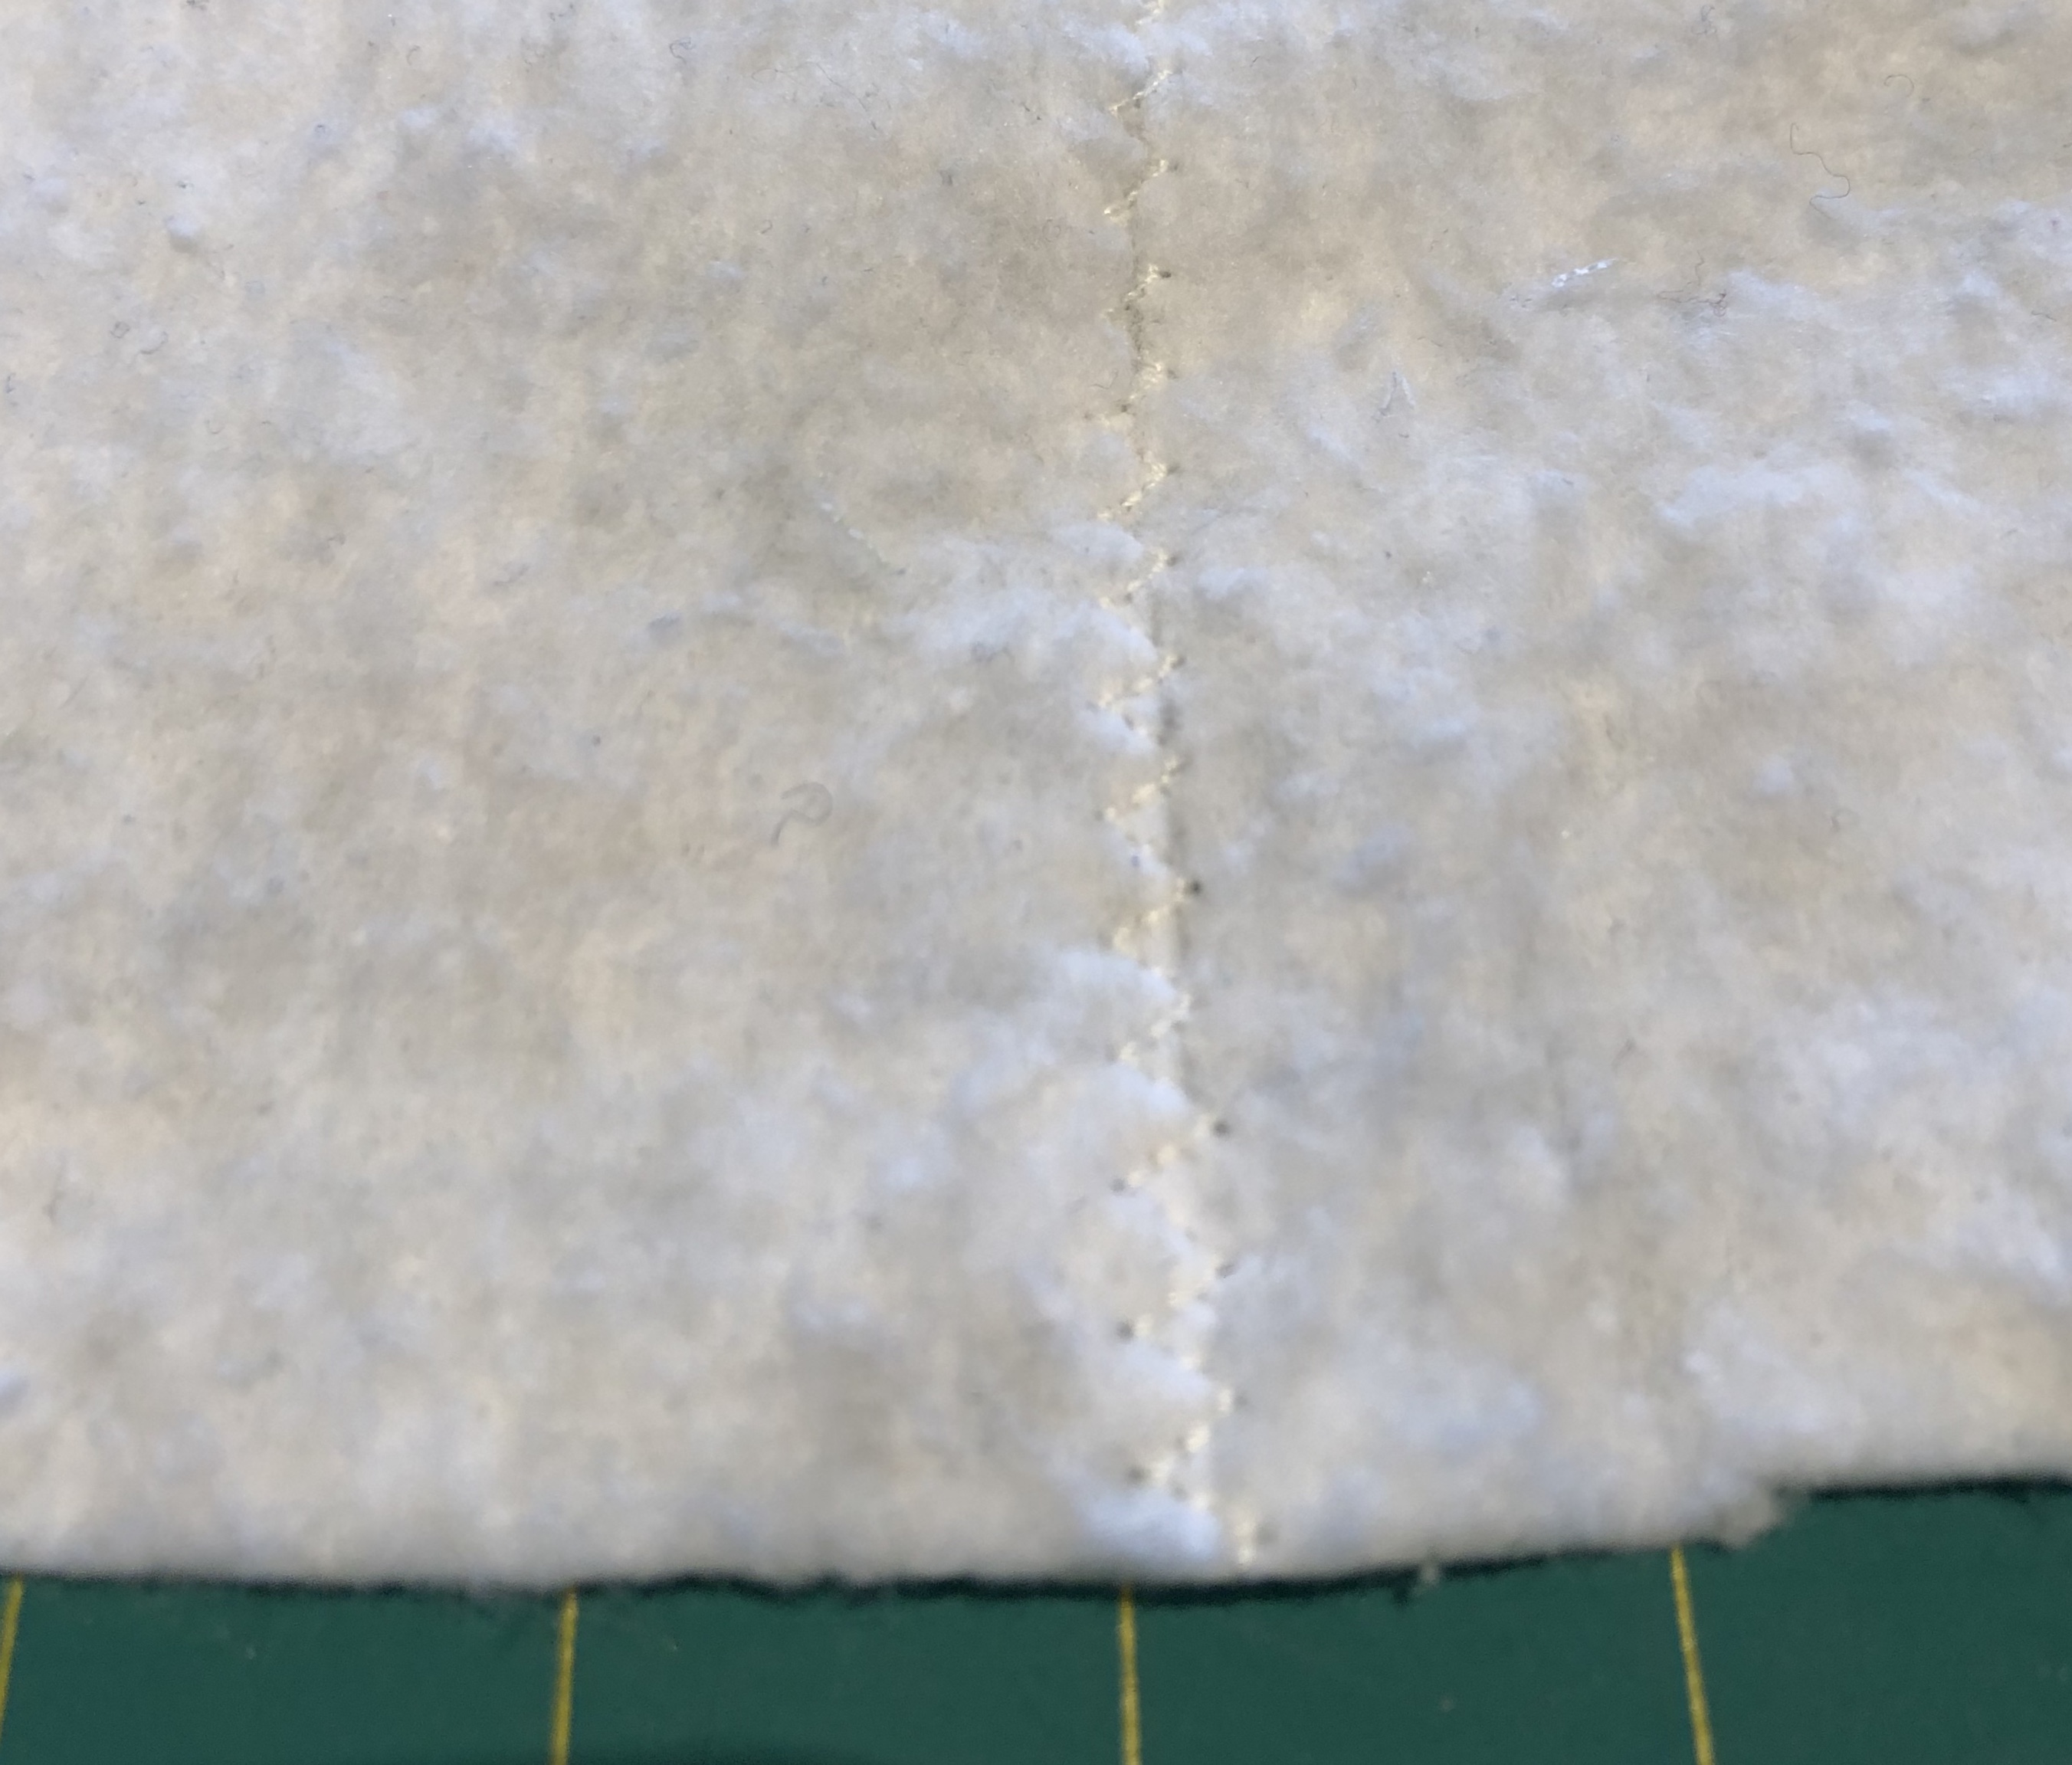
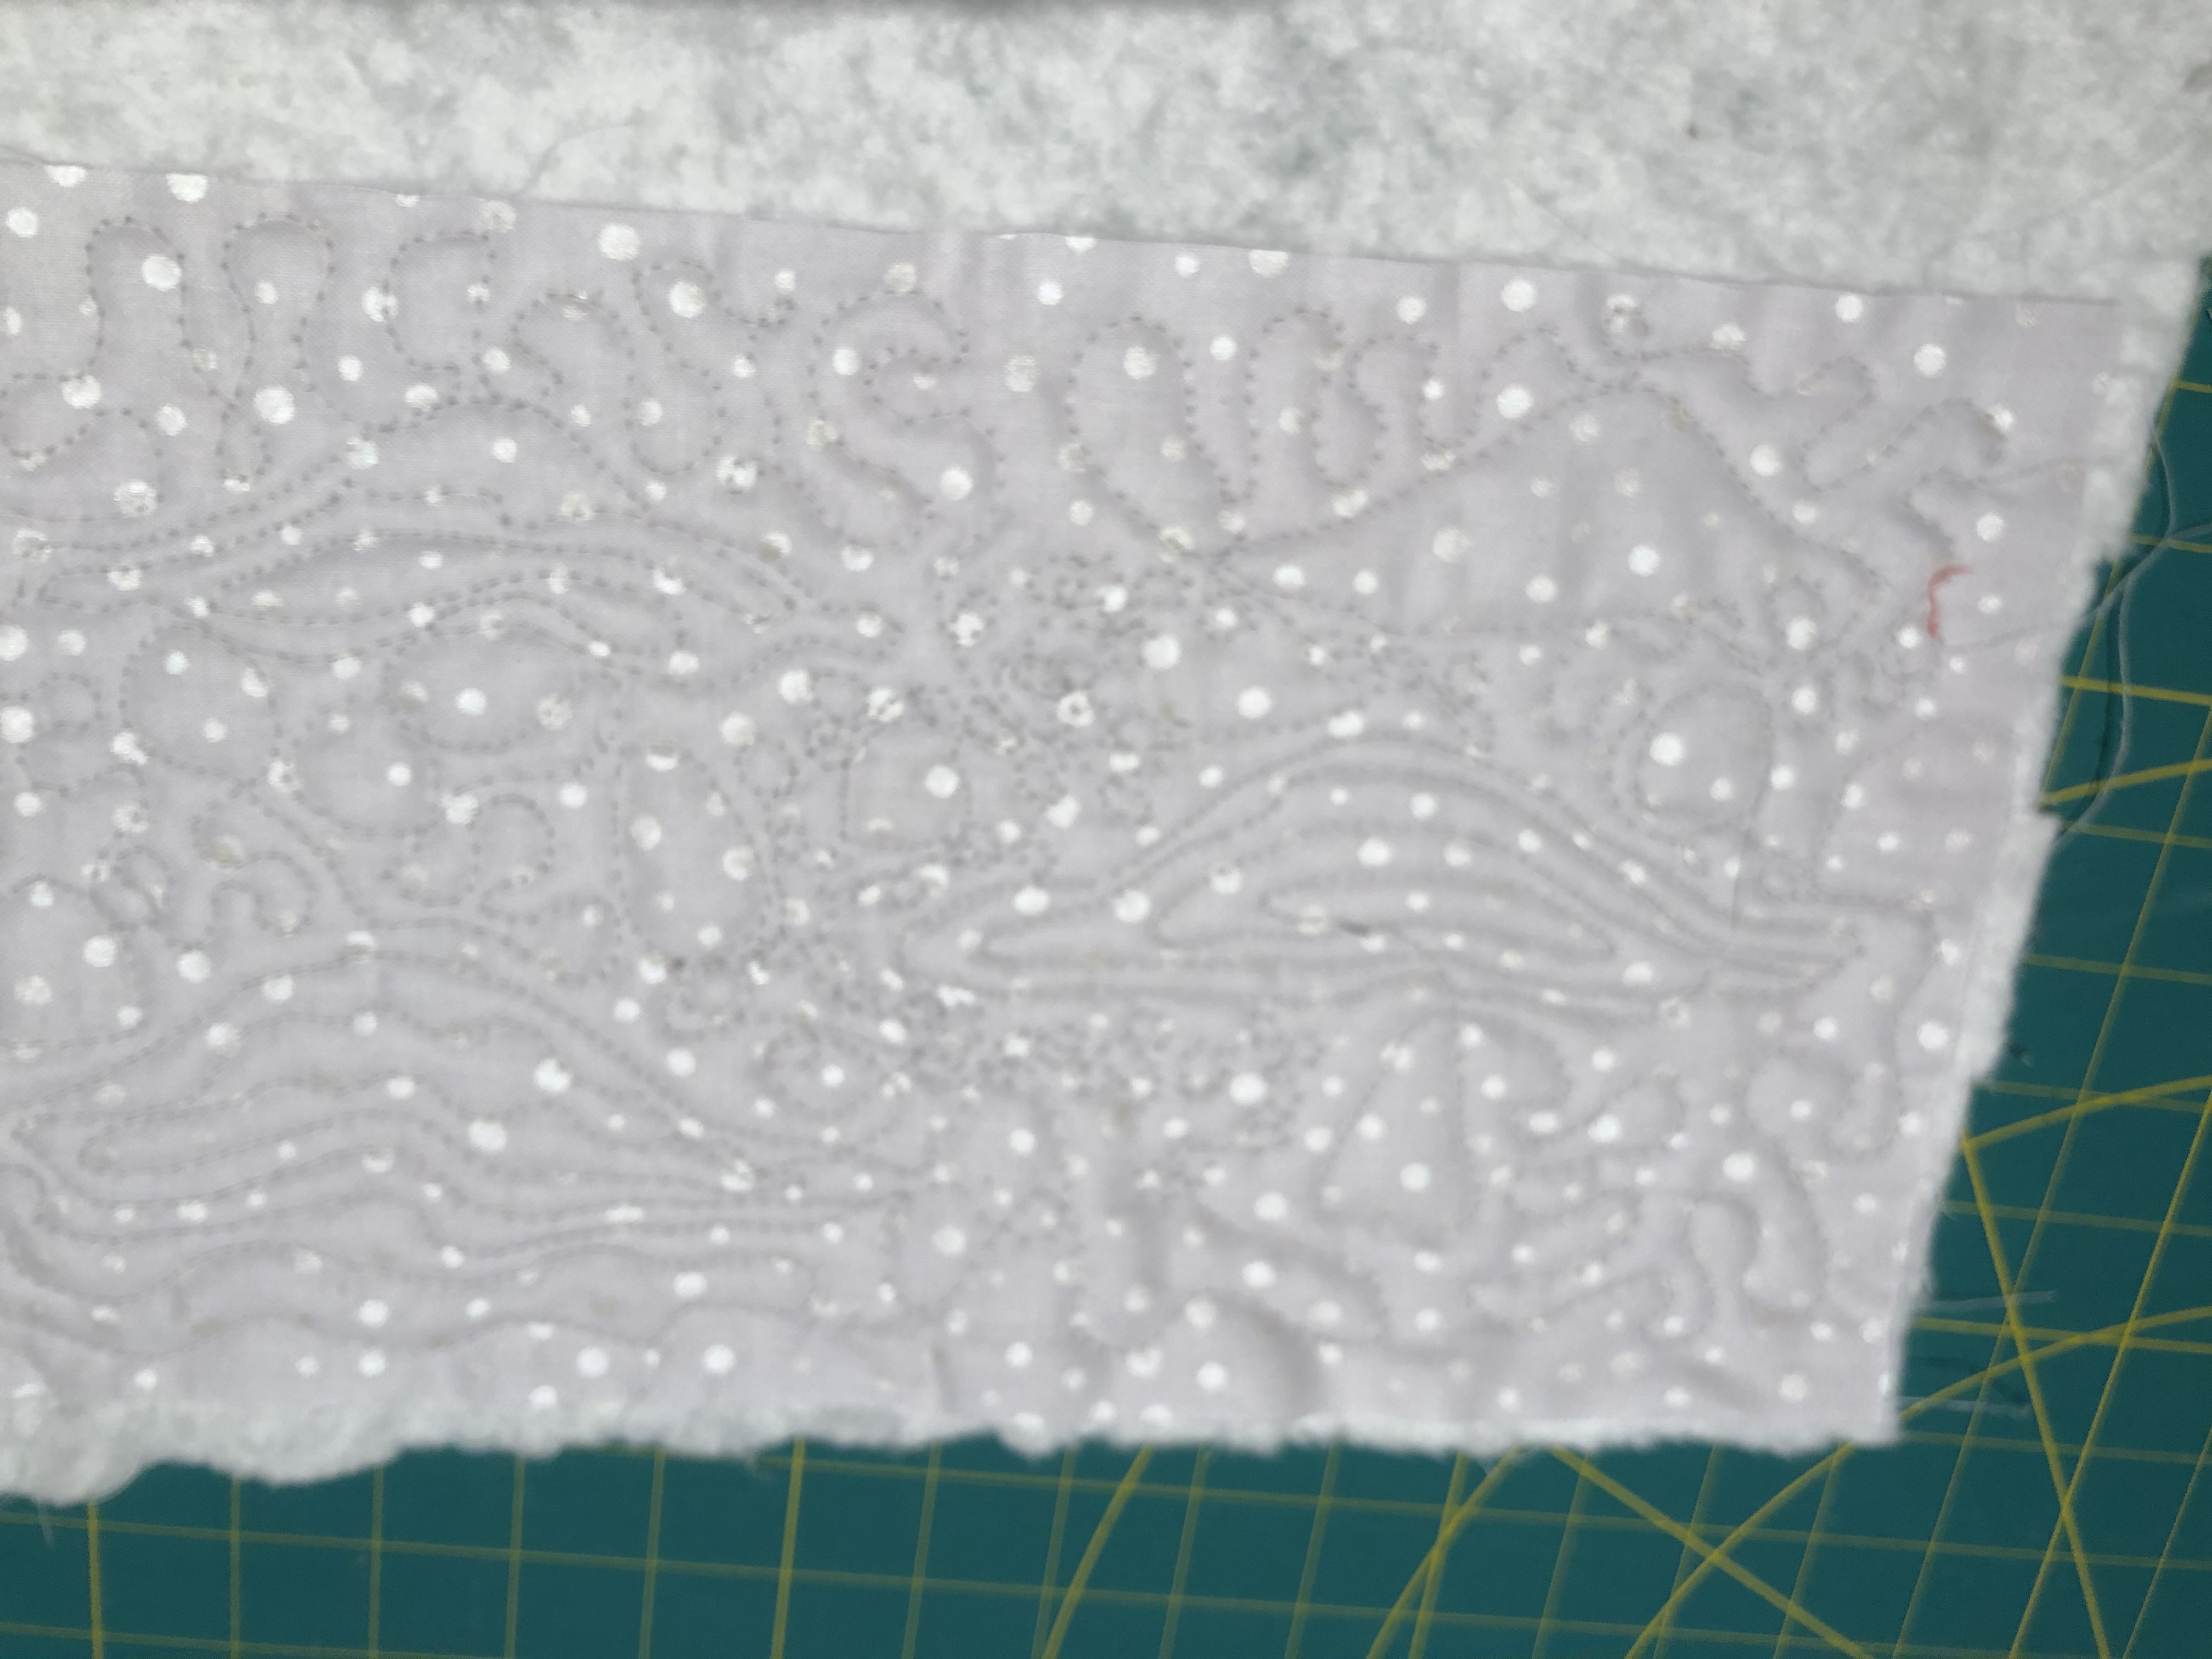
So – I took a deep breath and carefully placed my fabric sandwich on the machine, lowered the foot and pressed the pedal. I thought I would try a couple of slightly different techniques on my little coasters but wondered if this was a bit ambitious. Some gentle curves along the outline of the hills, loops around the shapes on the fabric (trees and houses) and a meander in the sky. You can see what I achieved better if you look at the back.
I discovered a few things that affected how well I could actually do this.
My machine did another stitch after I took my foot off the pedal so I needed to allow for this.
My stitching was better if my machine was running at medium speed. If I set my machine on slow my stitches were a bit too long as I couldn’t get my hands to slow down enough.
I sometimes got ‘lost’ when doing a meander and couldn’t work out where I was going and this resulted in either sewing over an area twice or getting a jagged point rather then a smooth curve. This was especially true if I was trying to sew in a small area. It probably wasn’t helped by my trying to do too many different styles on such a small piece. It worked a bit better if I divided the area I was quilting into smaller patches and thought about what I wanted to do in each of these.
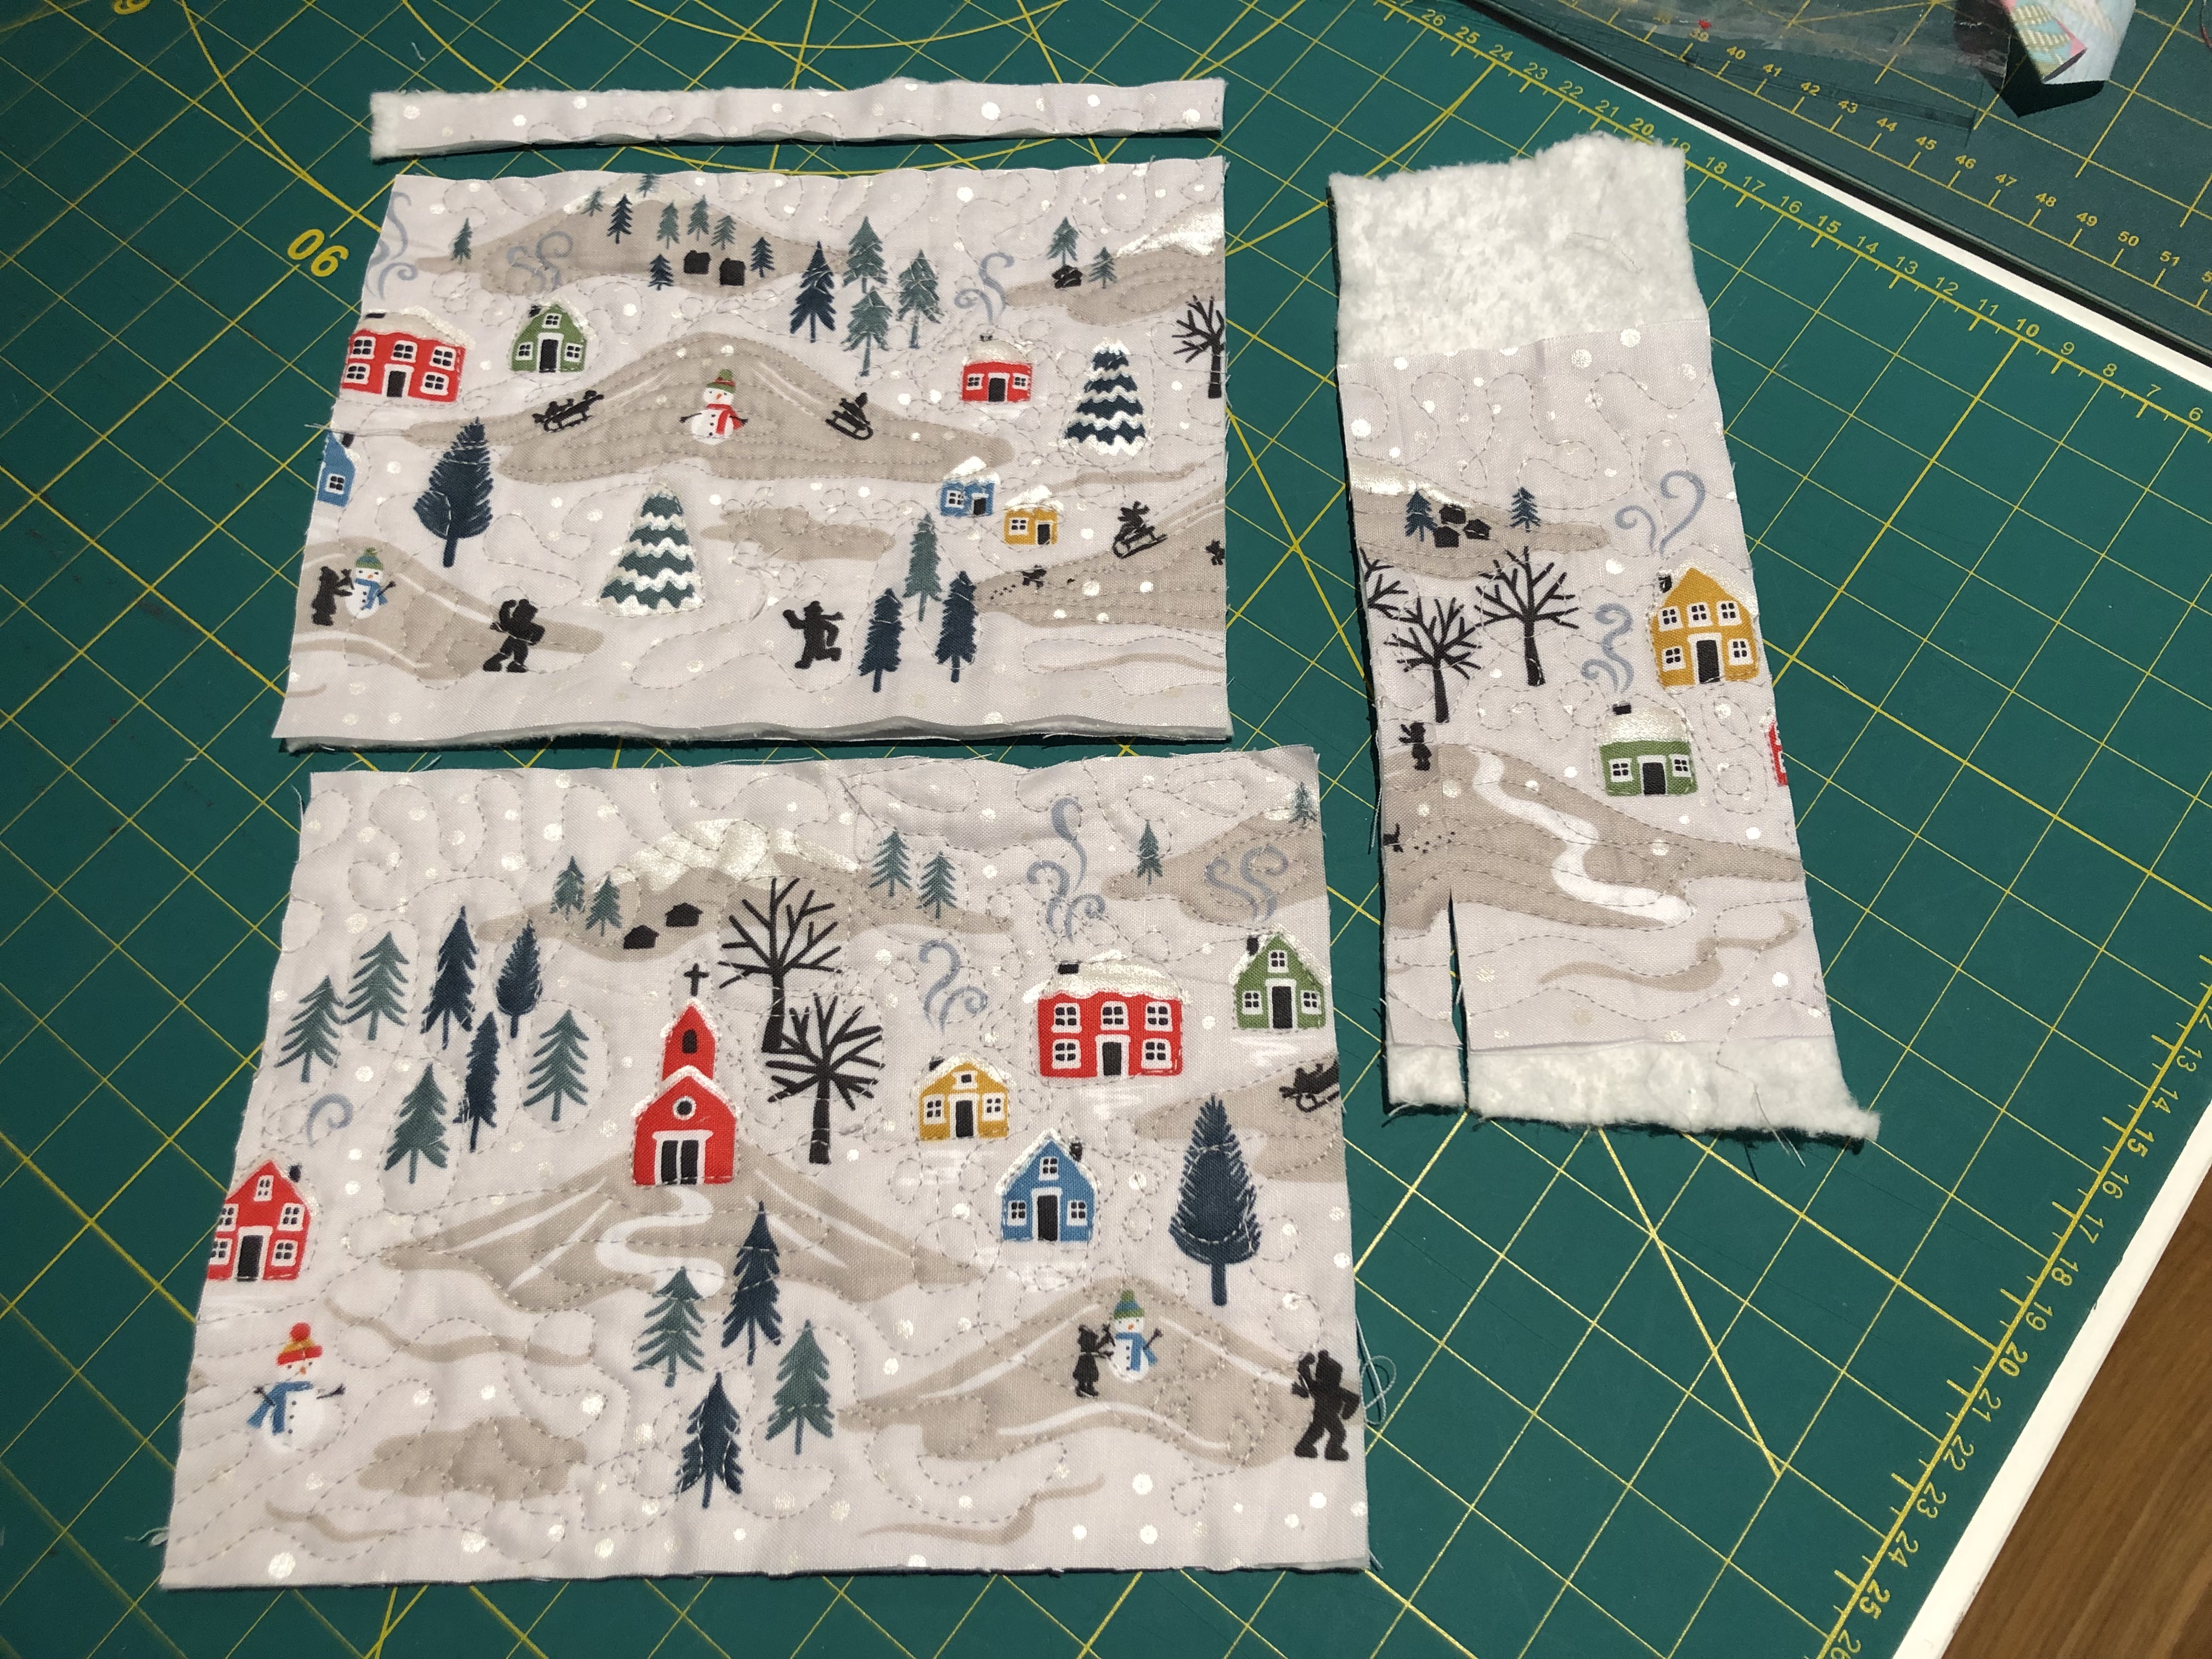
By the time I had finished working on the sandwiches, things had improved and I was feeling quite pleased with myself and what I had achieved. So it was time to move onto the next stage and trim up my mug rugs. Remember the old adage ‘measure twice, cut once’? Well I didn’t quite manage that. I had a new stripology ruler which seemed perfect for this job. As you can see from the picture I managed to cut it wrong not once, but twice. A serious case of operator error indeed. Does anyone have a use for a half inch quilted strip? However, it wasn’t critical and I would still have a couple of nice mug rugs. I don’t think anyone else will realise that they are different sizes.
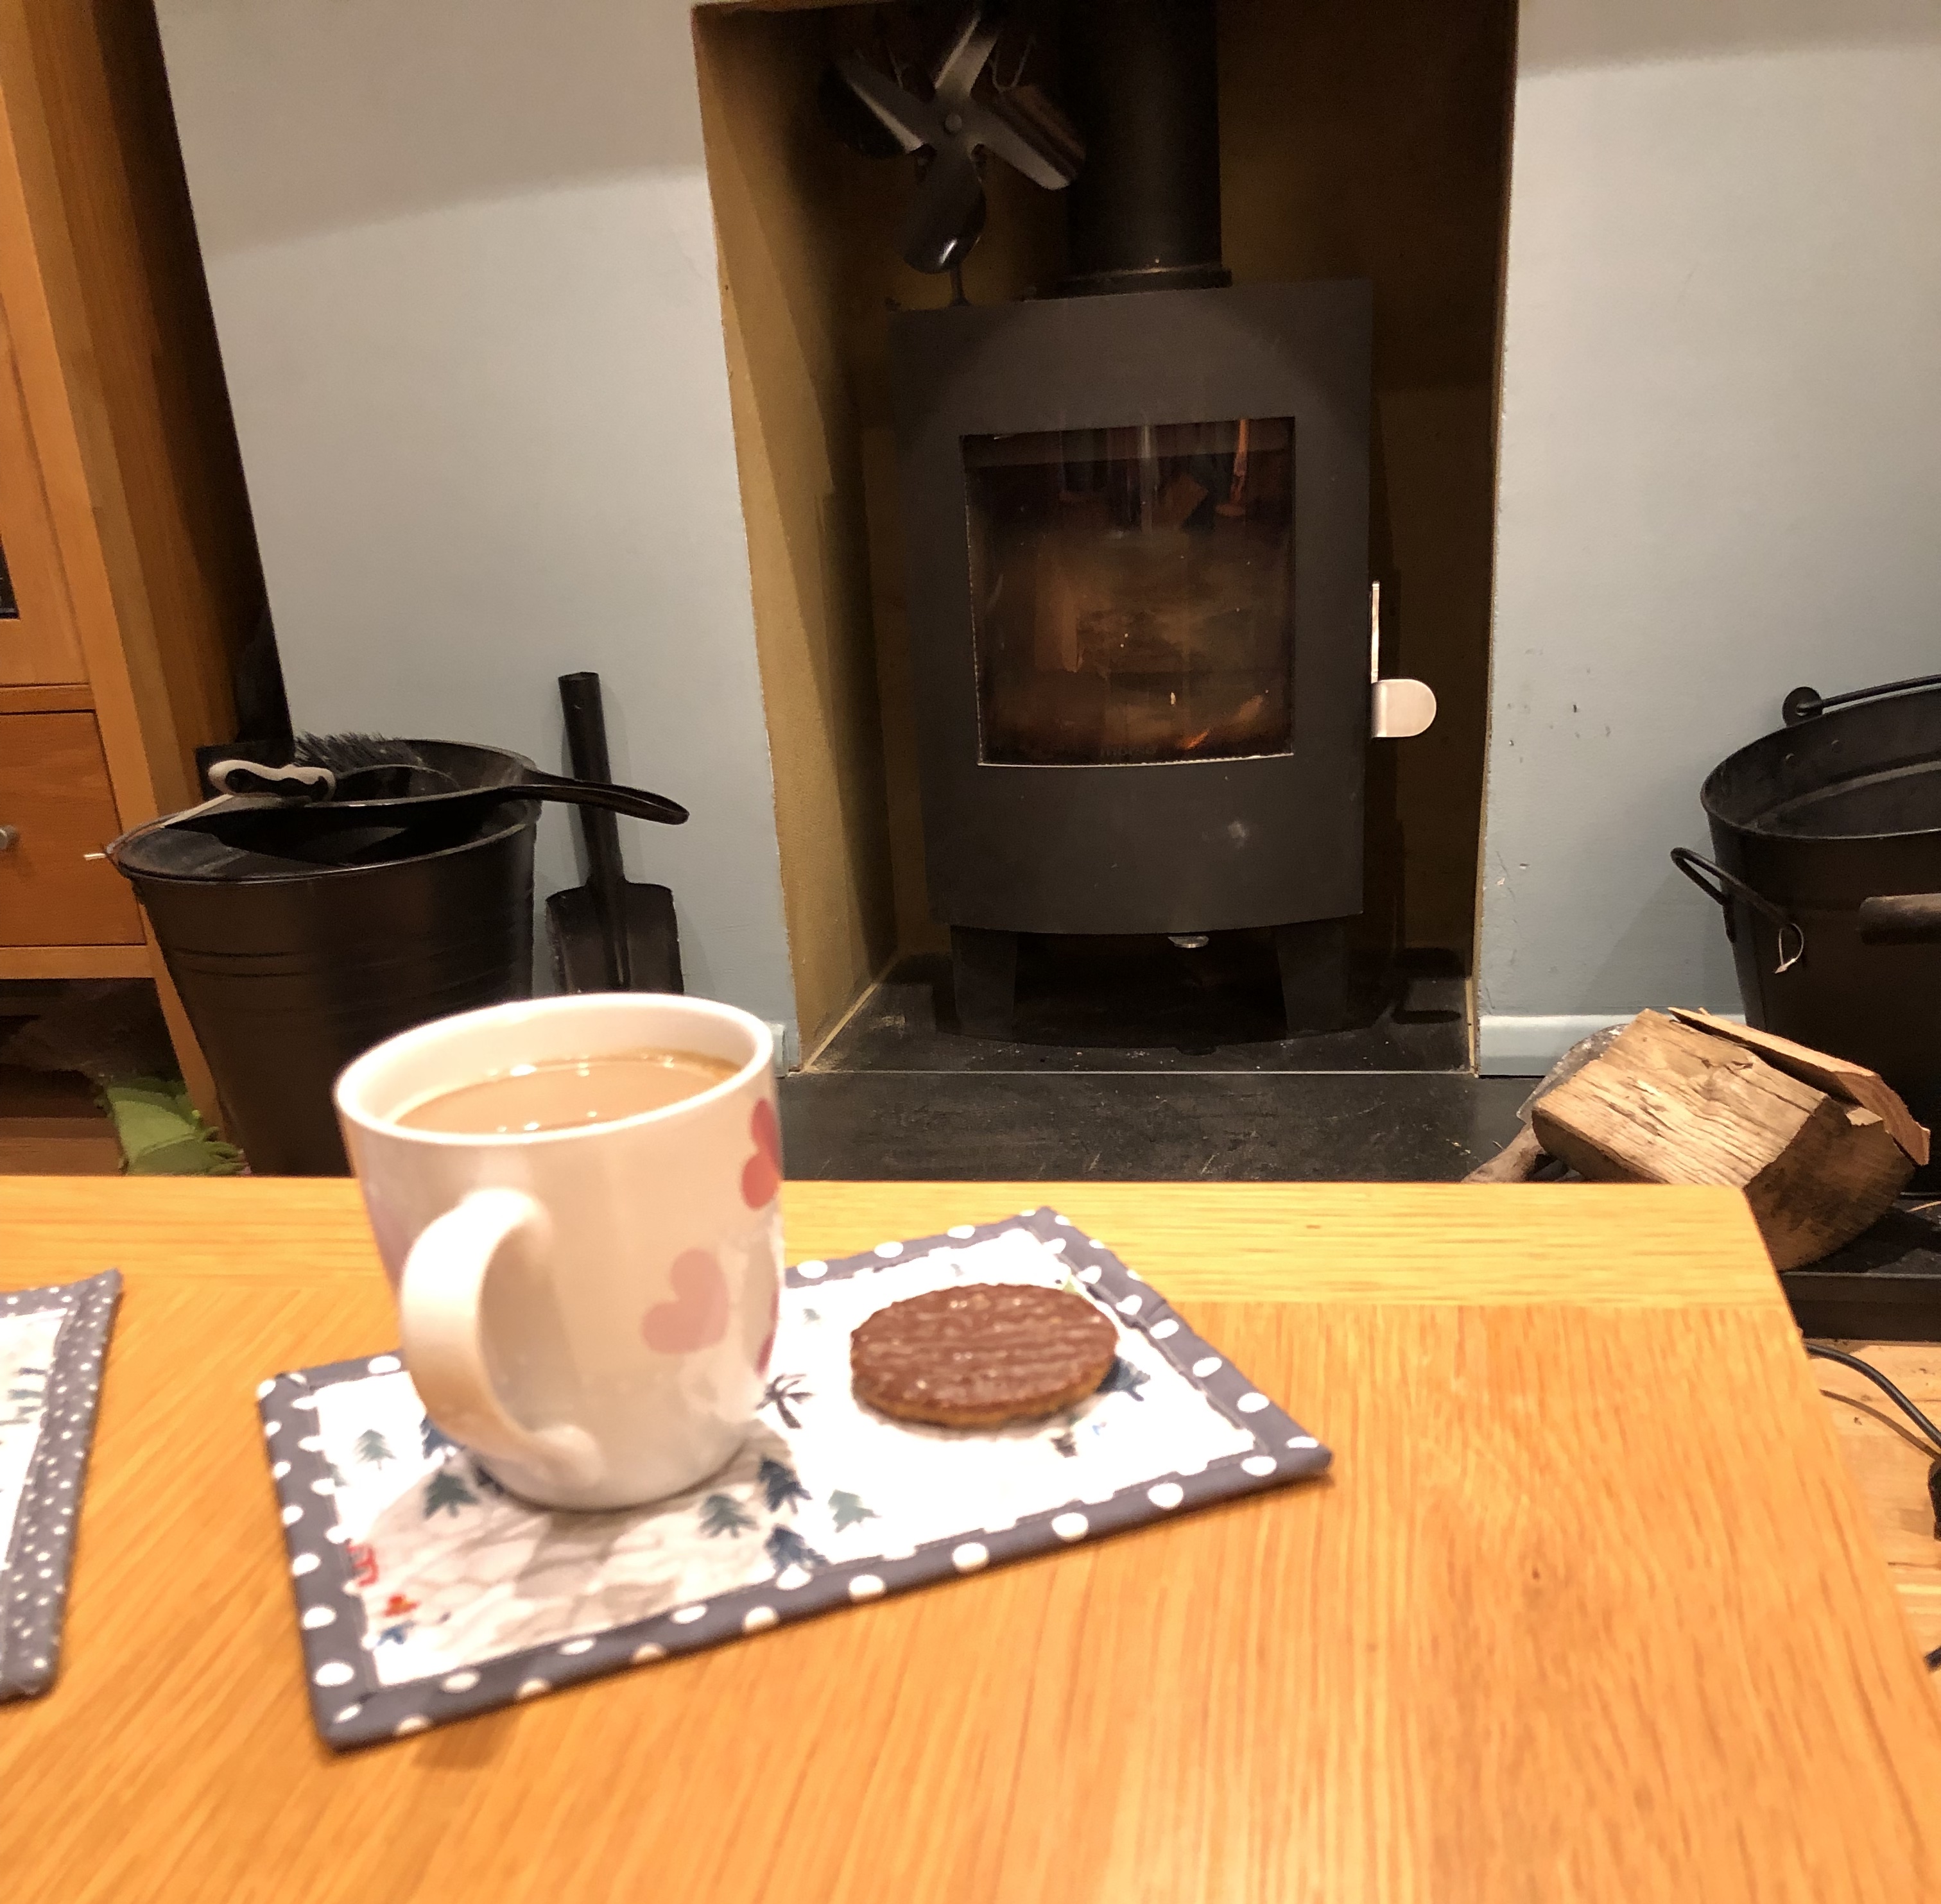
The last step was the binding. I had a few grey strips with spots and stars that were just the right size to use for binding. I must say that it was a bit of a relief to put the normal foot back on the machine and raise the feed dogs for a bit of normal sewing. As this was going to be a quick job and I wanted them finished. I decided to sew the binding onto the back and stitch in place on the front with my machine. I opted to try out one of the fancy stitches that my machine offered, but decided that I preferred the look of a simple topstitch edging. I also took the opportunity to practice joining the binding strips and now feel much more confident in doing this. I’ve ended up with a set of mug rugs and coasters that I’m actually quite pleased with. Are they perfect – Definitely not. They wouldn’t win any prizes in a competition either, but that’s not what I was aiming for. They look lovely with a cup of coffee and a chocolate biscuit in front of the fire. My neighbour has also admired them which was lovely.
Now that I’ve tried making something I’ve realised that FMQ isn’t so scary. I’m not ready to try it out on a full size quilt, but I’ll definitely give it a go for some smaller projects. I want to make a soft cover for my sewing machine. I wonder if I can do feathers???

Responses