Blog Hop Garden Flowers August 2020
#BHGF2020
When Sylvia Priest announced a “blog hop” in which the bloggers would all design an individual 12.5” unfinished block on the theme “garden flowers” with only a linking theme of “green “, I hesitated. I have written a few blogs but have no website. I design my own quilts but do not make patterns for anyone else. Eek!
I have plenty of ideas and I freely pay homage to inspirational artists, without whom I might not. I am no expert designer, or even quilter. But I do love flowers. Snowdrops, bluebells, poppies, and roses are the ones I most rejoice in, but my heart is also lifted by strelitzia, fritillaria, cerinthe, lily of the valley, hellebores, glorious blue agapanthus and bright cannas whenever I see them.
So I was in! I decided on poppies as my flower. But the type of block I would produce took a little thought. I prefer wild and free to the discipline of a regular block. So a geometric and measured block featuring a repeating shape did not appeal. Could I do an applique block? Yes, but I do that a lot. So – something new was required…..it had to be a stained glass pattern. And it can be made with scraps: even better!
Poppies grow in a myriad of colours; red, yellow, orange, pink and purple , almost-black, white and blue poppies; there might even be a green one out there for all I know! I felt my sketches of wayside poppies found on a walk, or poppies from my garden were too dainty. They required a technique like embroidery, or foundation-piecing rather than stained glass. A little more research and I found the wonderful flower paintings of Georgia O’Keeffe. Big, bright and beautiful.
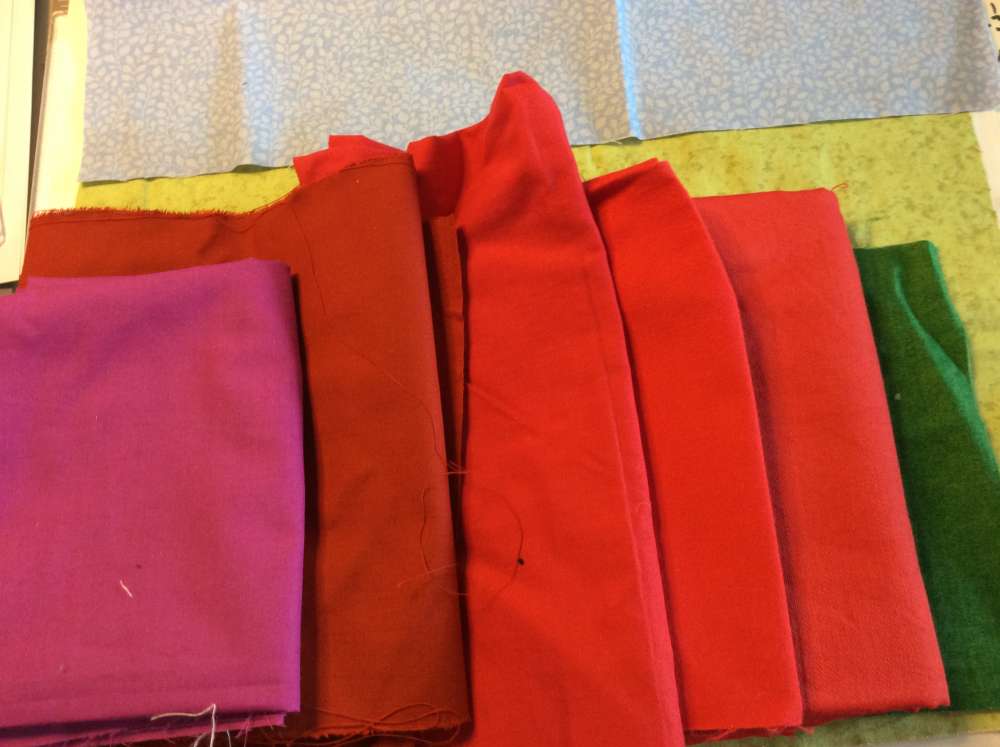
My first background was to be blue summer sky, but I rejected that, as well as a field of green: but a horizon view including “field” and “sky” was perfect. A background of all sky, all field or both at any level across the block works beautifully. So I began by stitching blue and green together. I chose 3 solid reds for the petals, (light, medium and dark) and a subtly patterned black for the centre, with a bolder green for the stem, to bring it forwards. It reminds me of the glorious big scarlet Oriental poppies of so many English country gardens. For the petals you could also use patterned fabrics, which would look wonderful, or silks and satins for that silky sheen real petals have. You could even use a fringe fabric for the centre. And beads or embellishments could make this block truly lovely.
My first draft
I drew up a pattern to the 12.5” unfinished size, ensuring the pattern would have space at the edges, as it has to sit with other (as yet unseen) blocks. Then I used a light box to copy it onto freezer paper. I cut out the individual sections from the freezer paper and ironed these onto the top of the fabric in the shades and in the order I had decided on: very light red, light red, dark red, black and green. I am spatially challenged and could get muddled working back to front so I always choose the easy way. So I now had pieces to add adhesive to. At this point I wondered if I should use a red binding as my final step, but then I decided that traditional black would be dramatic. As I was conscious of the problem of infringing copyright, black edges would, I thought, remove any possibility of this. Though I did ask permission from the Georgia O’Keeffe Museum which superseded her Foundation.
The next step was Heat and Bond, which I used under a non-stick mat. I find baking paper a bit flighty for this, so I have a cheap supermarket oven sheet for use with heat-fix elements. Often I use 606 spray, which also sticks well when ironed. I trimmed my pieces leaving a tiny margin outside the freezer paper – maybe 1-2mm to allow for a notional overlap. This was my first stained glass after all! I ruminated on the idea of making my own tape: I had bought a tiny bias maker and appliable sticky tape……but…..not this time. I used traditional black 6mm adhesive tape from Clover.
Working out the order of tape-application was a little tricky. I had to be sure there would be a smooth finish, with no odd ends. I had an unused mini-iron waiting for this task and it worked beautifully. I am far too awkward to use a normal iron on these curves. Once it was all applied, I was ready to sew.
I found the stitching works best on the middle edges, before moving to the centre edges and then the last ones around the outside, covering all the joins. For instance, the stem needs to look as if it is growing beneath the flower, so the black tape of the stem needs to disappear beneath that of the front petal.
Oops! Spot the tweak!
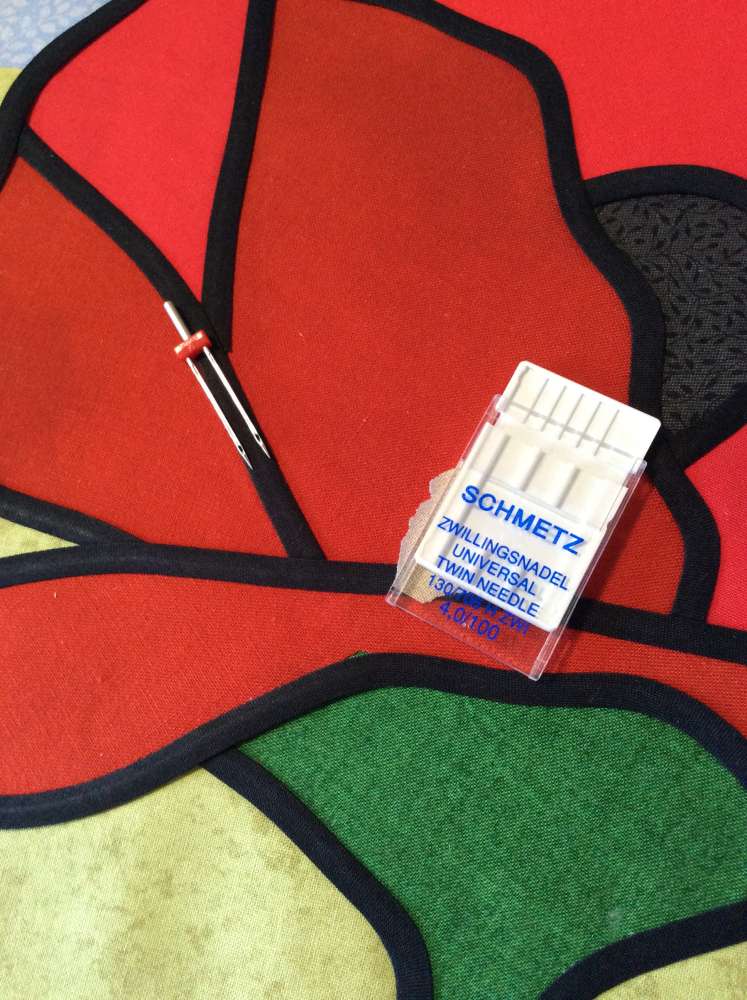
I used a twin needle for neatness, just enough to catch 6mm tape. It did pick up a certain amount of sticky but it was easily blown away. Remember not to try to pivot on a twin needle with the needle down. Unless you WANT a broken needle, of course! I found that keeping the red mark in the centre of my clear foot tracking the centre of the tape worked perfectly.
You can find this lovely free pattern at the UKQU Merchandise Shop


I love Poppies so it’s great so see one in here. It looks fab Maggie.
Maggie that is a very interesting block celver idea with twin needle. I am so enjoying these blocks
Thank you! Much easier than I expected too.
This is the link to the pattern. https://ukqu.co.uk/shop/miscellaneous/stained-glass-poppy-by-margaret-attfield-garden-flowers-blog-hop-2020/