Disclaimer: I am not affiliated with Brother or any of its subsidiaries. I write this purely from the end user prospective. Any views in this blog are my own.
Christmas is literally days away. And I have been busy tearing my hair out and doing my usual headless chicken act. Unlike other years I have been a little more productive –having grandchildren does that – and I have been busy making things for the little carbon life forms known as Caoimhe, Caleb and Layla.
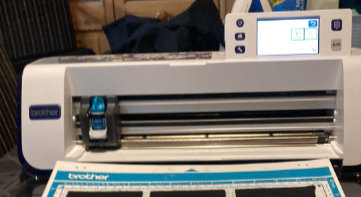
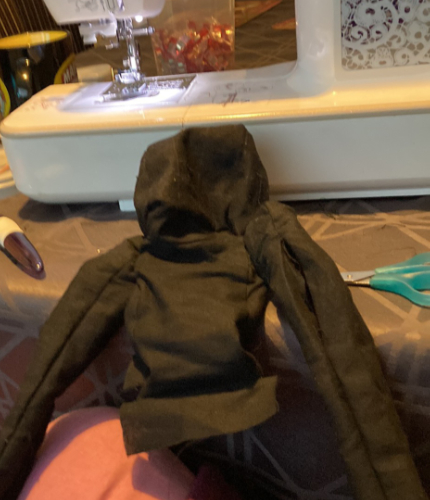
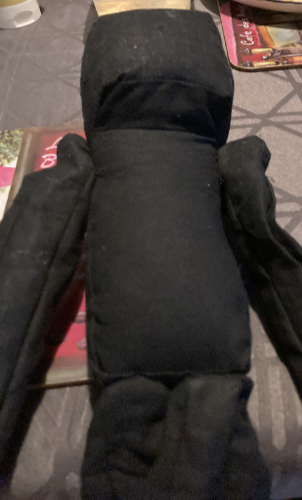
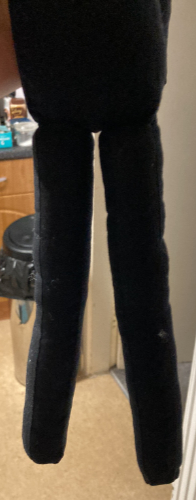
Well it was for my middle one Caleb that I made a cuddly stuffed toy. It is comprised of all block shapes, basic patchwork; accept these were to be three dimensional.I received an early Christmas present, new to me – second hand- Scan and Cut machine cm600. Complete with two mats, two blades and the pens and pen holder, plus a few extras. I updated via the Brother site and it was good to go. Never using one before I watched a few videos and joined the Scan and Cut users UK GB group: https://www.facebook.com/groups/356536385137298/
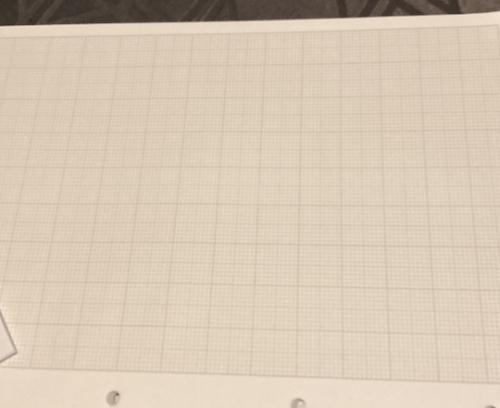
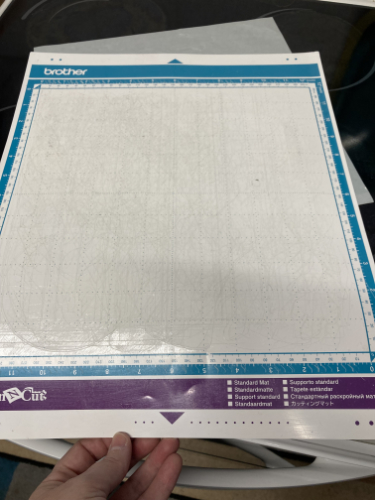
Well a few months in and I figured I would test it out a bit more on some cotton fabric. I had purchased a new mat so was going to use the old one that came with it in case I messed up. I had been learning on the old mat and had already cut a nick into it. Good old fashion sellotape on the back and we were good to go again.
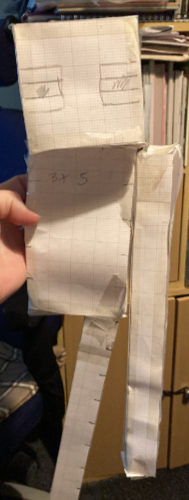
For those that patchwork and quilt you know precise measurements and sewing are crucial. I needed to draft the template so it would all fit together and factor in the seam allowance.
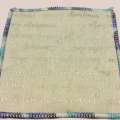
So I used draft paper and used one large square to represent an inch.
See photo of the three dimensional paper model.
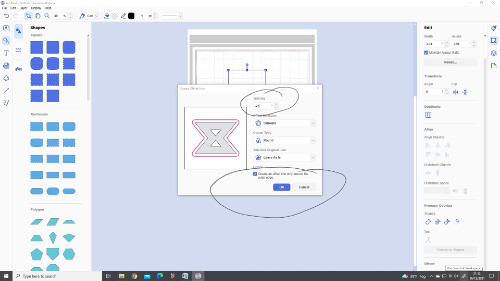
Once I had all the sizes I needed it was then time to get the right measurements. I first started drafting in my draw programme, but my squares looked a little off, then I used my embroidery software –PE Design 11 – I have an export to scan and cut feature through this software. But it still did not feel right. I normally consider myself tech savvy but I was feeling a little stupid. I figured I would explore Brother Canvas Work Space; this is software designed for use with Scan and Cut machines. It is free to download and use from Brother, but you do need to set up an account and login to use.
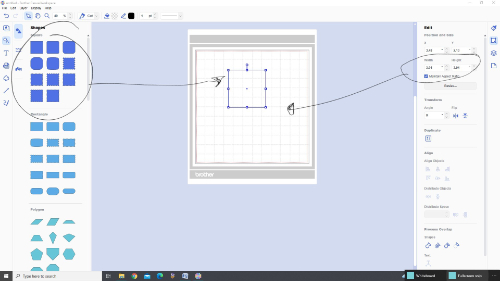
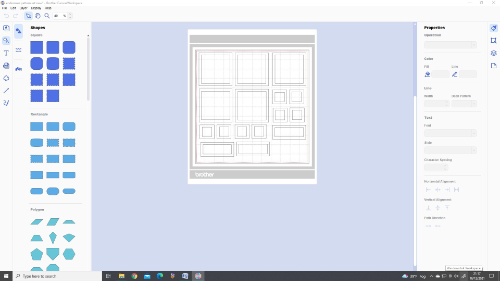
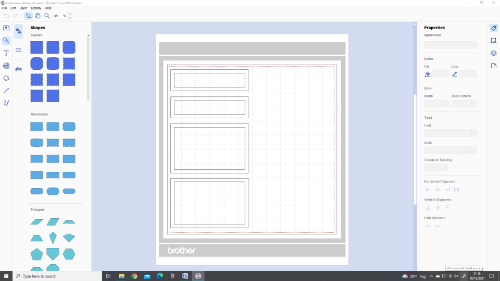
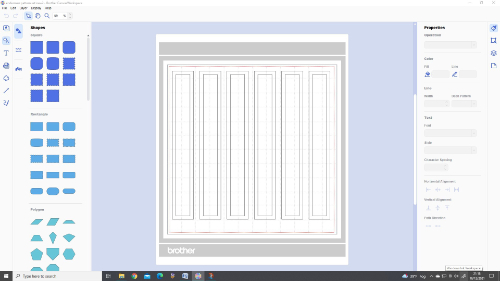
So with the aid of this software, it allowed me to get the right sizes for each piece it also added a 1/4 inch cutting area around each one. Thus saving me that extra working out as my maths is not great.
So once I had sorted them out I duplicated the ones I needed and set them up in the cutting area. Exported the file as an fcm – this is Scan and Cut file format –and transferred via USB to my scan and cut machine.
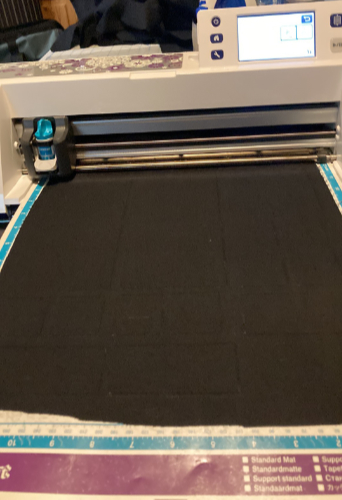
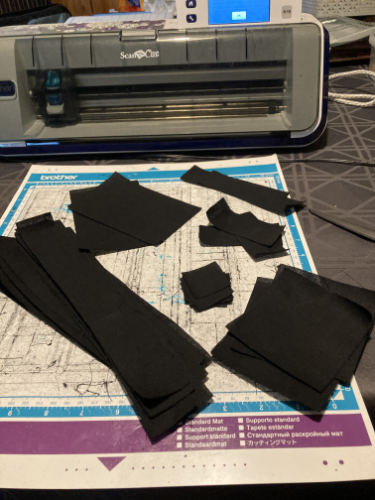
I then prepared my fabric, black 100% cotton. I sprayed the fabric with a light dusting of 505 spray and smoothed it over the mat making sure that I did not have any lumps, bumps or air bubbles.
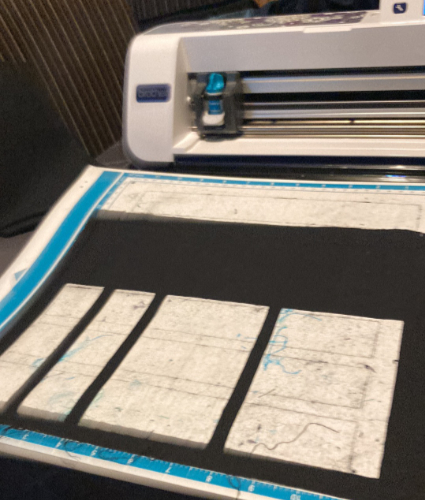
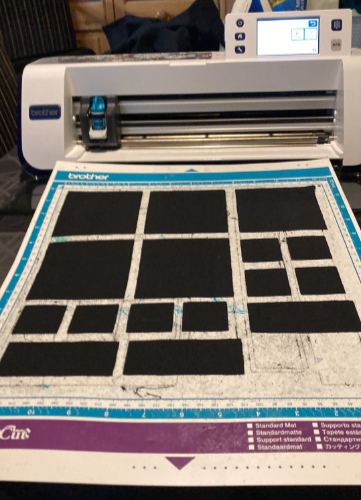
I then loaded the mat into the machine and let it cut away using a pressure setting of 4 and a blade death of 5-6.
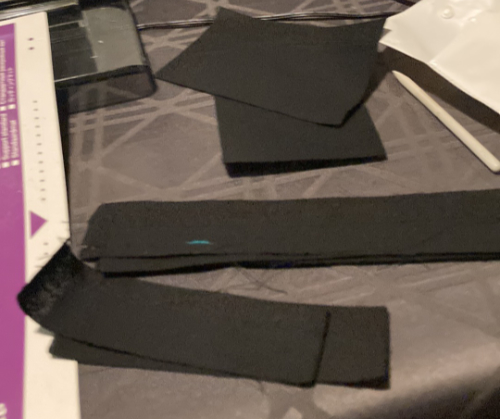
It cut it out great. I continued until I had all my pieces. There was a lot of prep in setting up the files and laying the fabric onto the mat. But as my hands were playing up it was well worth it. I am not sure if it would have been quicker to cut all these pieces out by hand and a ruler, but this was more fun.
After I finished the cutting my mat was looking a little dirty; therefore I cleaned it and re glued it. This is an old, much worn mat. I would not expect to do this on a newer mat, unless the sticky had already gone.
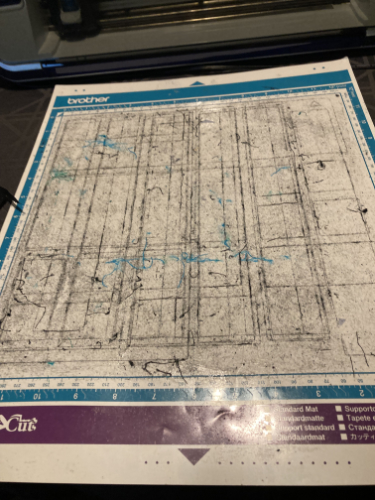
I did this by soaking in the bath with warm soapy water, I was not sure of the time as I was up and down stairs and sorting tea out. I then –using a bowl scraper for cakes – scraped off what I could and left the mat to soak some more.
Once it had, had another soak I removed the remainder of the glue and fibres. I stripped the mat so no glue remained.
I dried the mat off and let it air dry some more before covering the edges in masking tape. The tape stops me spreading glue onto the edges of the mat, preventing it going on to the mat rollers.
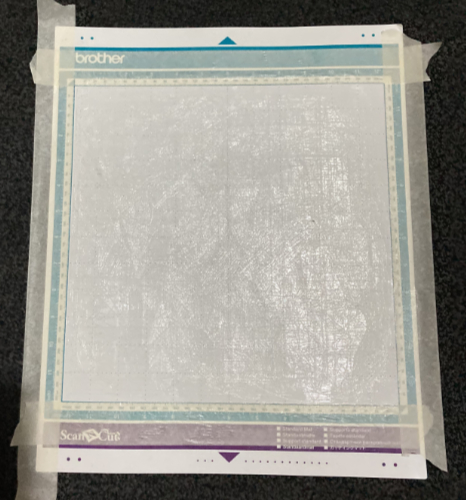
I used Pinflair temporary sticky glue and painted it on with a damp paintbrush. Then I left the mat to air dry for a few hours before removing masking tape and replacing the mat protector sheet.
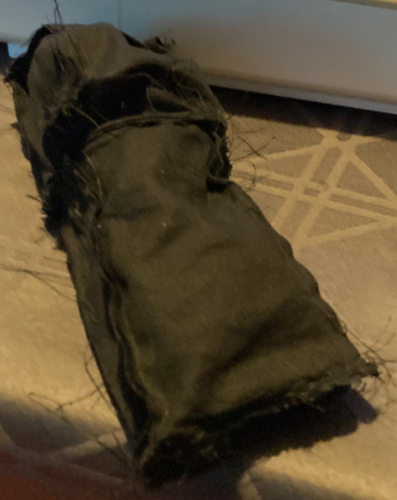
I sewed up my toy in sections after marking each piece with the seam allowance. I sewed the limbs while still empty to the empty body and then stuffed with toy stuffing, closing all seams with a ladder stitch and whip stitch for extra security. The head and body were one section. The limbs were each their own section.
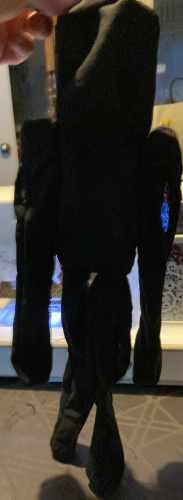
The Scan and Cut, once I mastered the software was a great asset in the making of this toy. It enabled me to get the sizing right and cut without error so I knew my pieces would fit with confidence.
If you are considering getting a Scan and Cut machine, I would first look at second hand providing they come with accessories to get you started otherwise it will be a further outlay.
Responses