If you are following this series, then here’s the second of three blogs focussed on Finishing your QuiltSewGo Beginner’s Sampler Quilt. In this one we will be looking at Borders and Quilt As You Go.
The first blog has two free pdf links which show you how to make up your quilt top:
• With Sashing & Inner Borders
• Without Sashing
And in this blog there are two more free pdf links and links to other websites that you might find useful too. The pdfs are:
• Borders Or No Borders
• Quilt As You Go (QAYG)
All Fifteen Blocks in the Beginner’s Sampler Quilt, the Introduction and the first blog for Finishing your Quilt can be found on the UKQU.co.uk website here: https://ukqu.co.uk/blocks-of-the-month/quiltsewgo-beginners-sampler/

BORDER or NO BORDER?
There are no rules that says you must add a border to your quilt. It will depend on whether you are following a pattern or the finished size you are looking to achieve.
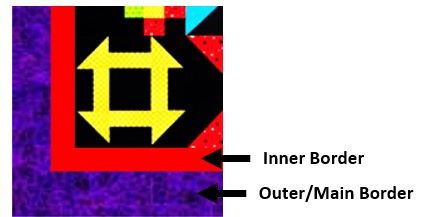
Borders are made from strips of fabric of various widths that frame a quilt. Some quilt patterns will use several border strips, some will have just one and some won’t have any.
If you add a BORDER to your QuiltSewGo Sampler quilt, then the choice of fabric is up to you. You can either use the same fabric you have used already or choose a different contrasting fabric, patterned or solid (plain).
Click HERE for the free pdf.
Here is a video link that you might find interesting:
Adding Borders – Missouri Star Quilt Company https://www.youtube.com/watch?v=GdB9LHbm1Gs
You can have as many border strips as you like, but you can use the same method to attach them as you used in STEP 10 and STEP 11 for adding the Inner Border (Sashing Part 3: Inner Border in the previous blog). You are just using wider pieces of fabric.
The finished size of your quilt depends on the size of the border. If you want to work it out, here is the maths!
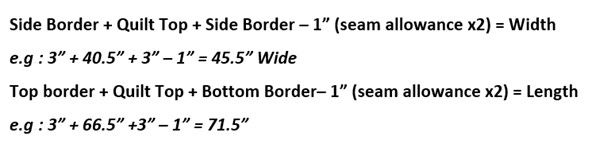
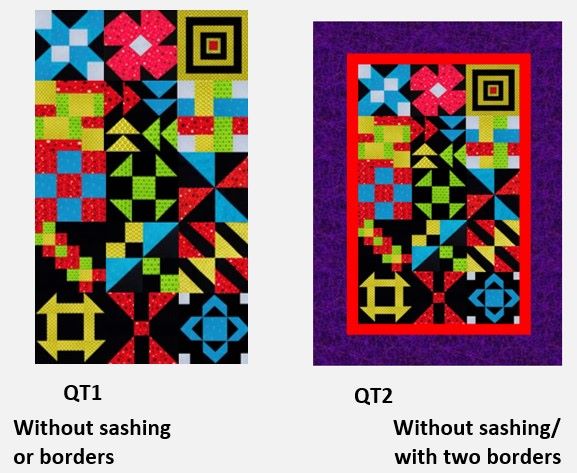
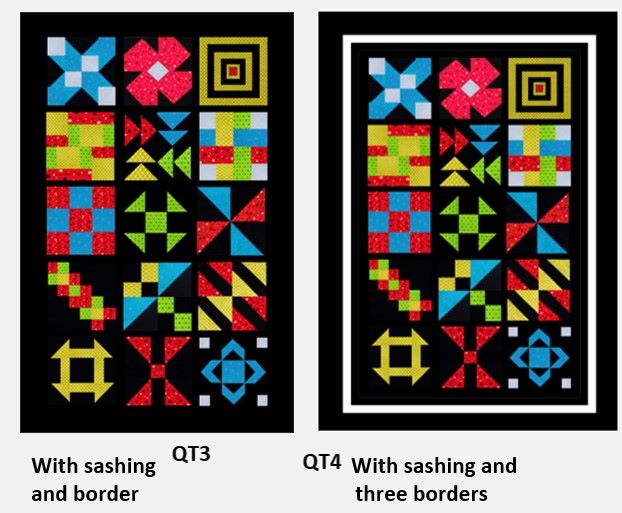
Here are some examples of a how you could finish your quilt top borders.
QUILT AS YOU GO (QAYG)
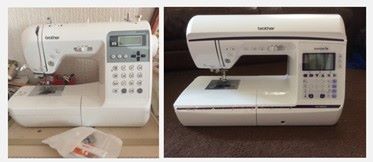
If you have a sewing machine that has the standard 5.5” throat that many quilters have then QAYG may be a good method to try. The links below were included in the previous blog but to save you going back to it, here they are again.
QUILT AS YOU GO 5 WAYS + Sharing my Quilt As You Go Design Process!
https://www.youtube.com/watch?v=uZHqn4-Na-k
QAYG is not something I’ve done a lot of until recently when I made up a couple of lap quilts doing a variation of the ROW method. A few of my ‘quilty’ friends have tried it very successfully so it does work.
The videos explain it much better than I can but just so you can get started with an individual block or a ROW of blocks I’ve written some steps below for you to follow.
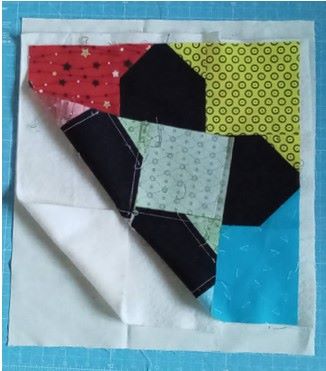
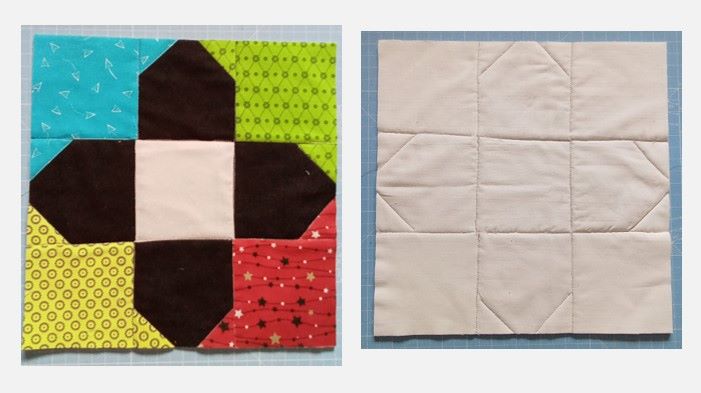
The block I’m using here is called Sweet Pea; it did not feature in your sampler quilt as I replaced it with the Poppy Block.
Click HERE for the free pdf.
STEP 1:
Make a ‘quilt sandwich’ with a piece of wadding and backing fabric slightly larger than the 12.5” x 12.5″ block. Pin in several places around the block.
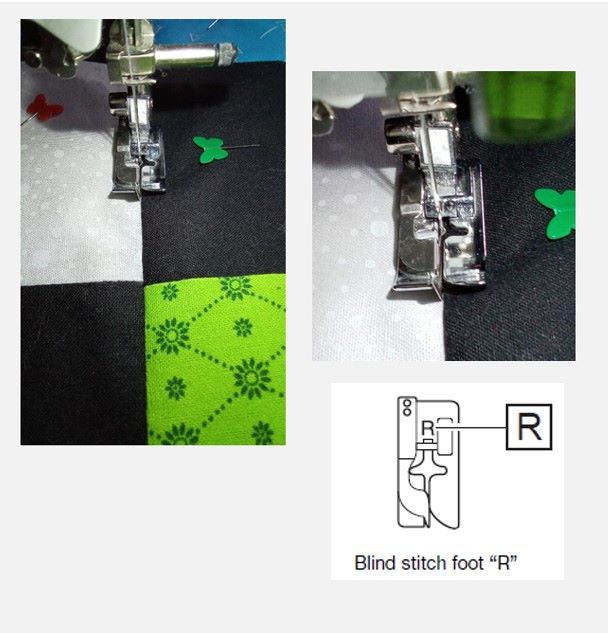
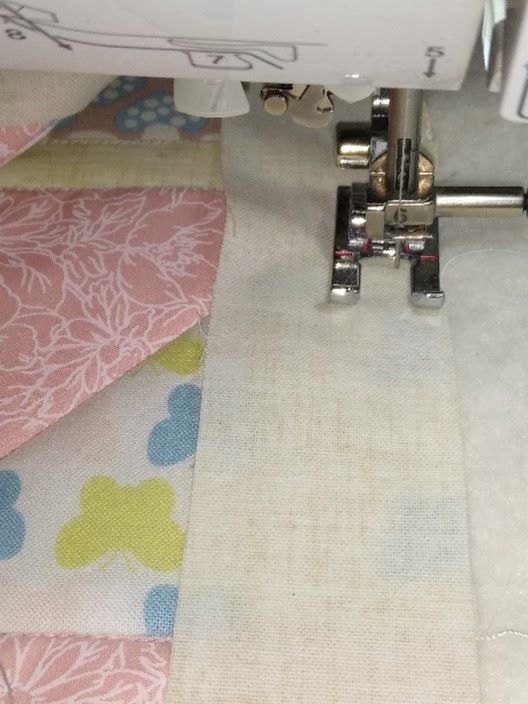
Sew using the ‘stitch in the ditch’ method. If your machine accessories include a Blind Stitch foot like the one shown below, you might want to use it for this.
Follow the outline of the block design using the centre ‘blade’ as a guide to quilt this block. You are following the seam line as you sew. You can do this on your remaining blocks if you wish.
Once you have finished quilting the block, trim off the excess wadding and backing ensuring your block still measures 12.5” x 12.5”. Press.
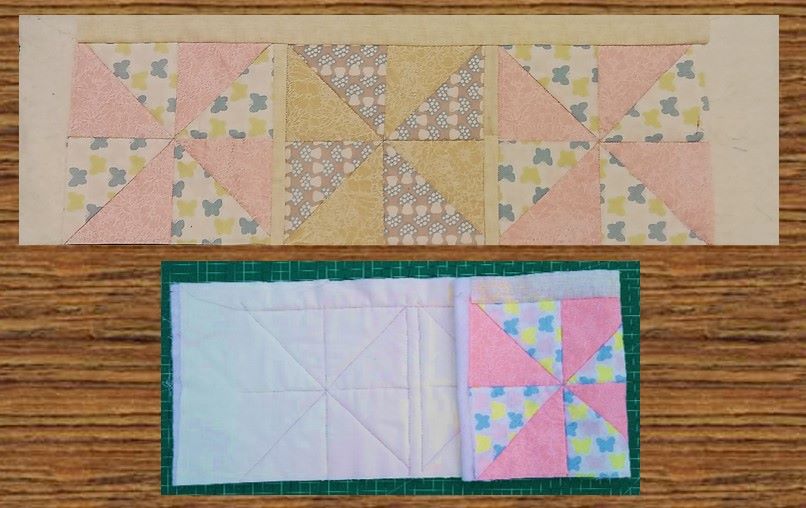
Here is the finished front and back view of the block. Repeat with the remaining blocks and follow the instructions in the video to finish assembling the quilt top.
The great thing about this method is that you could use a different fabric for each block and it would make the quilt reversible too.
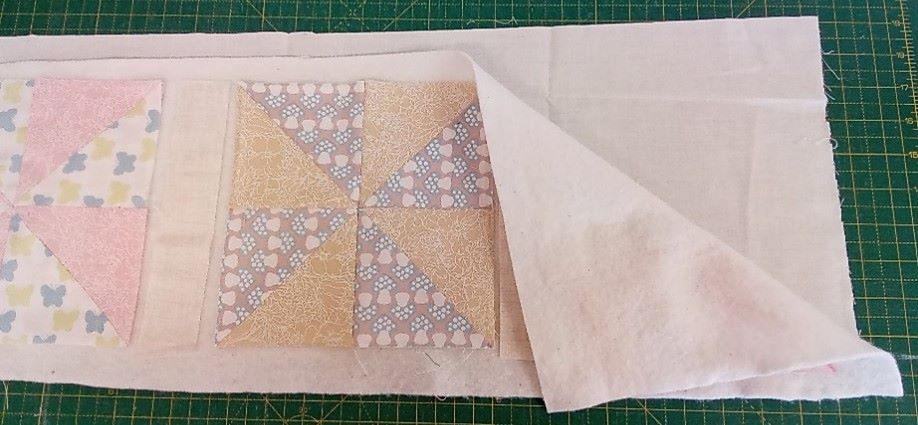
QAYG ROW METHOD
Alternatively, you could join your blocks in row – but you will need to use 1” x 12.5” strips for your sashing instead of 1.5”.
Make a quilt sandwich using backing fabric and wadding slightly larger than your quilt blocks and sashing strips, (I’ve used some orphan blocks to show you how it’s done). Lay your blocks out with sashing strip down the centre of blocks 1-2 and 2-3.
Sew your sashing strips using a 0.25” seam on the Right-Hand edge of your first two blocks. Then sew them together using a 0.25” seam.
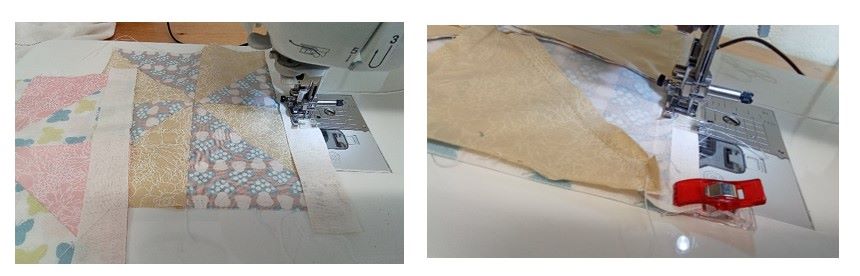
Stitch in the ditch around each block design across the row. Press.
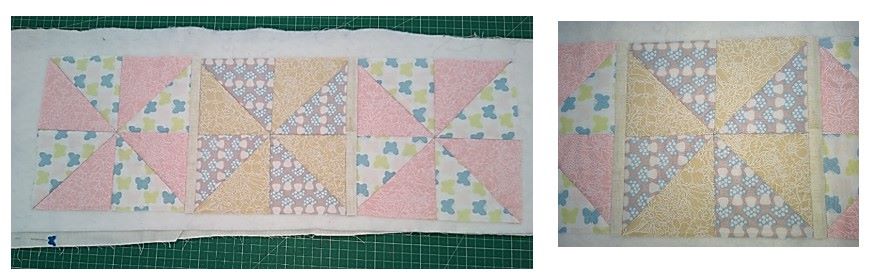
I decided to add an Inner Border strip of 1.5” to the top of this block row and you coould do this along the bottom edge of the last row. Press.
Trim any excess wadding and backing off the top and bottom edge of your Block Row. Leave the sides as they are as you can attach your Side Inner Border strips once you have joined all the rows together. PRESS.
Follow the Pattern PooleTV videos to see how to do this as it is explained so well. There’s no sense in re-inventing the wheel is there?
That’s the end of the Part 1 blog – I hope you’ve found it useful so far.
Stayed tuned for Finishing your QuiltSewGo Beginners’ Sampler Quilt PART 2: the third blog the pdf links are for:
• Preparing Your Backing Fabric
• Layering Your Quilt Sandwich
• and Quilting & Binding

Carol Lightburn
Twitter: @quiltsewgo Instagram: quiltsewgo
Twitter: @ukquilters Instagram: uk_quilters_united
Responses